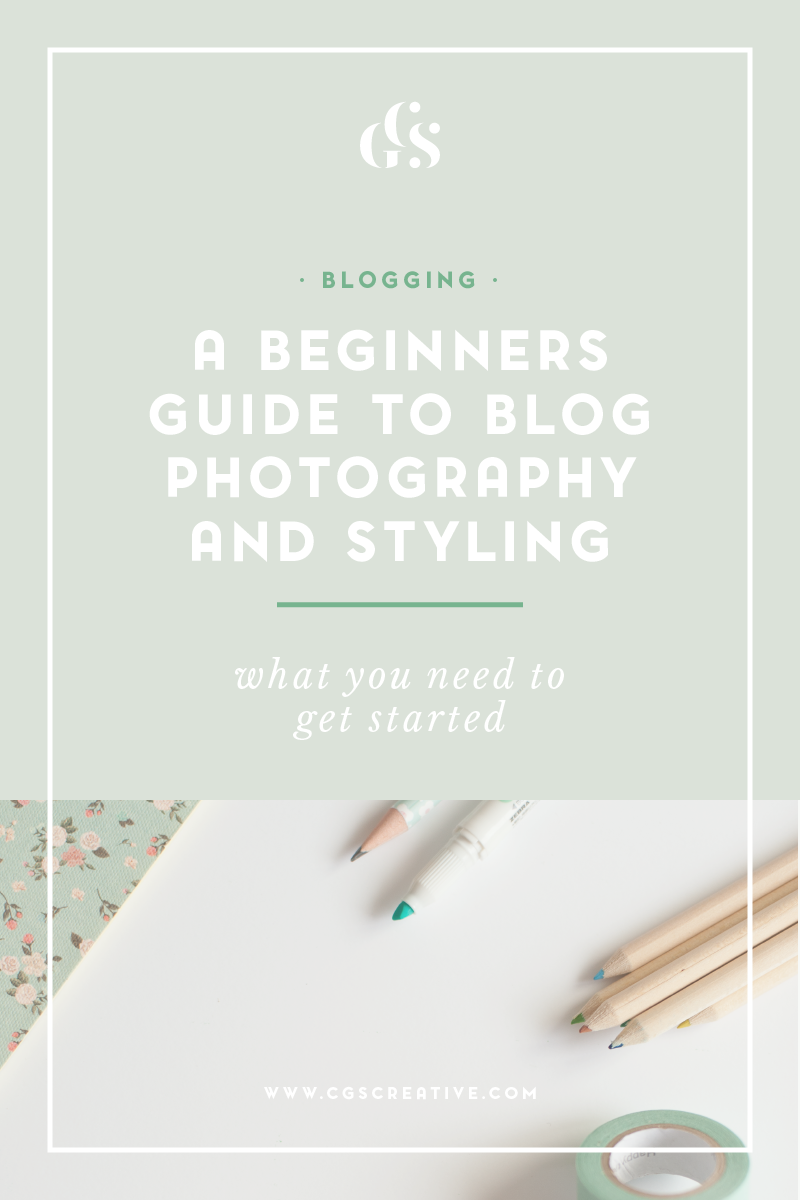
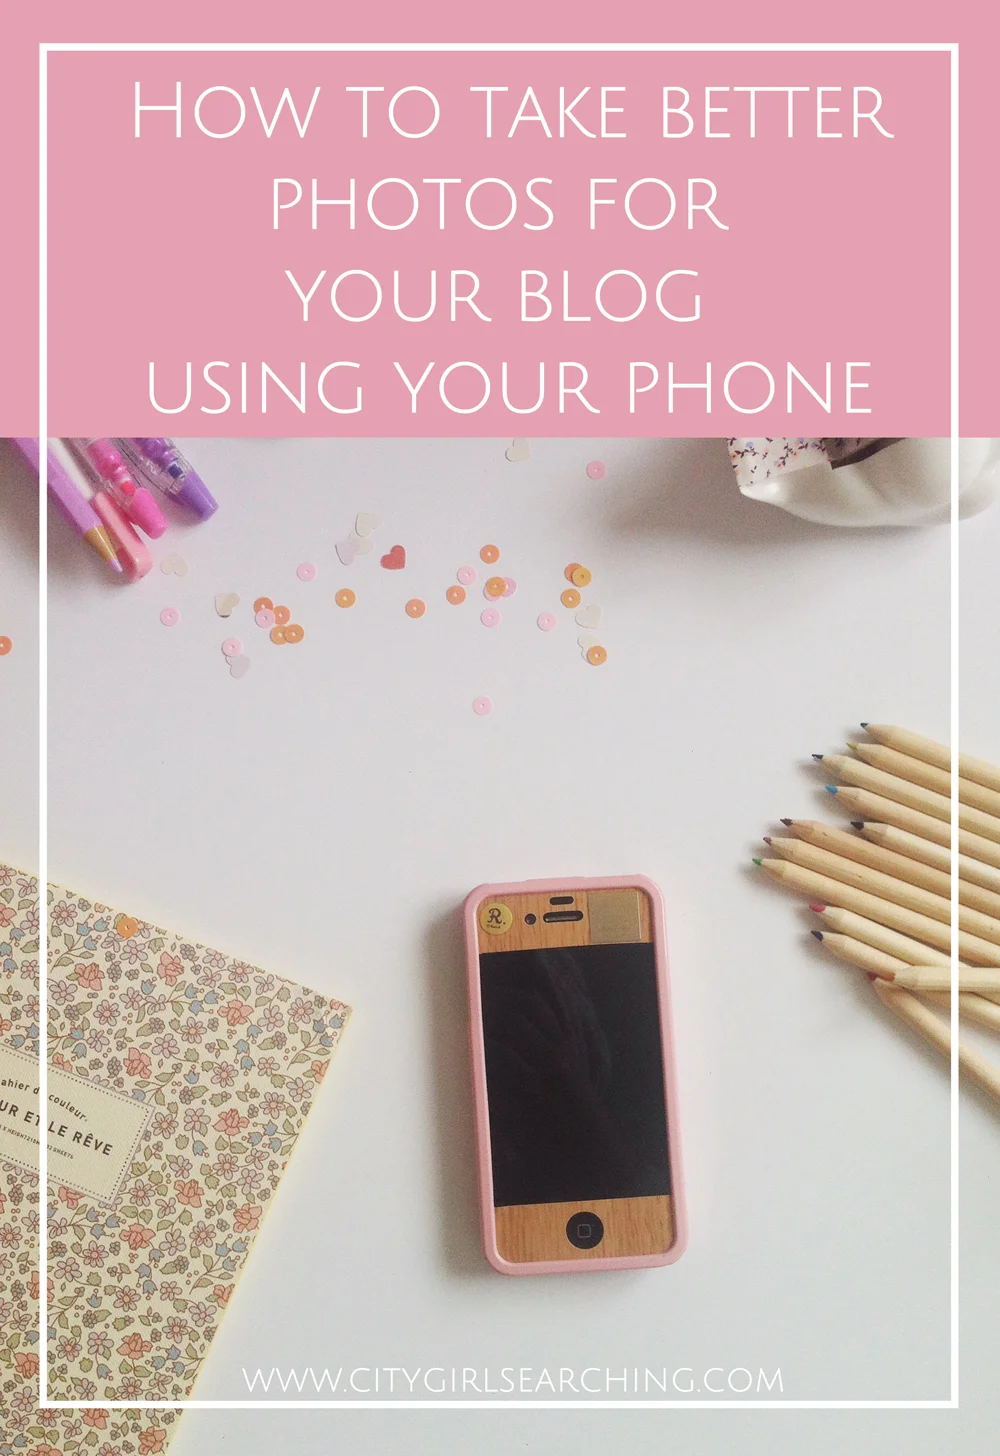
A beginners guide to Blog Photography & Styling - What you need to get started
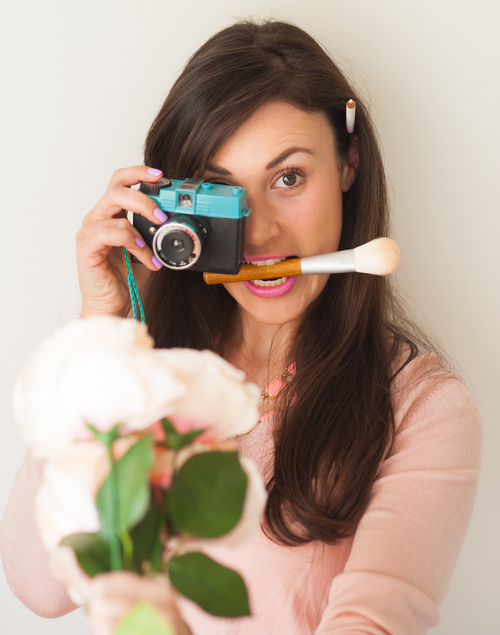
/ Roxy Hutton
I've been blogging for about 6 years now, and I do so because I genuinely love providing free, useful content for people. This blog is not a diary showcasing my life but rather I hope that it is a platform for you to learn new things (like my blogging tips, travel guides and posts about owning a dog in Korea) as well as a place to be inspired (by my travel posts, recipes and my photography).
One thing that I have learned from all these years of tapping away at my keyboard is that the images on your blog can make or break your brand.
These days technology has advanced so much, there really is no excuse for anyone to have poor quality images on their blog. This doesn't mean you have to own the fanciest camera on the market, your cellphone/ipad/tablet will work just fine. In this post I'm going to be sharing with you what I use to style & take photographs for my blog.
This is a list of what I use to style & take photographs for my blog.
Camera
White background
Props
1. Camera (of some kind)
When I first started blogging I used Farmboy's little old Nikon D40 DSLR camera. The photographs I was taking at the time were basic, *heavily* edited with lots of contrast and bright pops of colour here there and everywhere. I then moved onto a little Canon point and shoot. Then, once I started really enjoying taking photographs (and after blogging regularly for about 6 months) I moved onto a family members old Canon DSLR. The point I'm trying to make here is that it doesn't matter what camera you have, it's more about what you do with it. Don't get caught up in the 'I-need-all-the-fancy-things-right-now-to-have-the-perfect-blog' mindset. Make do with what you have right now, and later upgrade if you feel like blogging is something you want to continue doing. These days, I use my phone to take 95% of photographs I share on Instagram & Facebook. I only use my DSLR for blog posts if I have a good couple of hours to spare and I am styling photographs for a particular blog post.
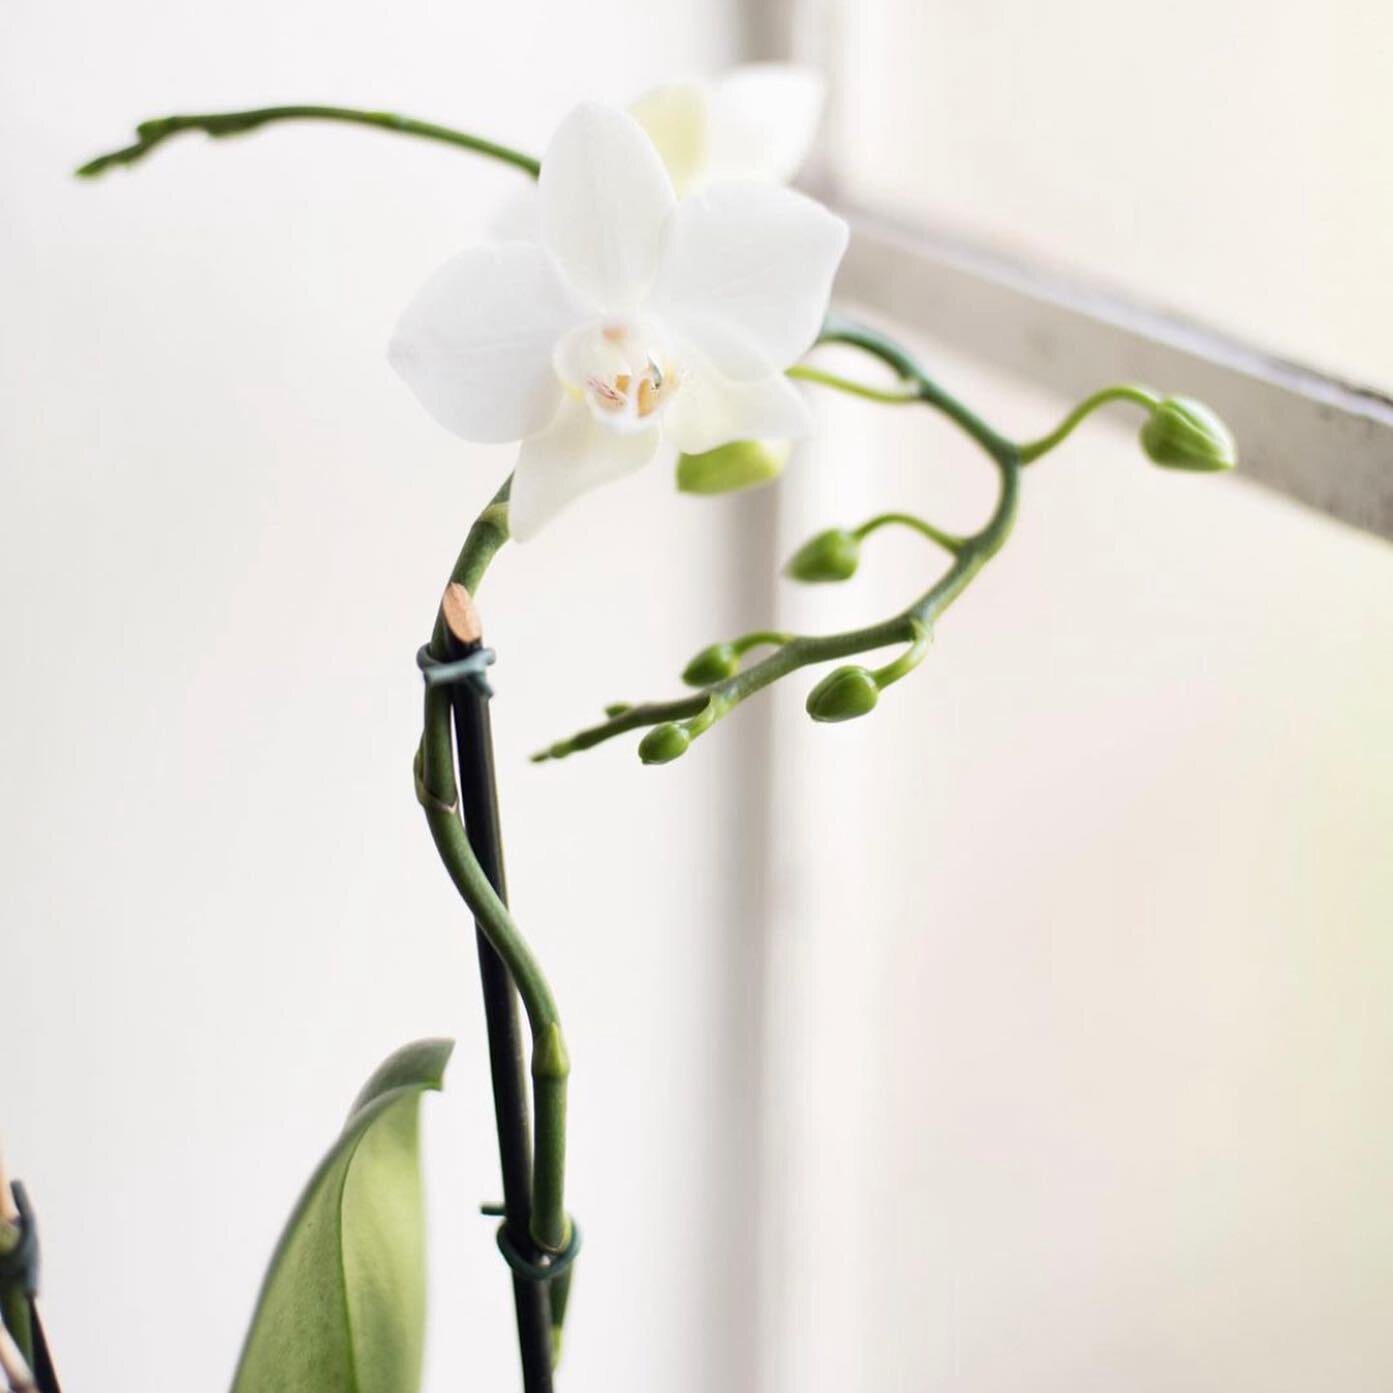
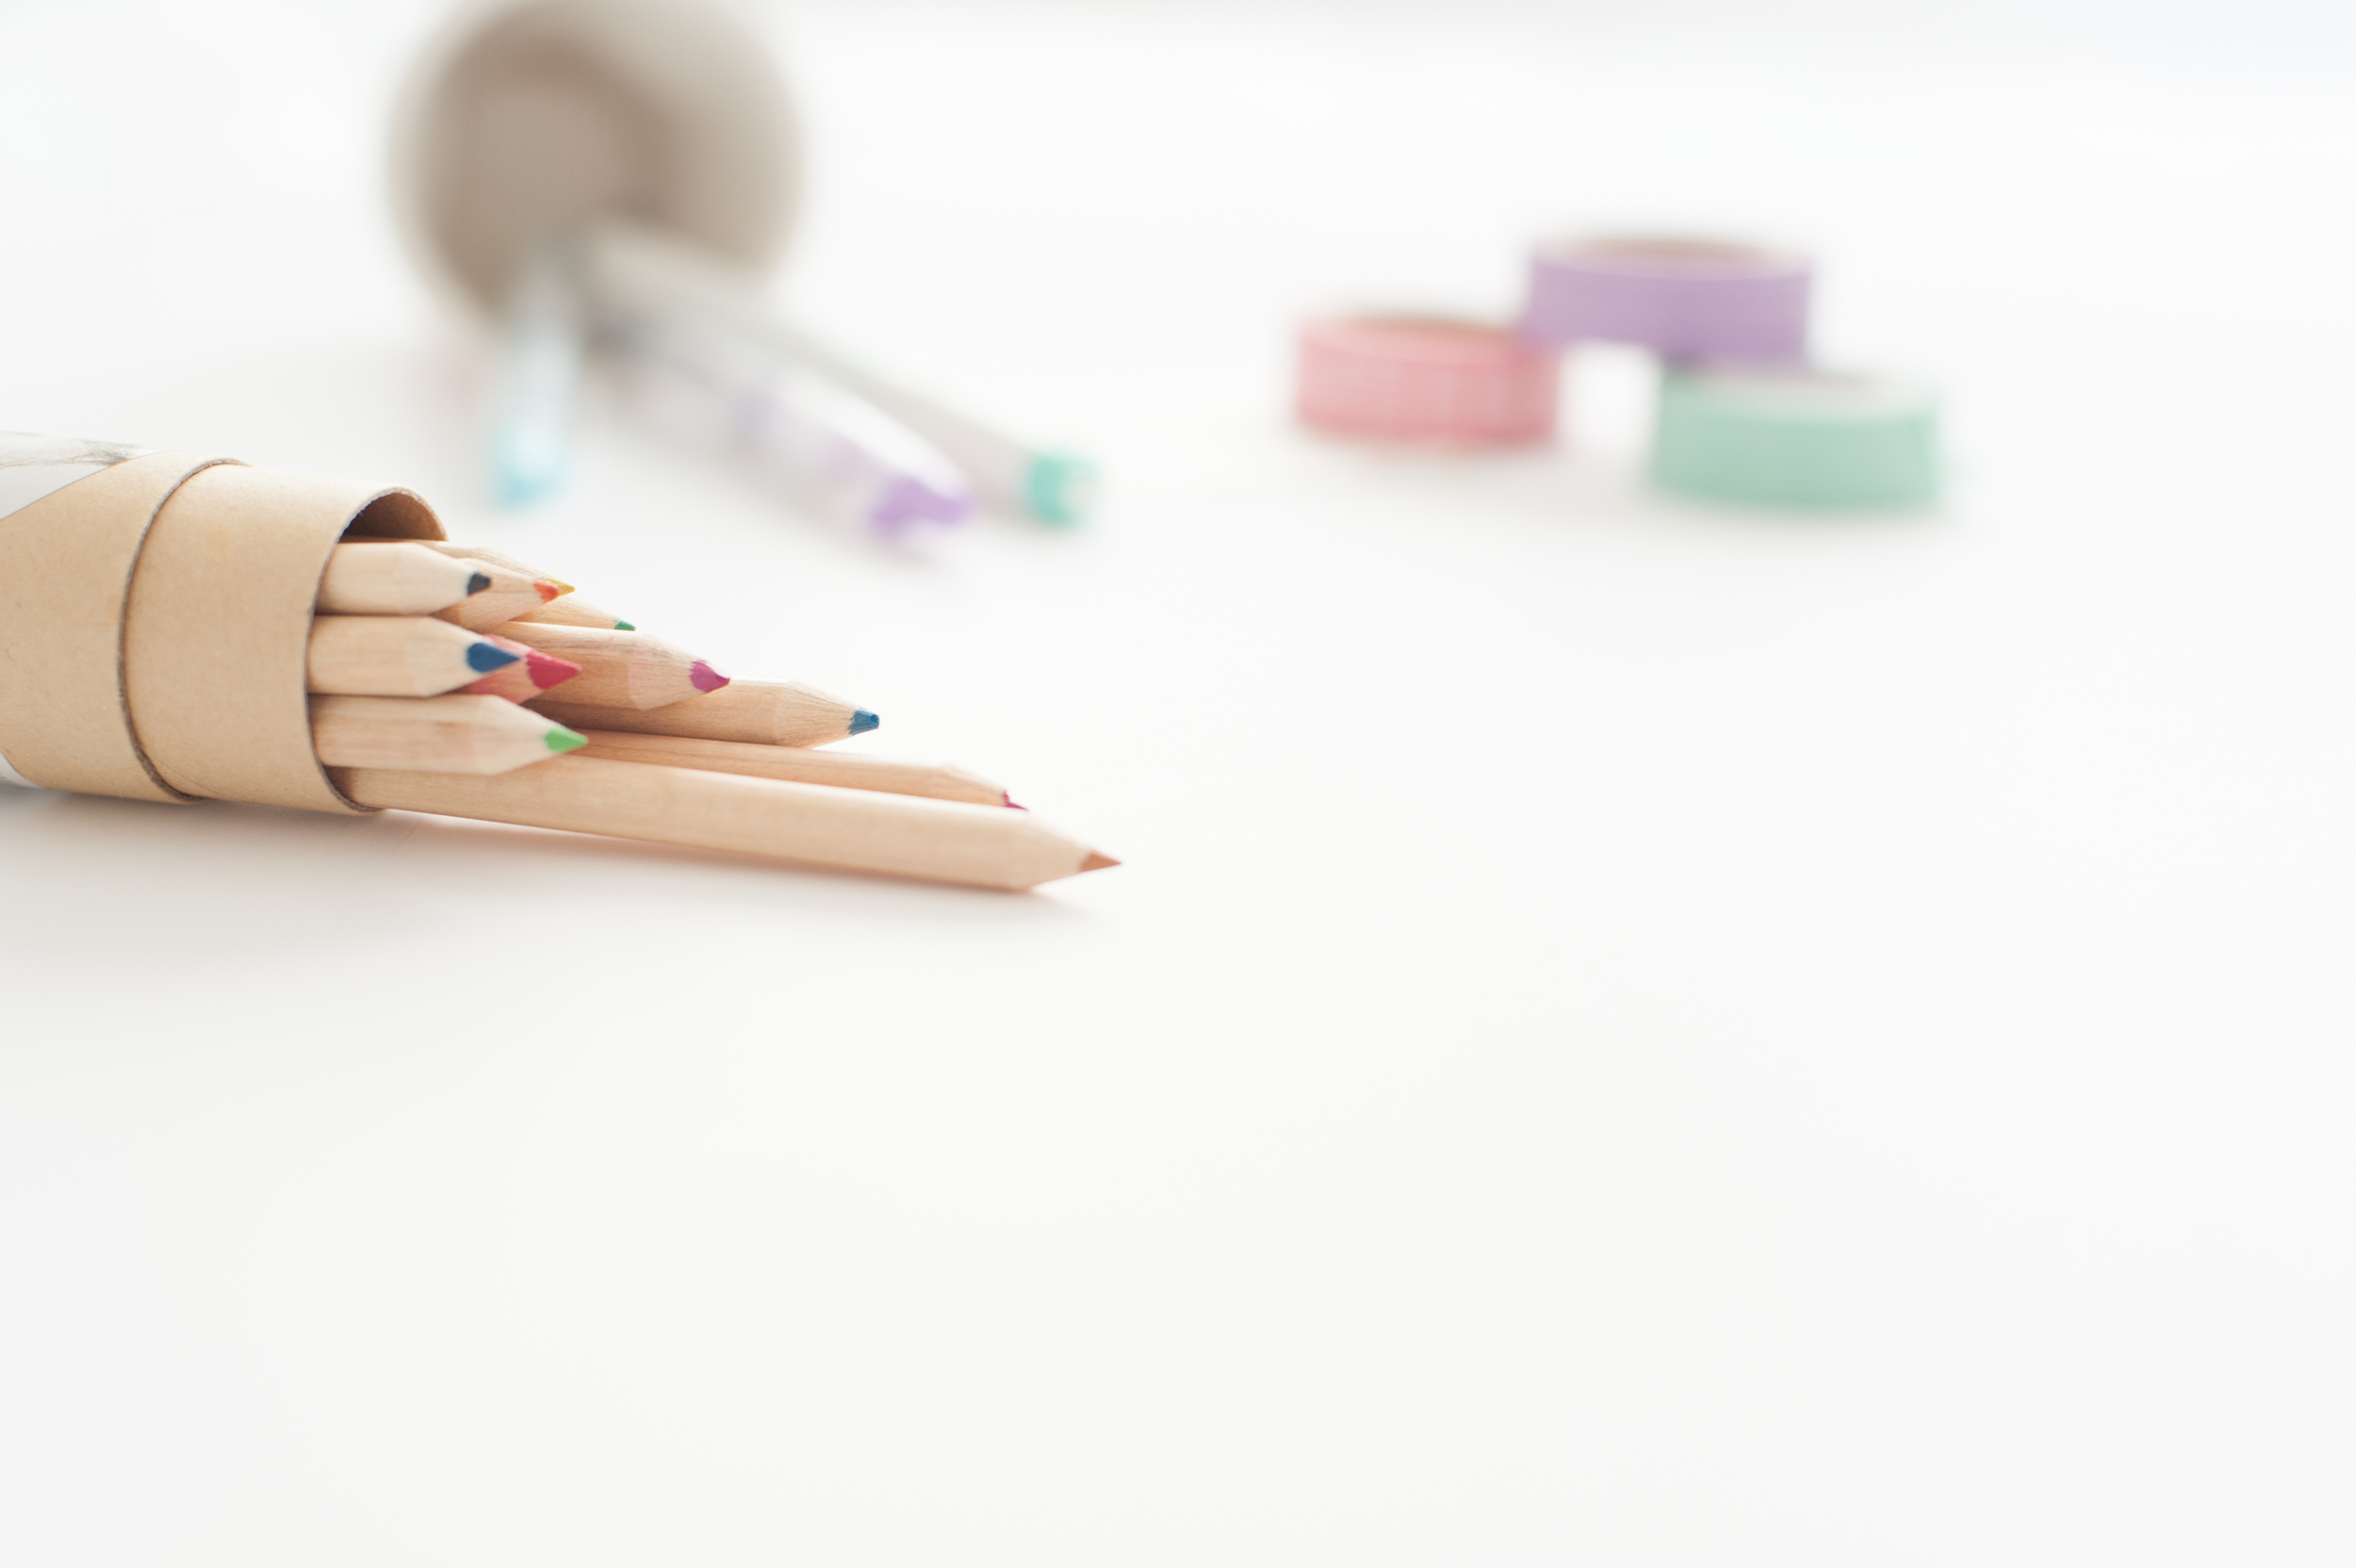
When I am out and about I try and photograph (with both my camera but especially my phone) things that can be used in blog posts later on. For example, flowers, a cup of coffee, an interesting door/building. This means I have a 'library' of possible images to use for future blog posts, rather than having to create new ones every time. These photographs also work really well to use for creatine quote graphics. Simply use an app (like Studio) or a free online photo editing site like PicMonkey to create your own (copyright free!) blog stock photographs.
For my blog I like to have 1 feature image that goes at the top of each post. I write a lot of posts on blogging, but I use all the photographs I took from one afternoon of styling for those blog posts. When I do set the time aside to style photographs I try and 'create' as many different shots as I can so I can use the photographs in different ways later on. This simply means moving my props slightly, changing the angle of my camera, and physically moving myself around the room to capture different heights and angles.

2. Backdrop: White Paper/Foam Board
This has made the biggest difference for me when it comes to my blog photographs. I went down to my nearest stationery store and bought a big piece of foam board for about W4 000 (+-$4). I've had to buy a few over the last year as they get dirty so quickly, but it's such an inexpensive way of making your photographs looks professional. Using a white background will make your content pop, and, will make your life easier when it comes to adding text to your photos later on.
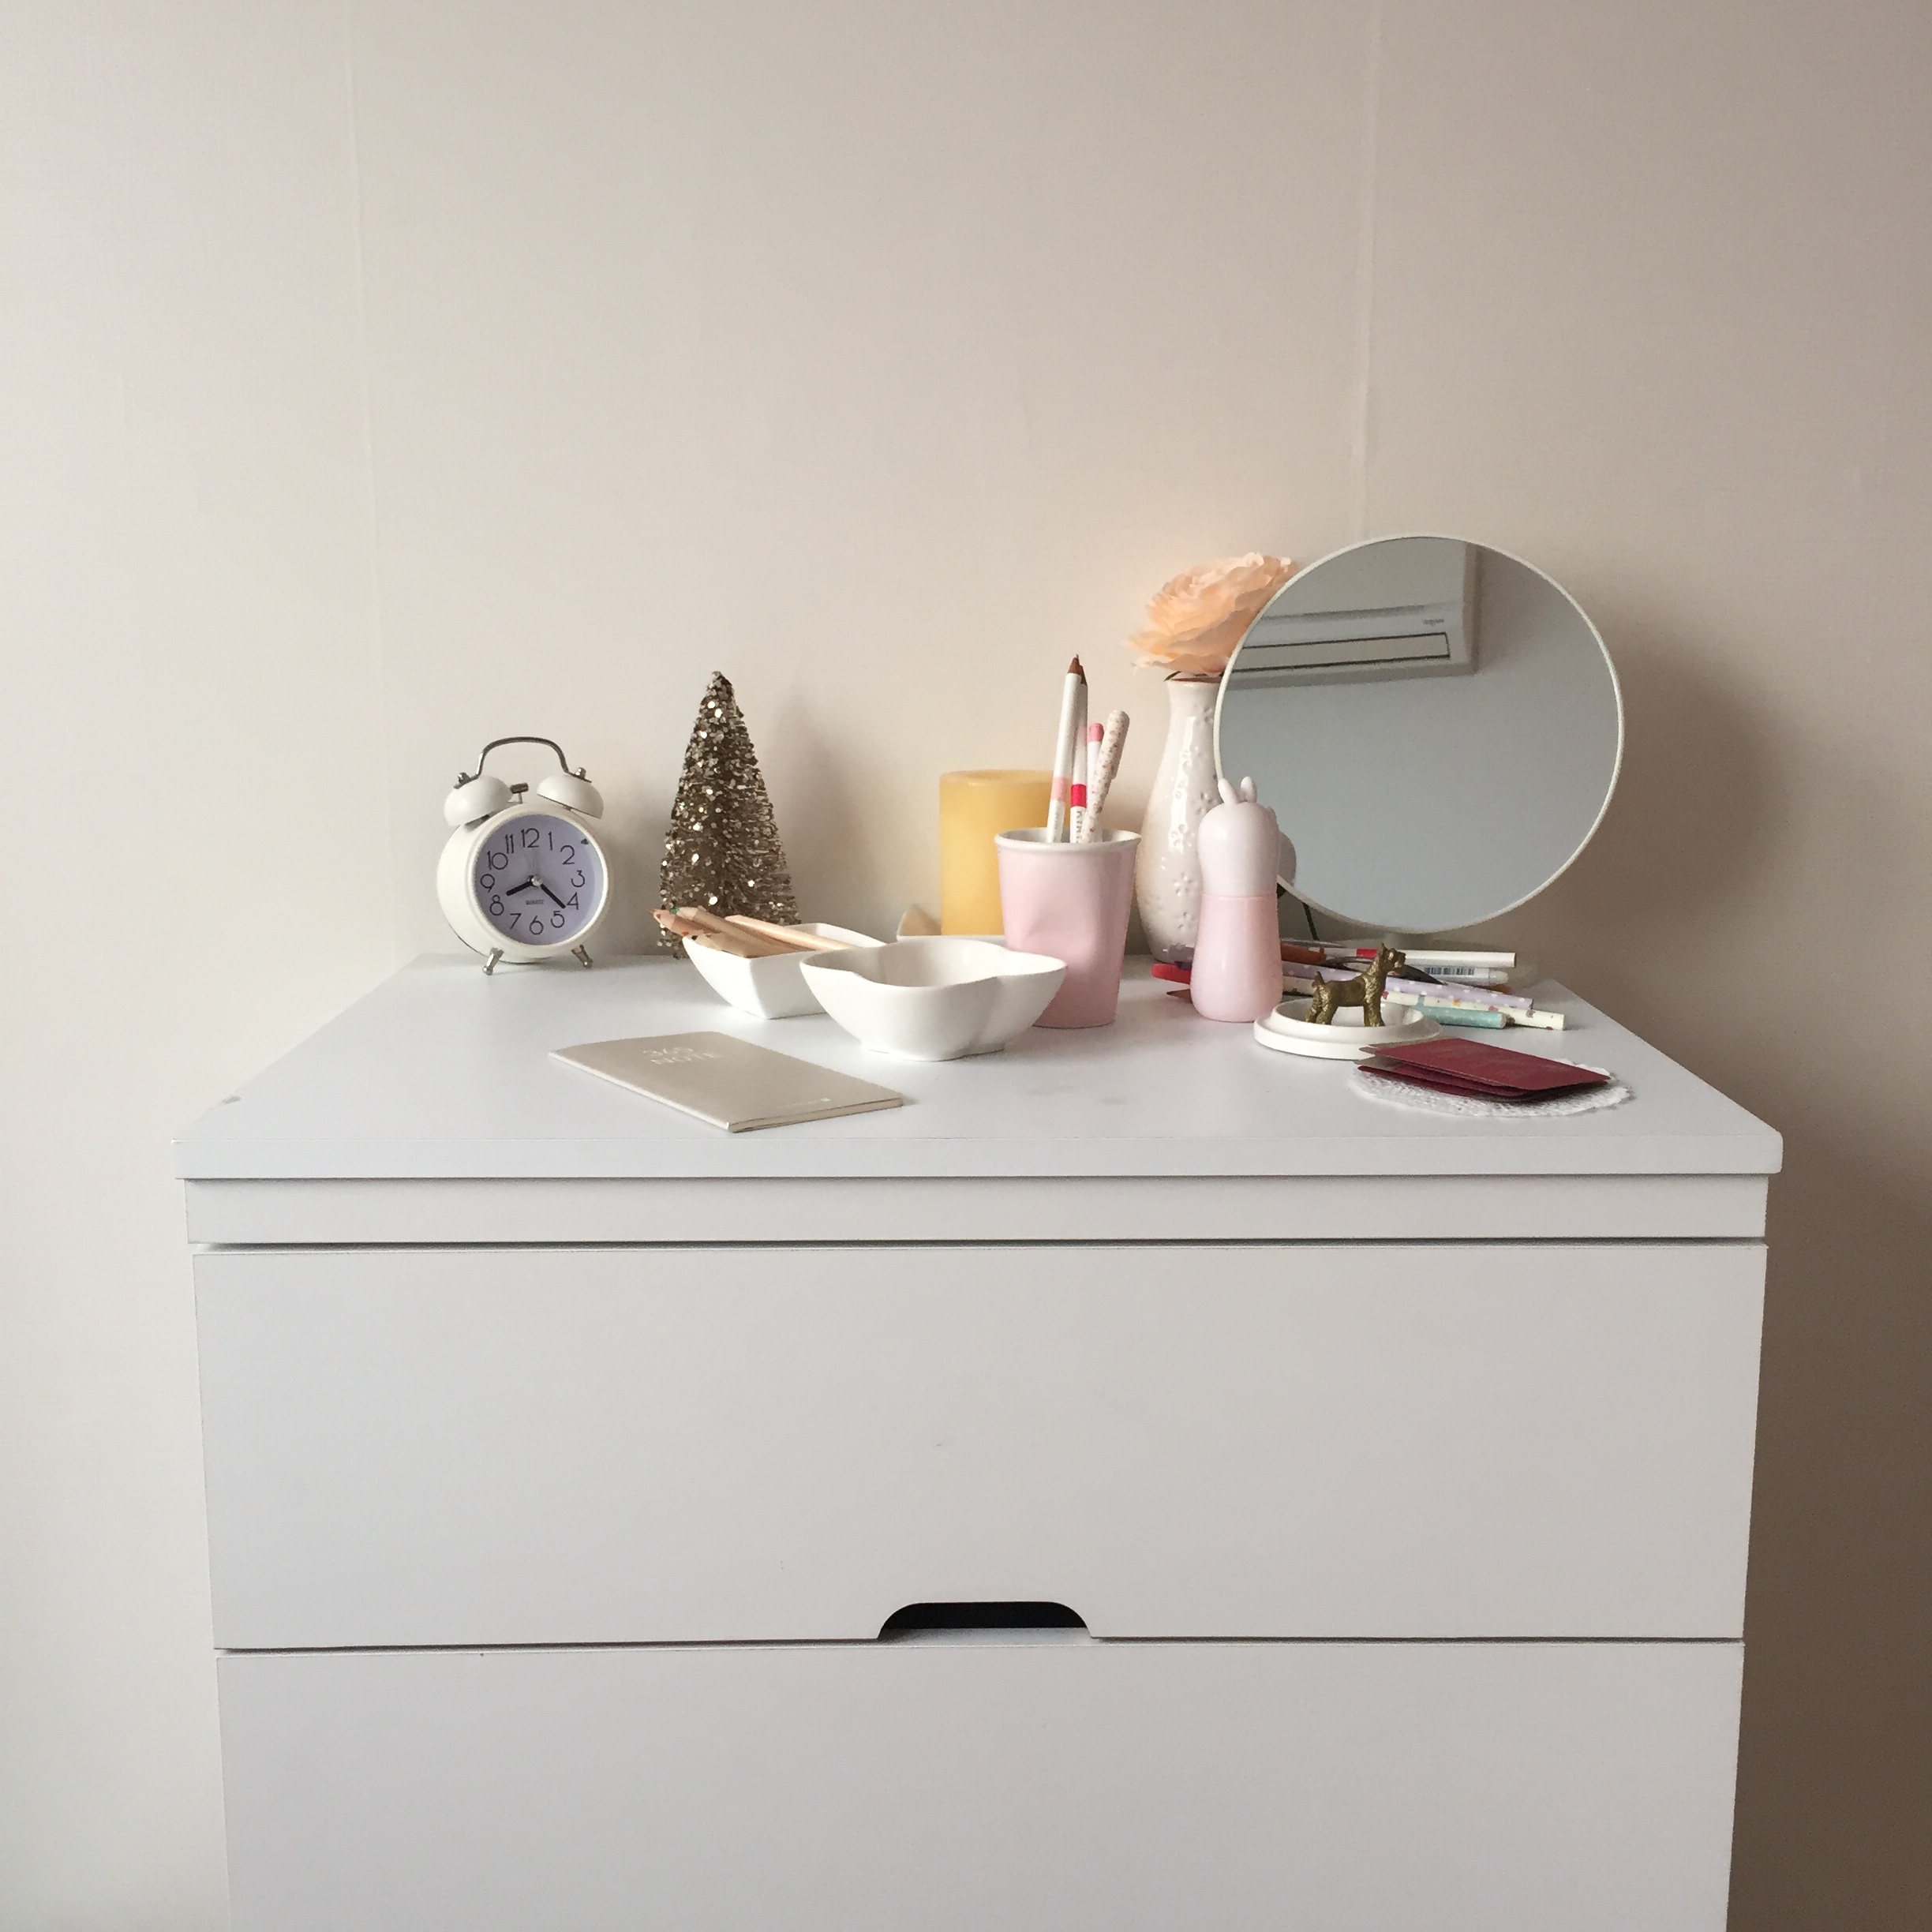

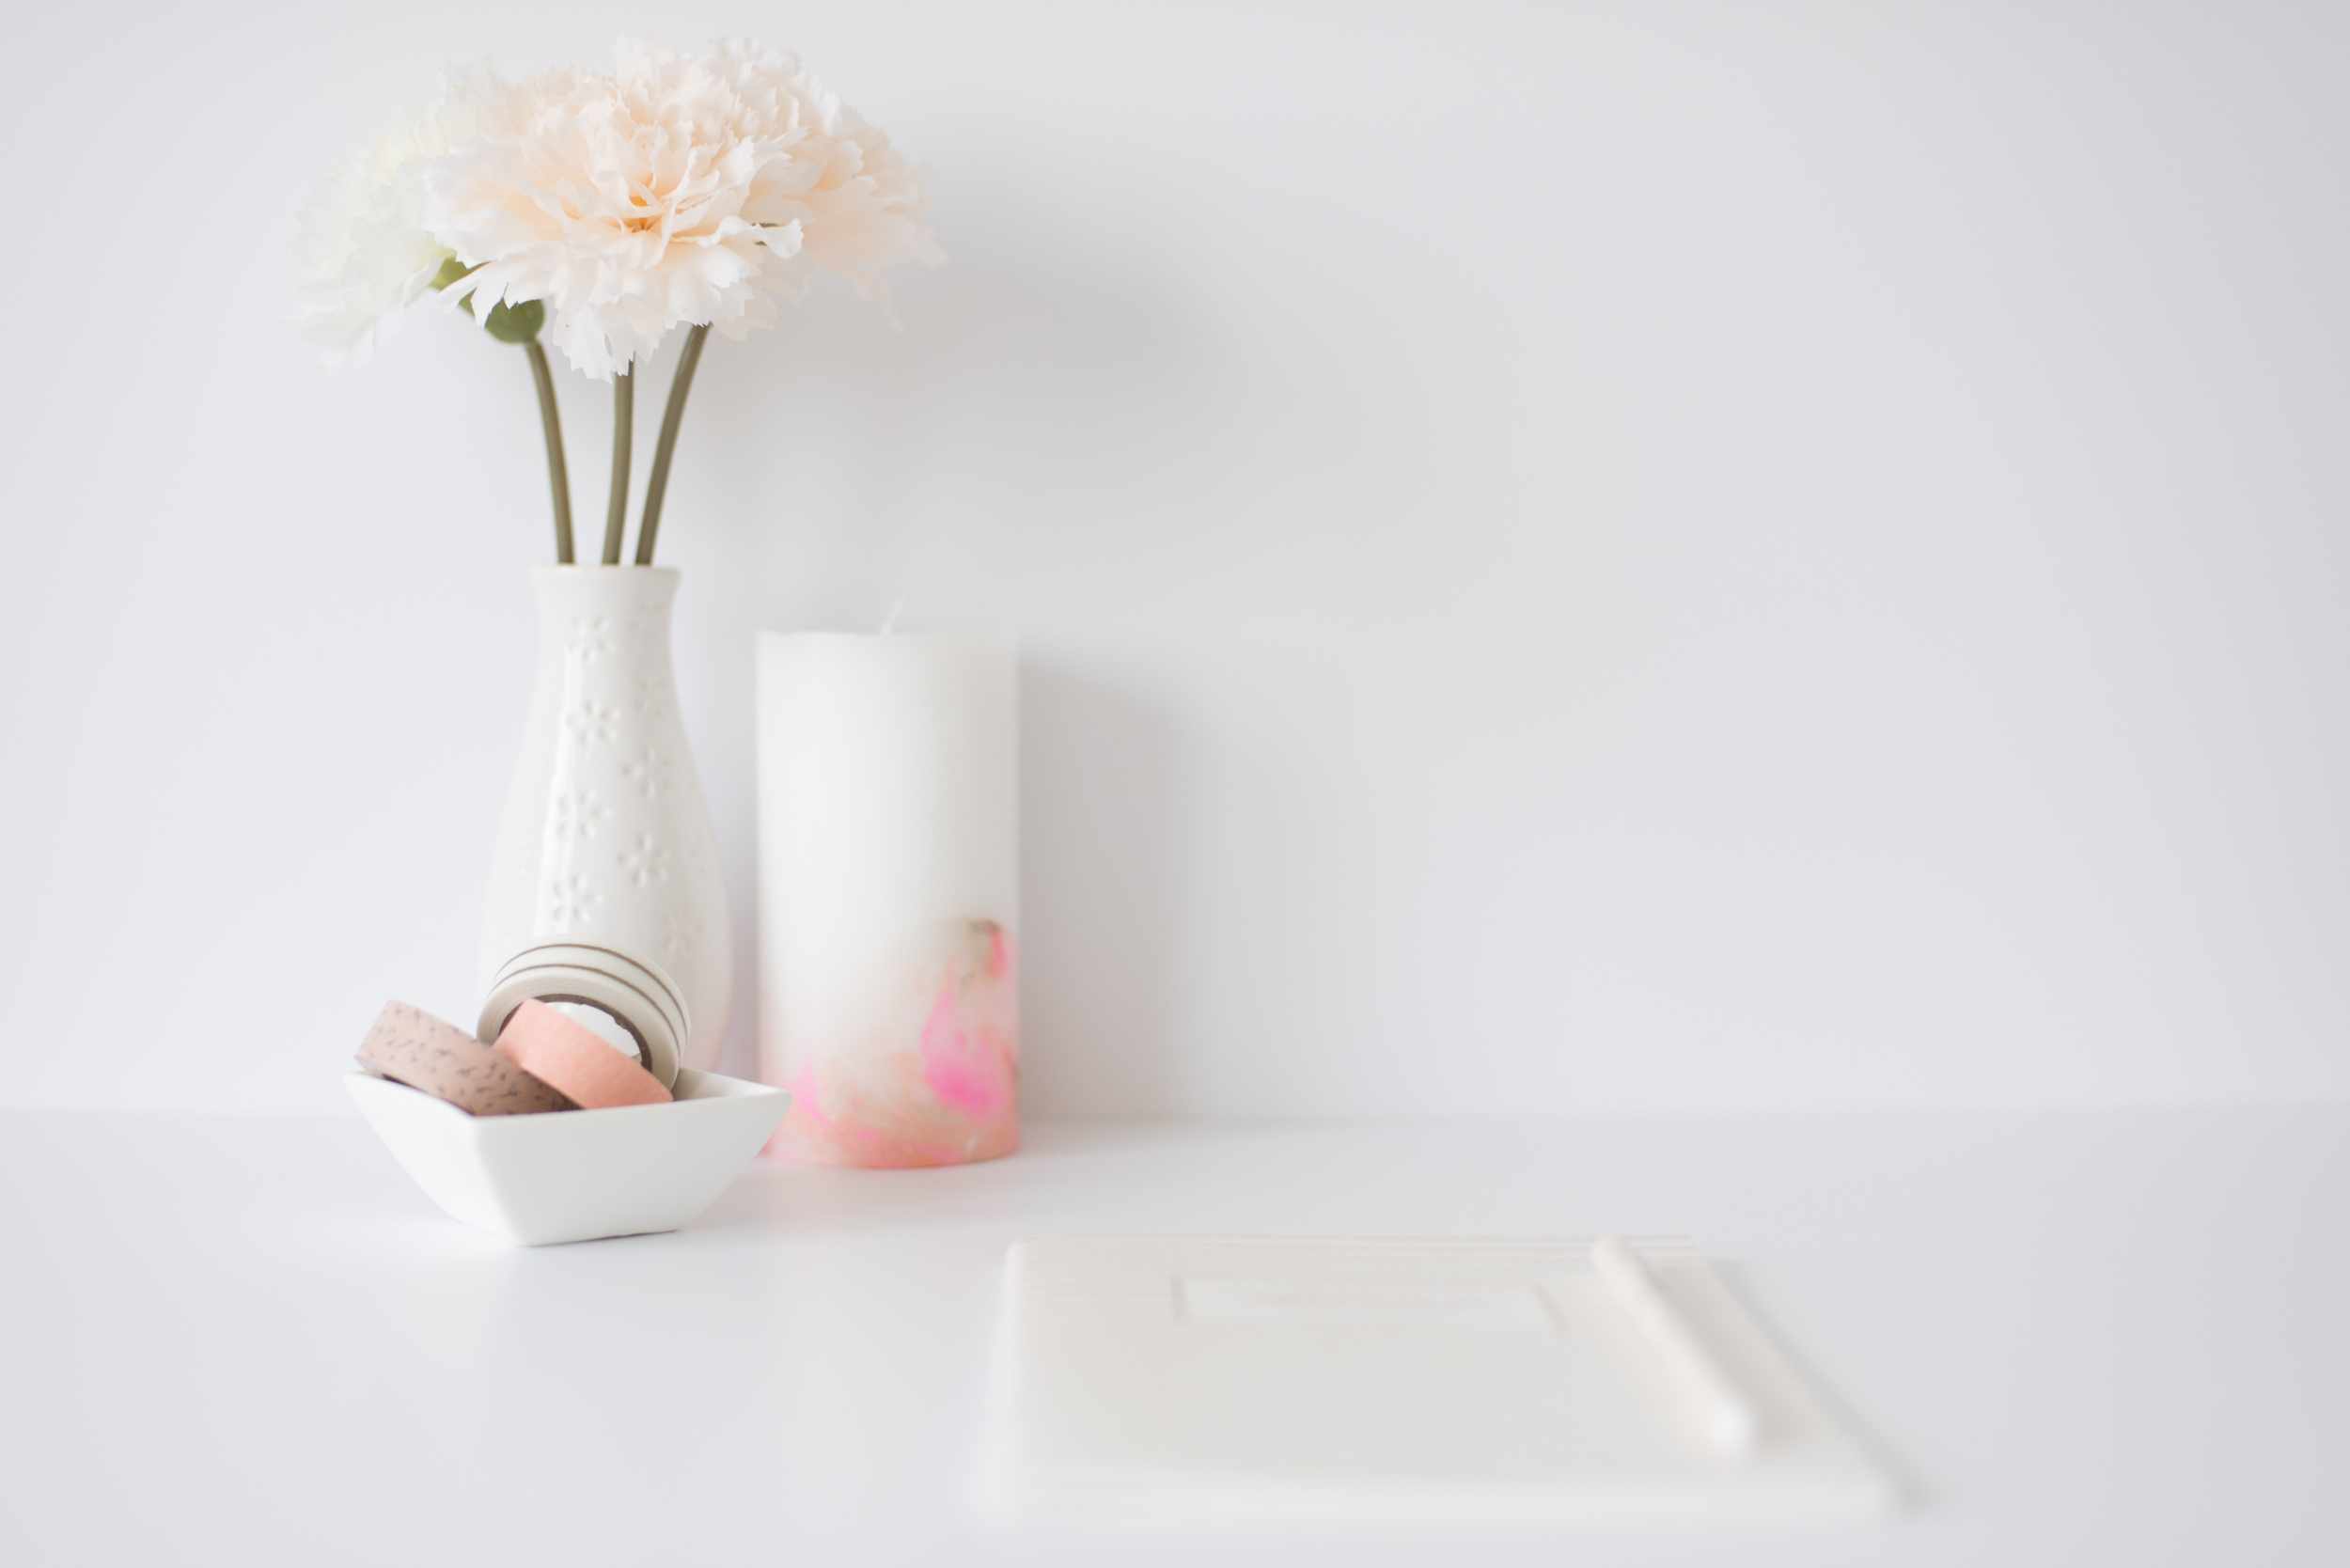
A plain wall/space to take full length shots. We re-wallpapered our apartment here in Korea and I choose a plain, cream coloured shade of paper for the entire house. You don't have to re-wallpaper your entire house though, you can get a really big roll of white/coloured paper that you could use as a backdrop. I also found a second hand white chest of drawers (pictured above) which I use to take a lot of my styled photos.
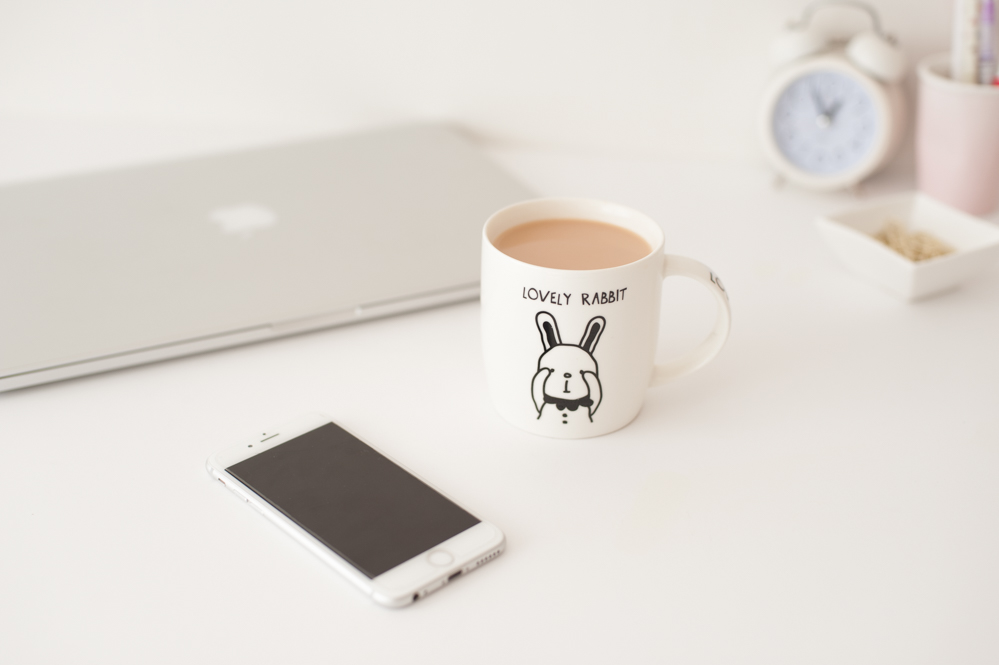
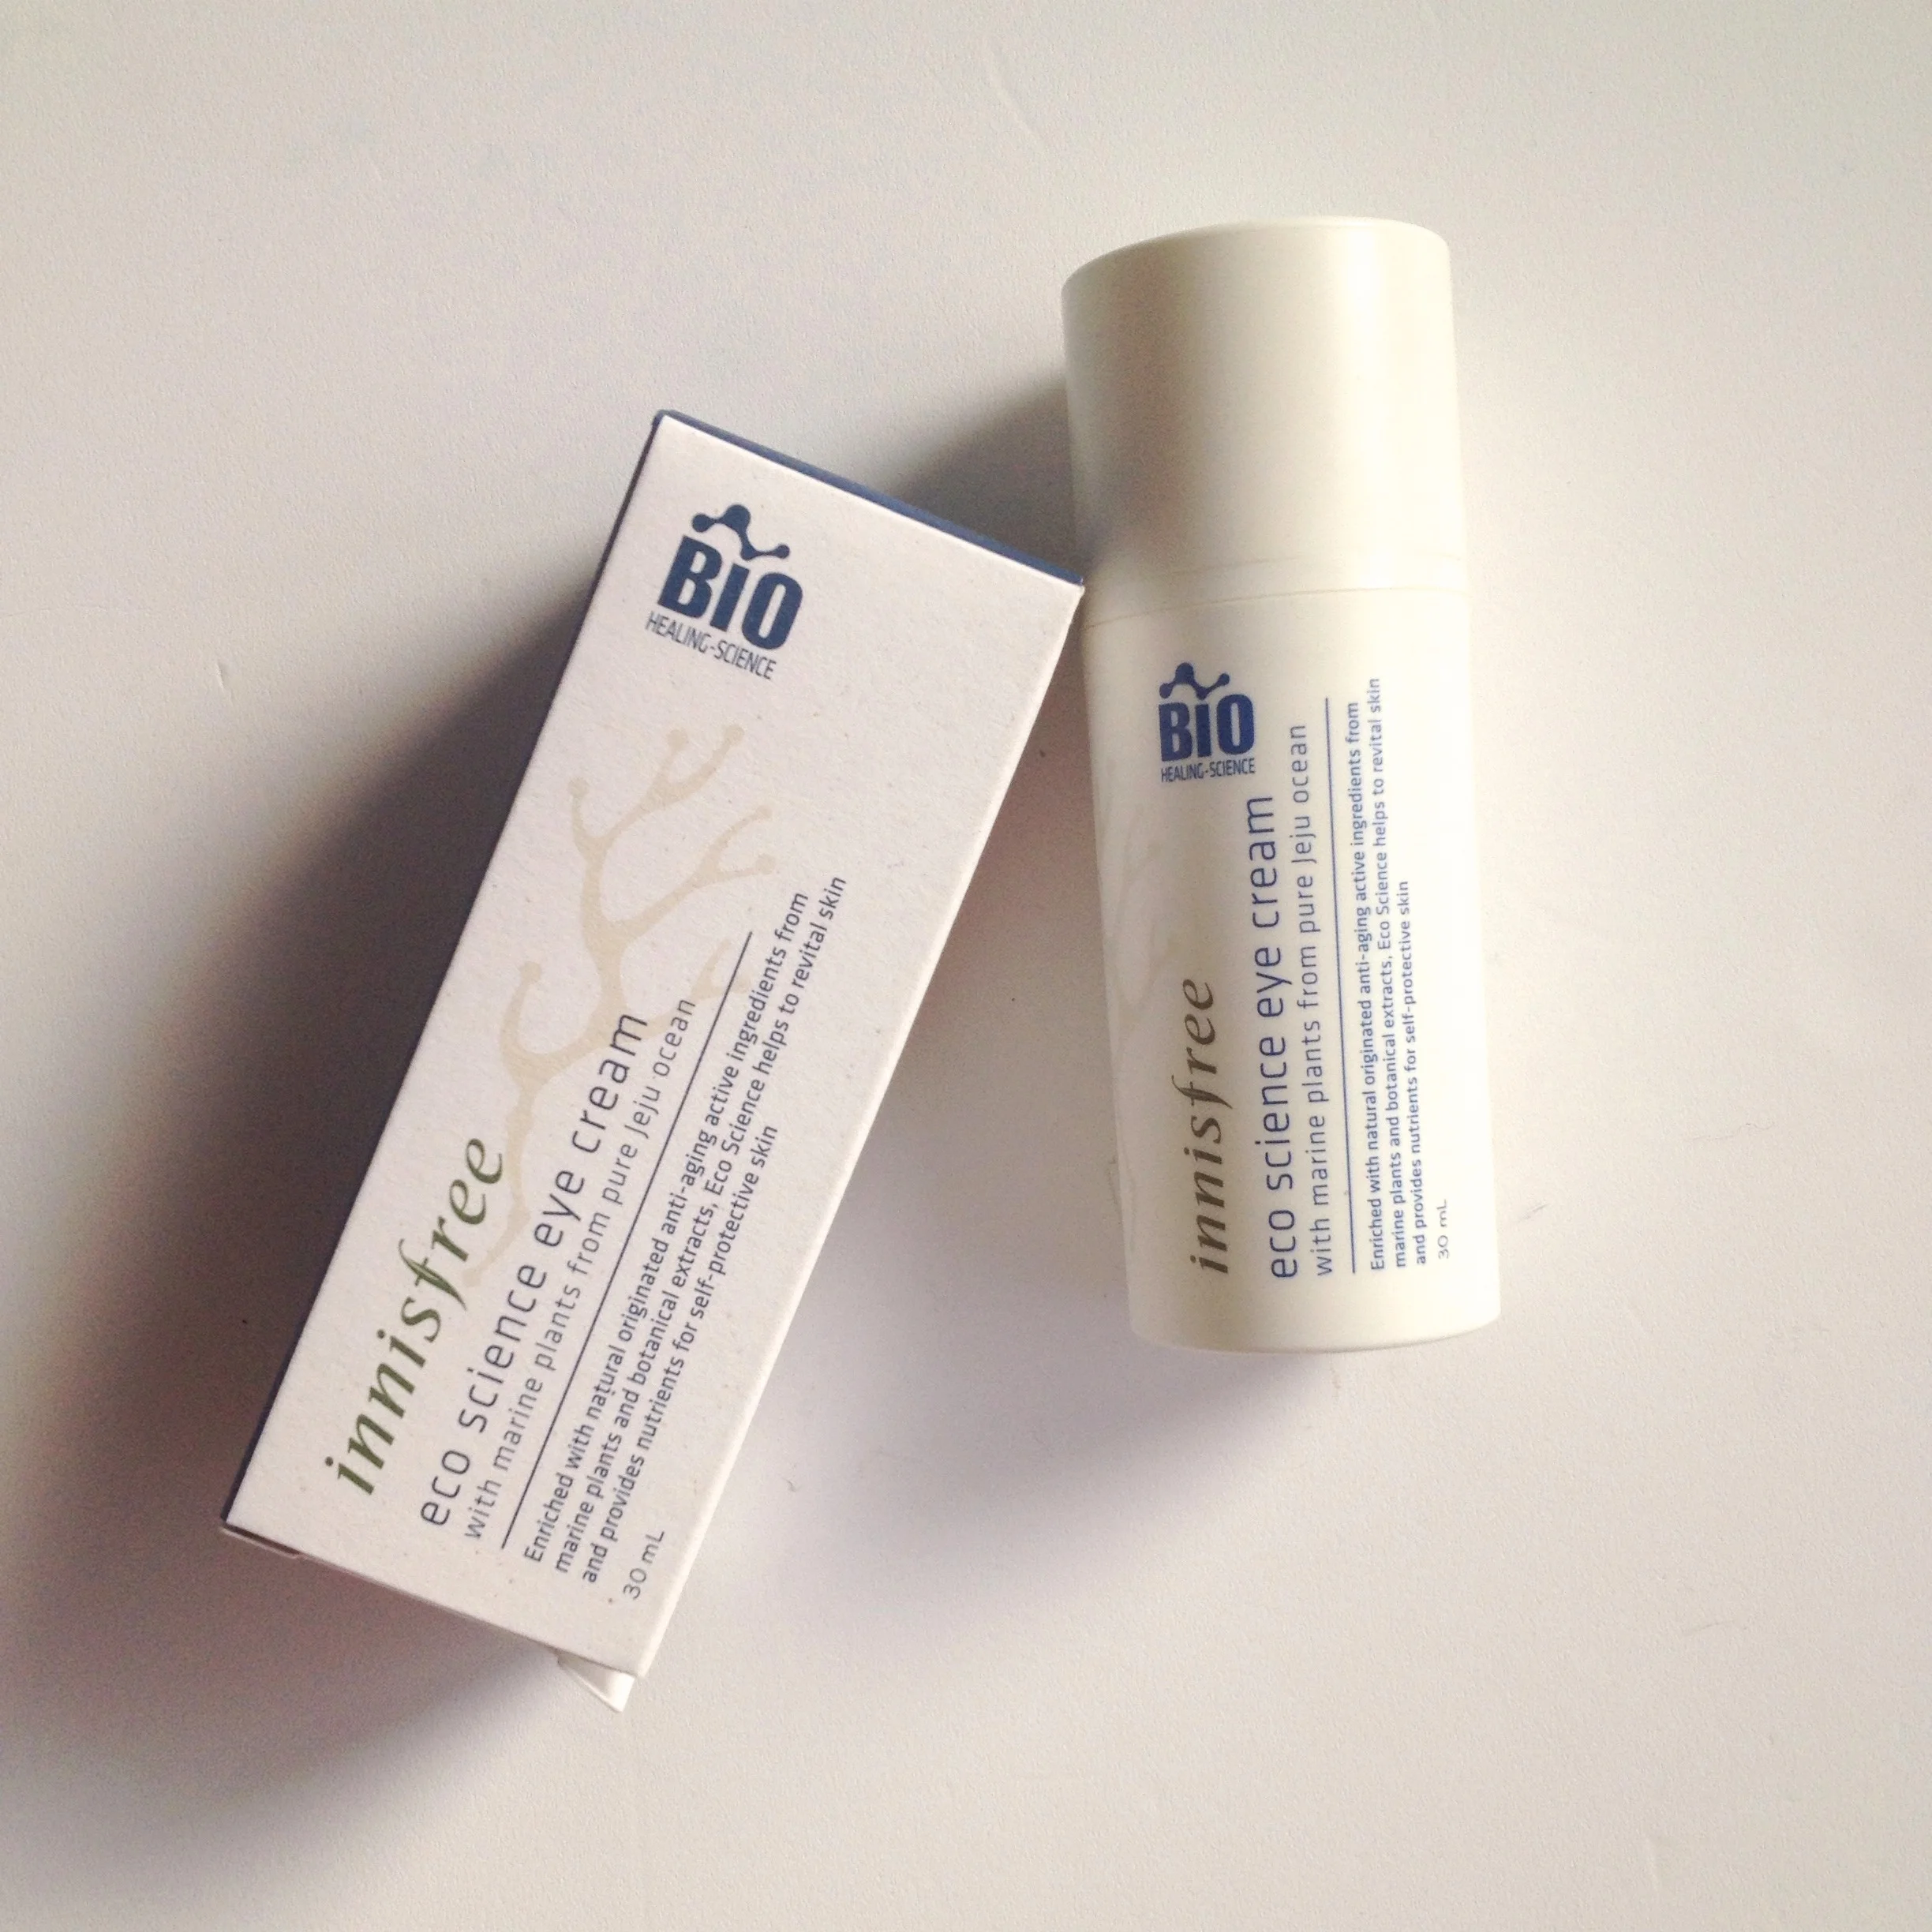
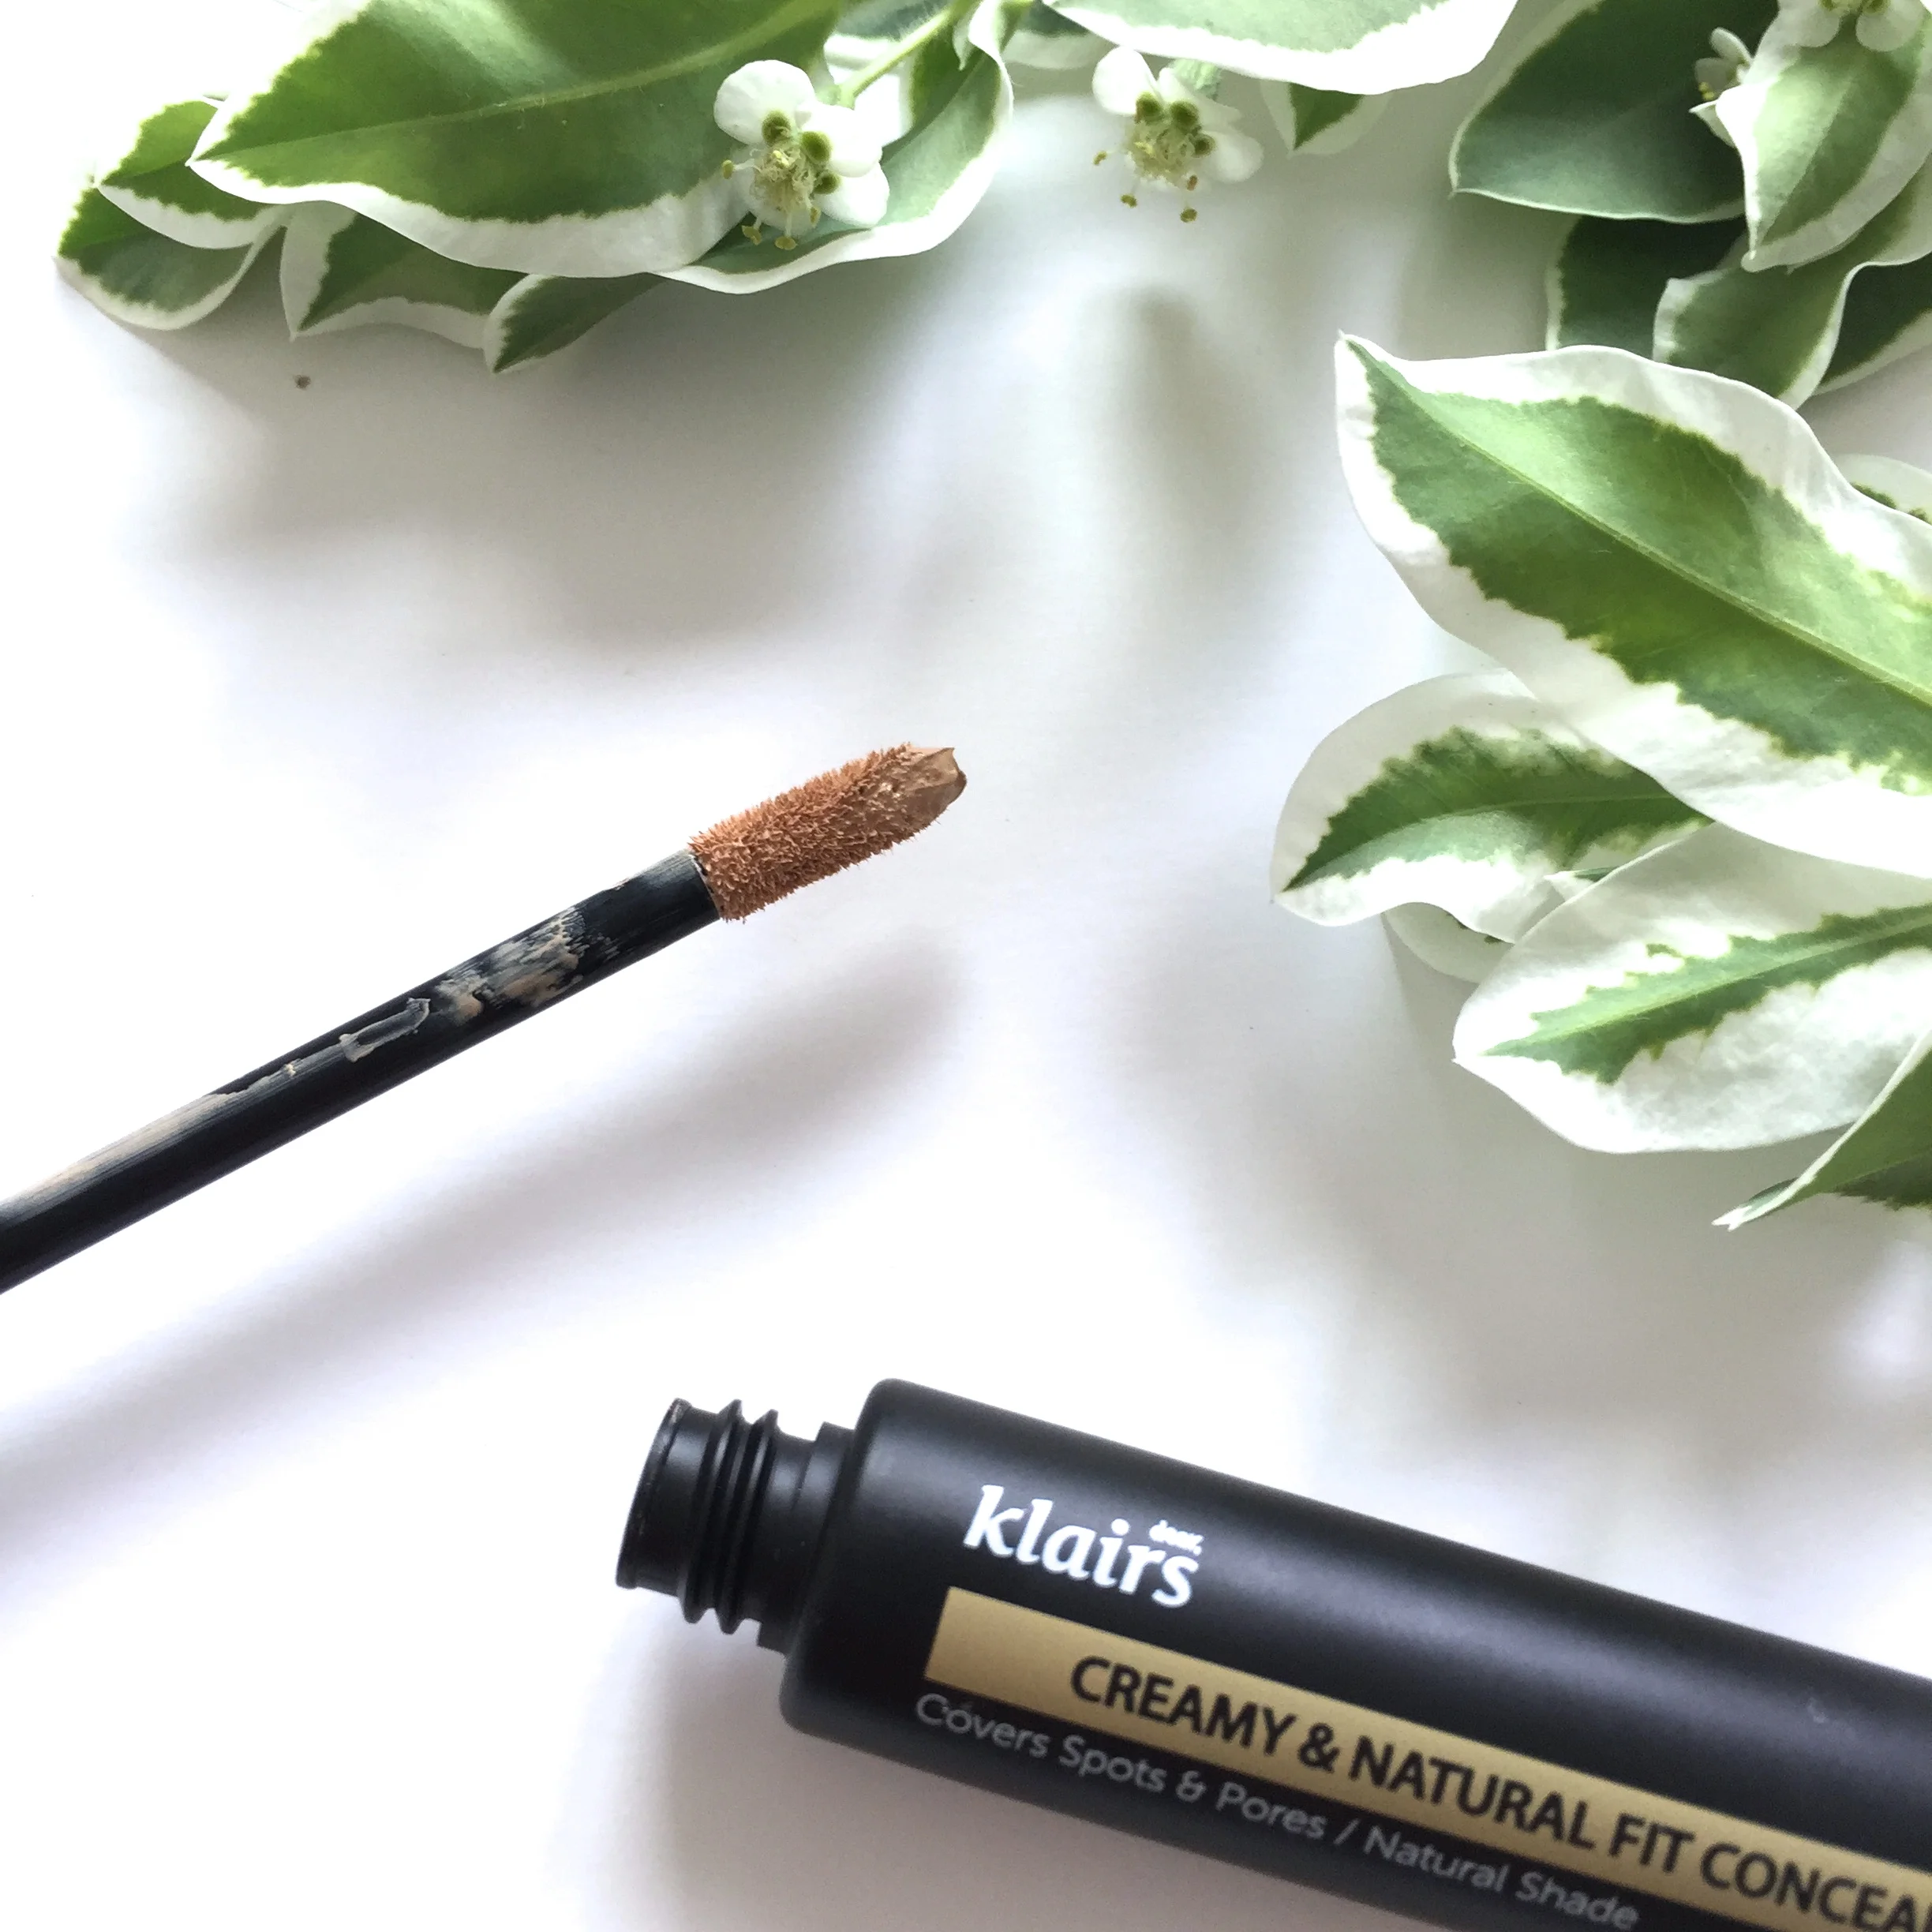
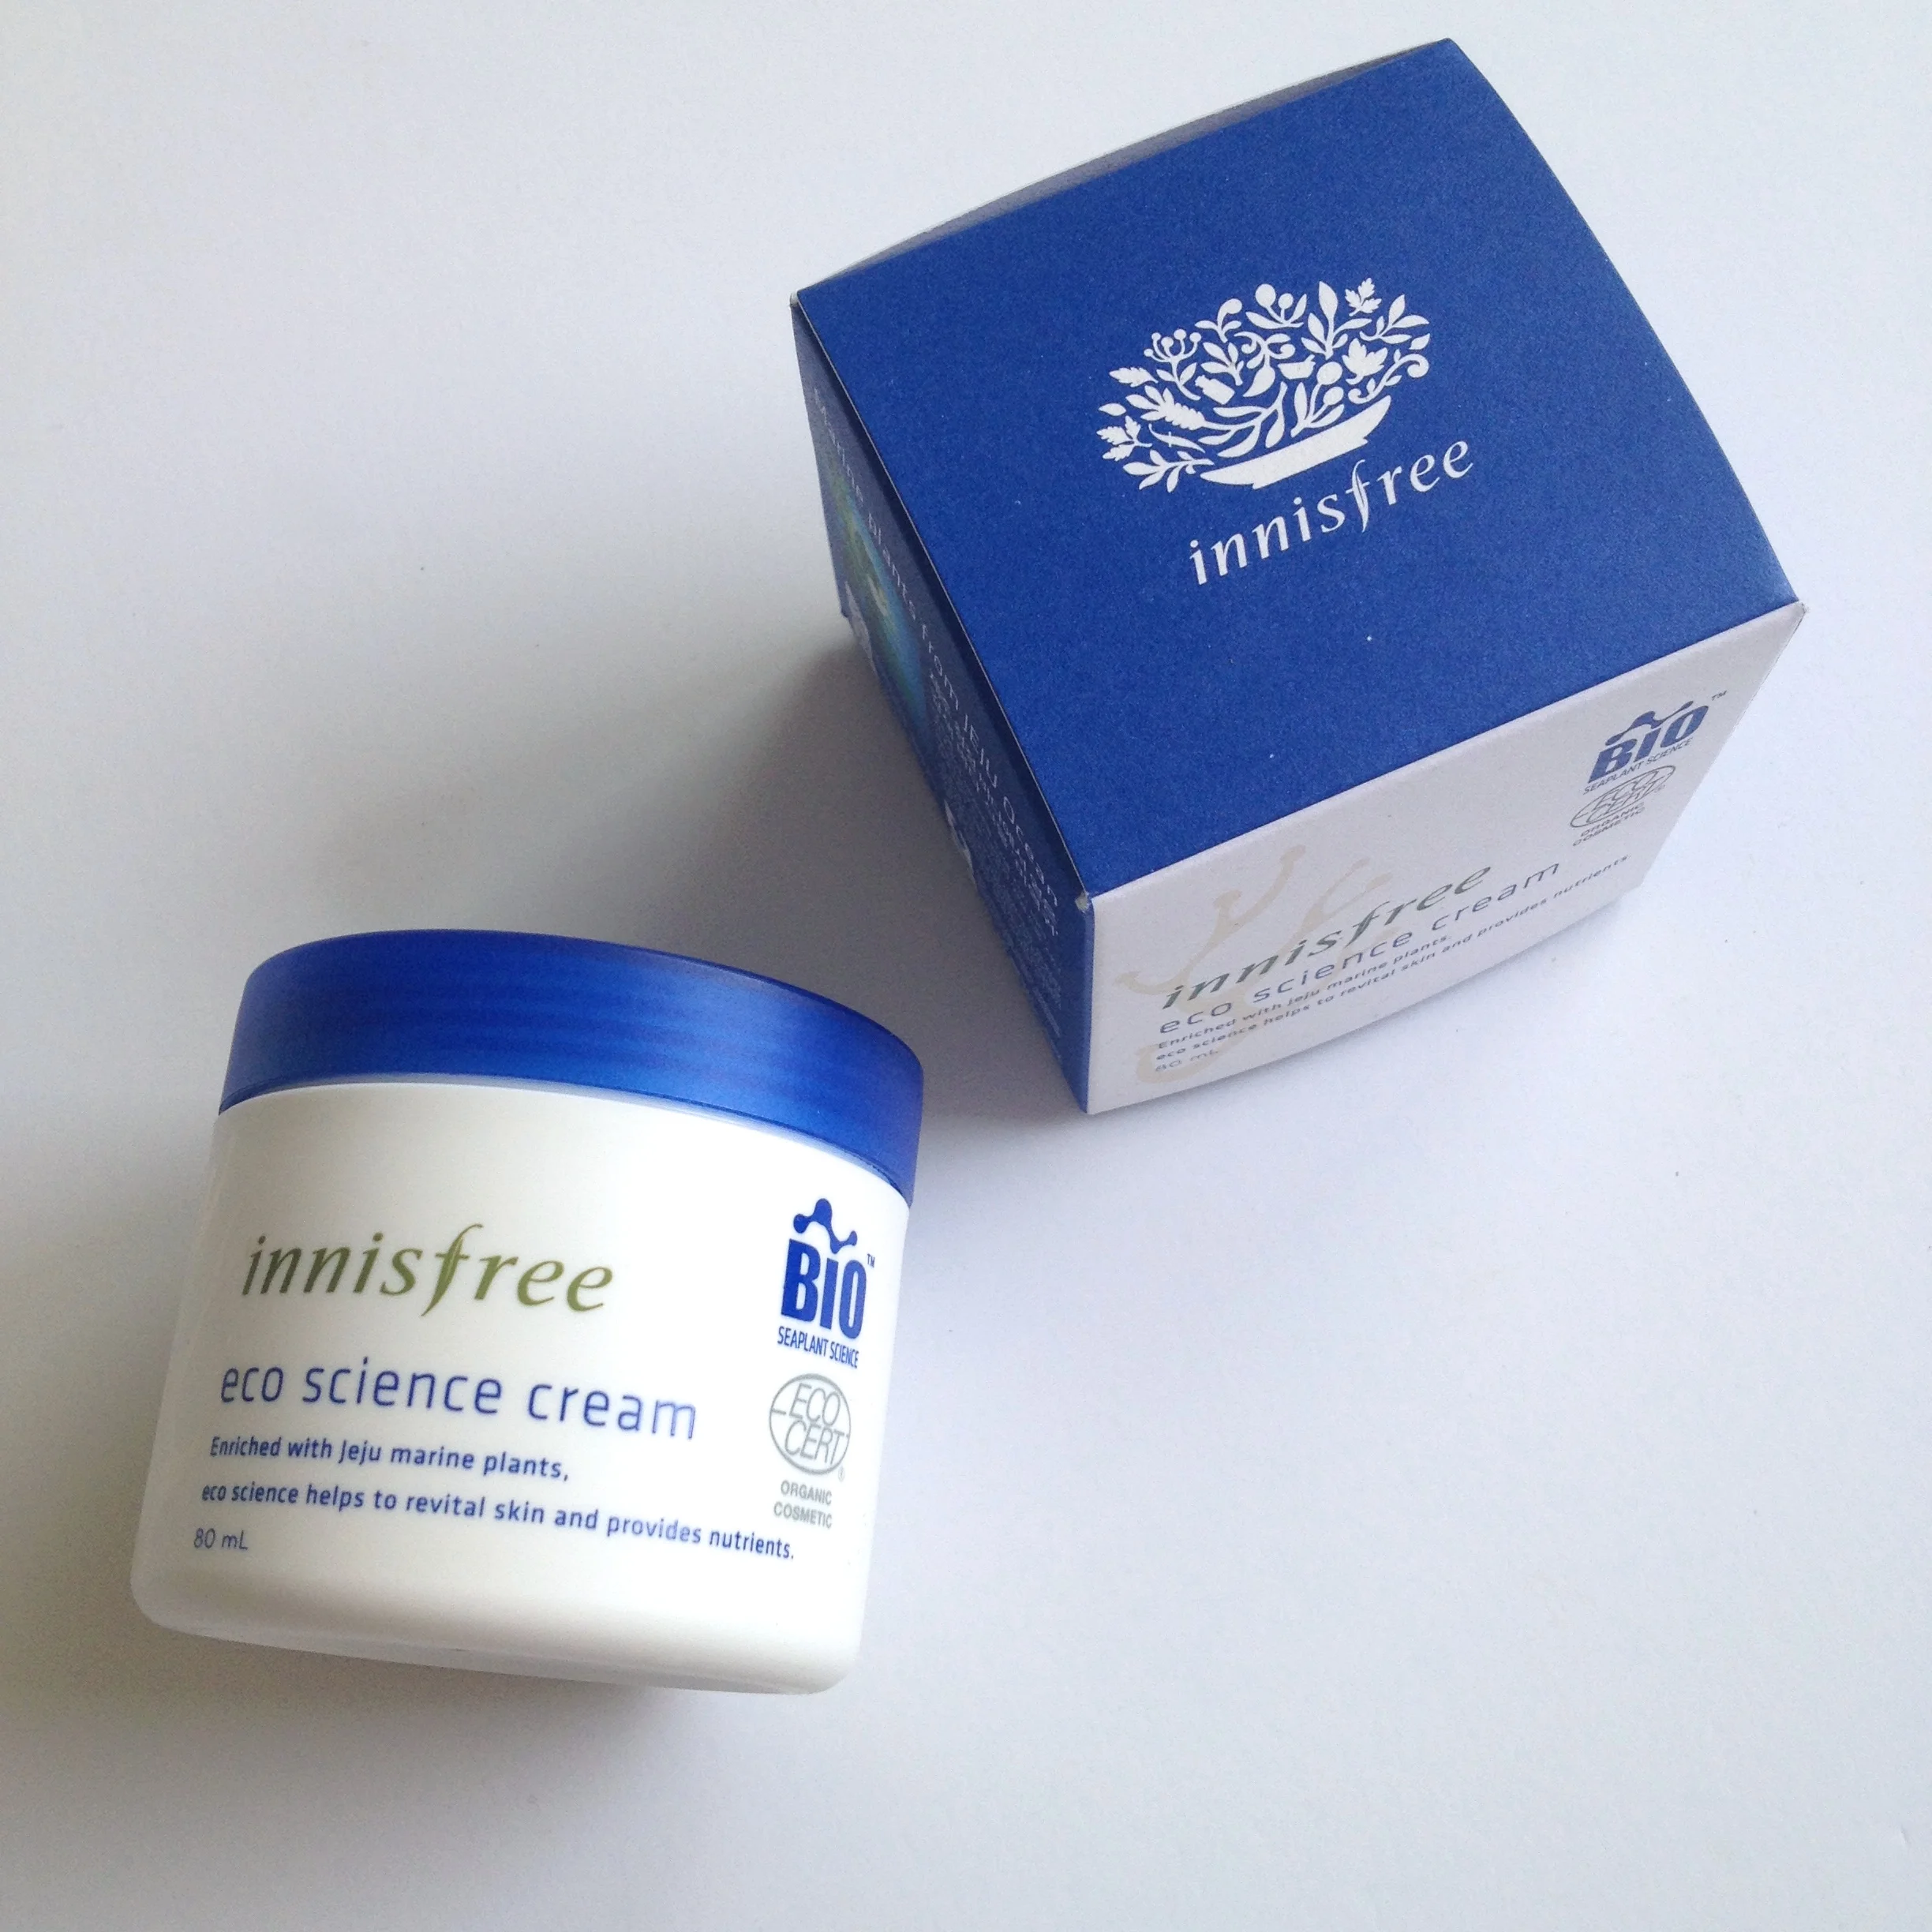
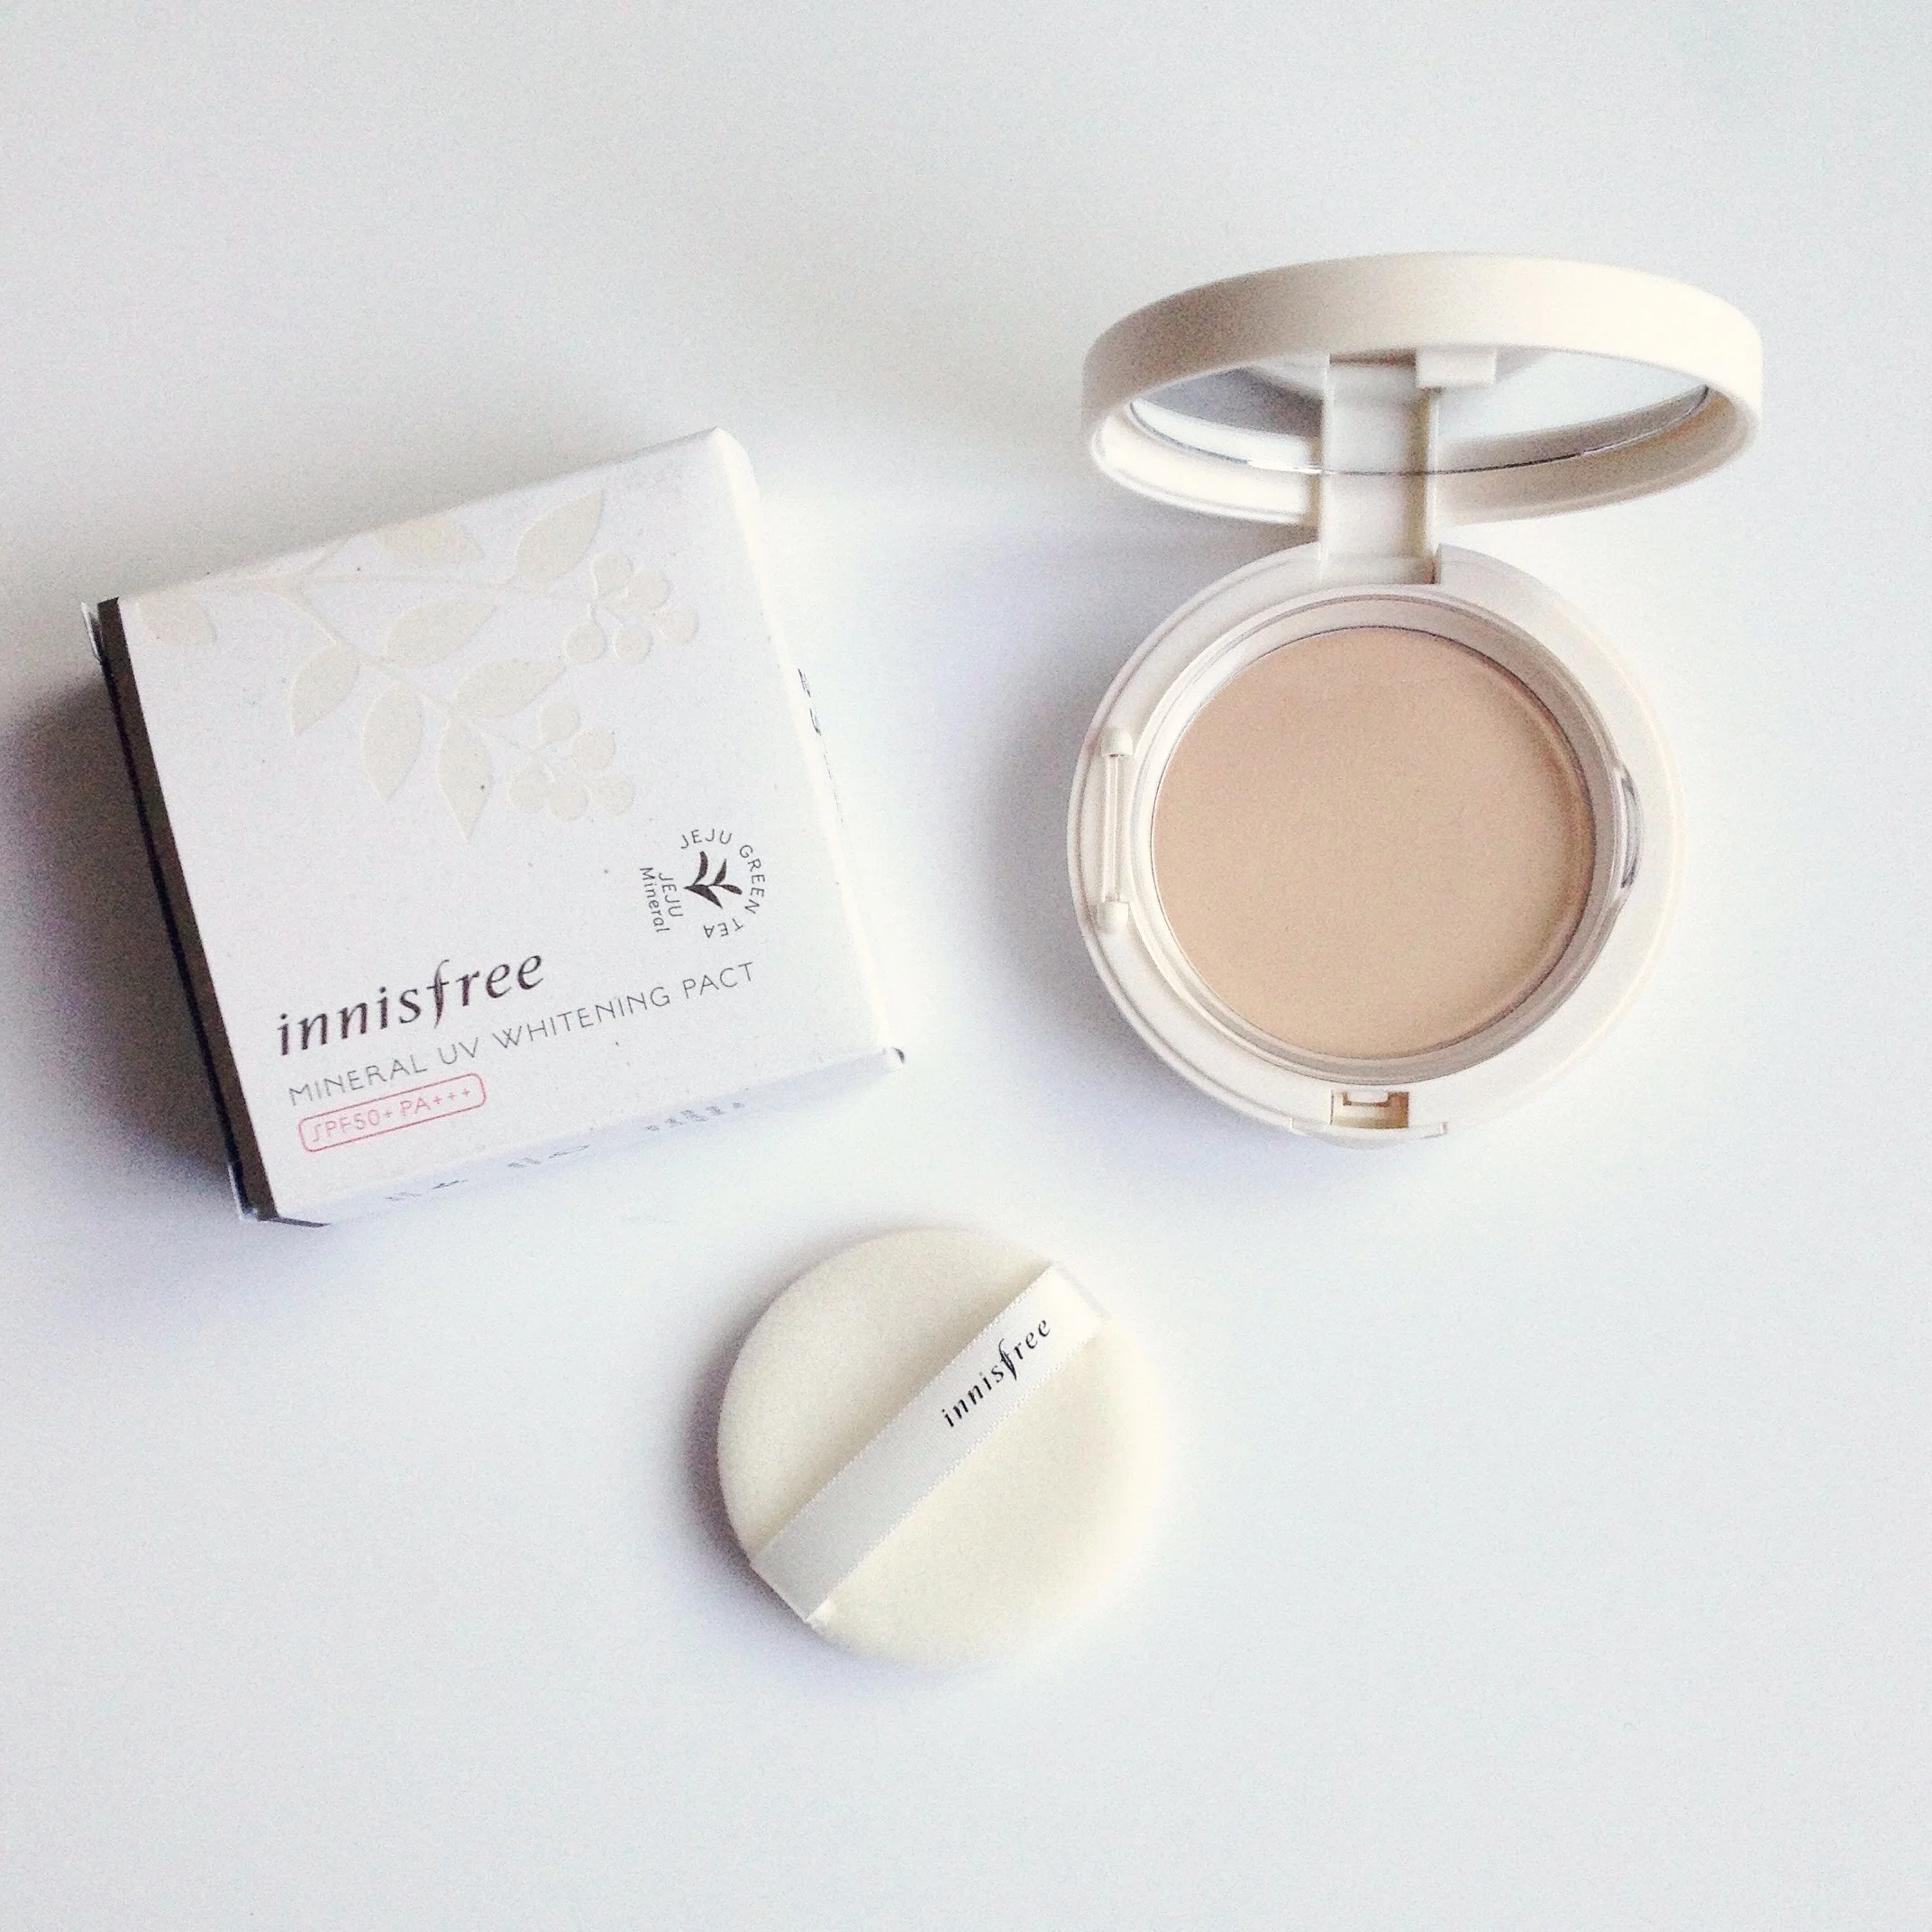
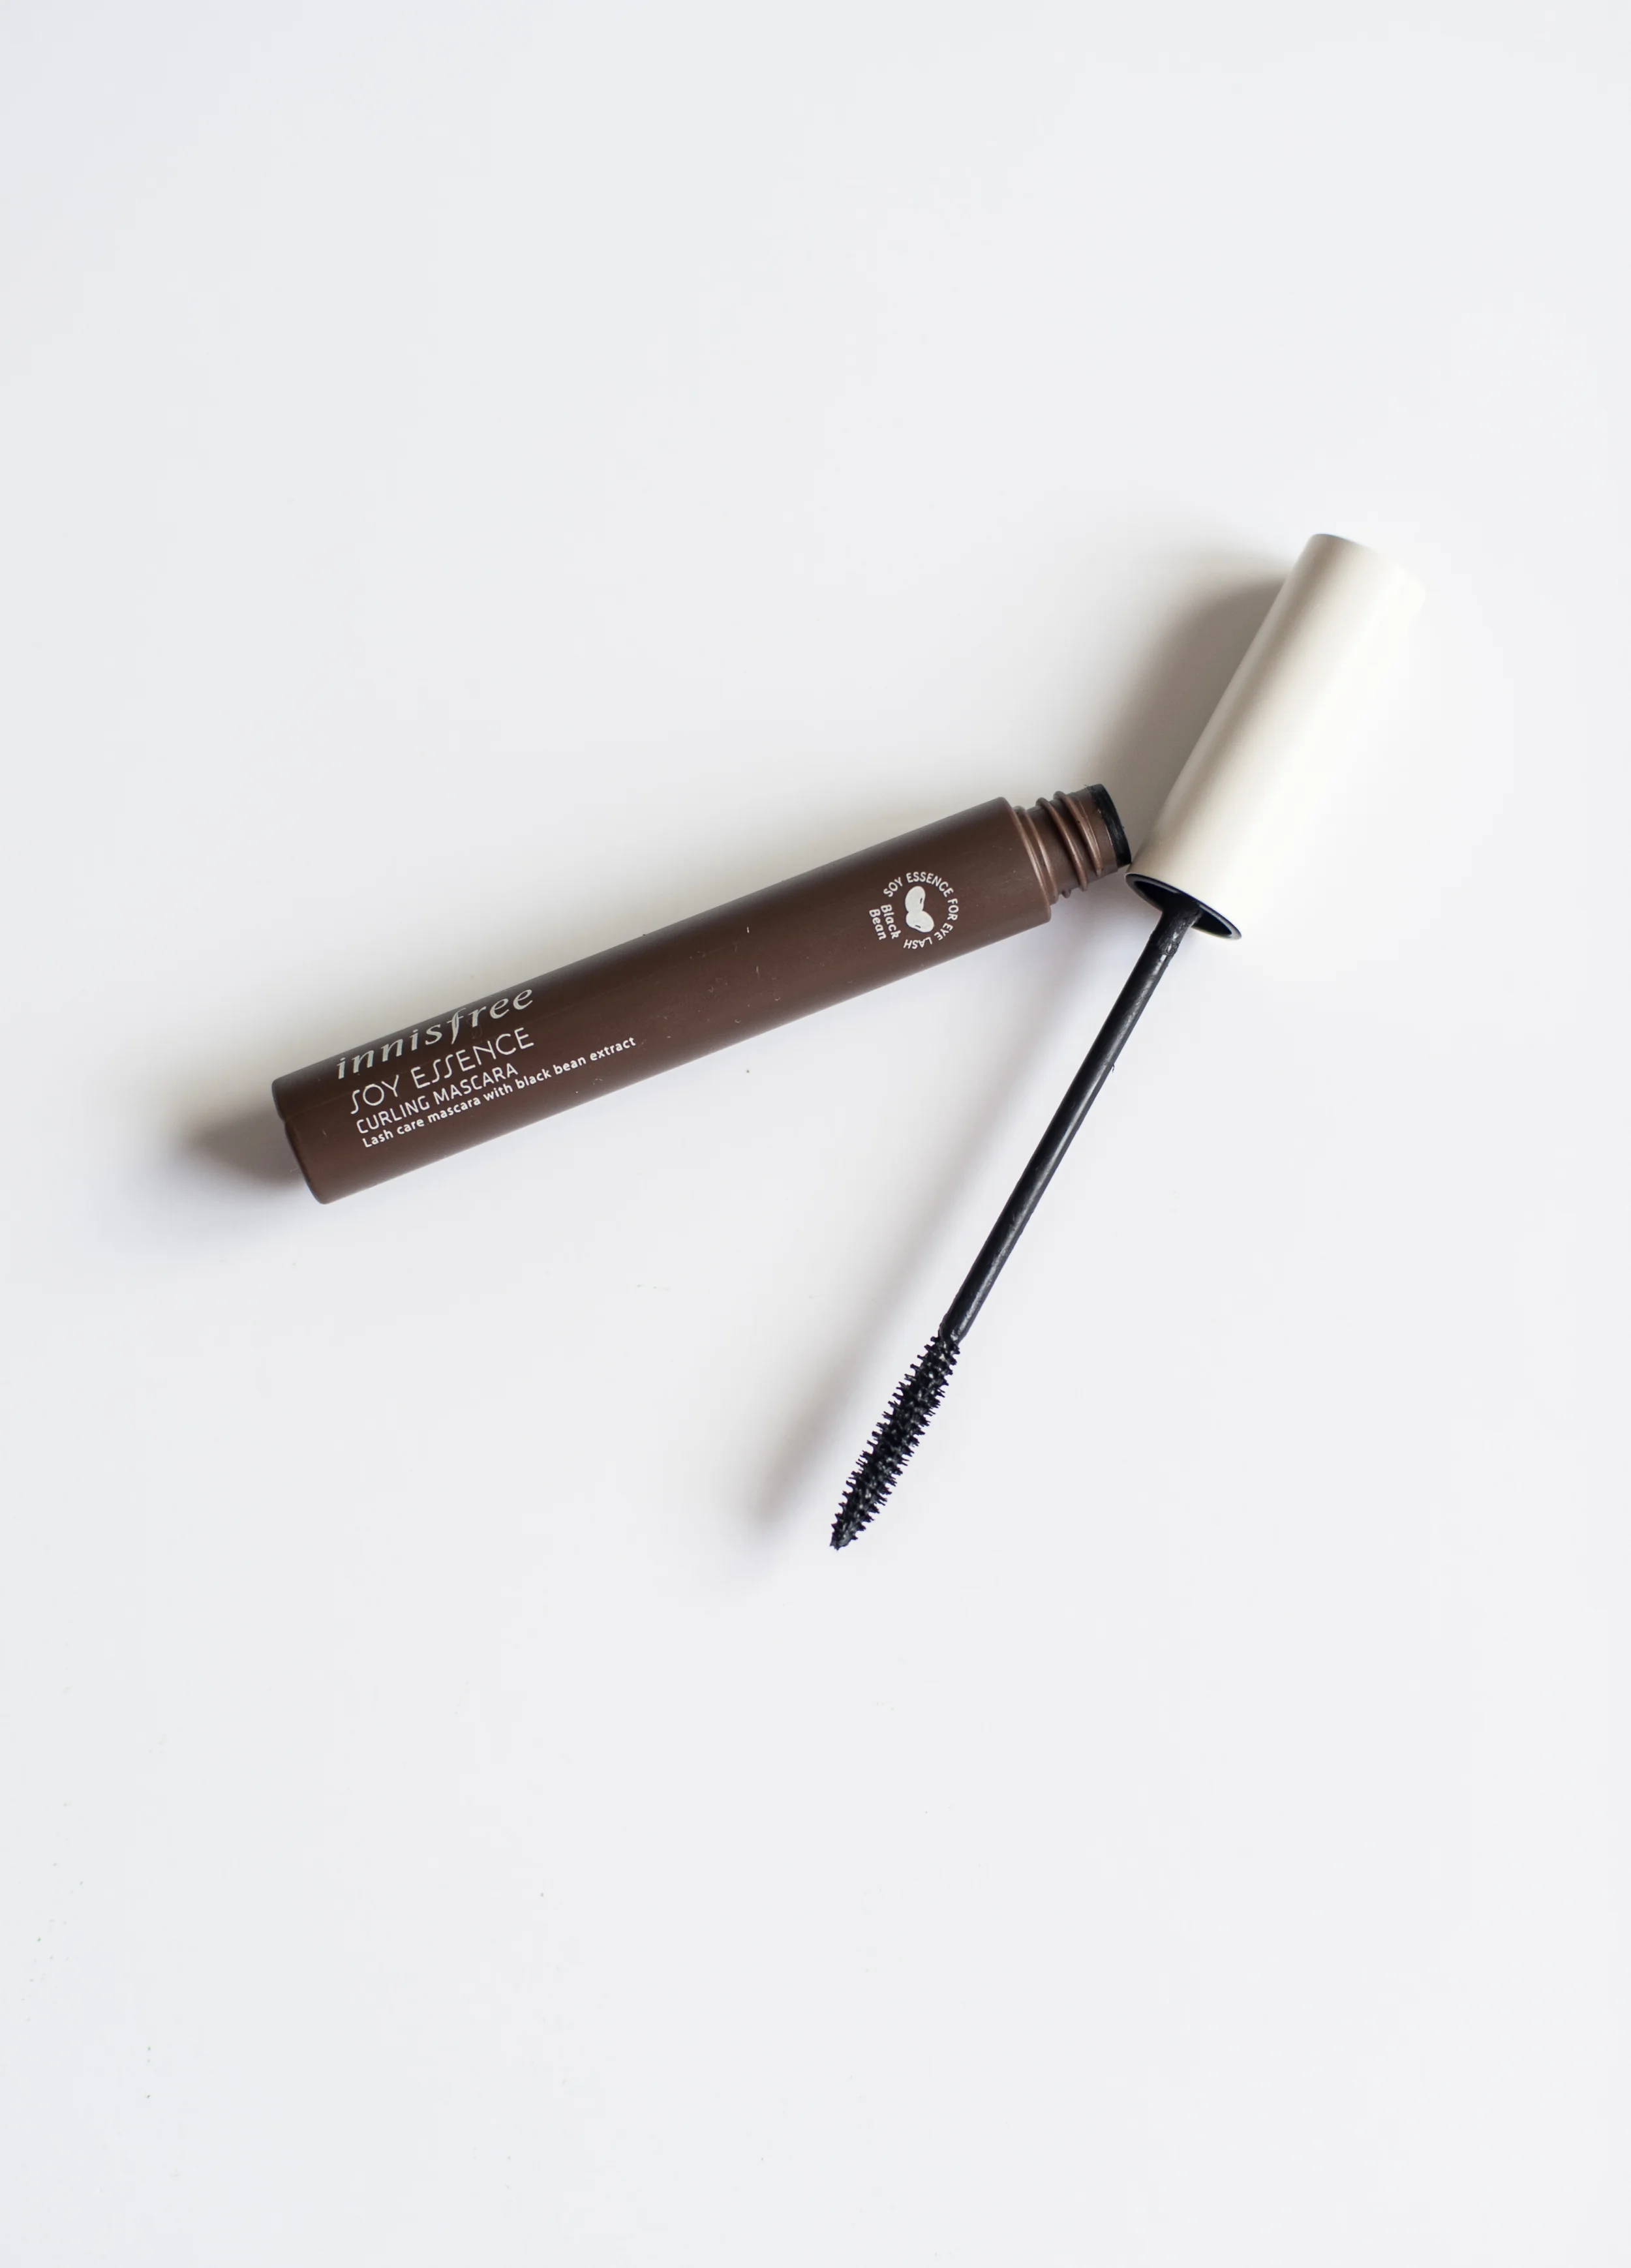
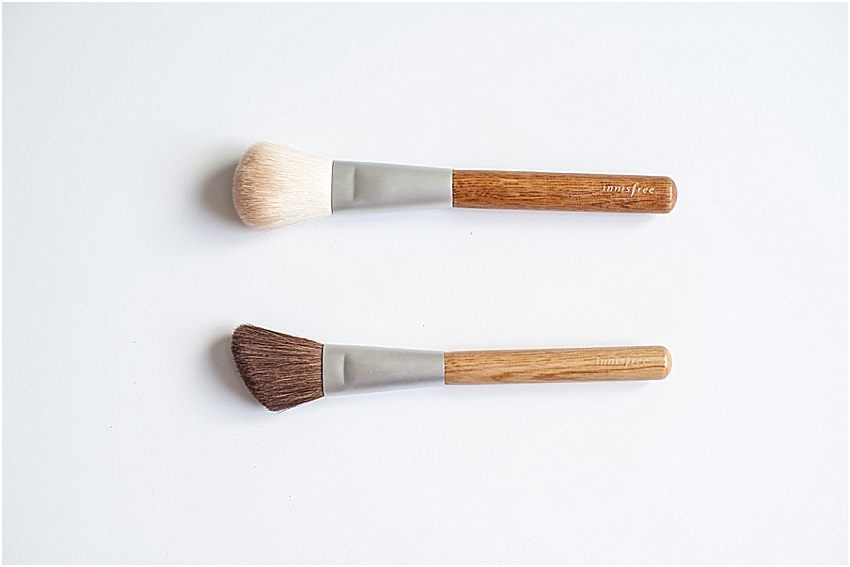
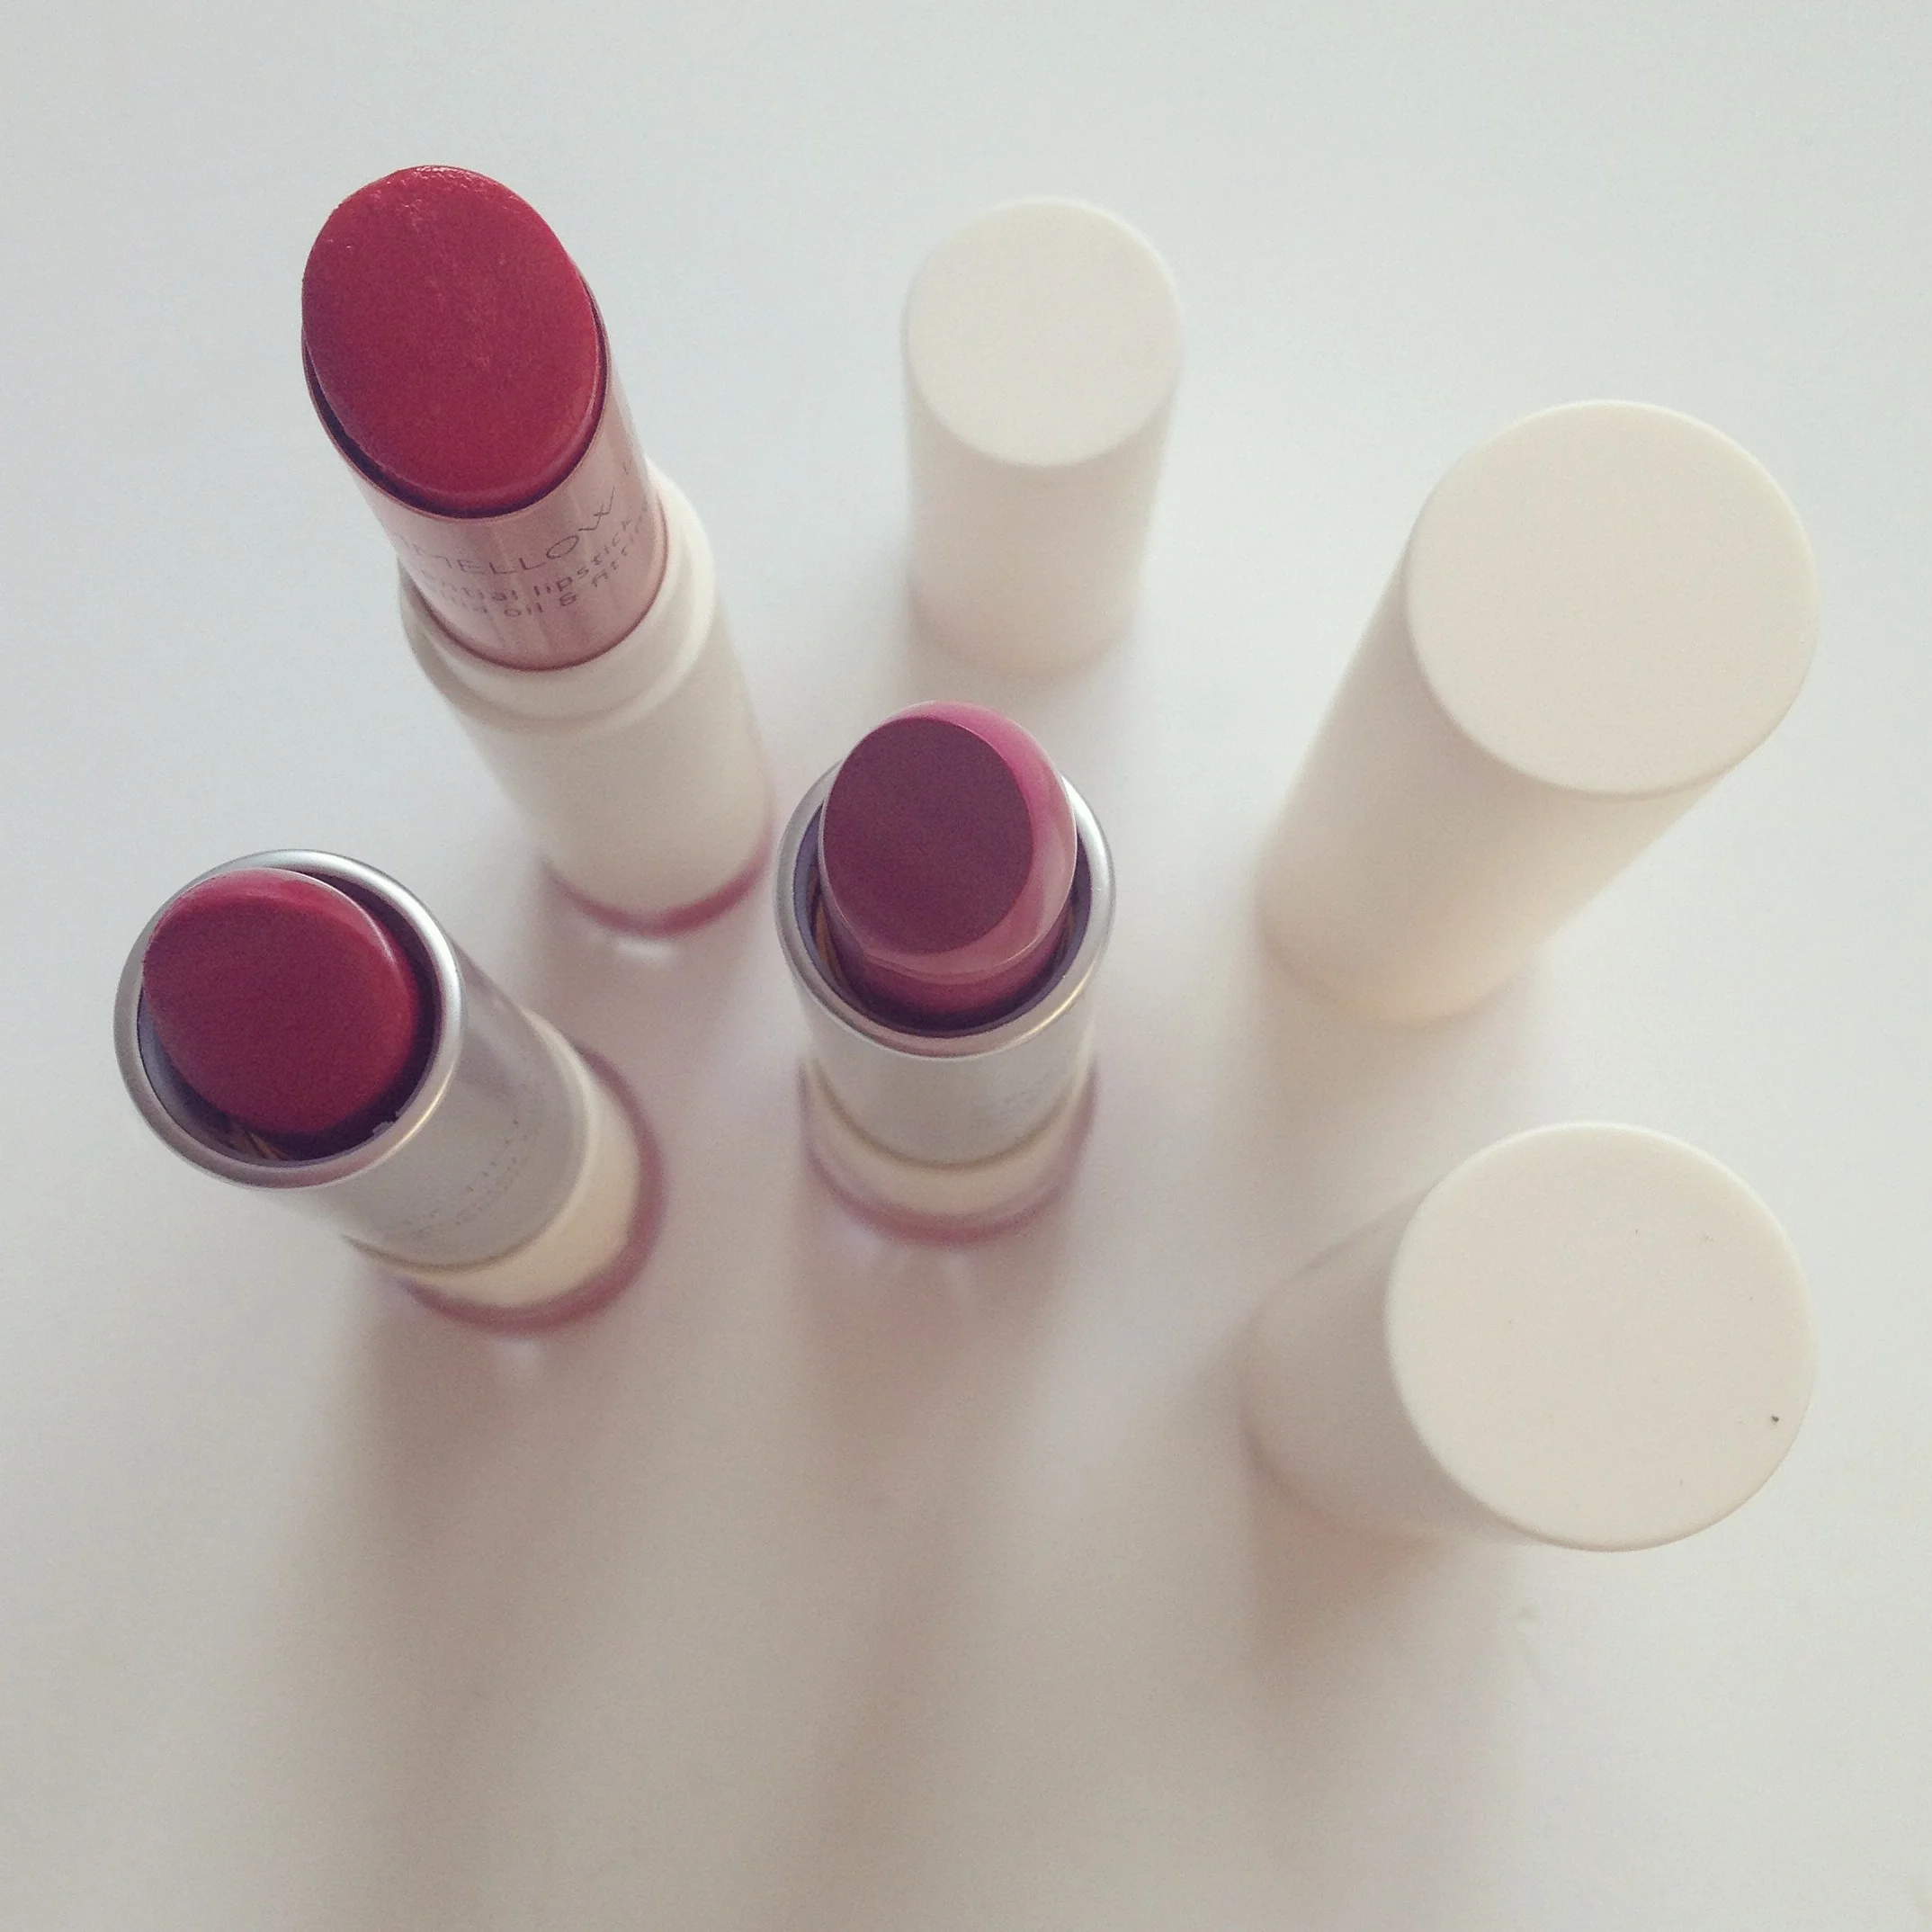
Bear in mind that what you are photographing will determine what kind of background you want to use. I do a lot of beauty & makeup reviews, and so having a plain white background means the product that I am reviewing gets the full attention in the shot. What background/backdrop you choose will also be determined by your own style. I like lots of clean, light photographs with muted colours. If your brand has a lot of bright colours then why not use a bright background for your blog posts.
*ProTip
One tip I'd like to offer is to try and keep your blog image style the same or at least very similar. This helps to keep your branding cohesive and makes your blog look professional. I keep the categories for my blog photographs the same.
For example, look at the blog images below for my Travel Guides, Blogging Tips & Beauty Review categories:


3. Props related to Your brand/blog
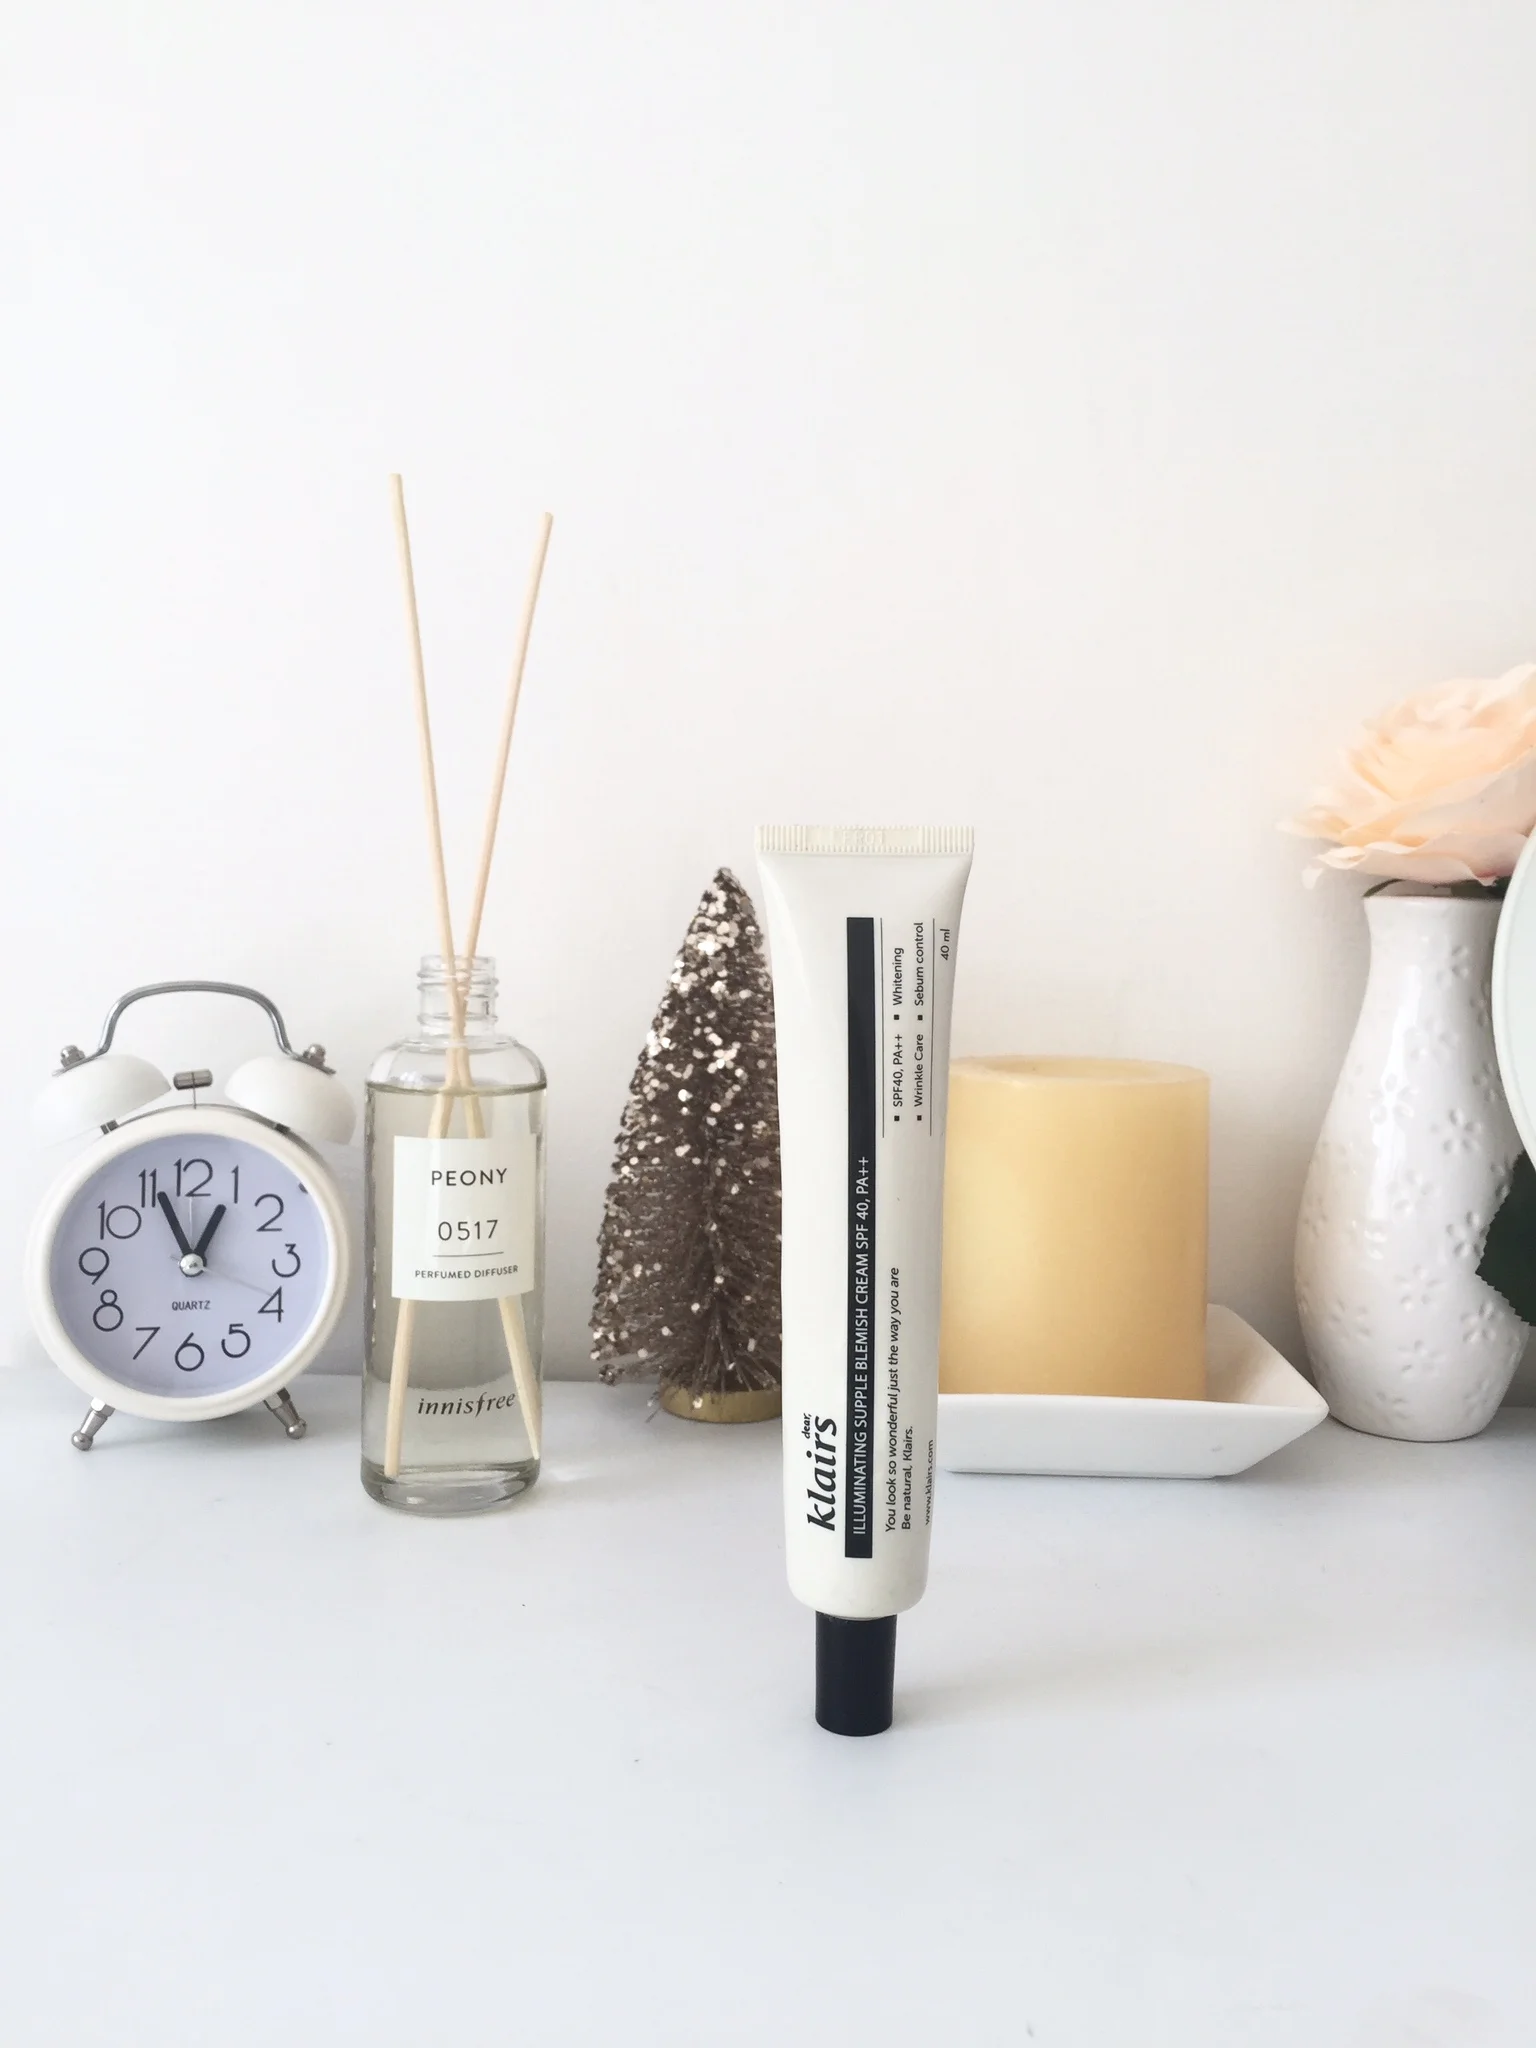
When I started writing this post we were nearing Christmas, and so I wanted to find something I could use in the background of my photographs that was festive, but at the same time I didn't want it to look cheesy or tacky. I stumbled across a little gold, glitter Christmas Tree in Daiso here in Korea for W2 000 (+-$2). It's so cute and definitely added a bit of sparkle to my photographs.
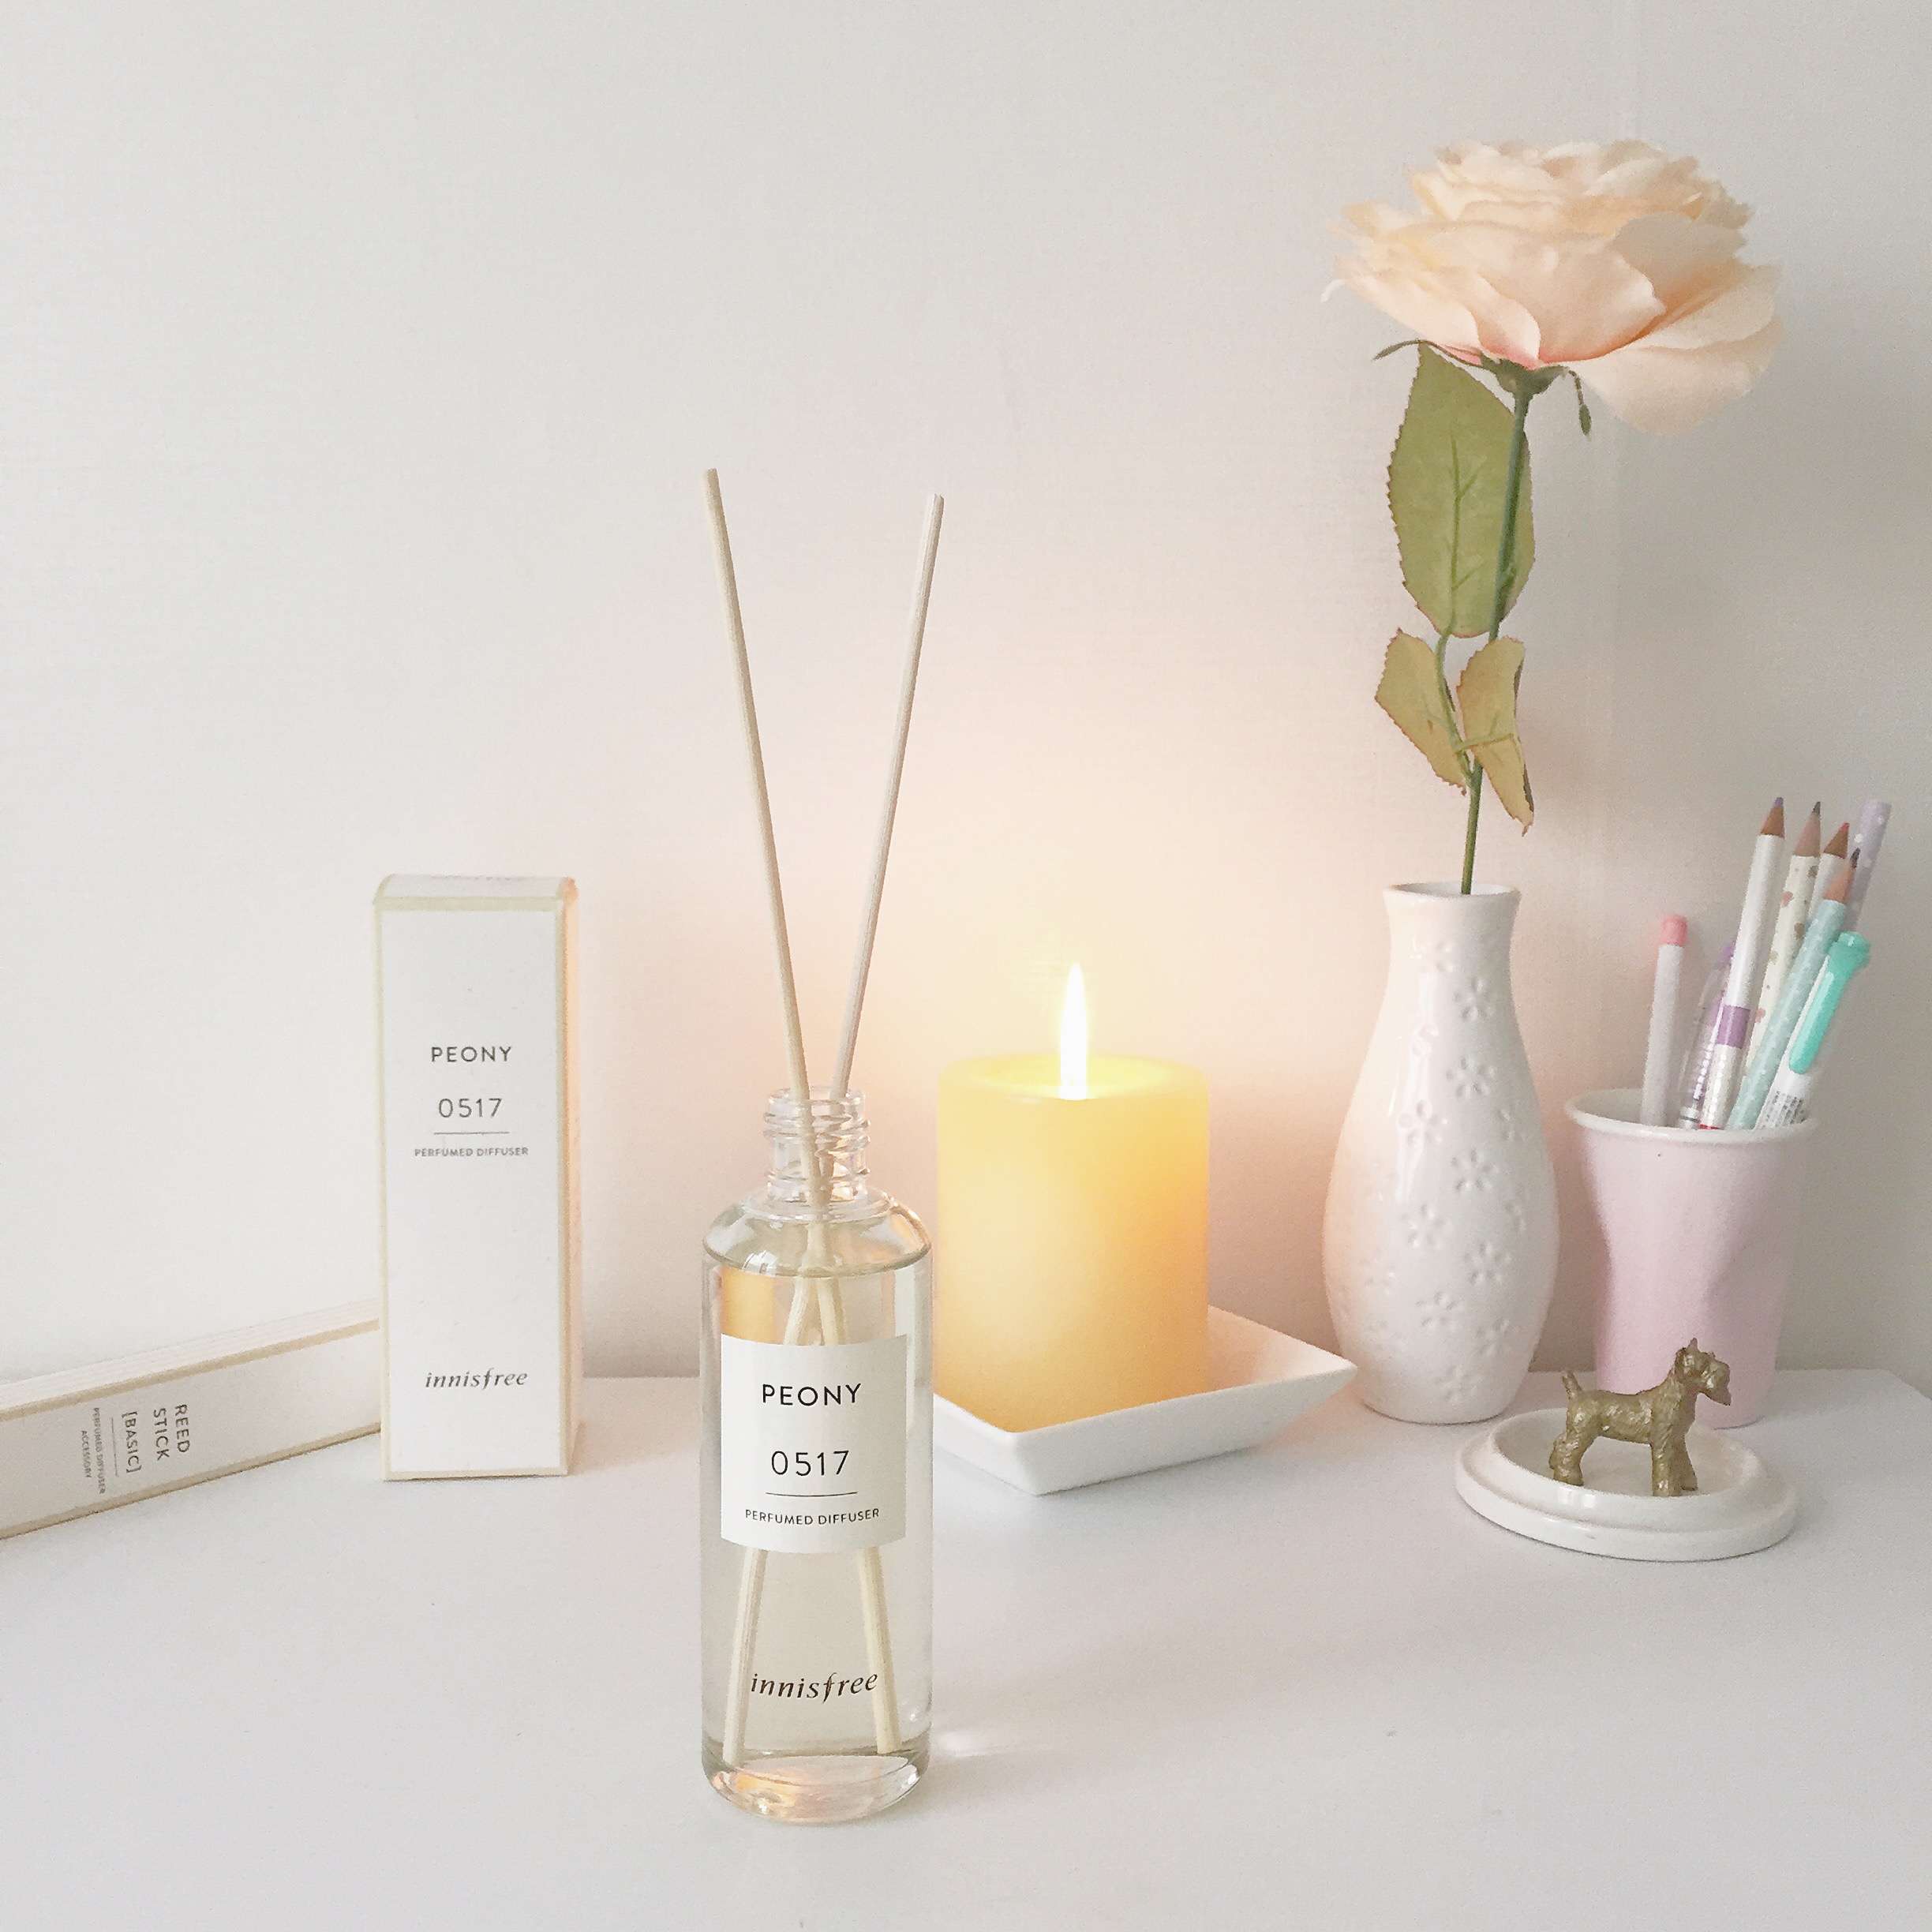

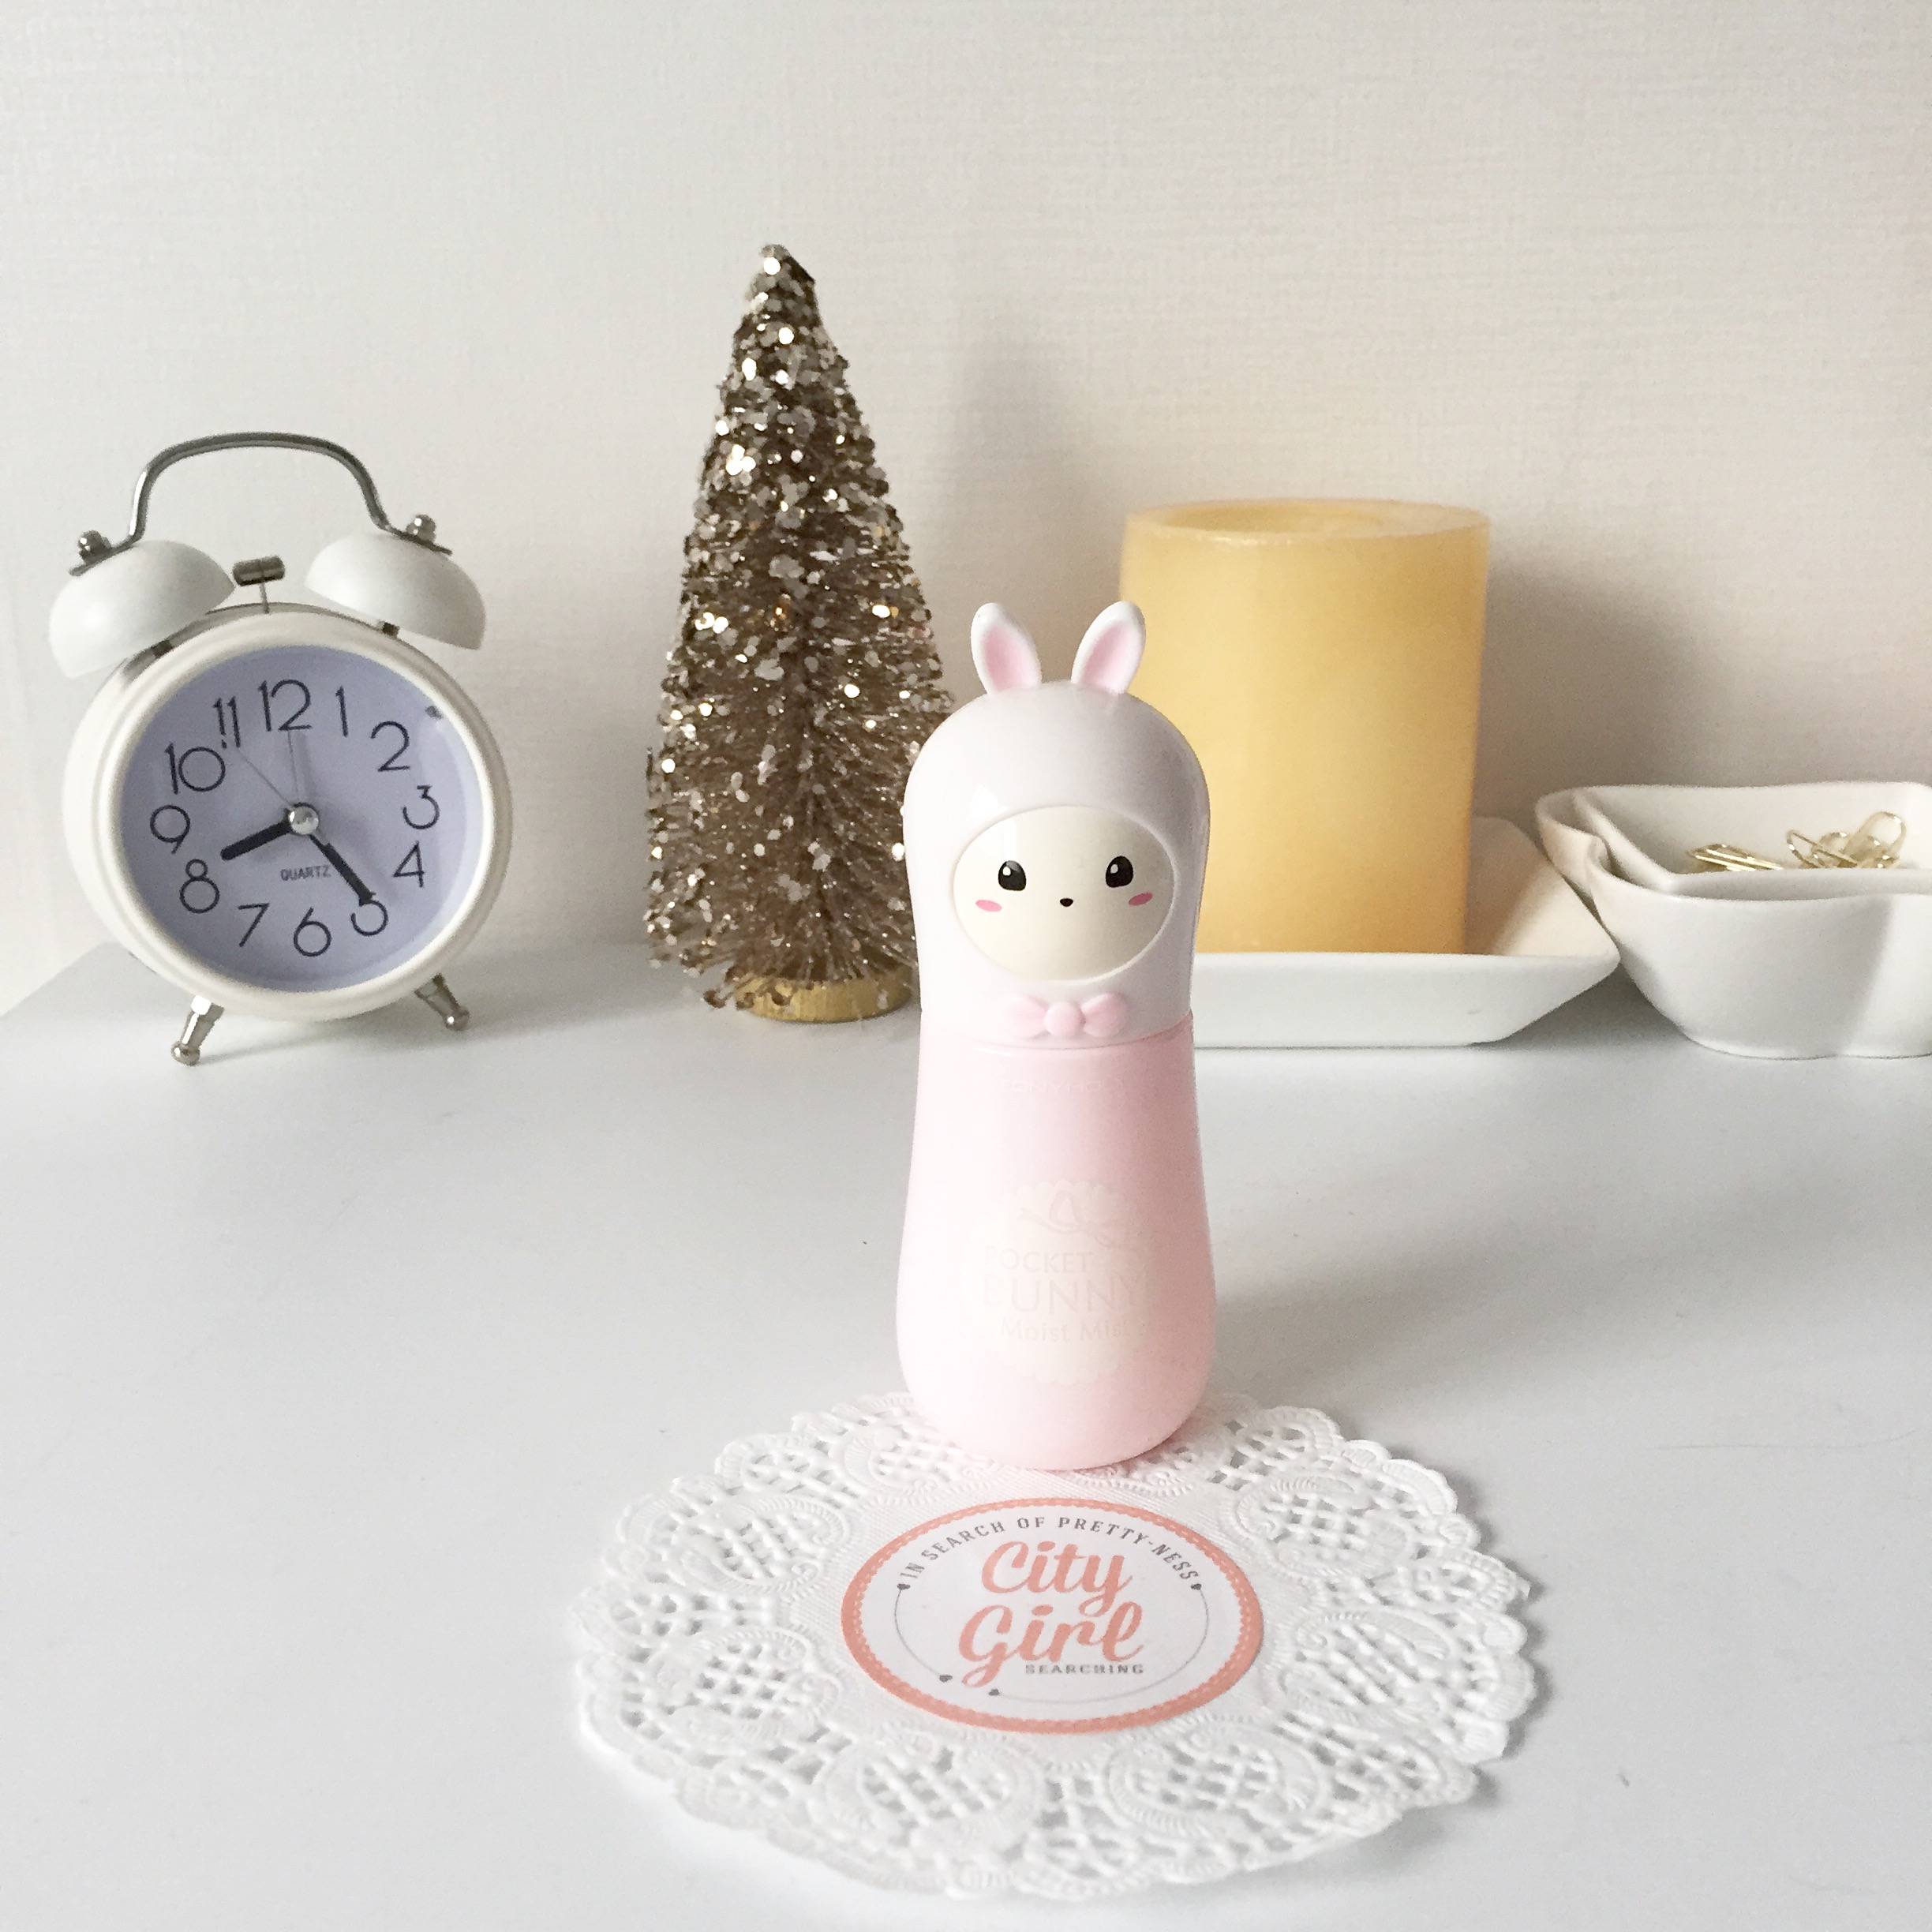
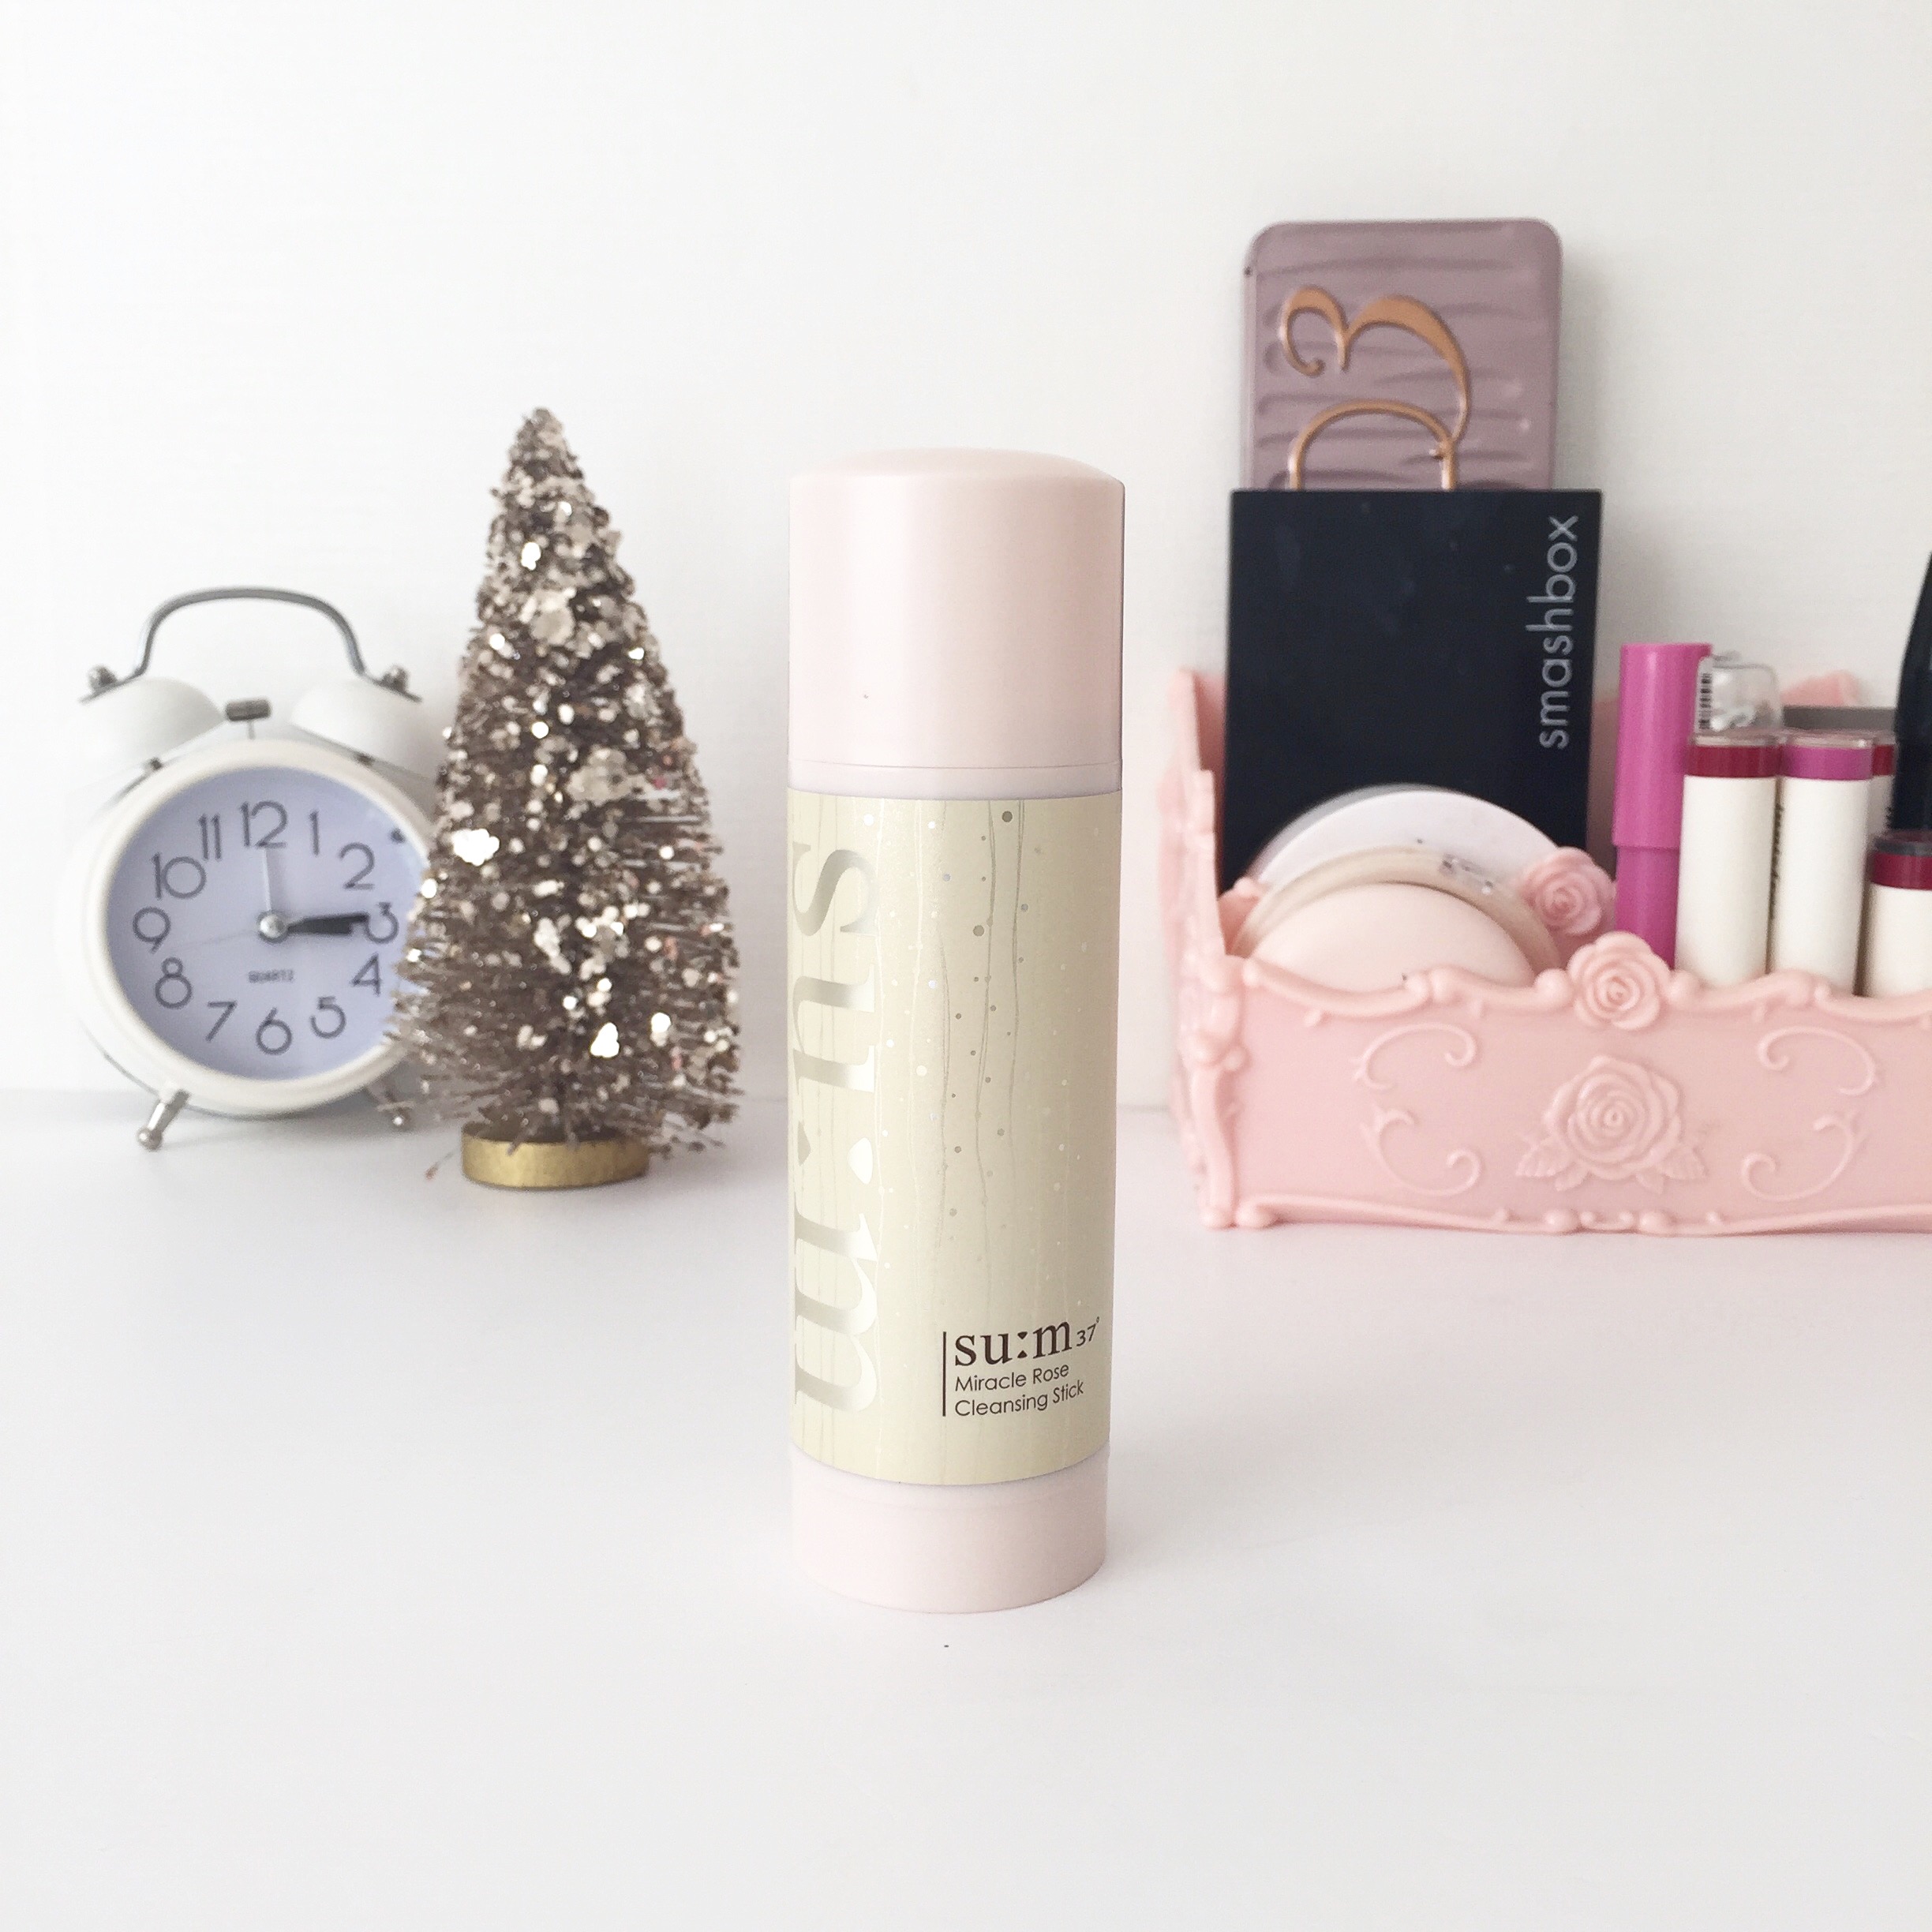
Try and look out for simple, budget friendly things that you can include in your blog images (& flat lays if you like to create them) that relate to your brand or business. The CGS (CityGirlSearching) brand colours are soft, romantic colours (pink & blush) and gold works really well with those colours. I also use a lot of white space in my blog design and so like to include white props in my photographs.
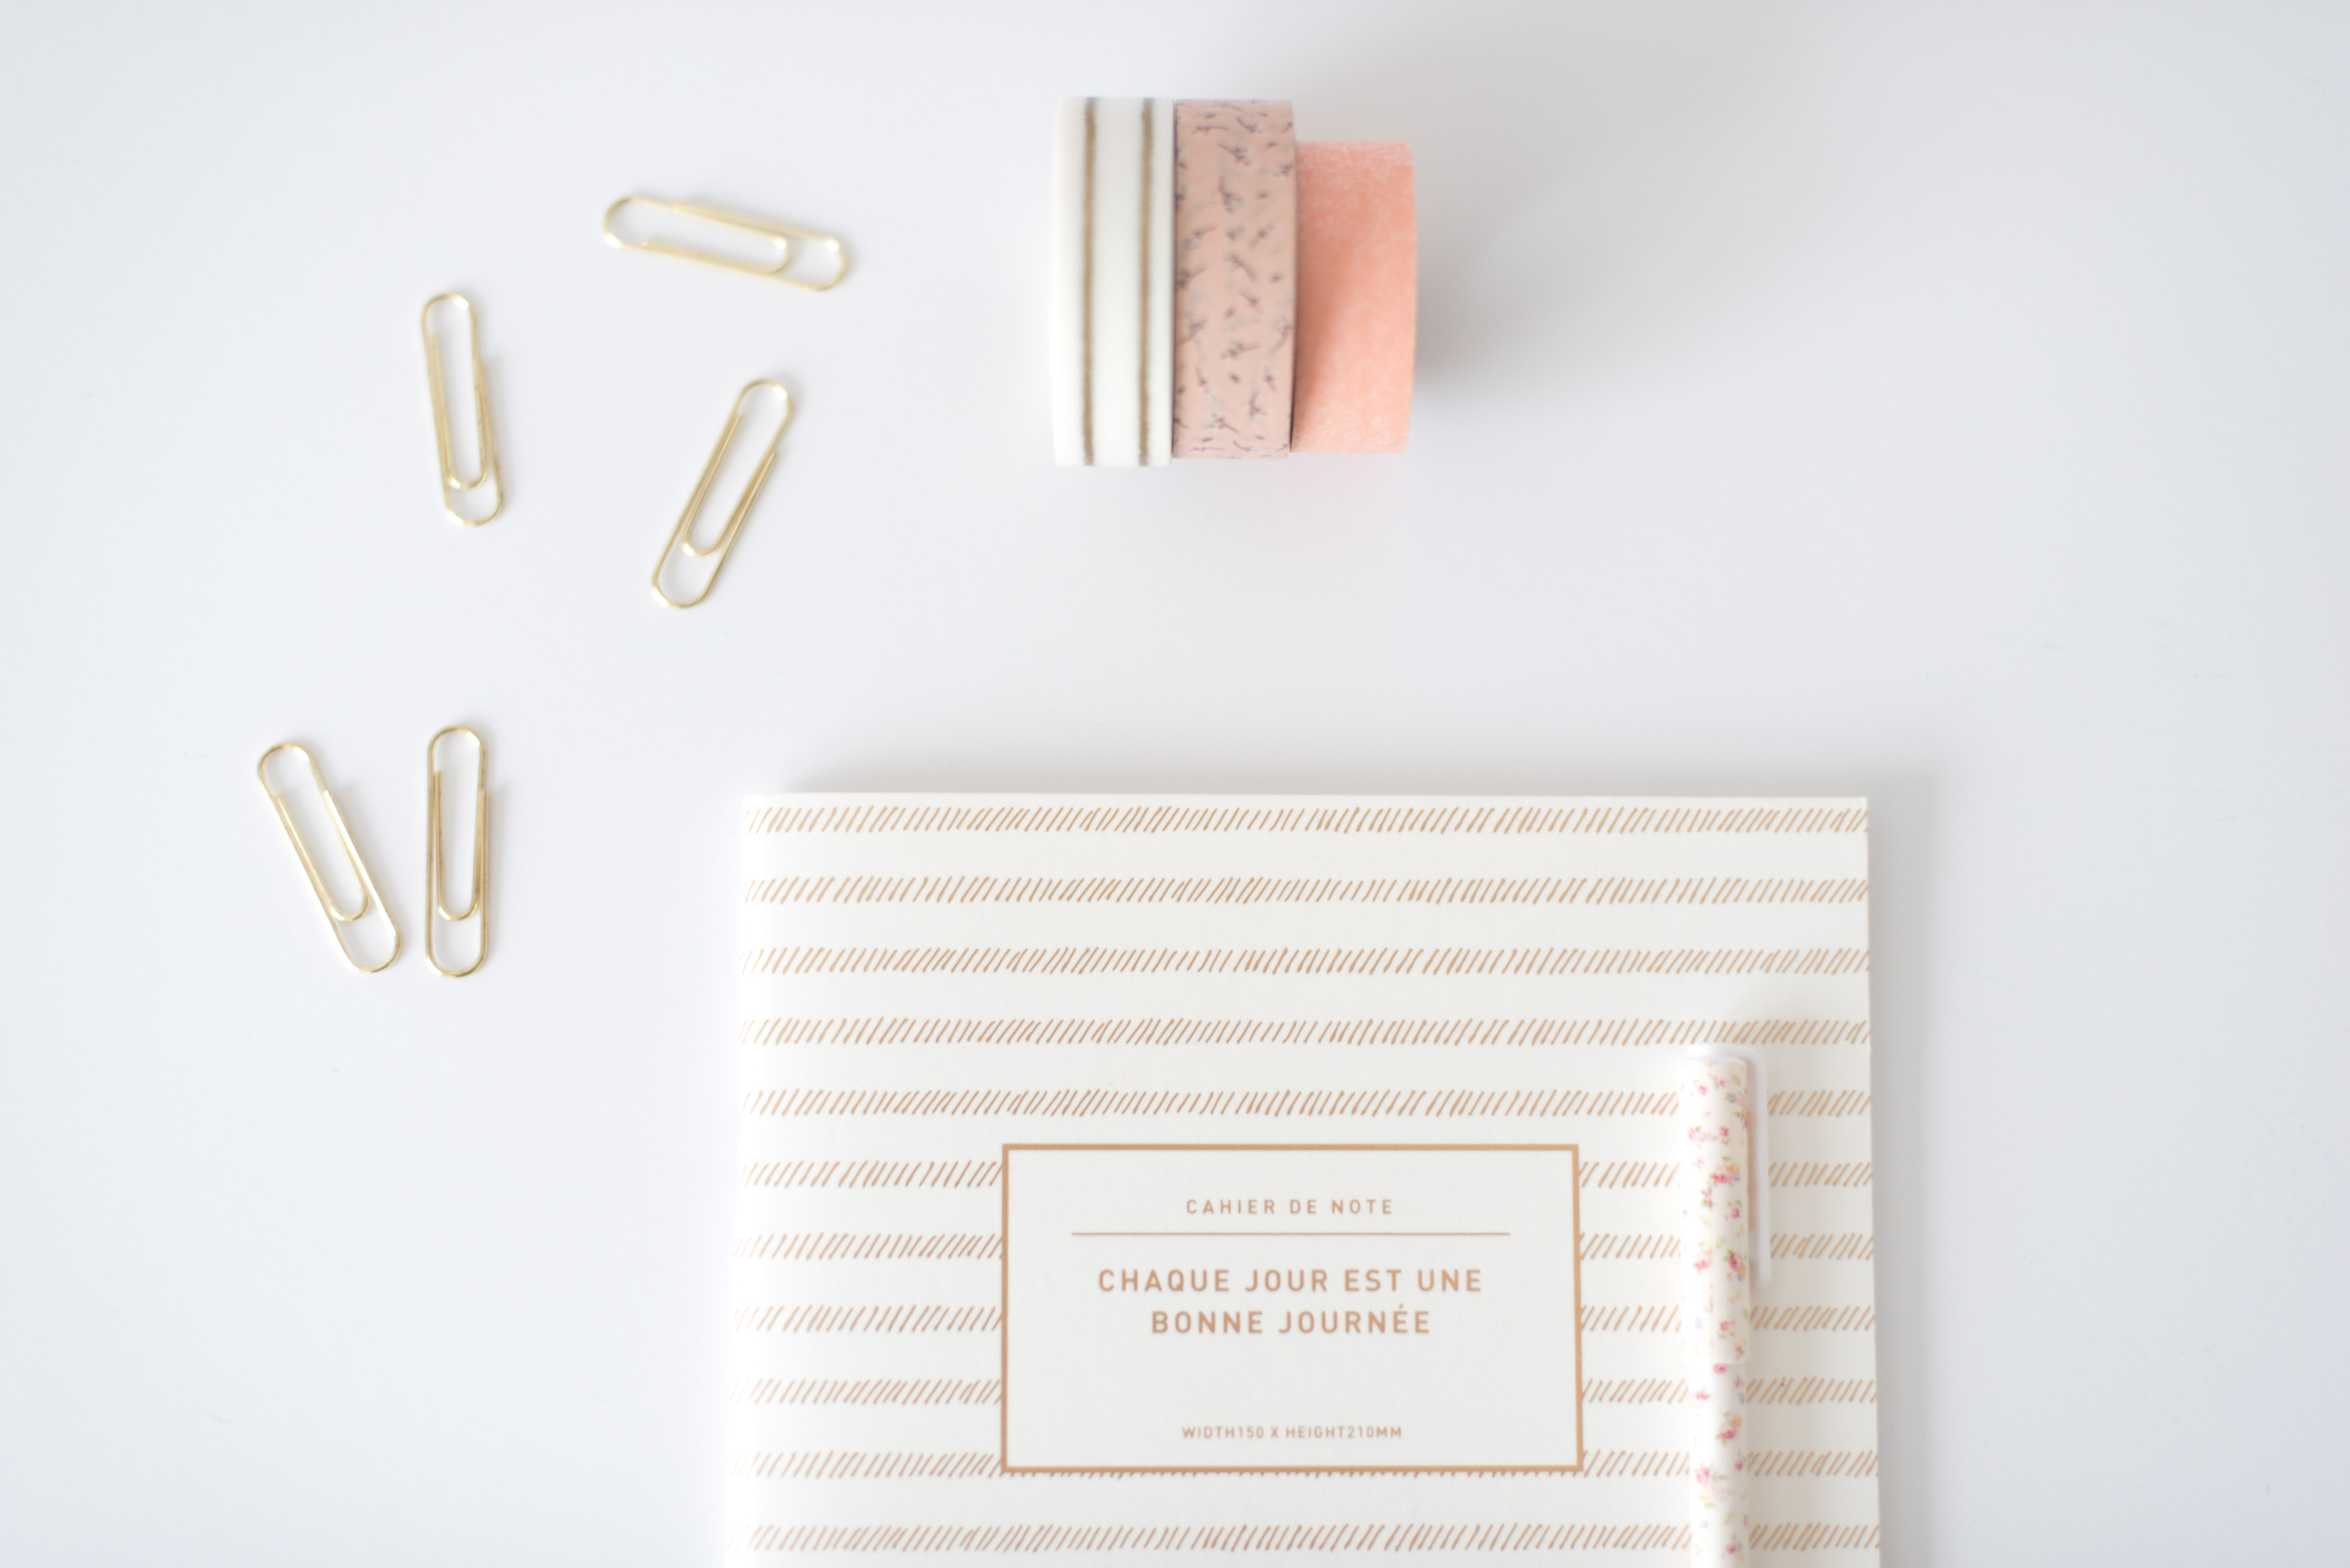
I own a stationery store (and live in the land of all the cute stationery) and so like to include a few bits of stationery in my blog photos too. I found a few simple, white ceramic bowls and plates at Daiso here in Korea (similar to the $Dollar$ stores in the US) that I also use from time to time to style my photographs.