

How to make your own Rainbow Rice - An easy & fun sensory Activity for Toddlers
/
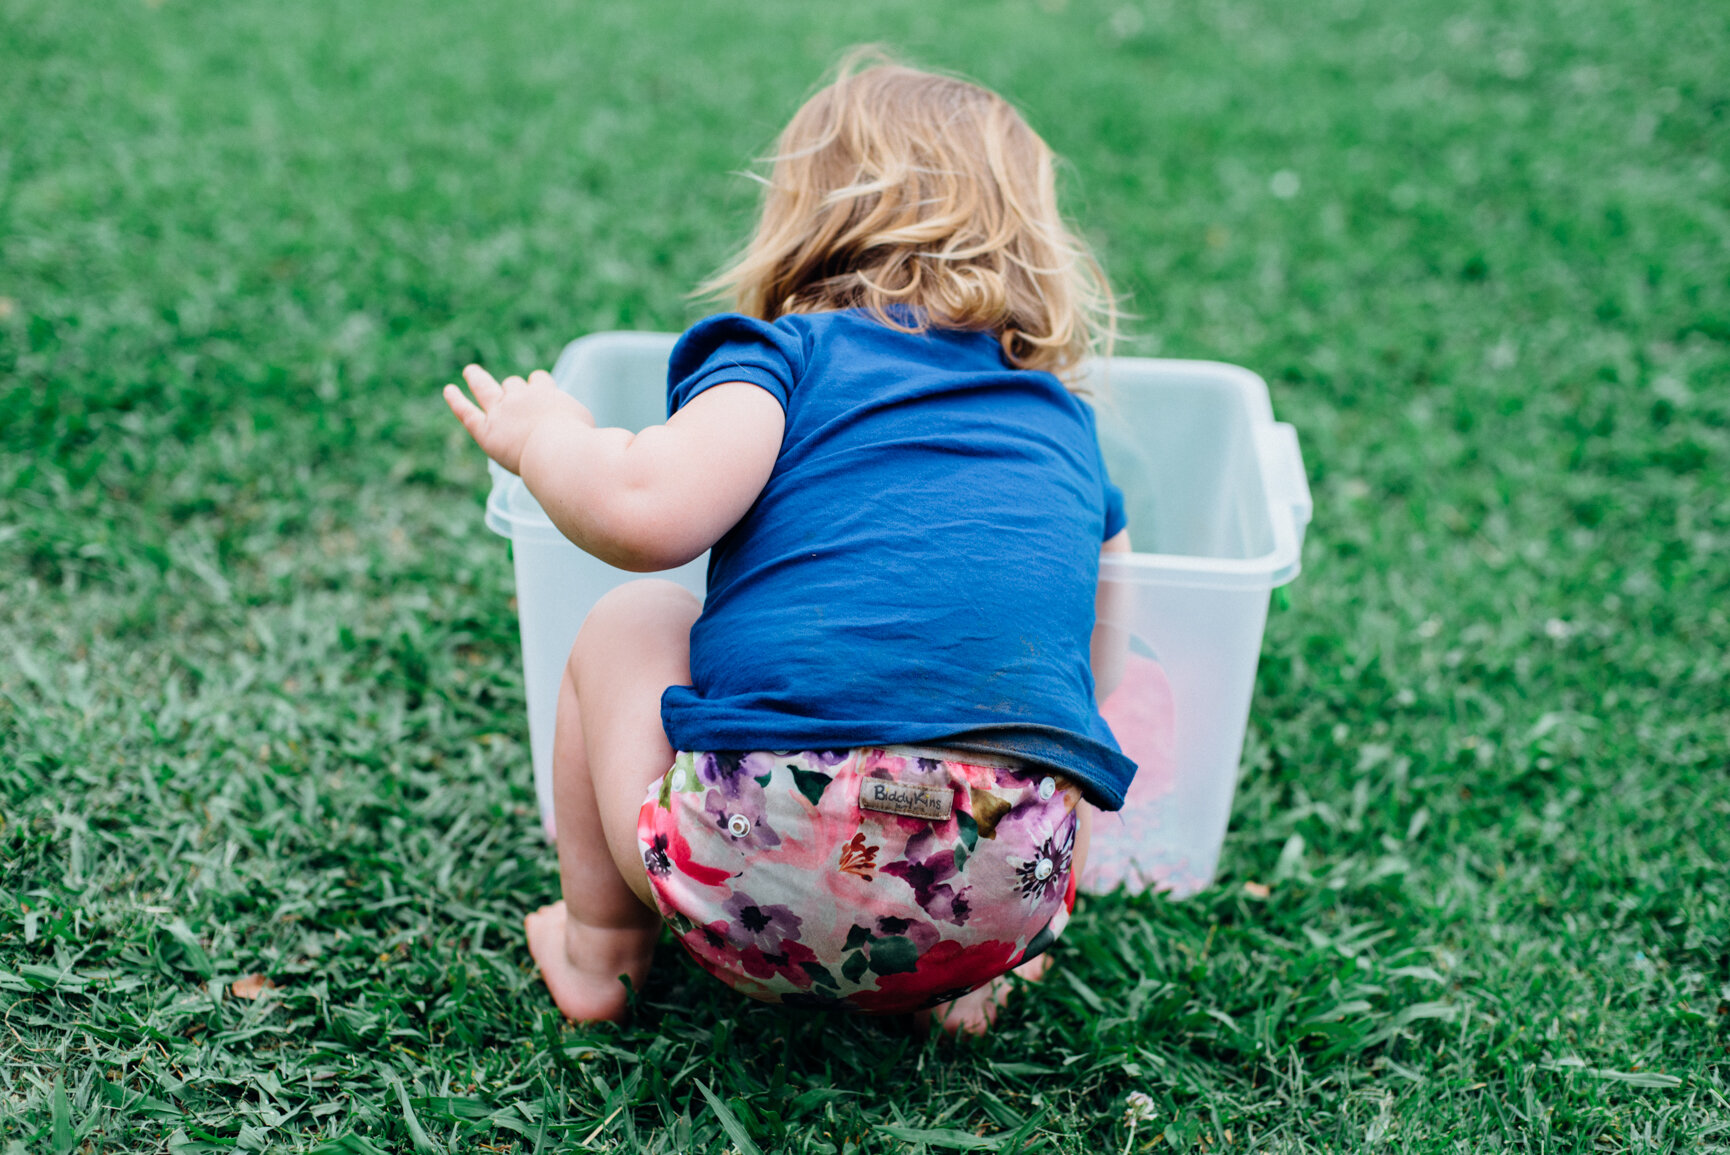
If you’ve even just spent 1 minute on Pinterest and searched for toddler activities, sensory bins are just about the first things that pop up. Basically, a sensory bin is a container of sorts that you put different things into that stimulate your little ones senses. One that has always intrigued me, and one that I have been wanting to do myself for AGES is a Rainbow Rice sensory bin. I finally got around to doing this, and it’s one of Everly’s favourite things to play with. And the best part, she doesn’t need me to help with anything and so it encourages independent play (click here for a blog post on 5 more activities that encourage independent play).
I had to do a quick google as to why exactly sensory play is so important, and I’m sharing some info I found on the CreativePlayUk site:
1. Sensory play builds nerve connections within the developing brain’s neural pathways, which trigger a child’s inclination for and ability in competing more complex learning tasks
2. Sensory play supports language development, cognitive growth, motor skills, problem solving skills, and social interaction
3. Sensory play aids in developing and enhancing memory functioning
4. Sensory play is great for calming an anxious or frustrated child
5. Sensory play helps children learn vitally important sensory attributes (hot, cold, sticky, dry, etc)
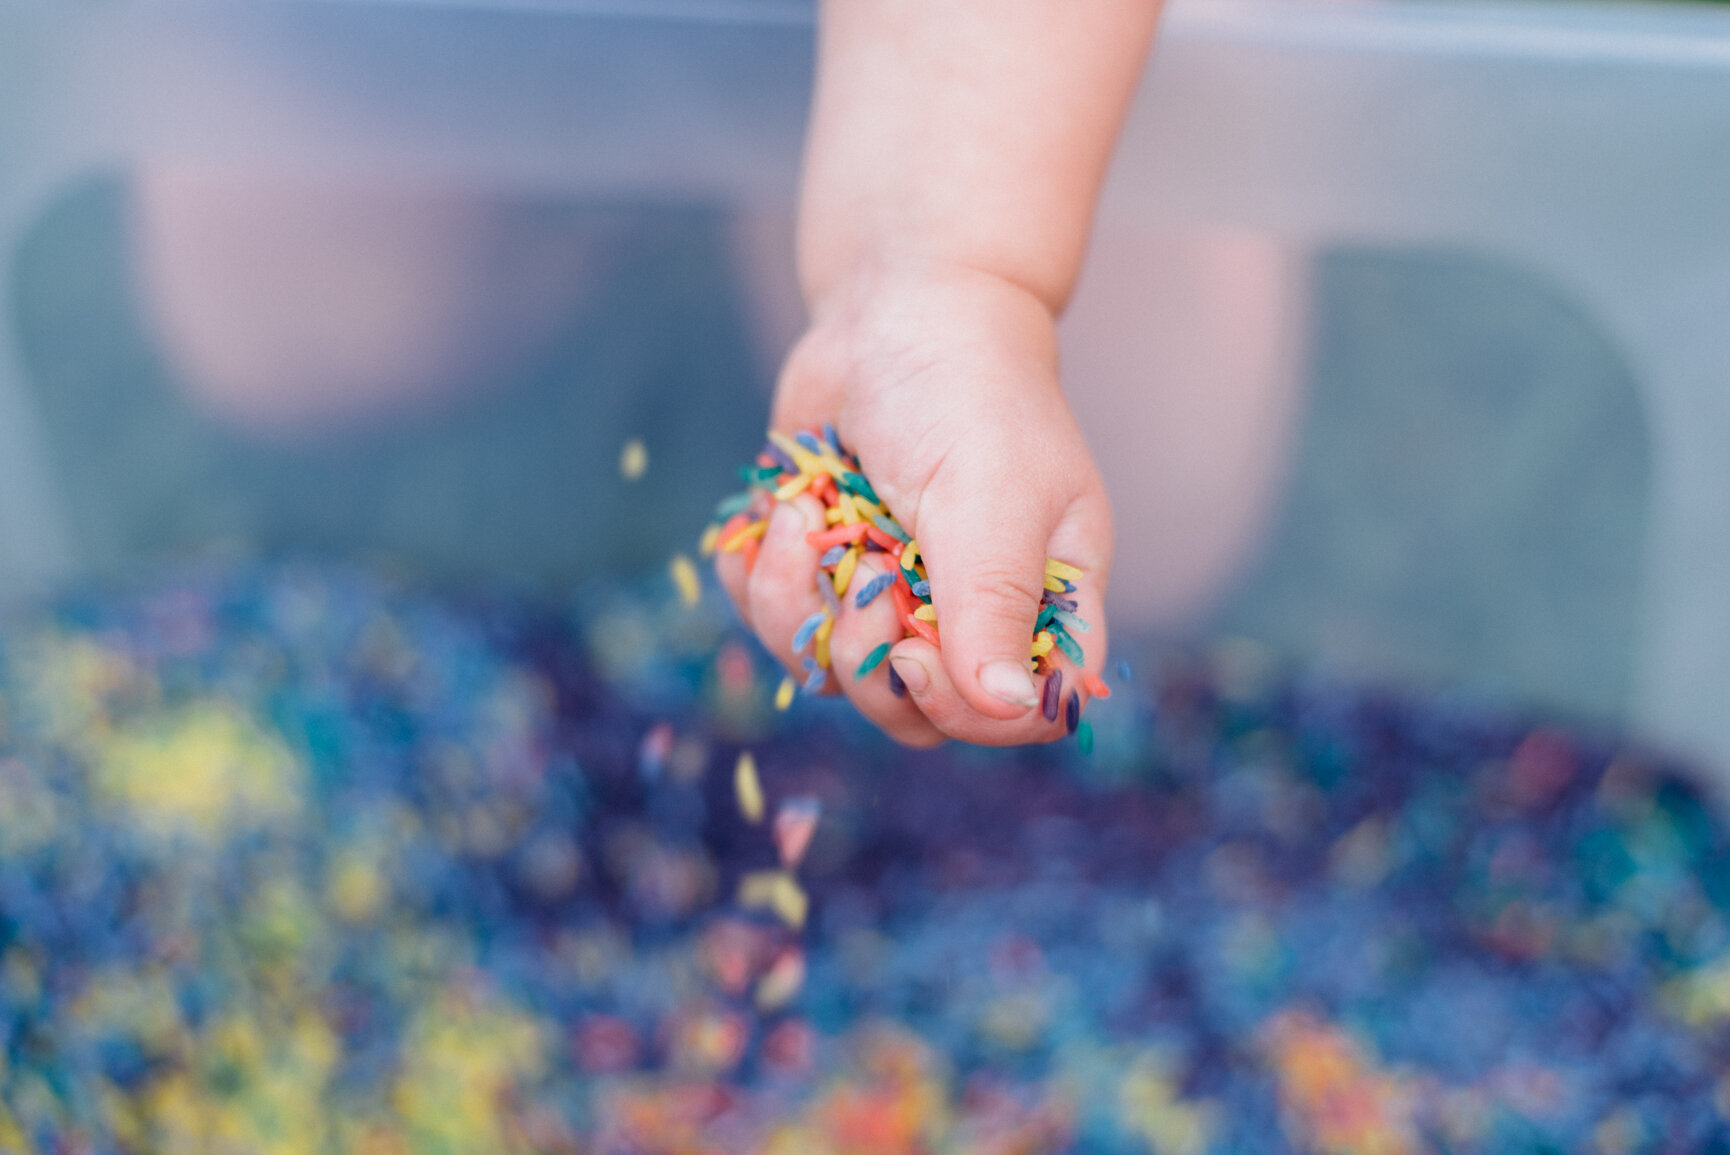
This sensory bin will trigger your toddlers sense of touch (the rice), smell (if you choose to use essential oils), sight (the bright colours) & sound (the rice makes the most wonderful sound when poured) making this a wonderful activity for just about any toddler.

Now, a word of caution if you’re going to attempt making this WITH your toddler. There IS going to be mess (probably A LOT!), and there will probably also be tears. Take a deep breath, relax a little, and rather enjoy the process. And, in saying that, no judgement if you stop half way, put your toddler to bed for their nap, and use the quiet time to finish making the rice in peace and quiet!
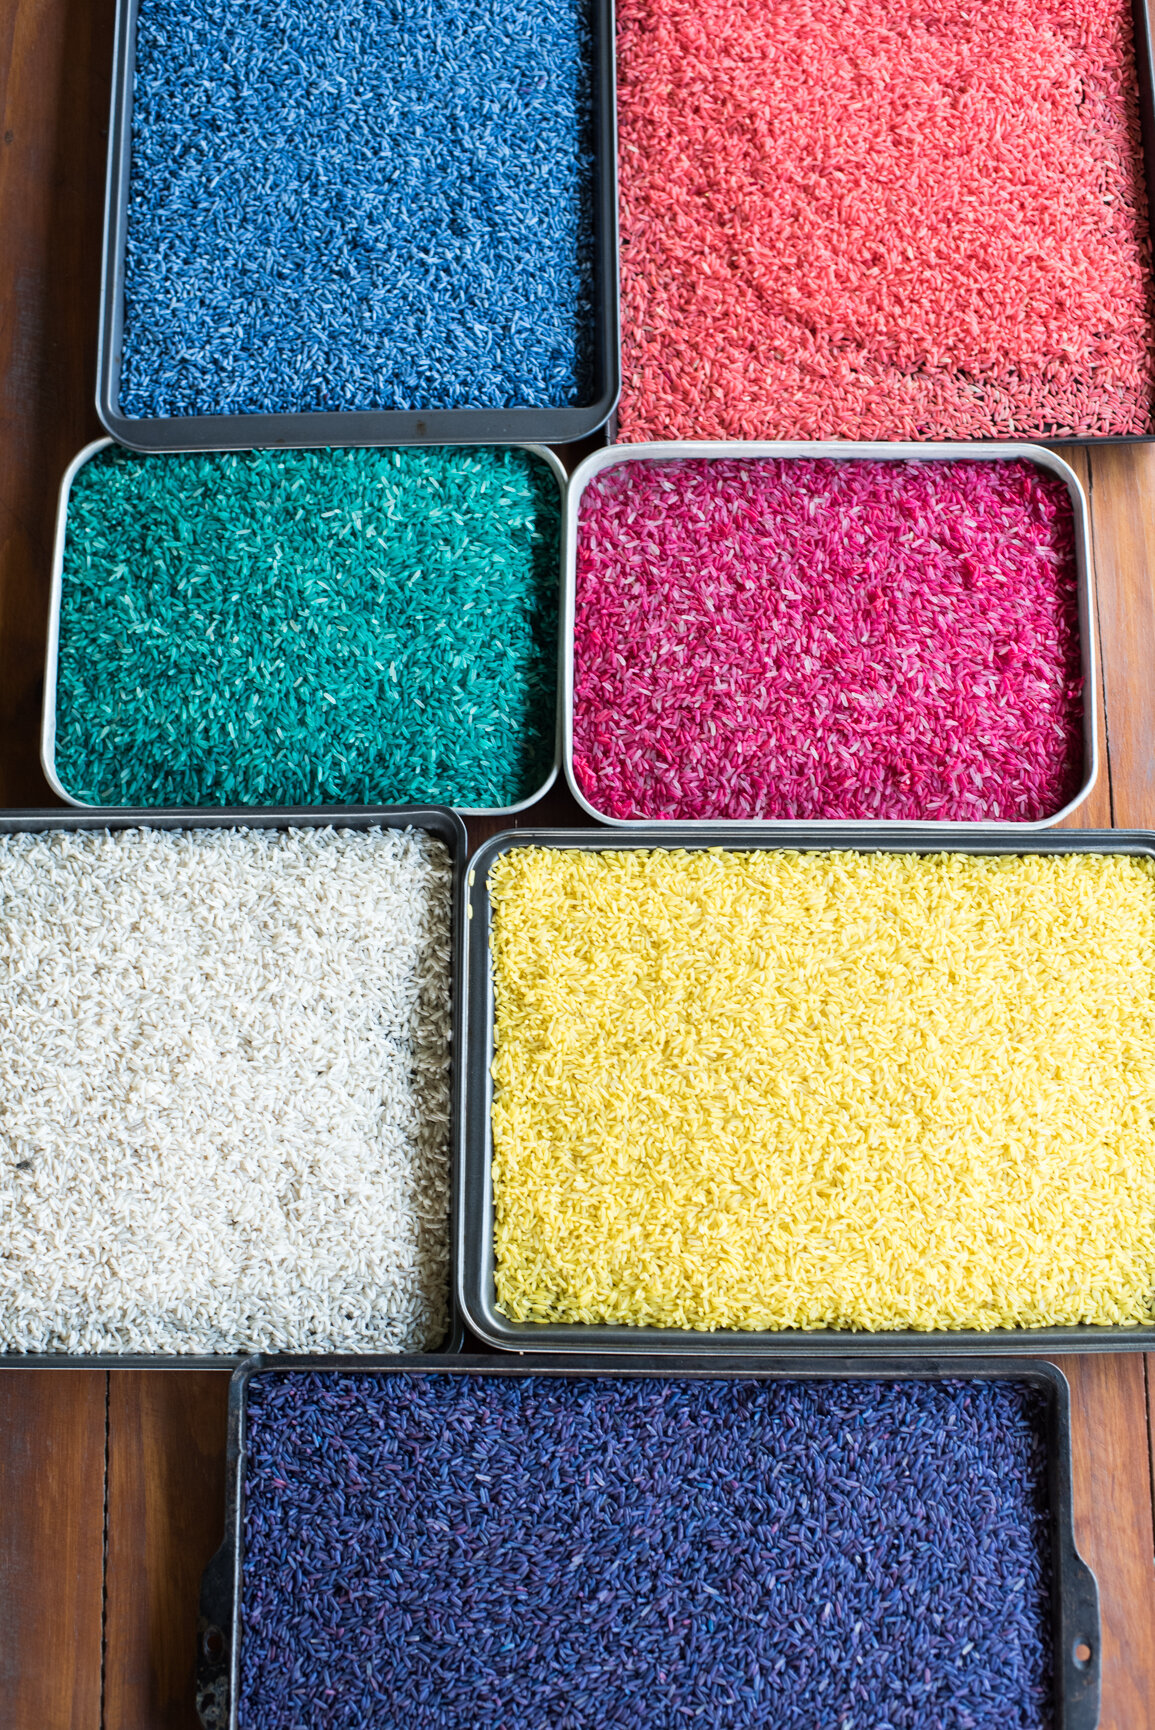
Most of the instructions I found online talked about using Vinegar and food colouring, but I had these acrylic paints lying around and decided to give them a bash and they worked out soooo well. I also only used 1 plastic ziplock bag for all the colours, and I just washed it in-between uses so try and now mix the colours too much.
What you need:
Rice (I bought the cheapest, biggest bag of rice I could find…buy as much rice as you’d like to fill your container)
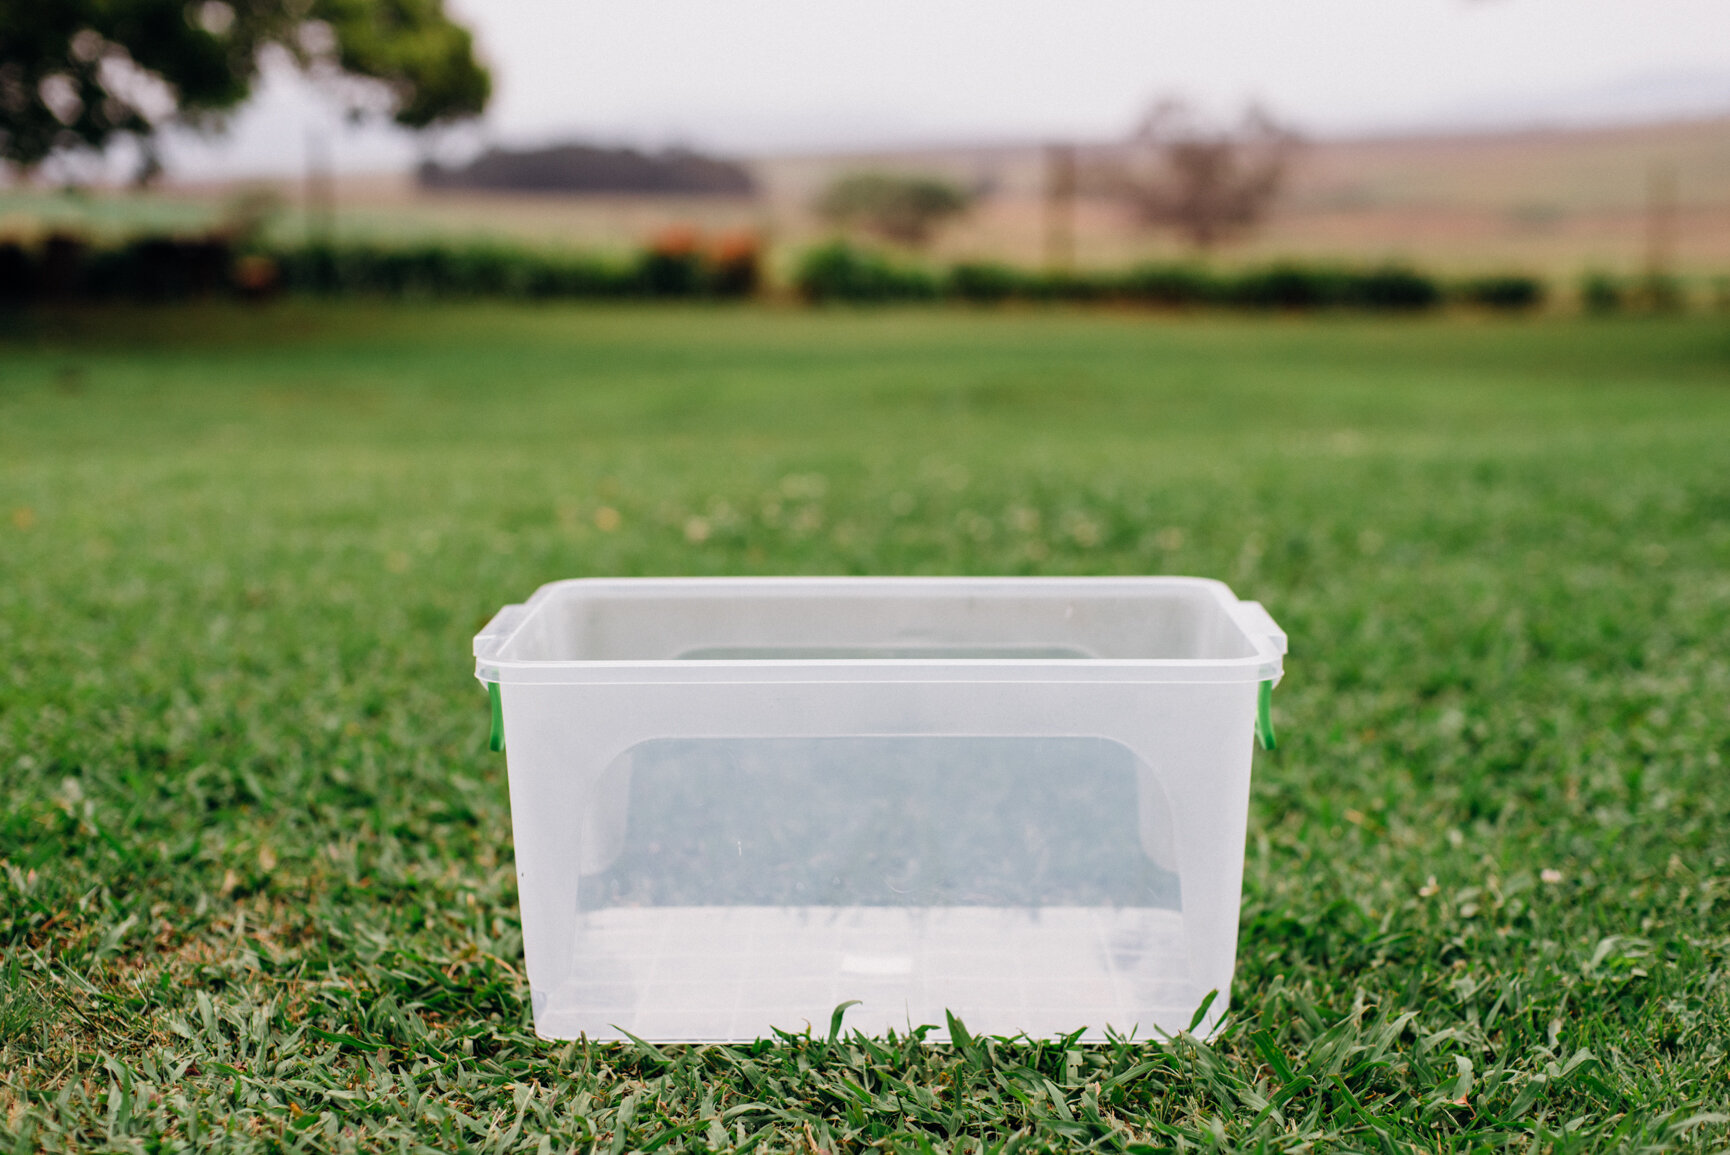
Airtight Plastic container (i.e. something with a lid). Looking back I wish I had bought a container that;s sides weren’t as high, because Everly can’t actually sit on the floor and reach inside it, she has to stand or sit on her knees…not a huge train-smash but it does mean she makes more mess…but this is probably just me and my OCD tendencies when it comes to cleaning up). In saying all of this, she actually likes to sit INSIDE the container too…so I’m glad I bought one as big as I did. But it does mean you need a lot of rice to make it worth the effort.
Ziplock bag(s)
Acrylic Paints (or food colouring, but I think gel food colouring would work the best if you go the food colouring route)
Essential Oil (optional…but does give the rice a nice smell, especially as my paint smell was rather strong…make sure you choose something you actually like the smell of. I just used what I had in my cupboard and I am now 100% sick of smelling this blend… I would have preferred a lemon grass or lavender).
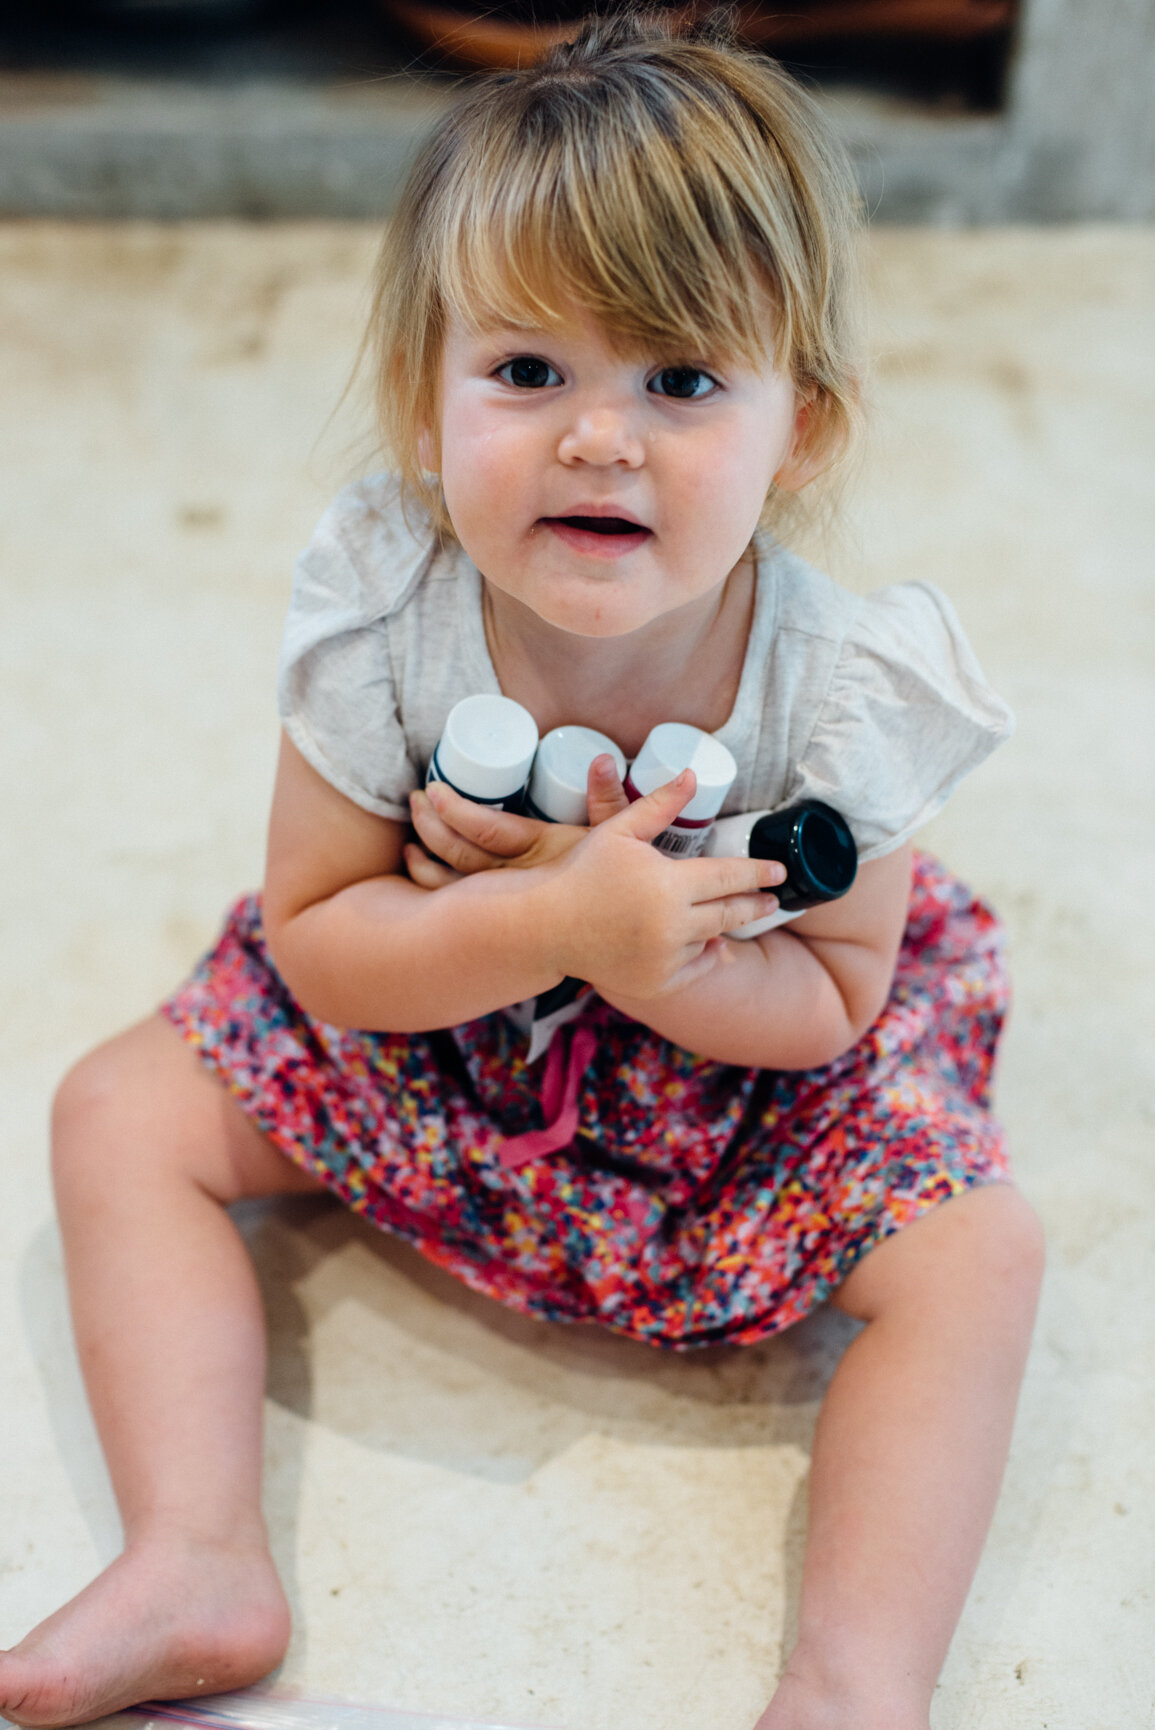
A willing helper (OPTIONAL!!! haha)
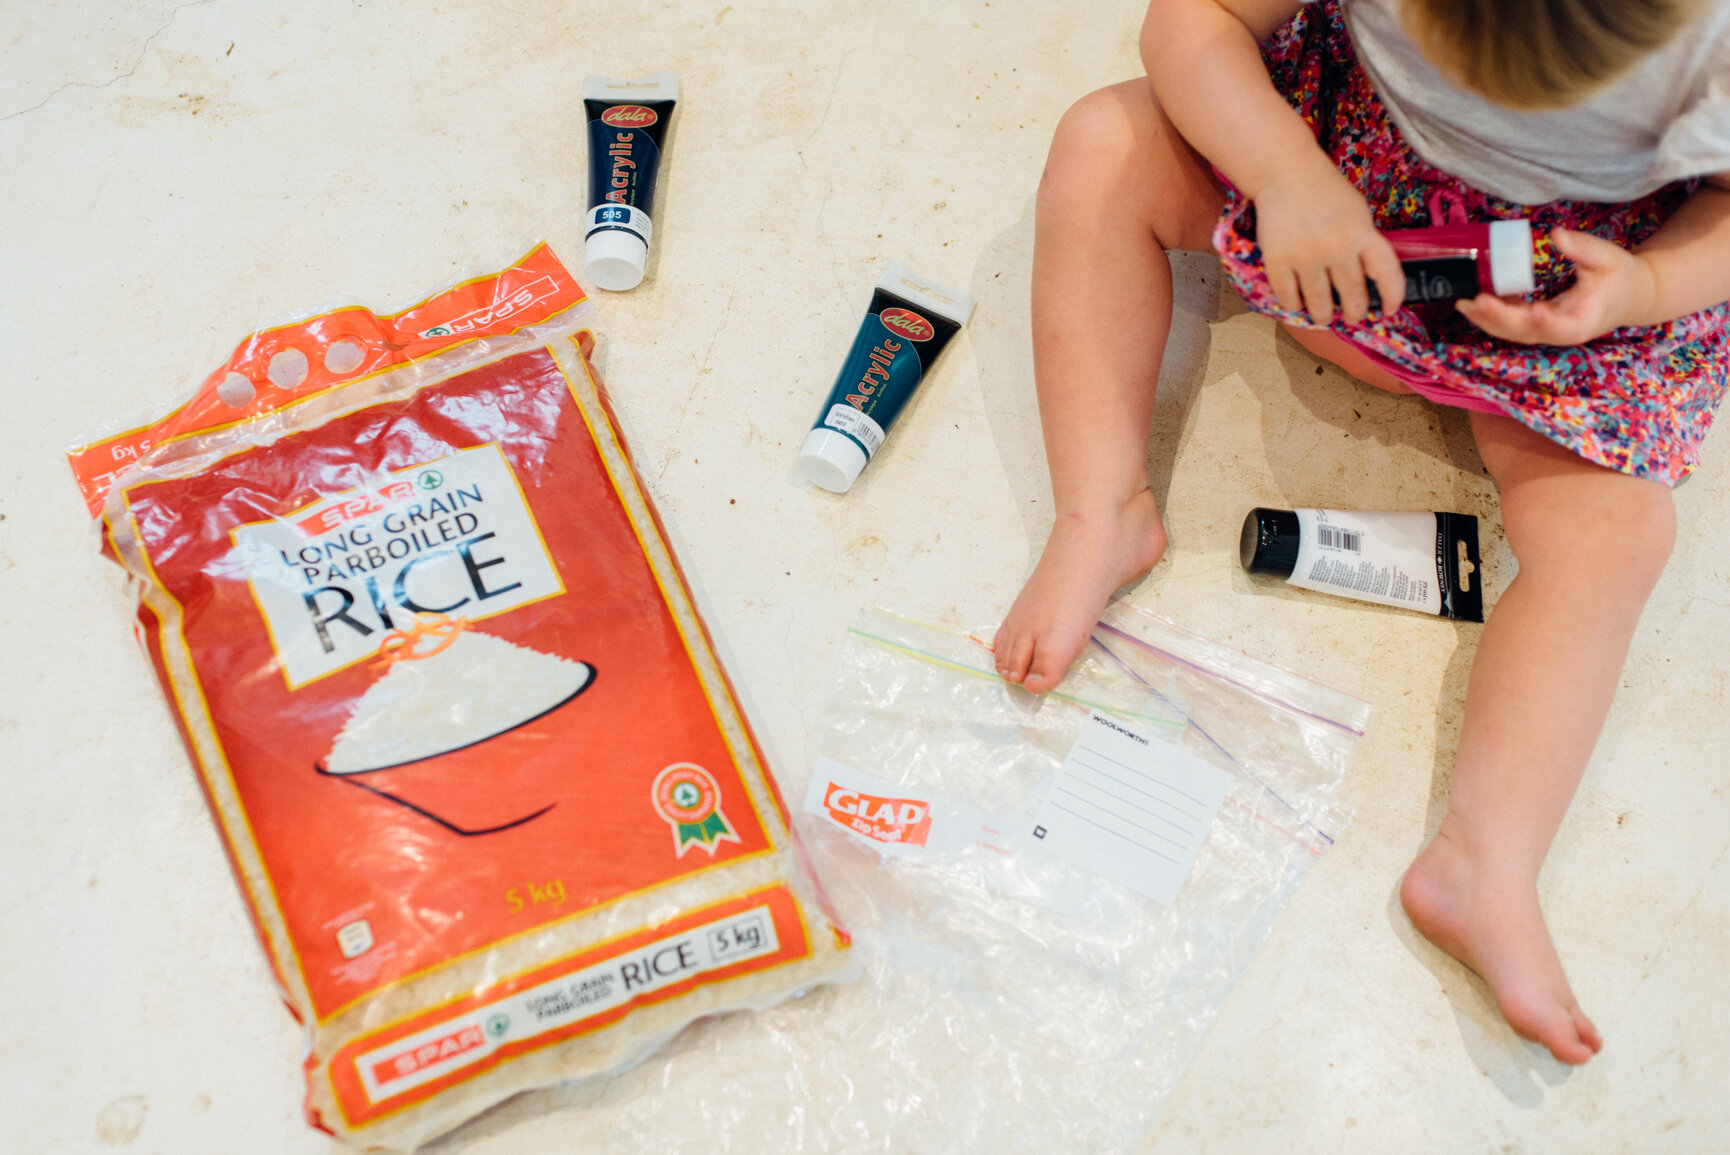

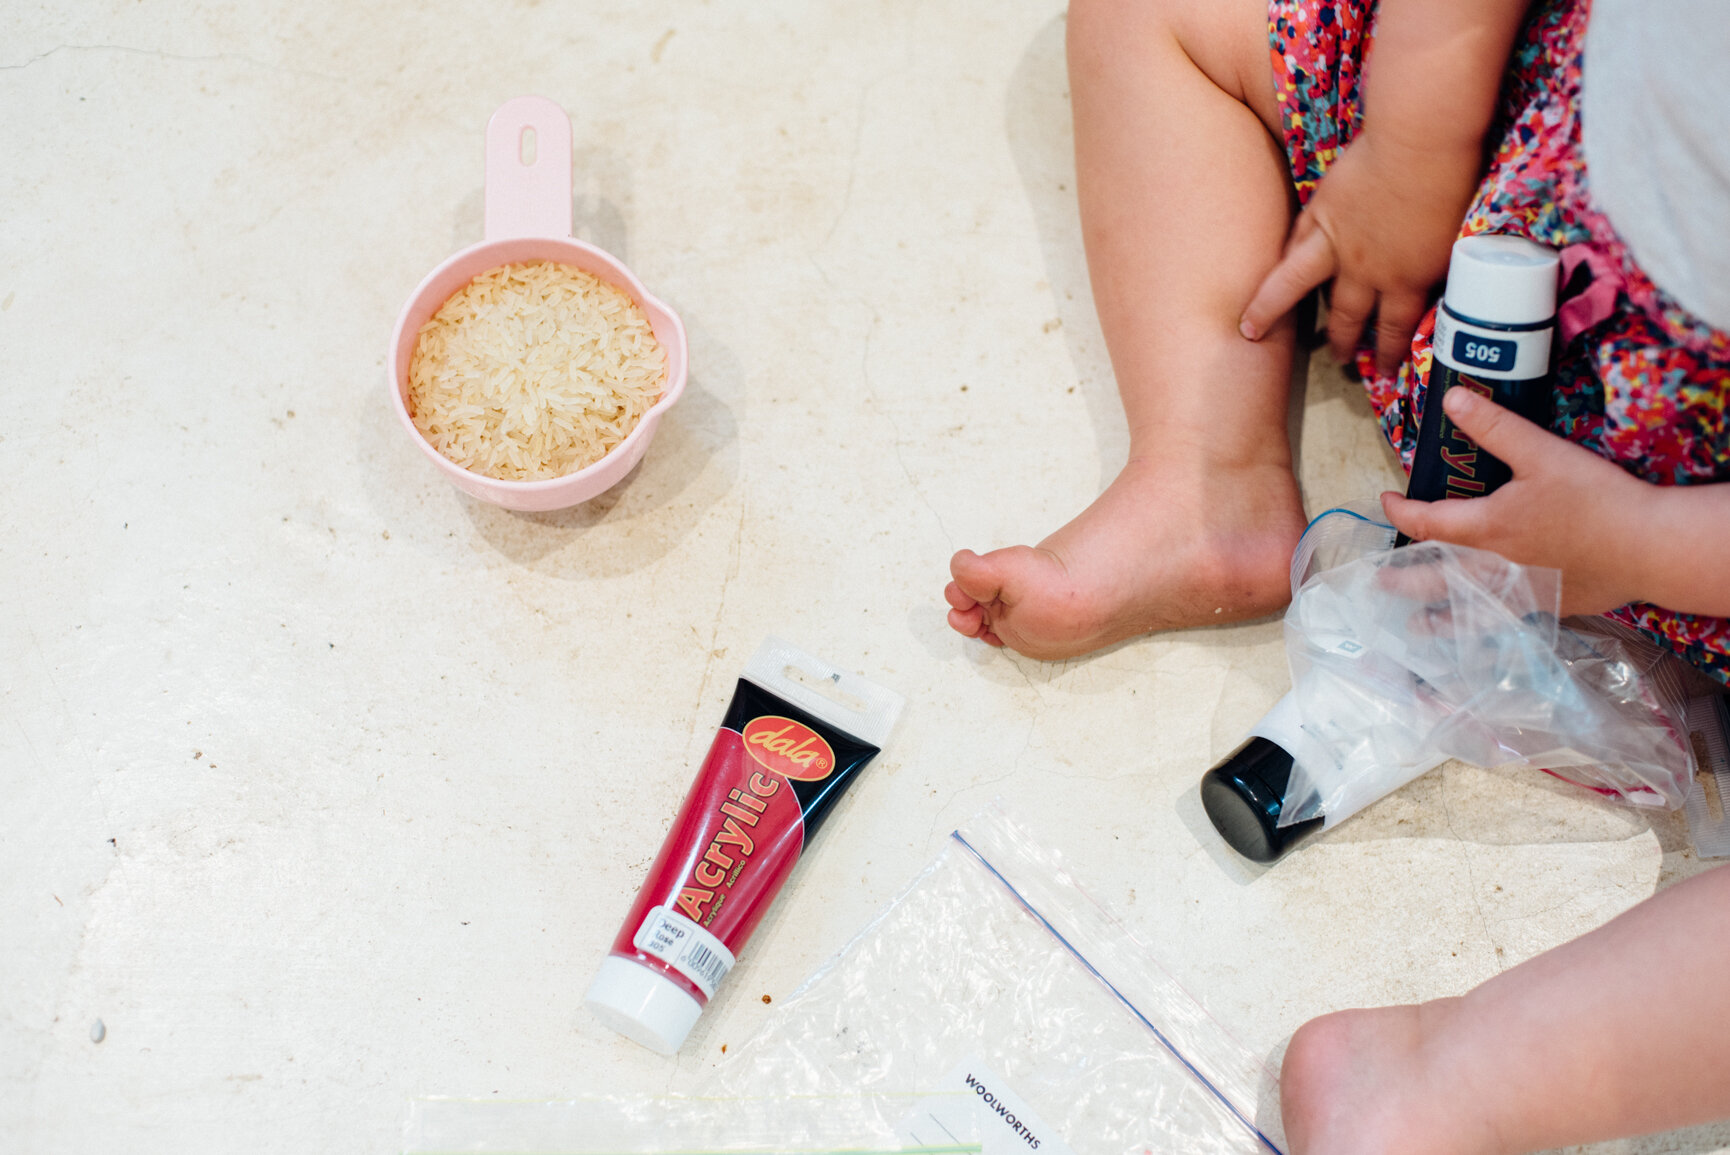
There is no exact measurements for this…I started with a measuring cup, but it was too big for my little bag and ended up just making a mess. So in the end I just poured the rice directly from it’s bag into the ziplock bag. I needed an extra pair of hands for this though, and luckily had our Nanny nearby for this step.
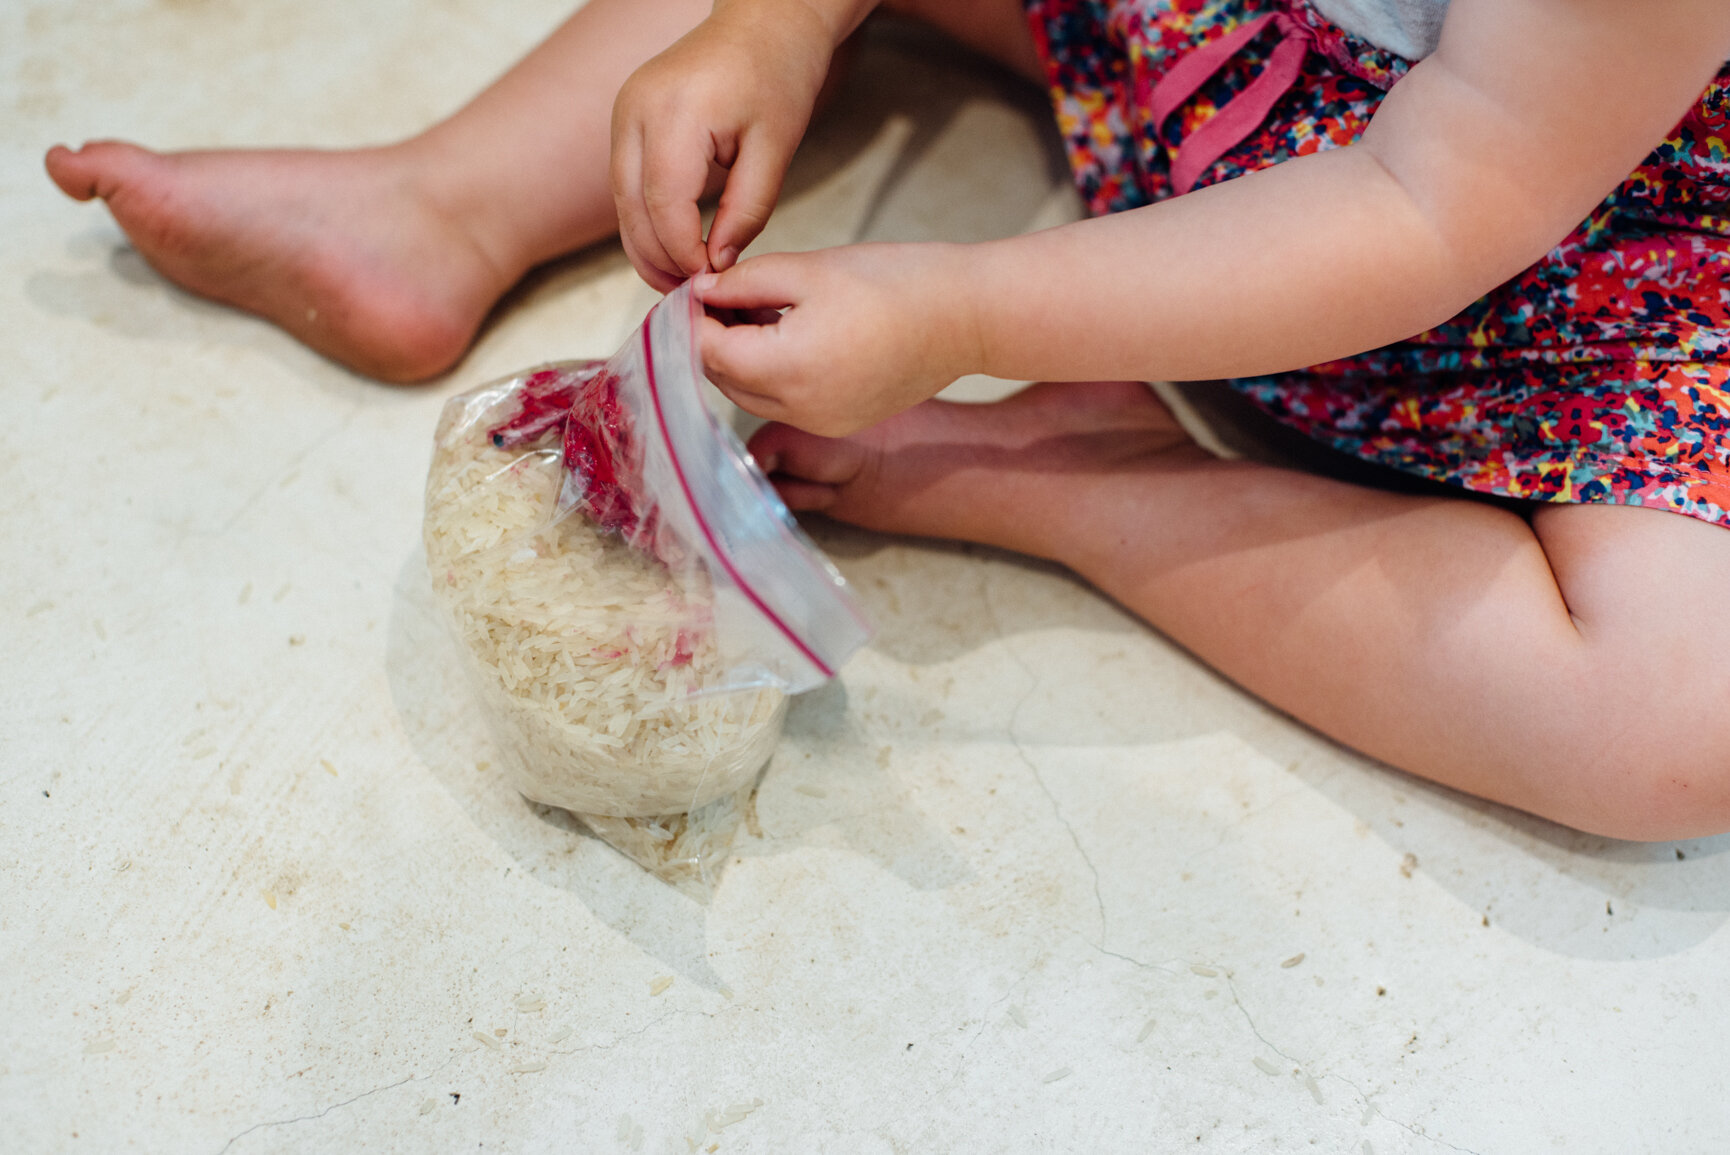

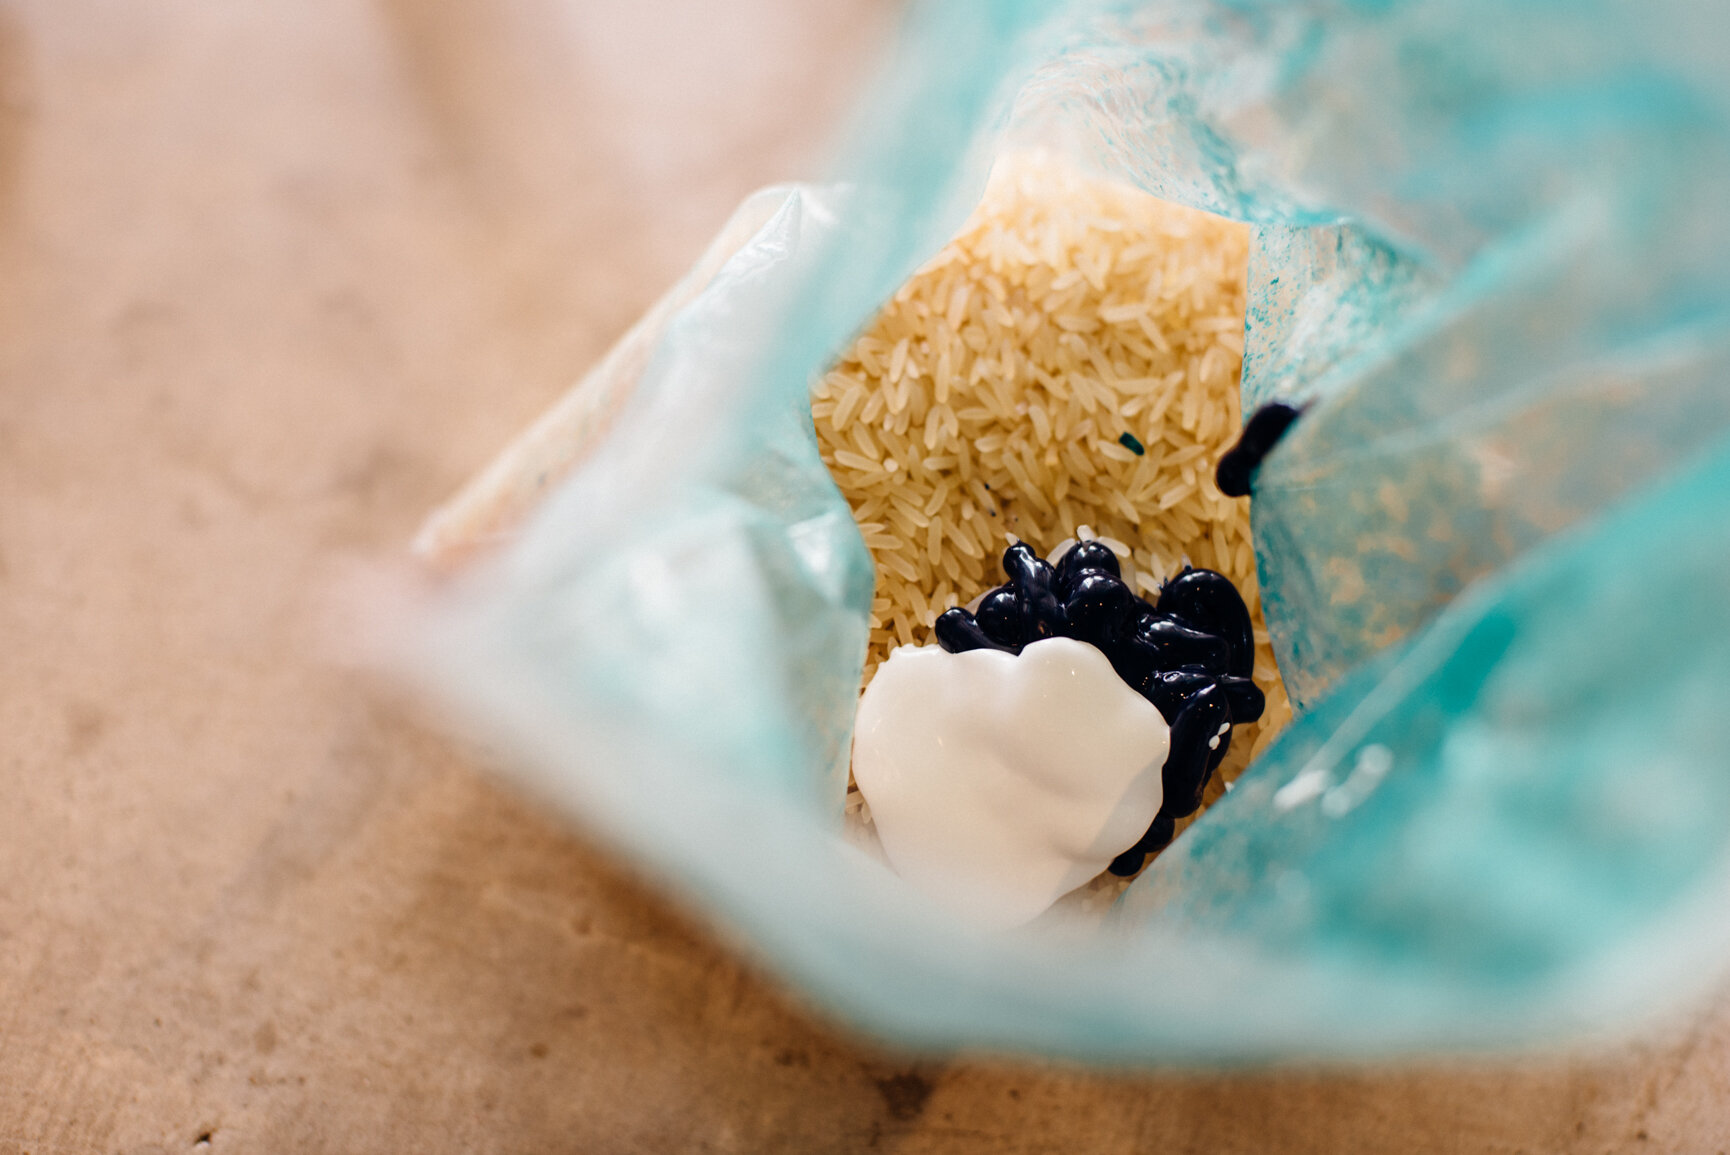
Pour about 2-3 cups of rice into your ziplock bag, squirt in some paint (add white to your colours to change the shade a bit), add a few drops of essential oil if you’re using any and seal the bag.
Then squish the bag and the paint together until it’s all mixed in well.


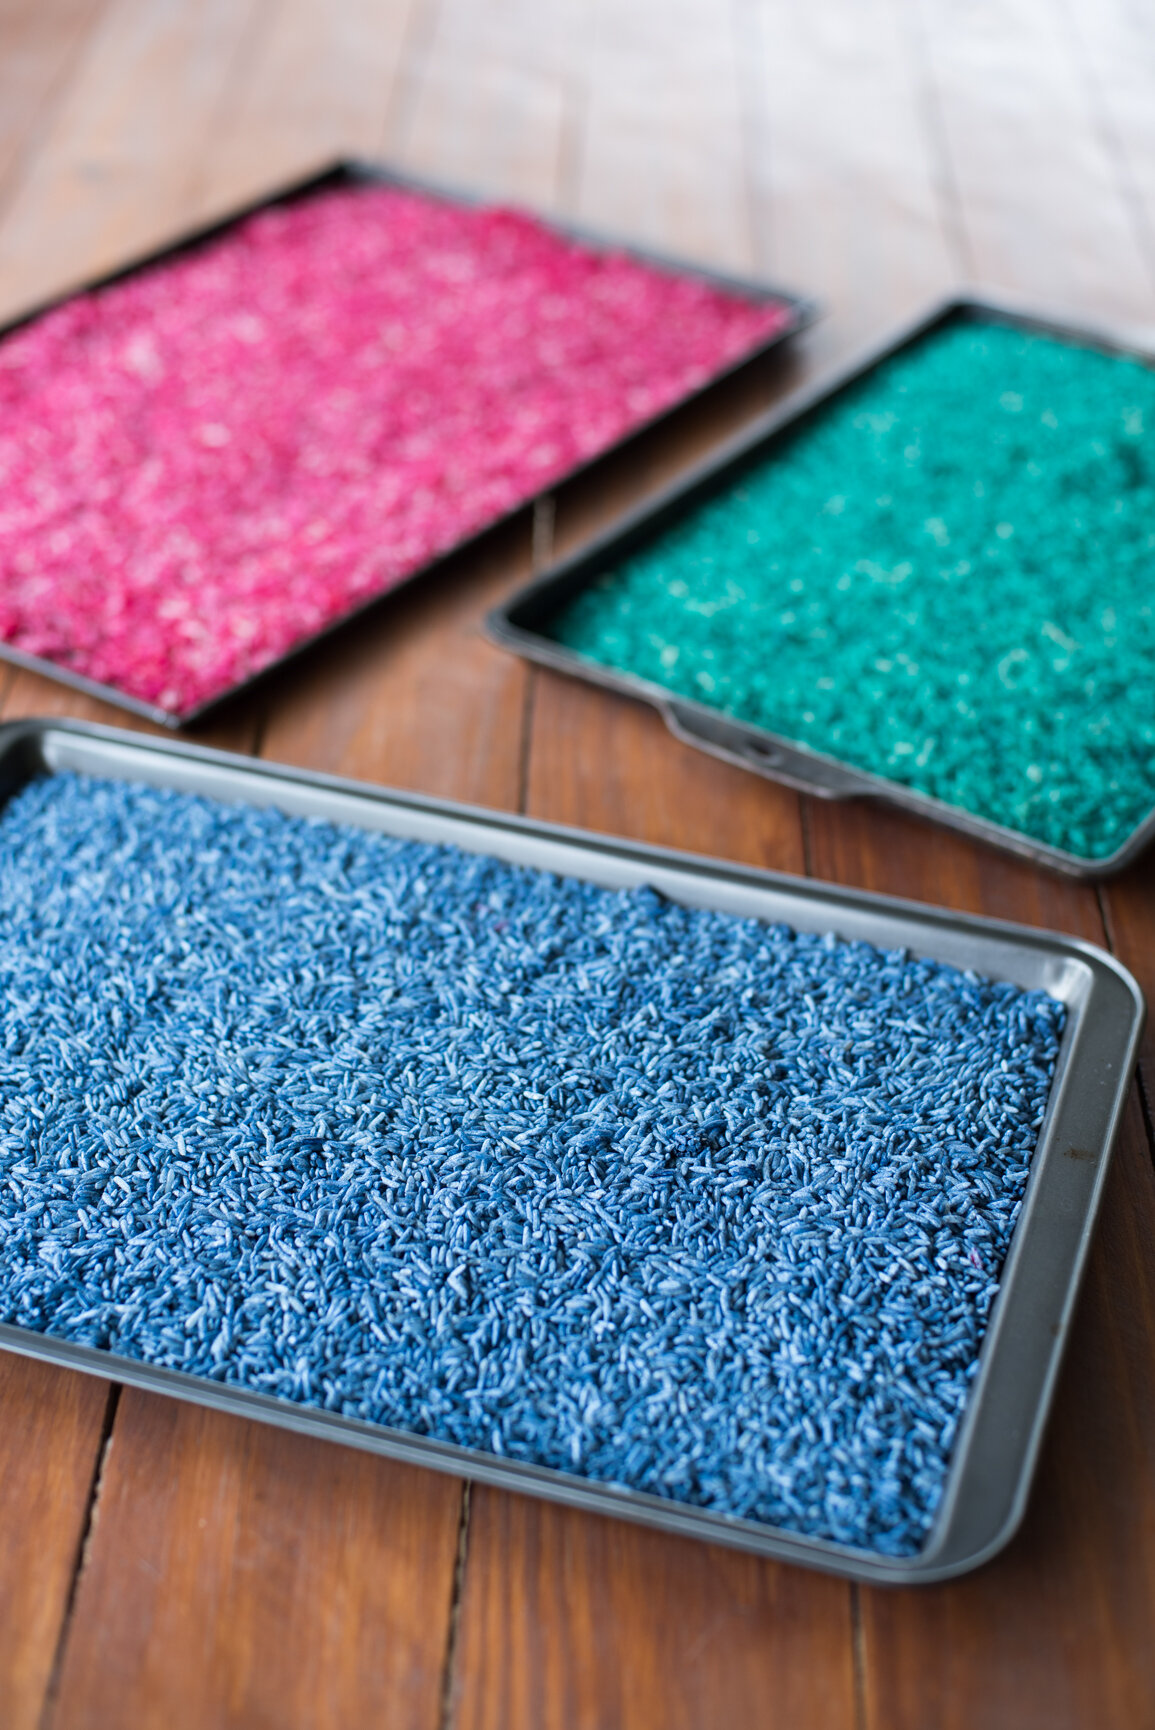
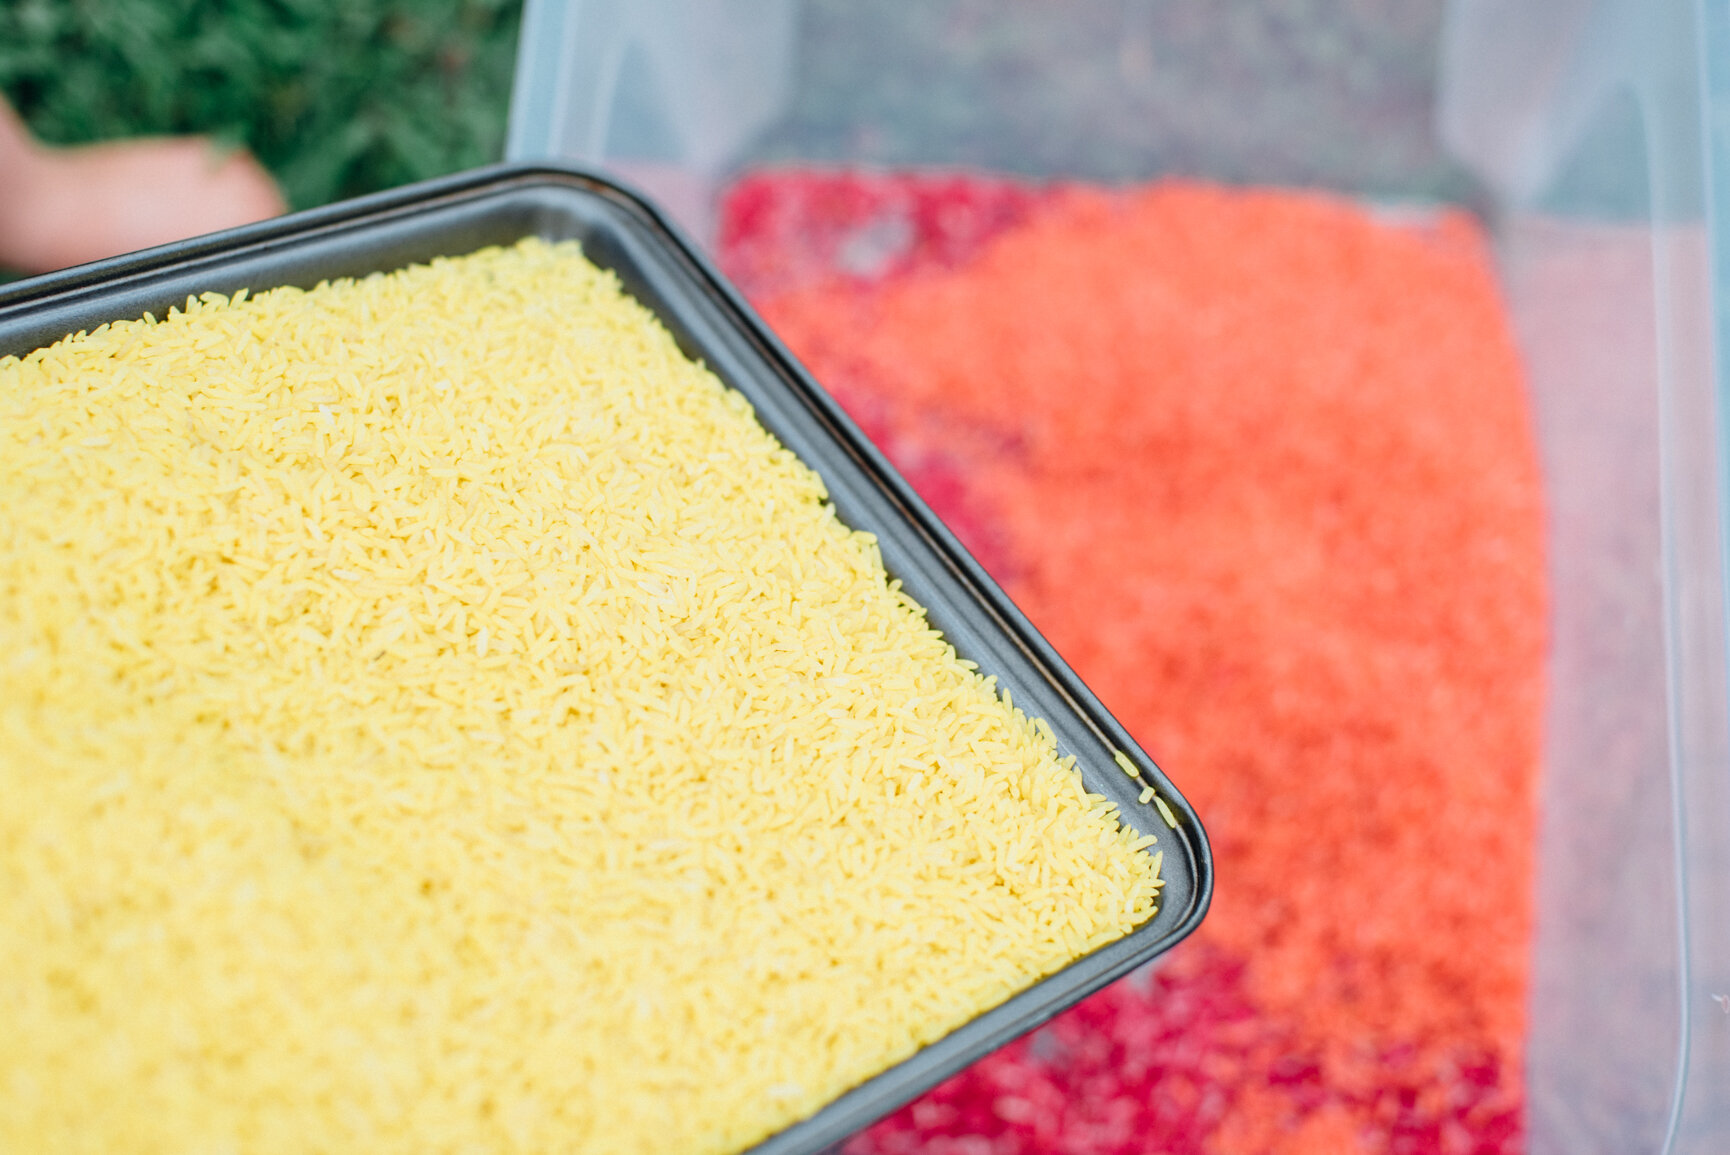
Instead of using an oven to dry out the rice, I just put the different colours onto baking trays and left them outside for a couple of hours. I think the acrylic paint was the key to making sure the rice dried out really well without having to use an oven.
Then, get your toddler involved (if they haven’t already been a part of the process) to empty the trays into your container. I would suggest moving to the grass were cleanup won’t be as much of a worry. Although, I now put a big blanket under the box so that I can put all the rice back once she’s finished playing, otherwise there would be an awful lot of coloured rice all over my garden. And I’m pretty sure the paint would wash off the rice leaving pools of red and yellow all over the show. Not sure my grass would like that very much ;)

And then leave them to play and mix!
I change things up every now and again by adding plastic measuring cups and spoons (toddlers LOVE pouring activities), and then swop these out for plastic animals and other toys that she has fun burying and looking for. There really are so many different things you can do with the rice, and even I have spent my fair share of time pouring rice into and out of a cup…it’s soooo relaxing!


So there you go. And easy and fun way to keep your little one entertained. Please do let me know if you make this yourself, and post some photos (tag me in them over on Instagram!) I’d love to see your little one’s enjoying their own rainbow rice.


