How to make a macramé plant hanger #diydaysinkorea
/
Today's post is the first in a new DIY series #DIYDaysInKorea that my friend Storm and I are starting. Storm did all the styling for our Flower Crown Shoot a few weeks ago and is one very creative lady. I am so happy to have someone to get crafty with.
These posts are going to be about making beautiful things for your home (whether that home is in South Korea or South Africa, or any where else in the world). We hope you enjoy this series and that you leave feeling inspired.
x
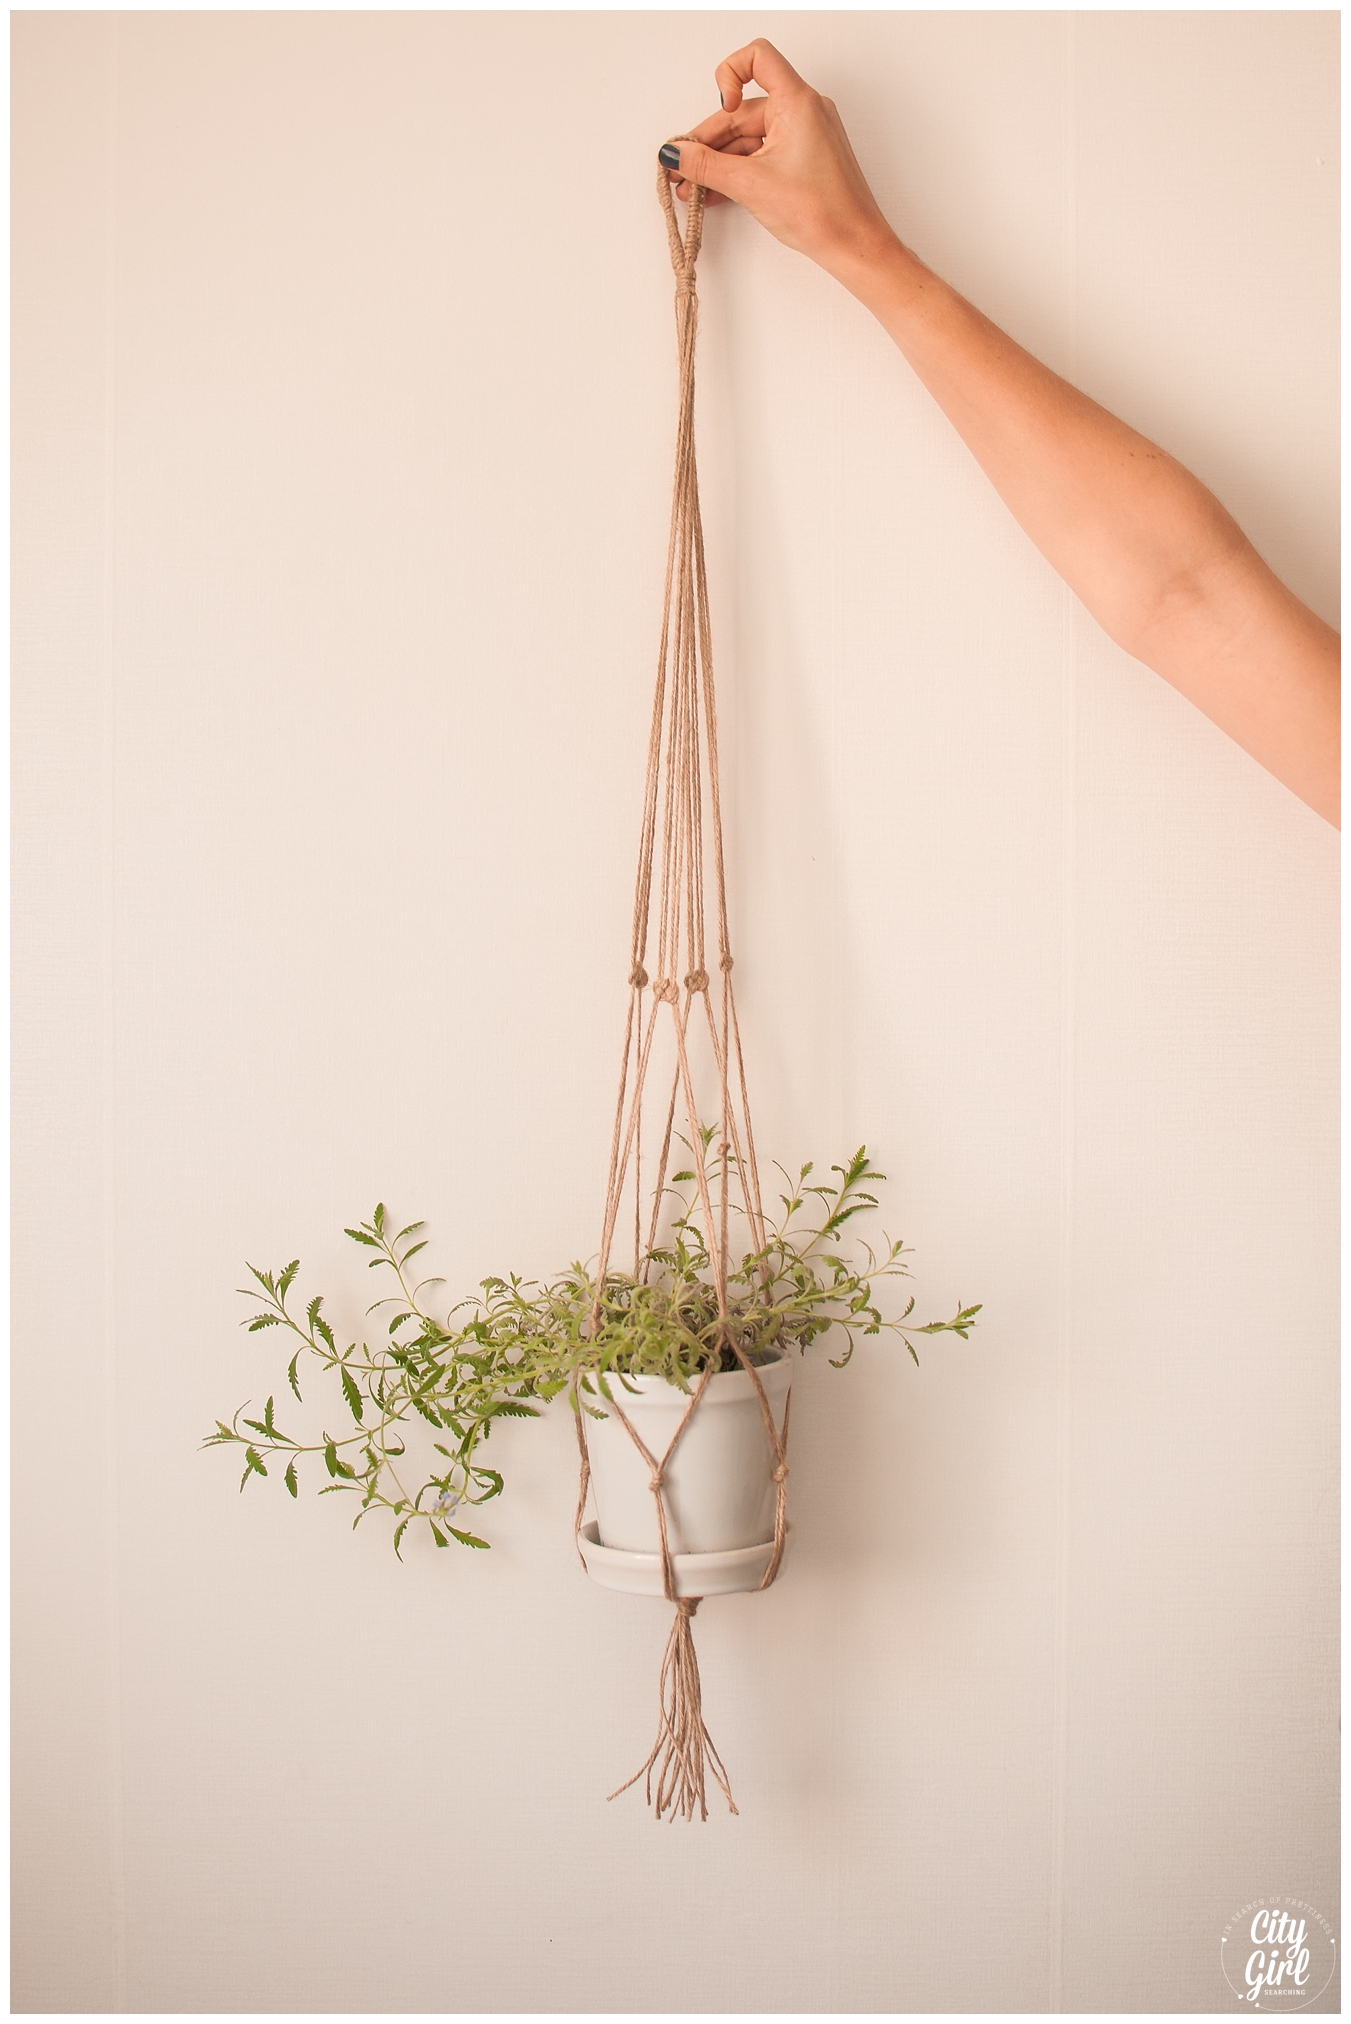
How to make a macramé plant hanger #diydaysinkorea


What you need:
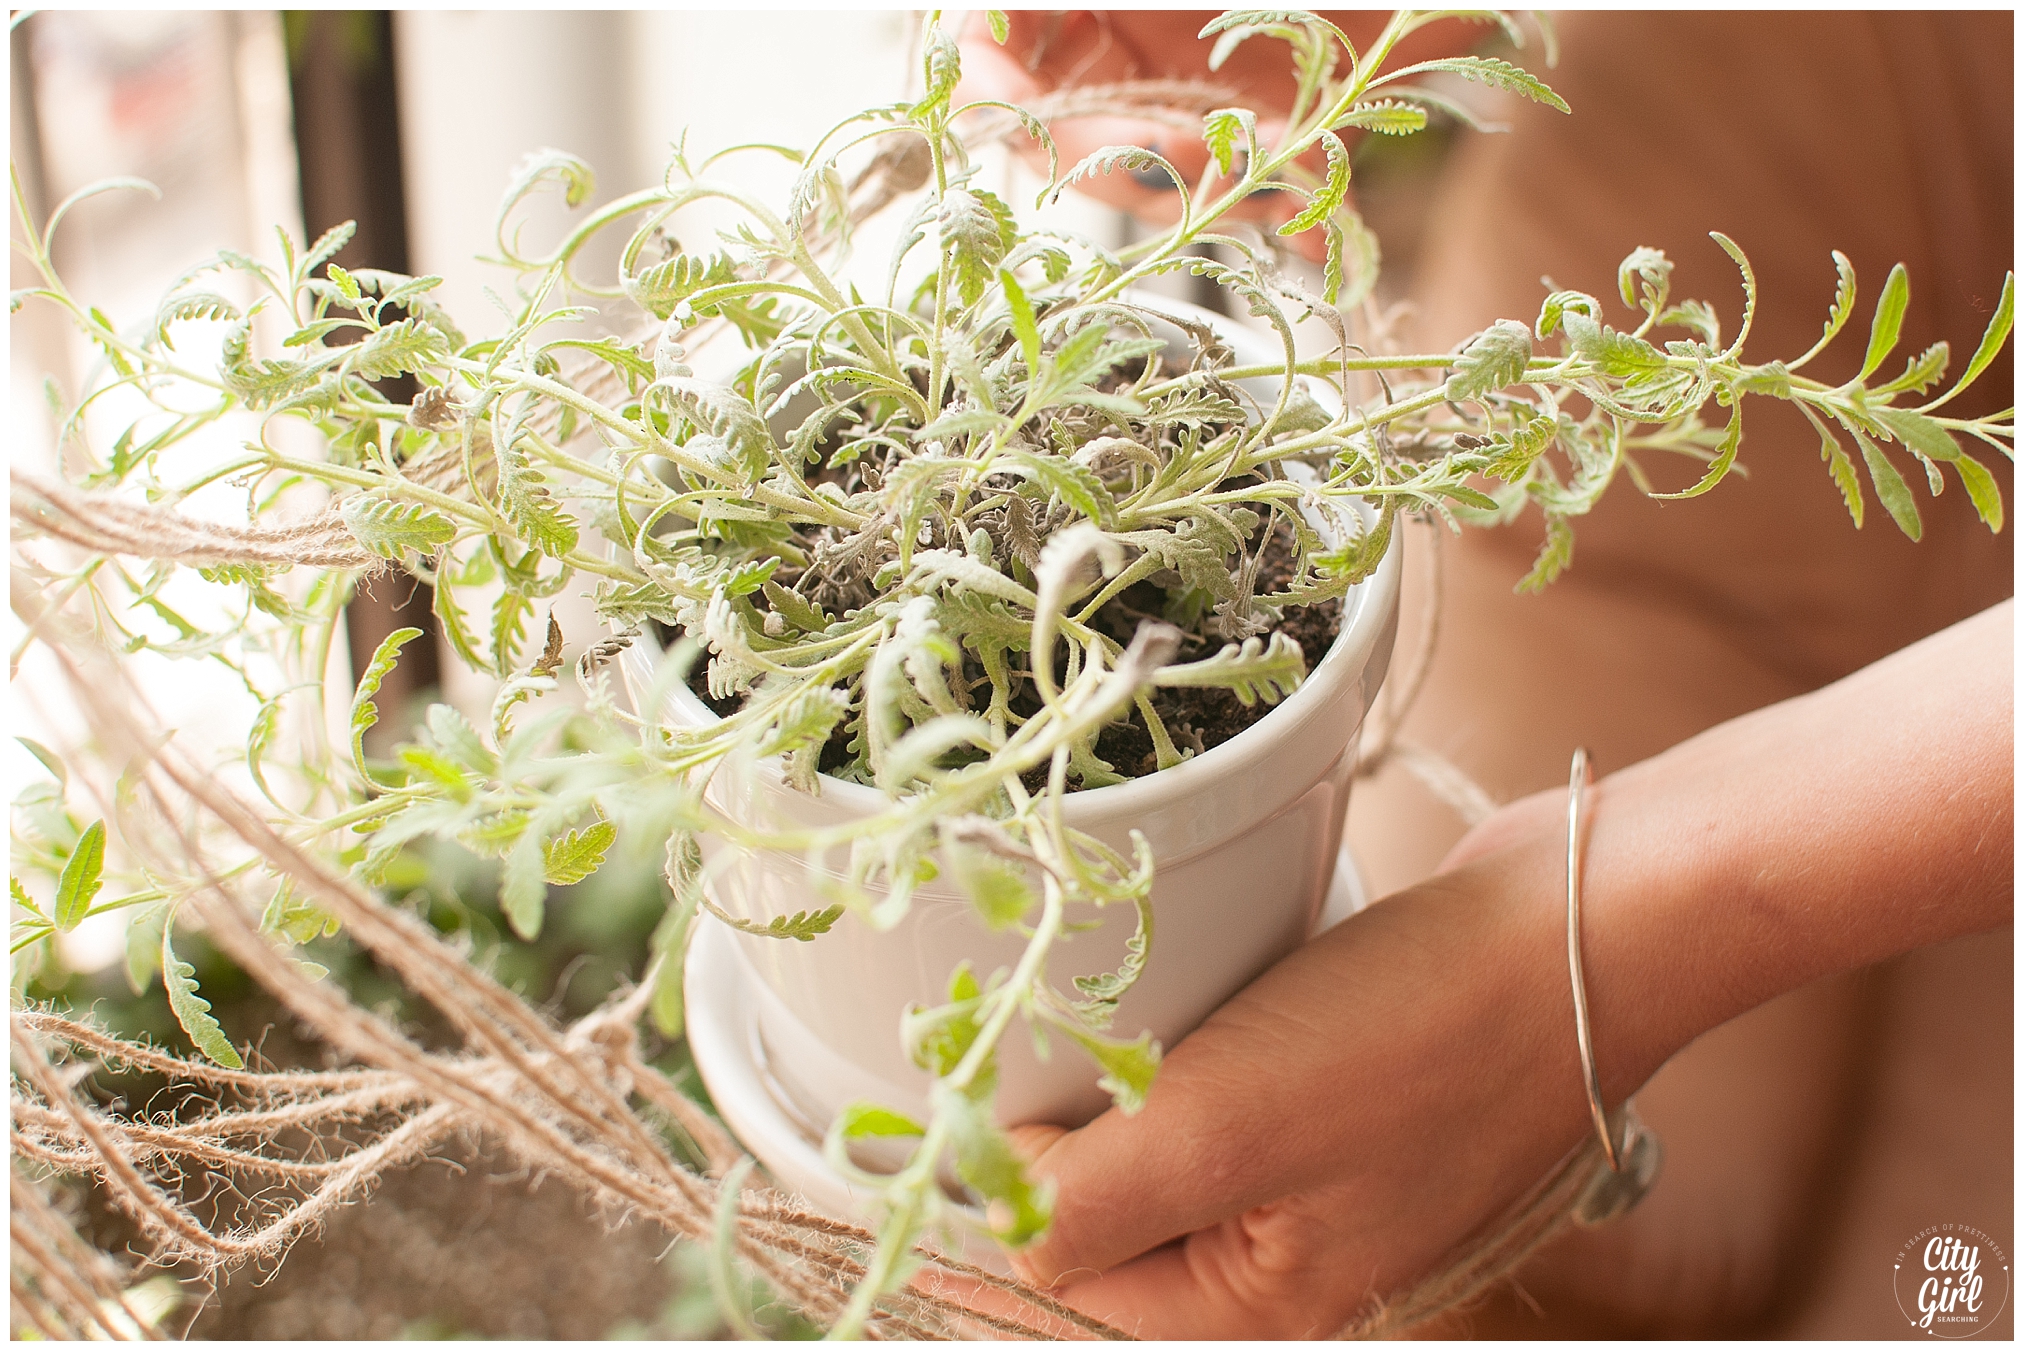
pot plant
string/rope/hessian string/twine
scissors
tape

Directions
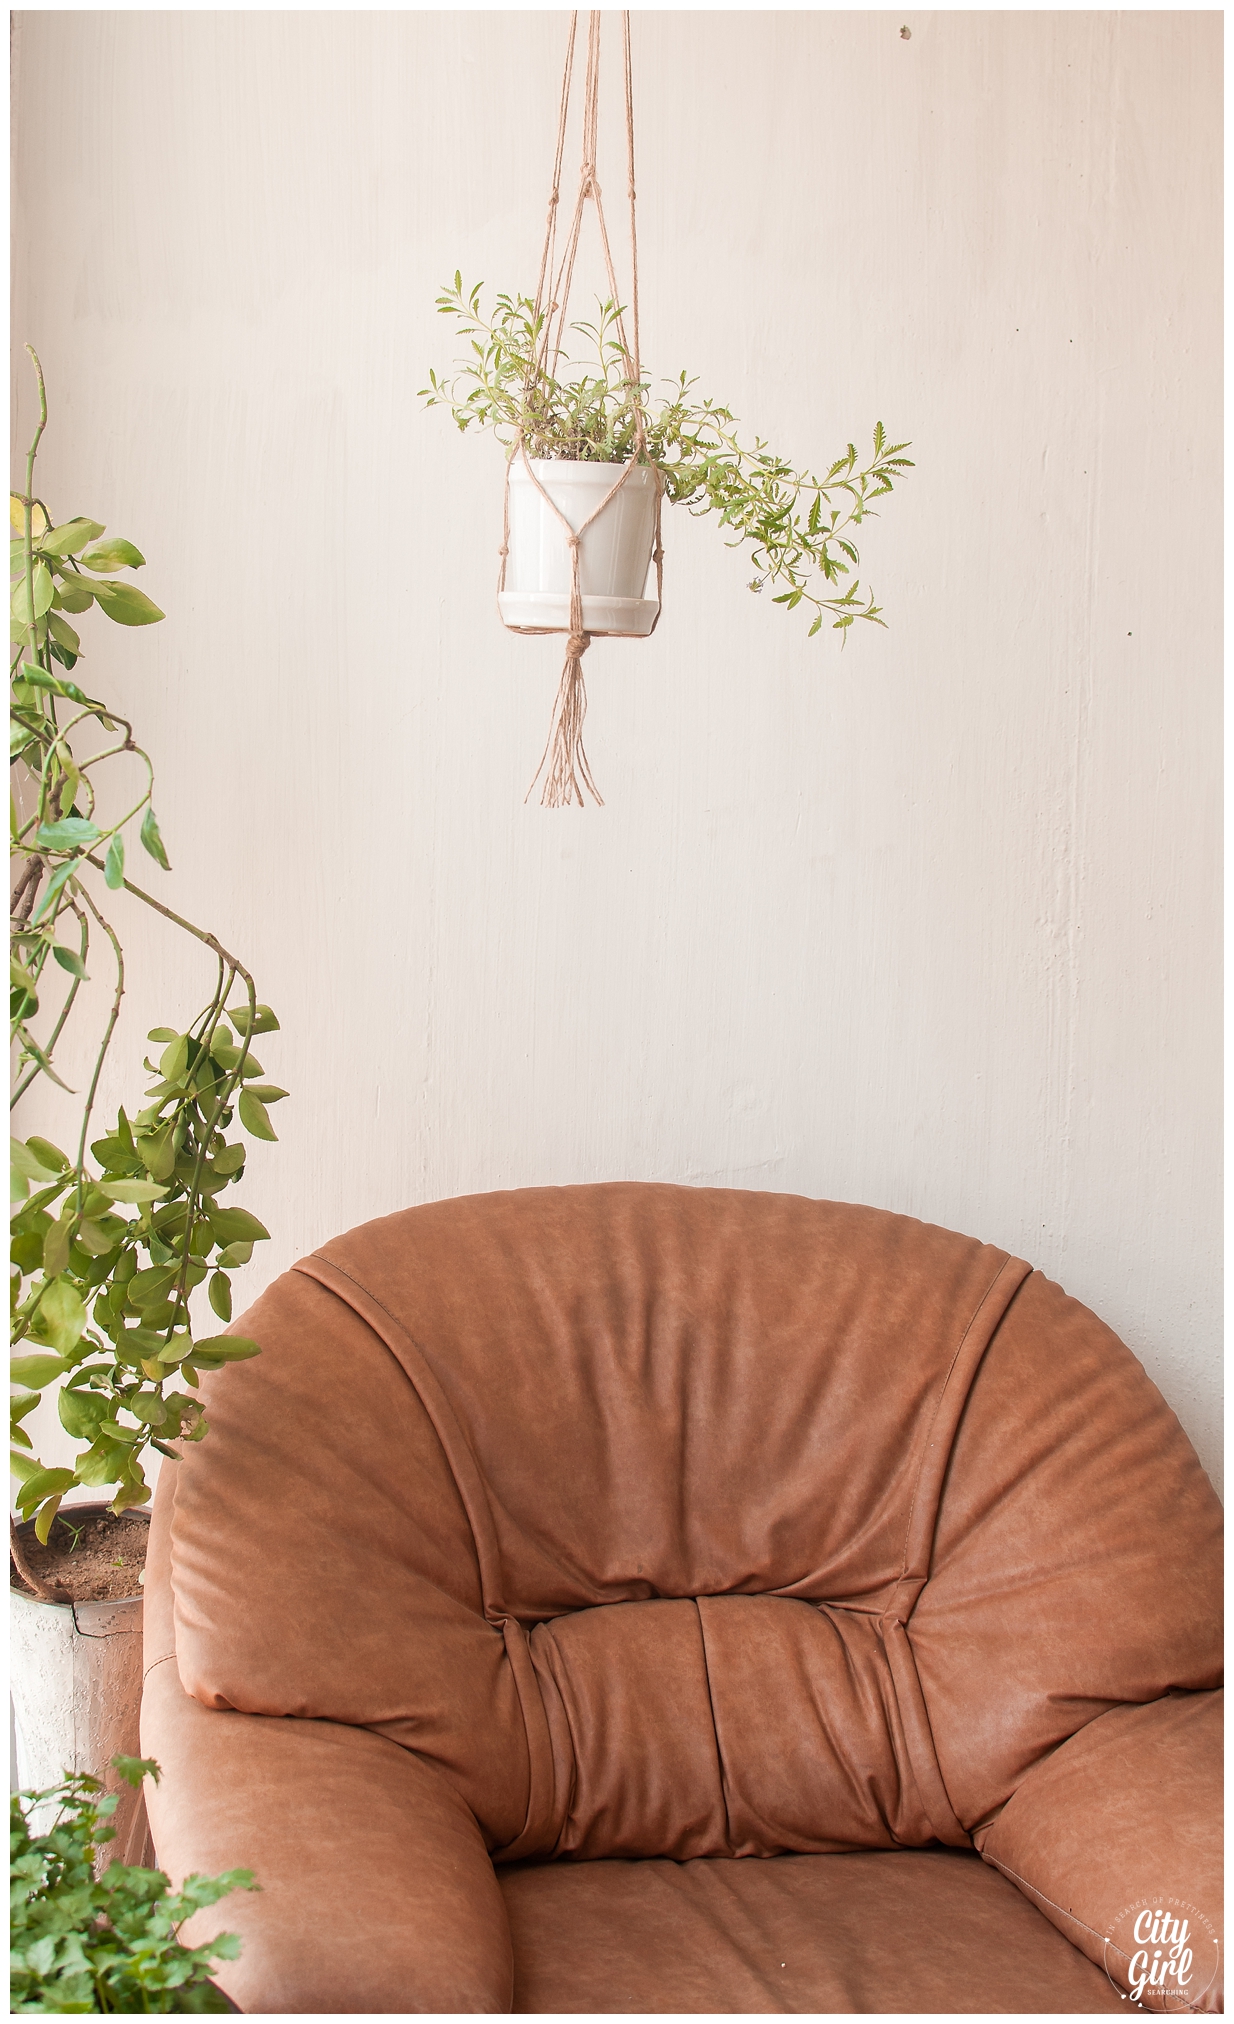
Measure your wall space and decide how long you want your plant hanger to be. Take into consideration how big your pot plant is.

For this macramé hanger, we used 21m of twine (7 x 2.5m for the structure of the hanger + 1 x 3.5m for the wrapping)
Measure out 7 pieces of string of 2.5m and measure the 8th piece of string longer, at 3.5m
Fold all the strings in half except your extra-long piece. Secure with tape to make a small loop.
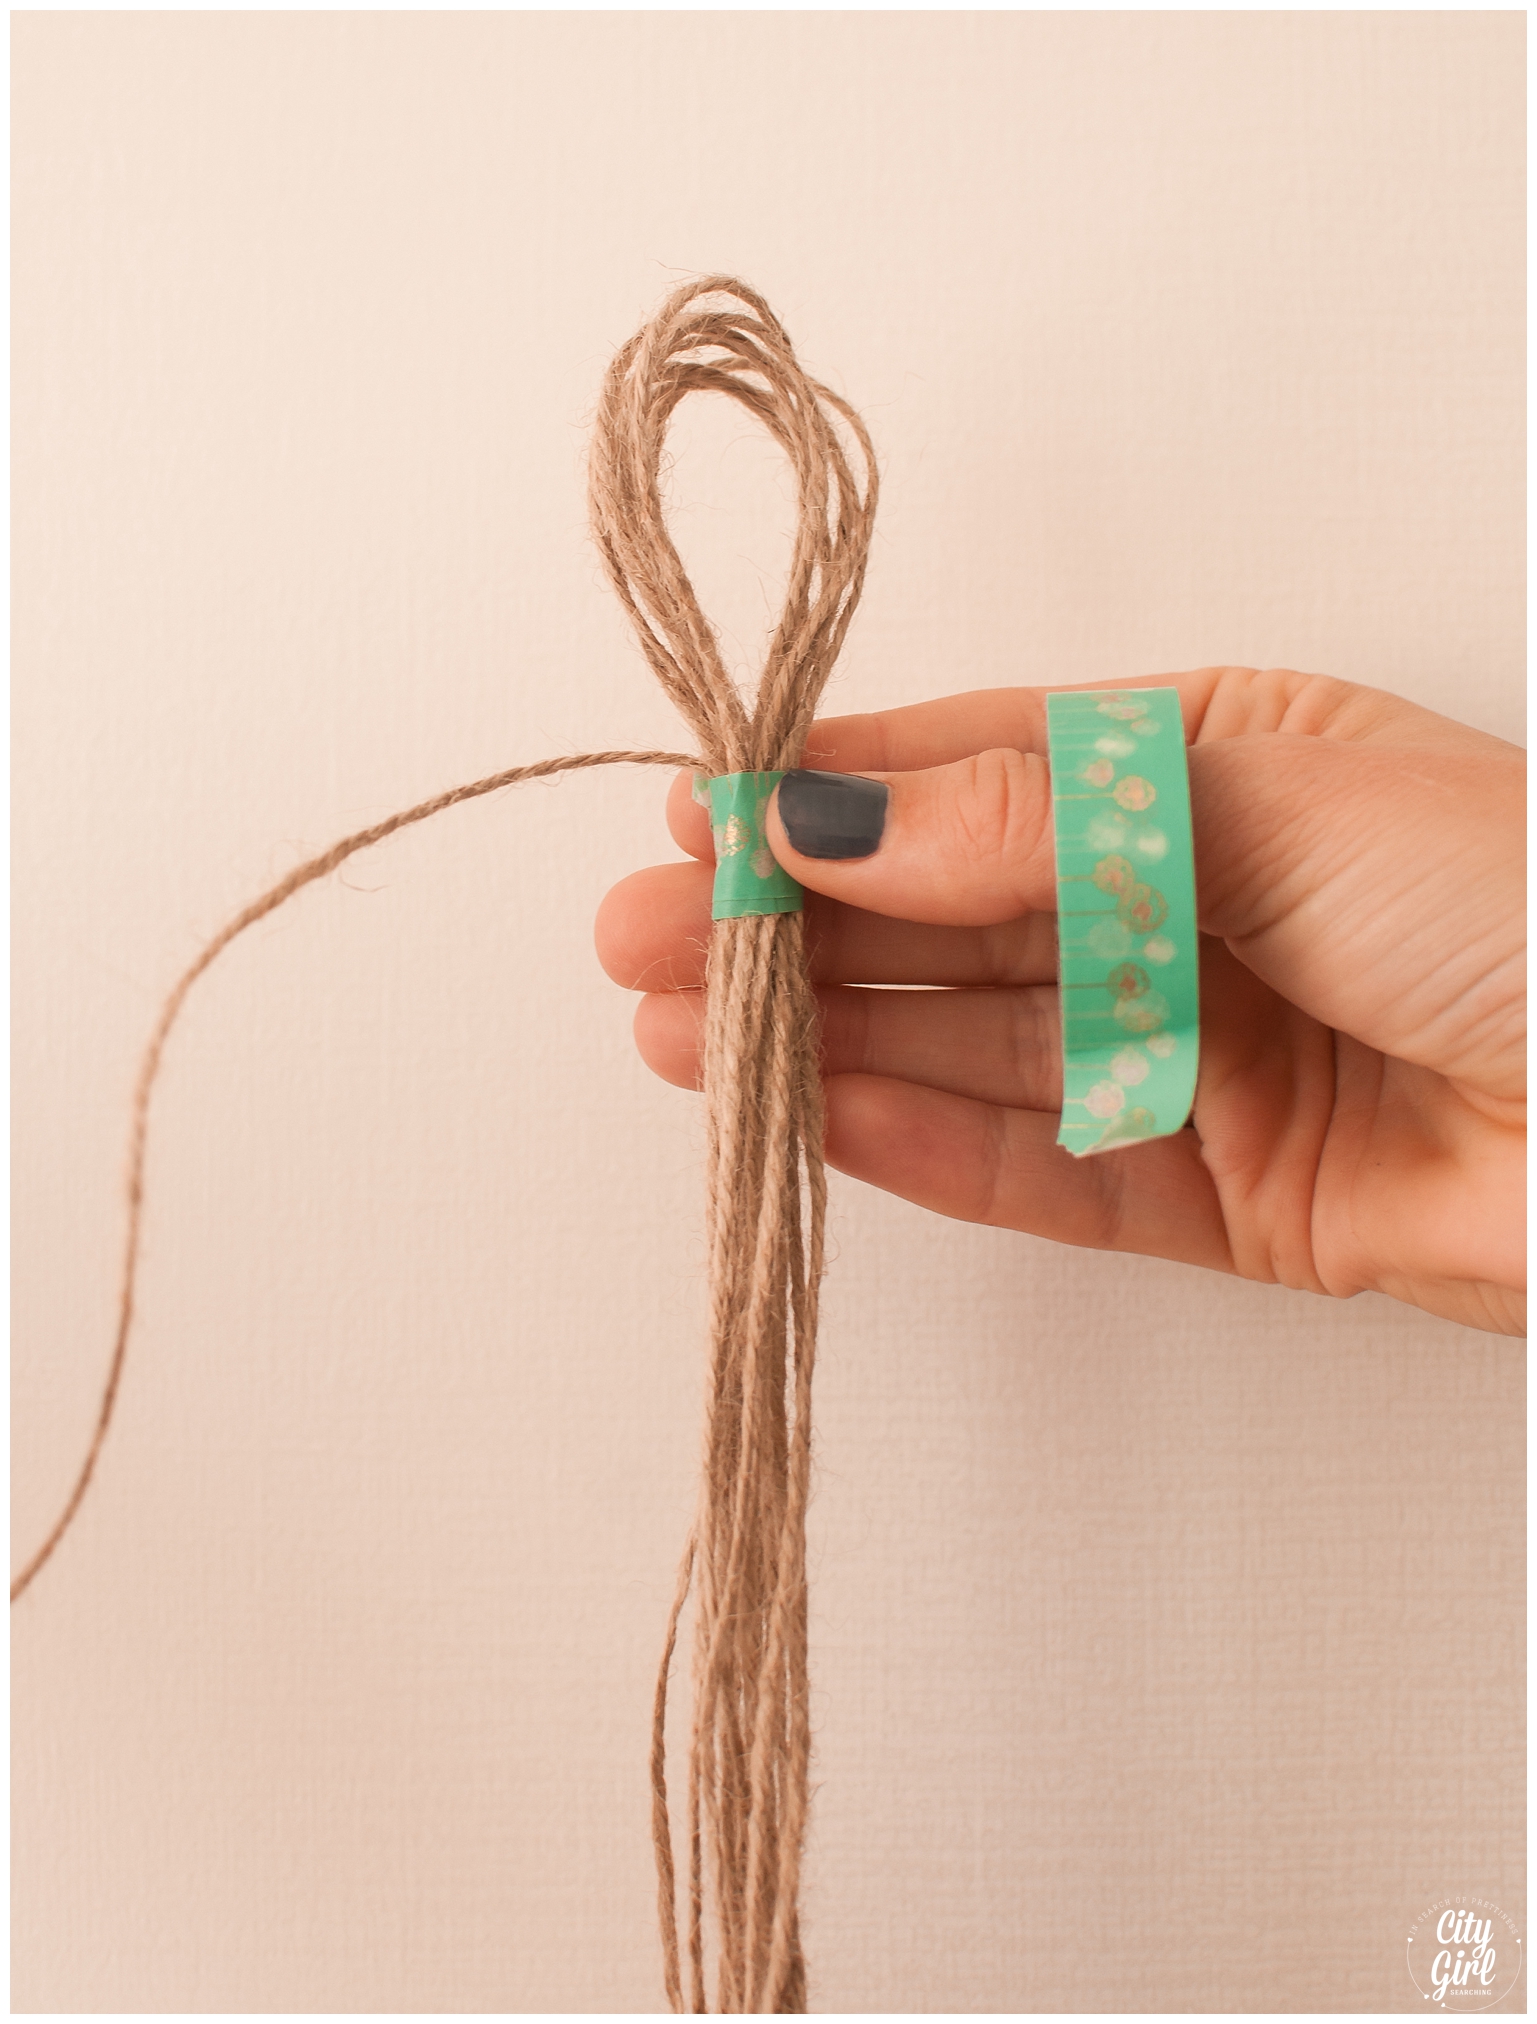
To make your macrame loop
Use the longest piece of string to make a knot around the other 7 pieces of string (see pictures below). Continue making knots in this way until you complete the hanging loop.

To secure the hanging loop, make a knot. Take the outer right string across the front, then take the outer left string in front of the right piece and then take it behind all the other pieces to the right hand side (see pictures below) and put it through the gap and tighten. Repeat this by alternating the next outer string (so taking the left in front this time, and the right behind). Repeat 6 times.

To create the mid section using Josephine knots
Divide your strings into 4 sections, each section should have 4 pieces (16 in total). Secure 3 of the sections with tape. Using the fourth section, measure down 35cm and mark with tape (this is where your Josephine knot will start). Divide this section into 2 parts, make sure the strings are kept flush to ensure your finished knot is flat.
Start with two cords on the left and make a loop, then take the the right cords and place them over the loop. Securing with your left hand, take the right cords and place them under the bottom left cords and up and over them again.Then thread them through the loop (as in the pictures below).


Make sure all your strings are flat and tighten to your marked off tape. Repeat with the remaining 4 sections.
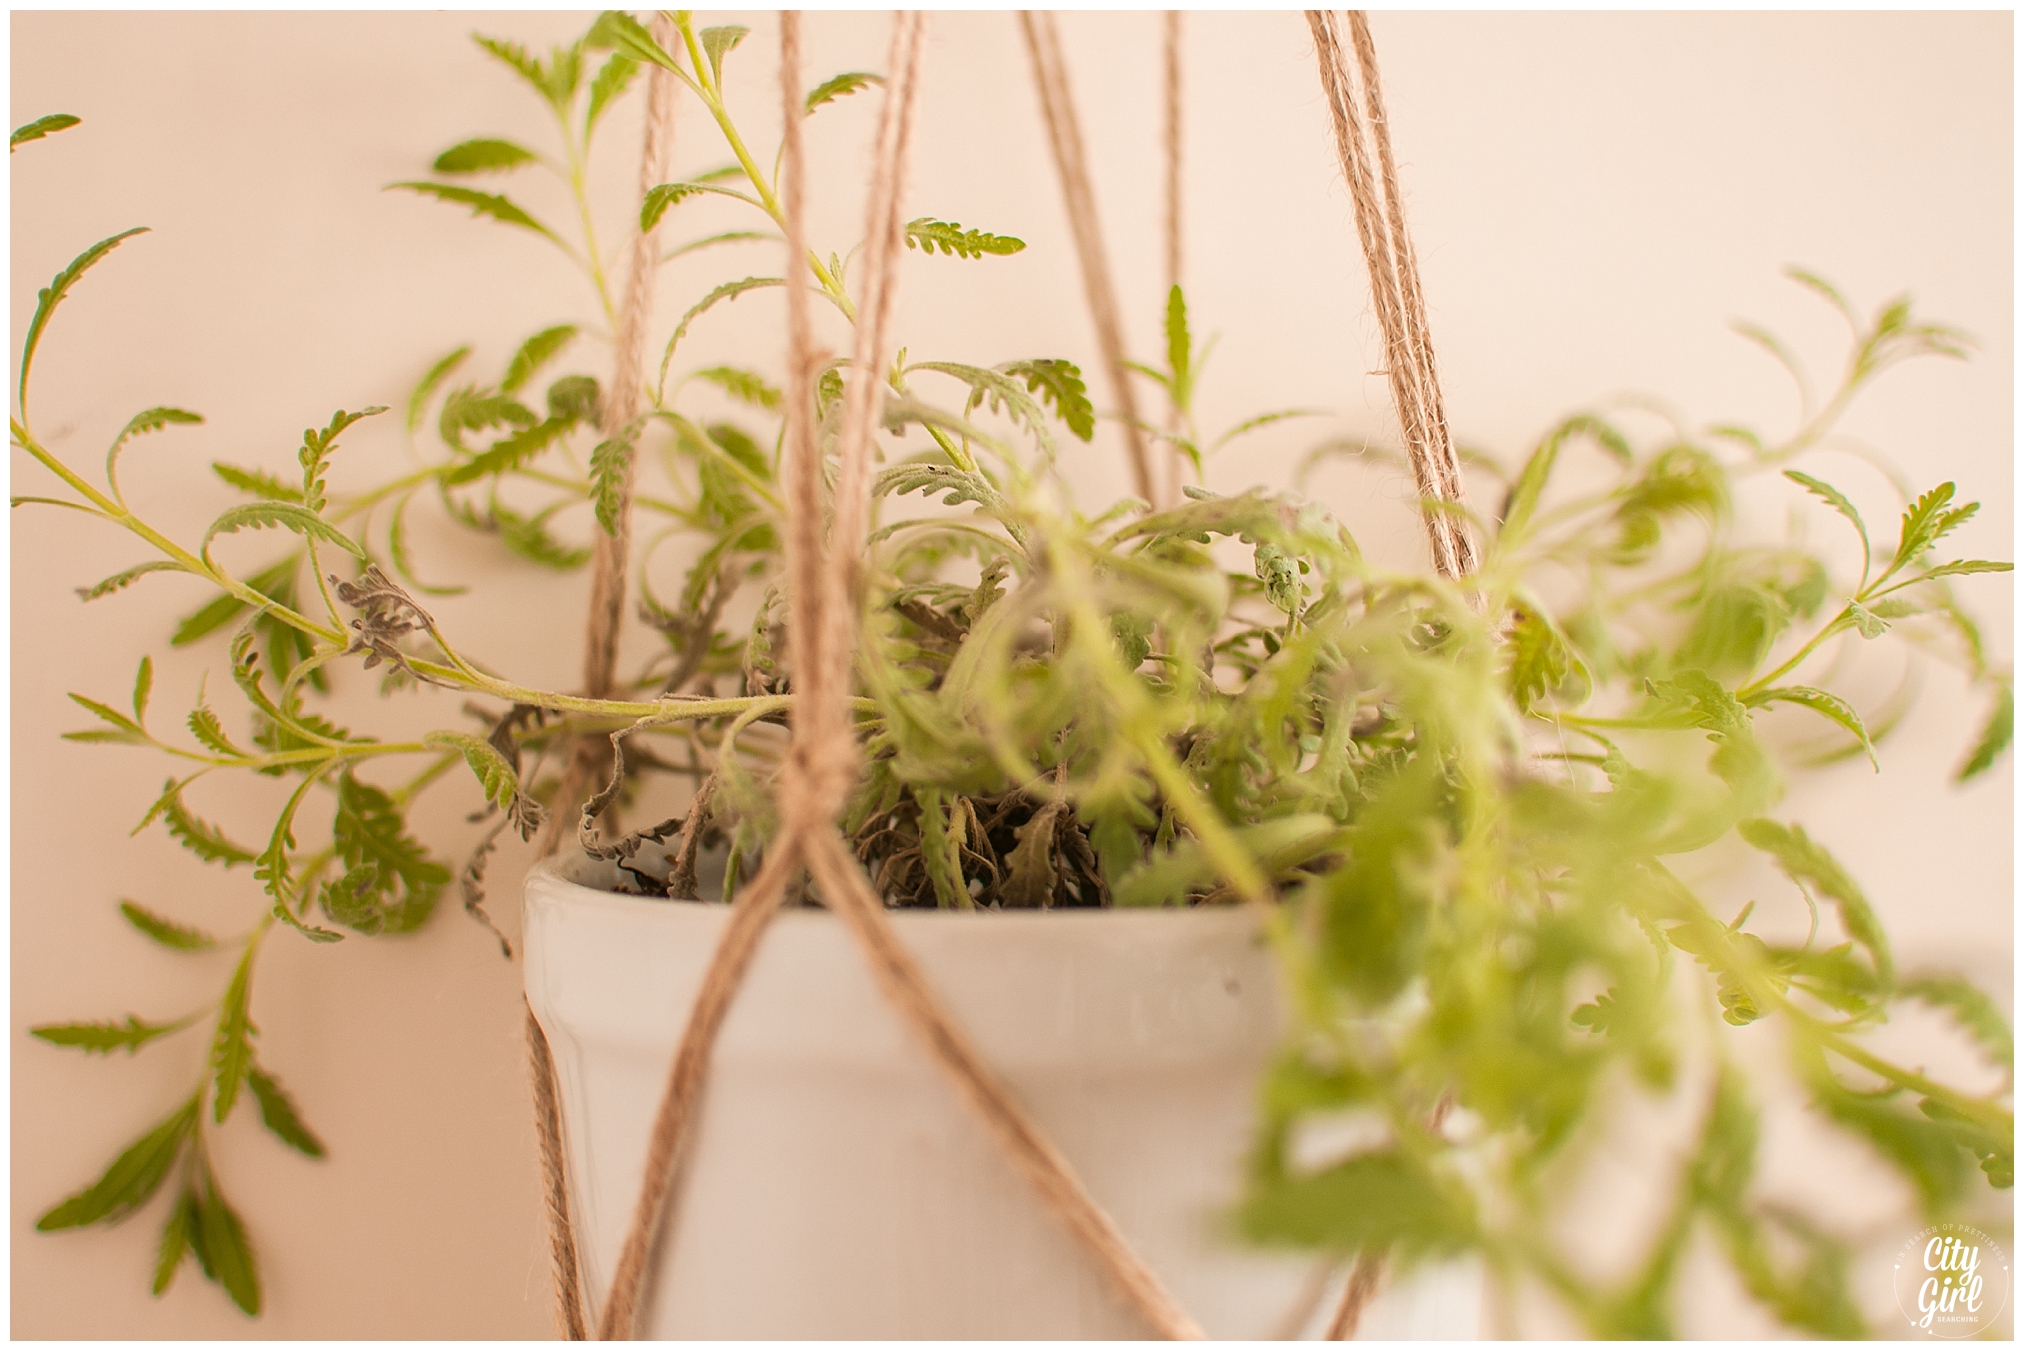
To make the basket:
Split the 4 sections in half and join two cords from each section next to each other to create a new group. Tie a simple knot in these cords and continue for each new group. Make sure when making the groups they are the correct cords to ensure your basket doesn't get tangled.

Measure down 5cm to create new groups with simple knots again as before.
Measure another 7 cm and gather all the strings together and tie into one large knot.

Neaten off the hanging ends to make a tassel. Place your pot in the middle of the basket. Hang up and enjoy.