Hello to our new (PINK!) Chicken Coop!

Farmboy CityGirl Pink Chicken House DIY-01.png

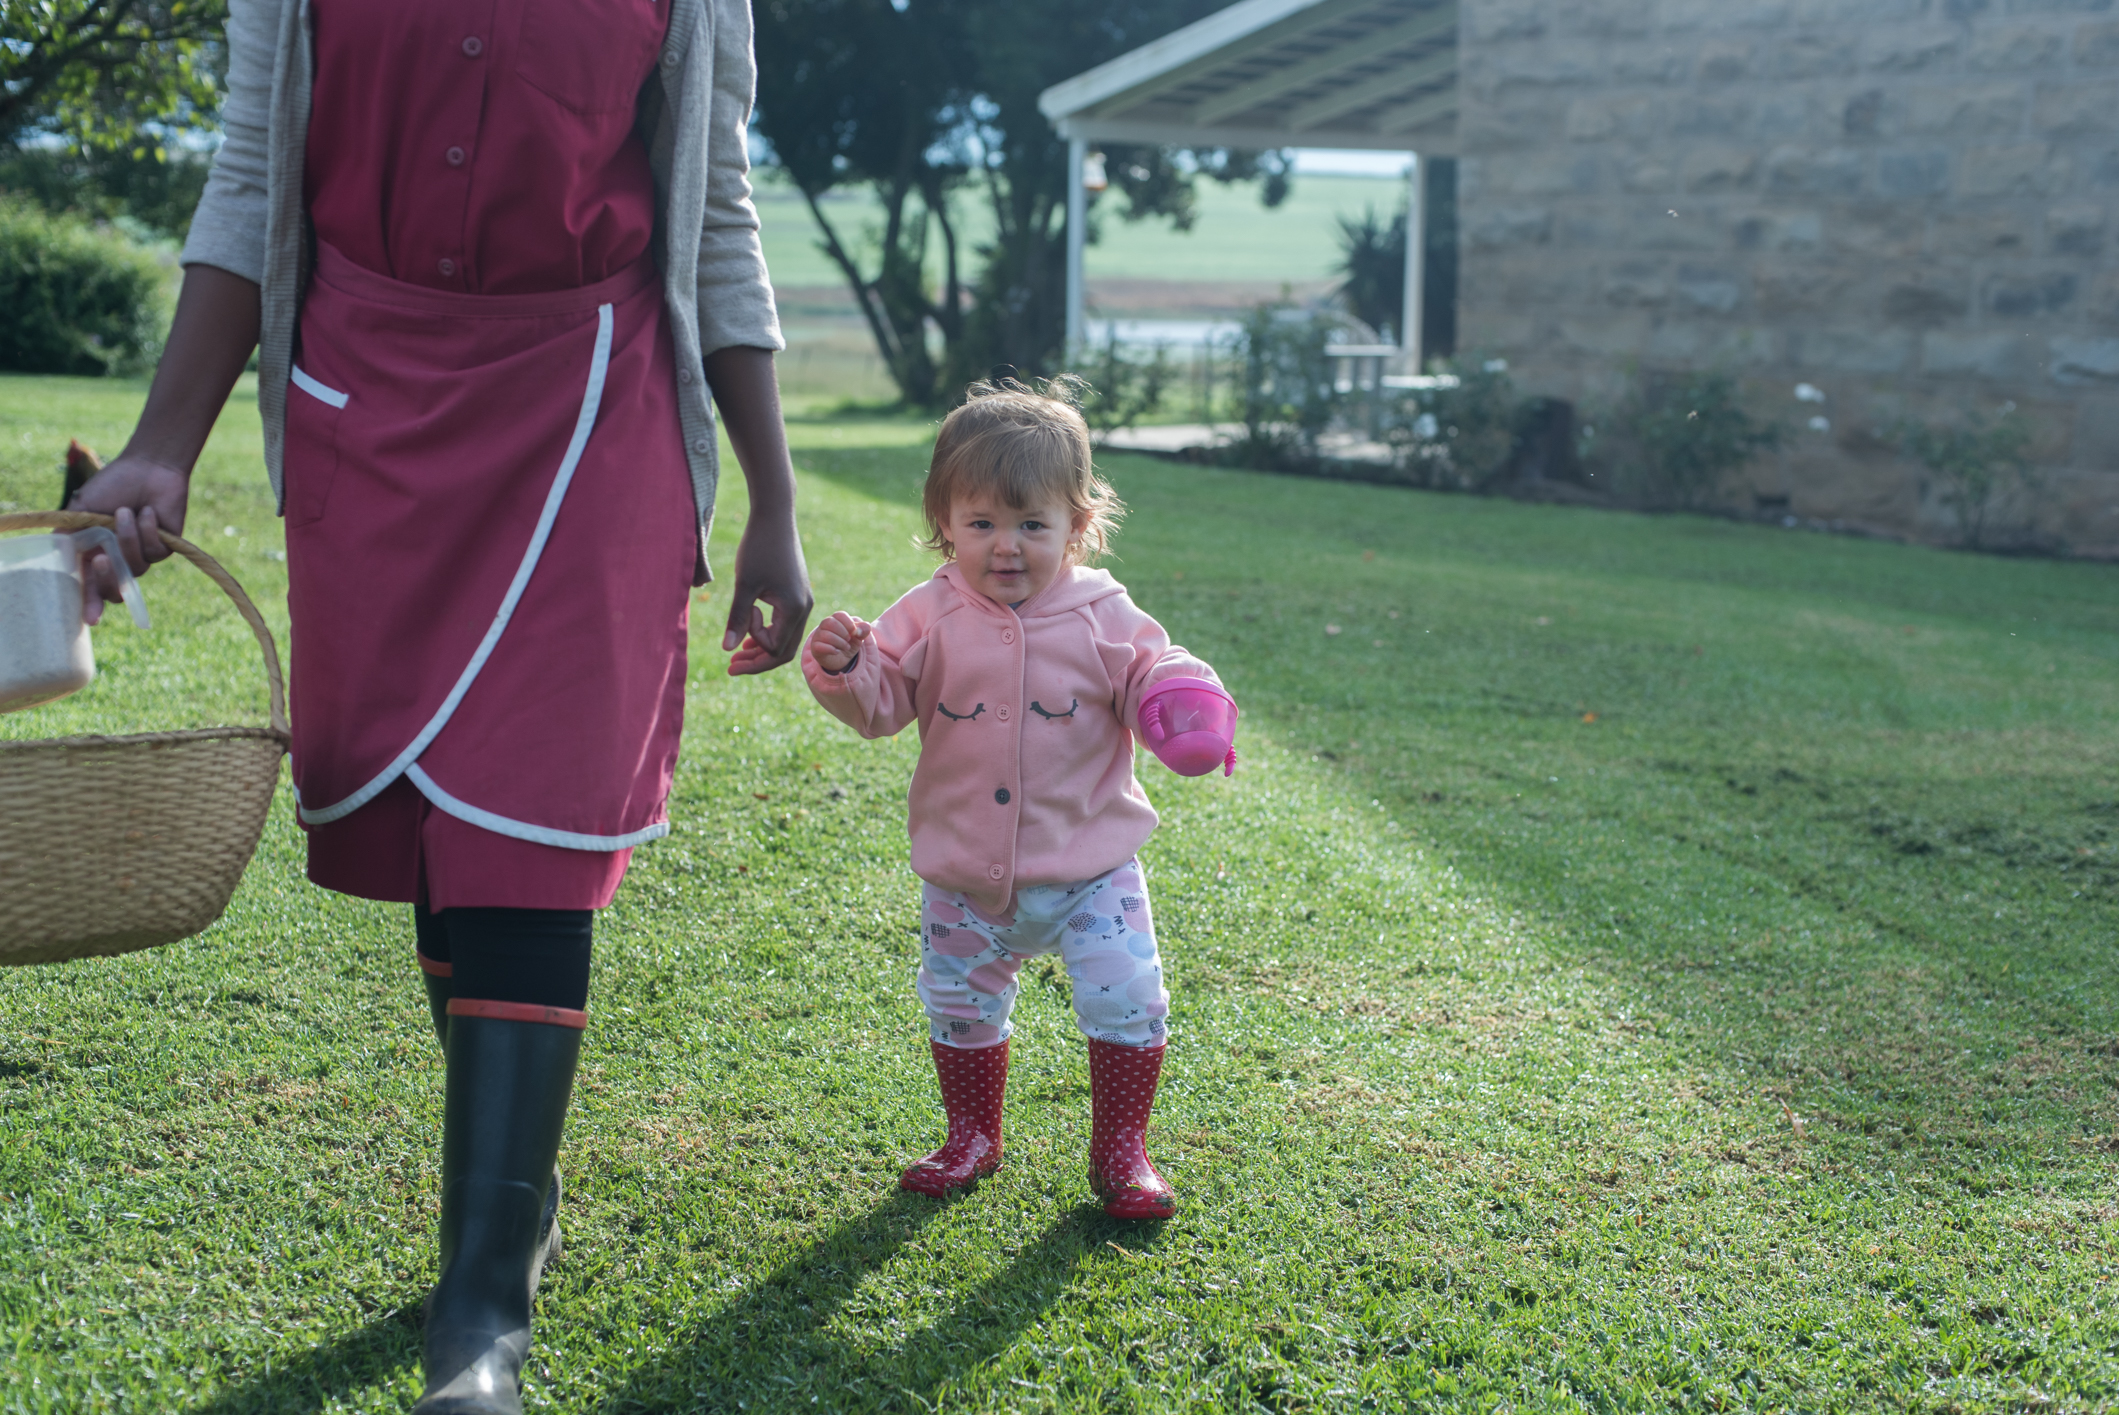
When we lived at the bottom of my in-law’s garden, there was already an established chicken run, complete with laying hens. It was wonderful having our own fresh supply of eggs (especially as Everly eats 2 eggs just about every day for breakfast…click here to read more about her ‘real food’ weaning & feeding journey) but also because Granny & Grandpa were a mere minute away for visits.

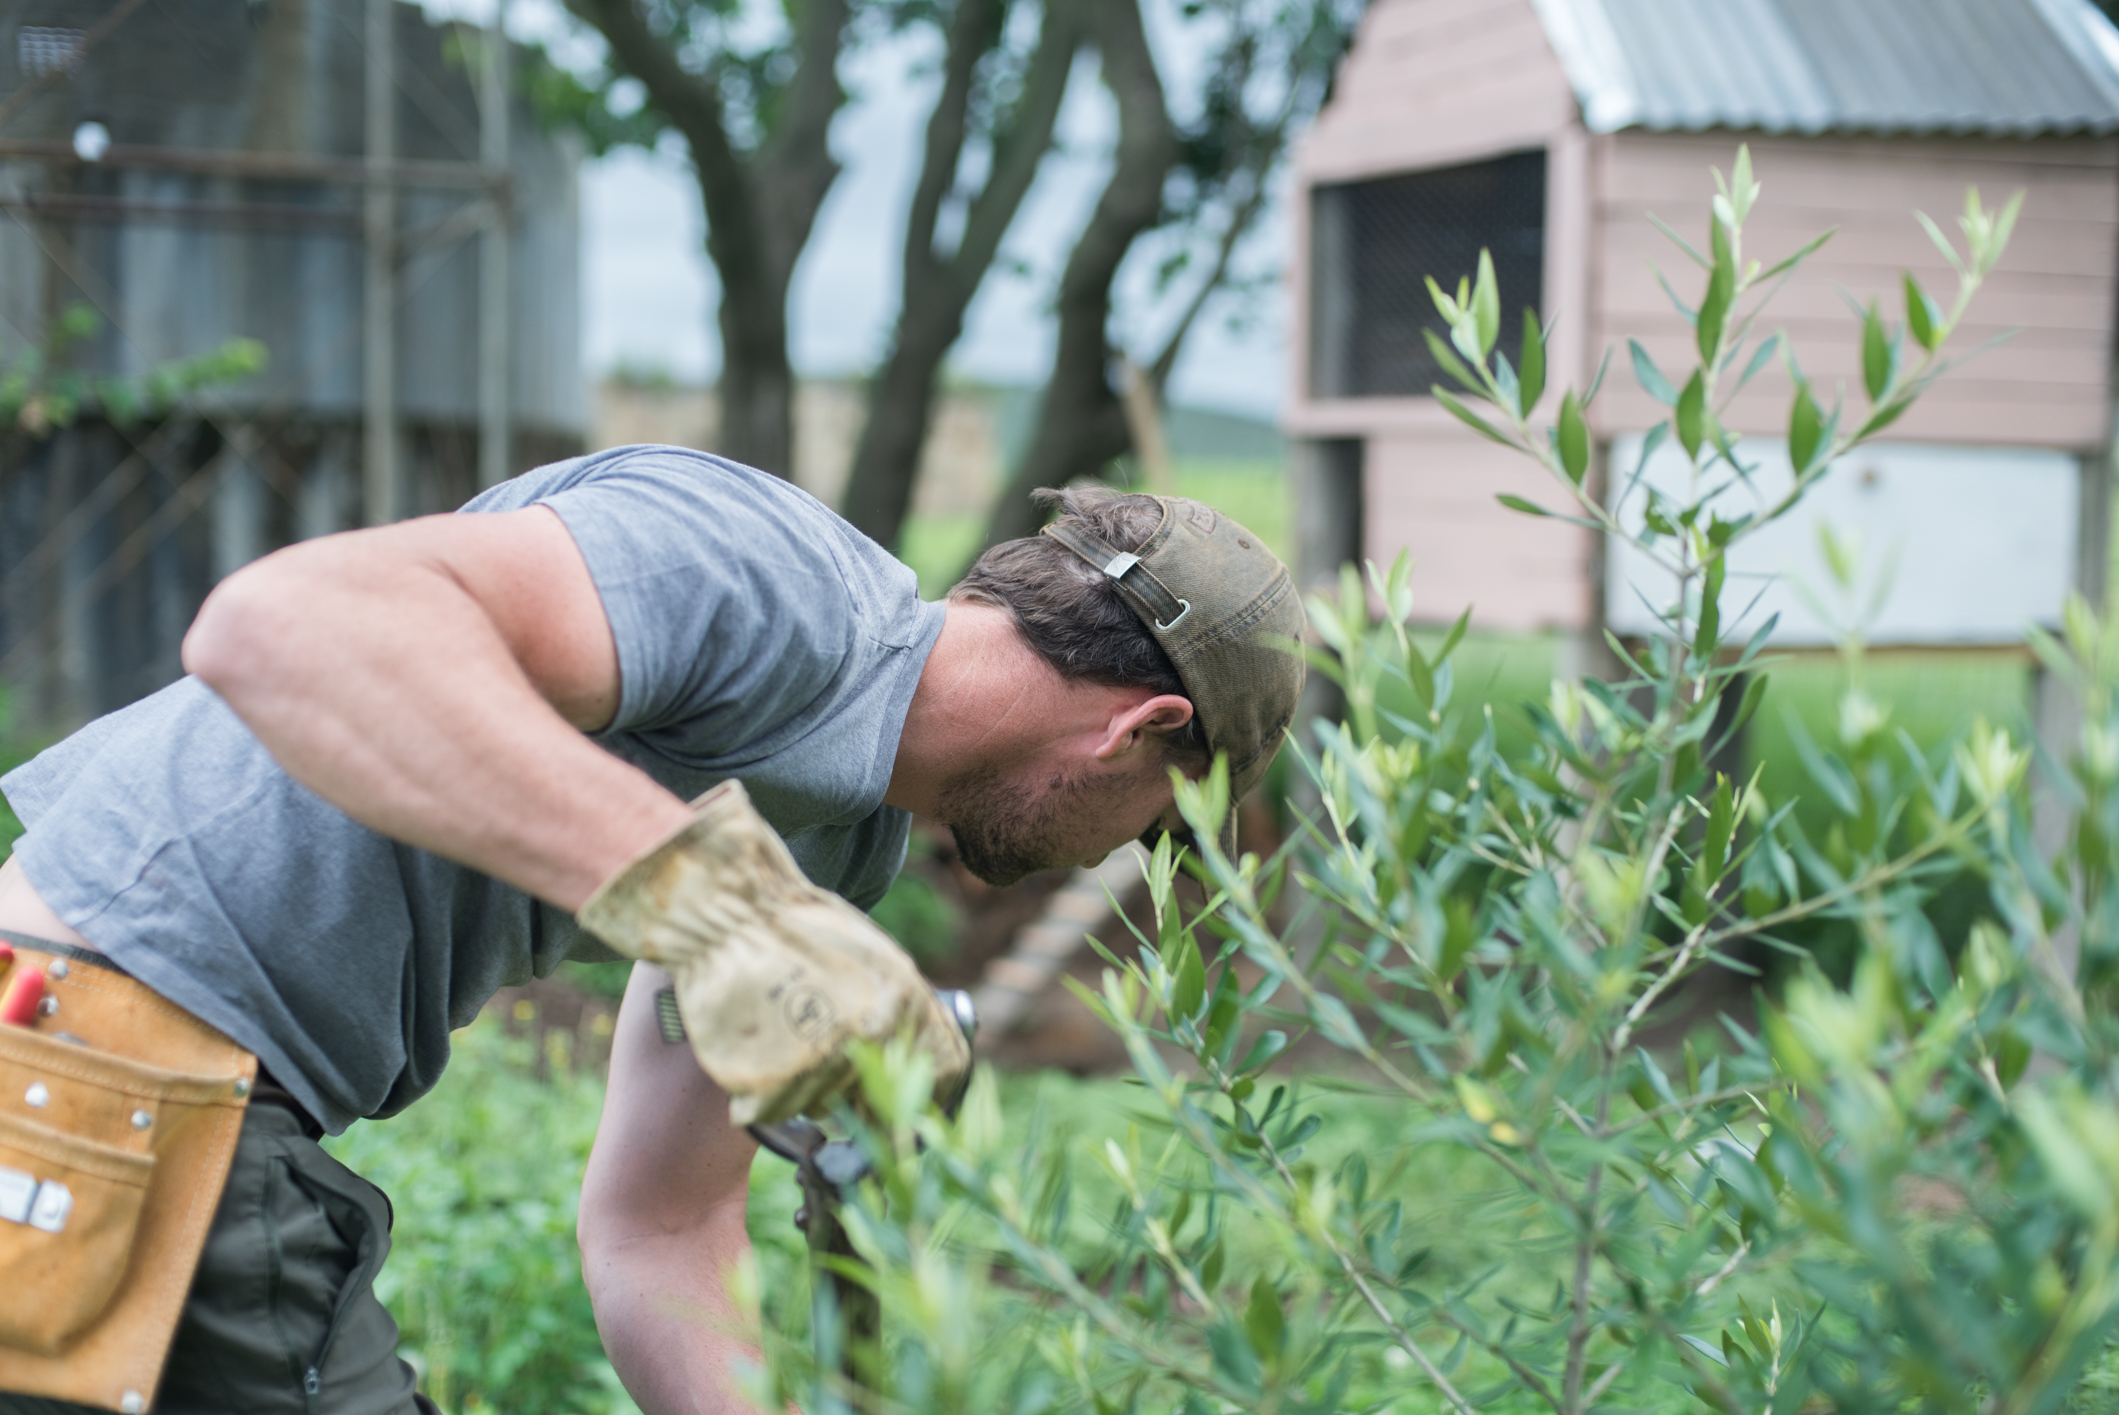
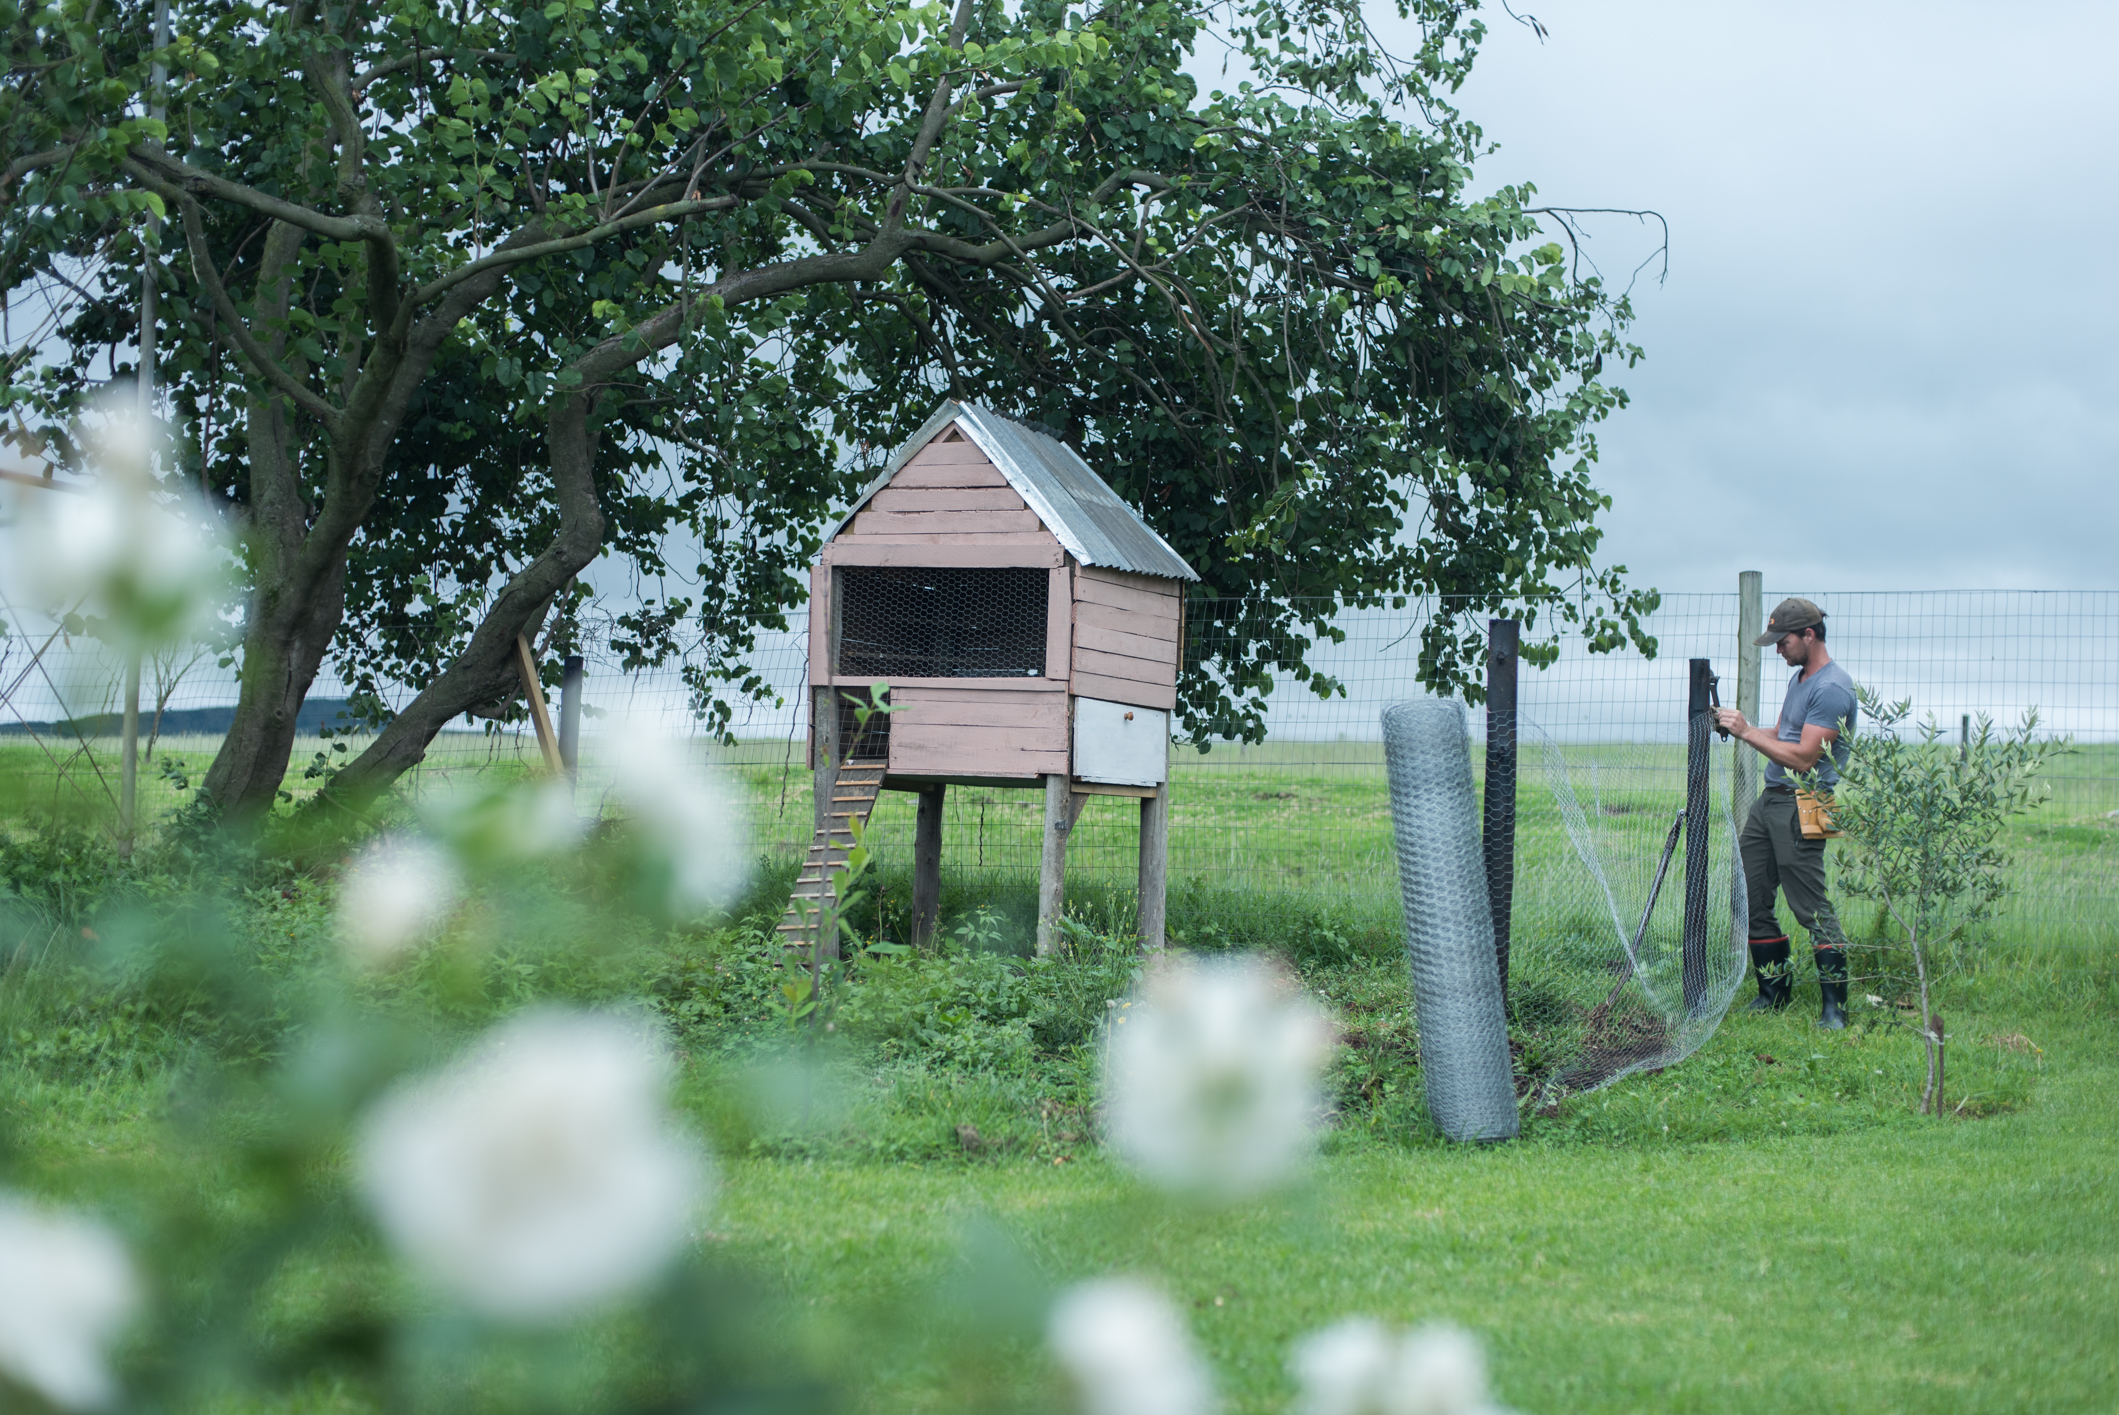
While there is a very old and rusty metal chicken house in one of the farm sheds, Farmboy has been wanting to make his own one for a good number of years now, and so our new home was just the prompting he needed t get started on the project. I will have you know, the pink colour was not my idea, but of course, I am thrilled with it! As there were two options for a primer for the wood (white or pink) the choice seemed obvious to my dear husband, and voila…the pink coop!

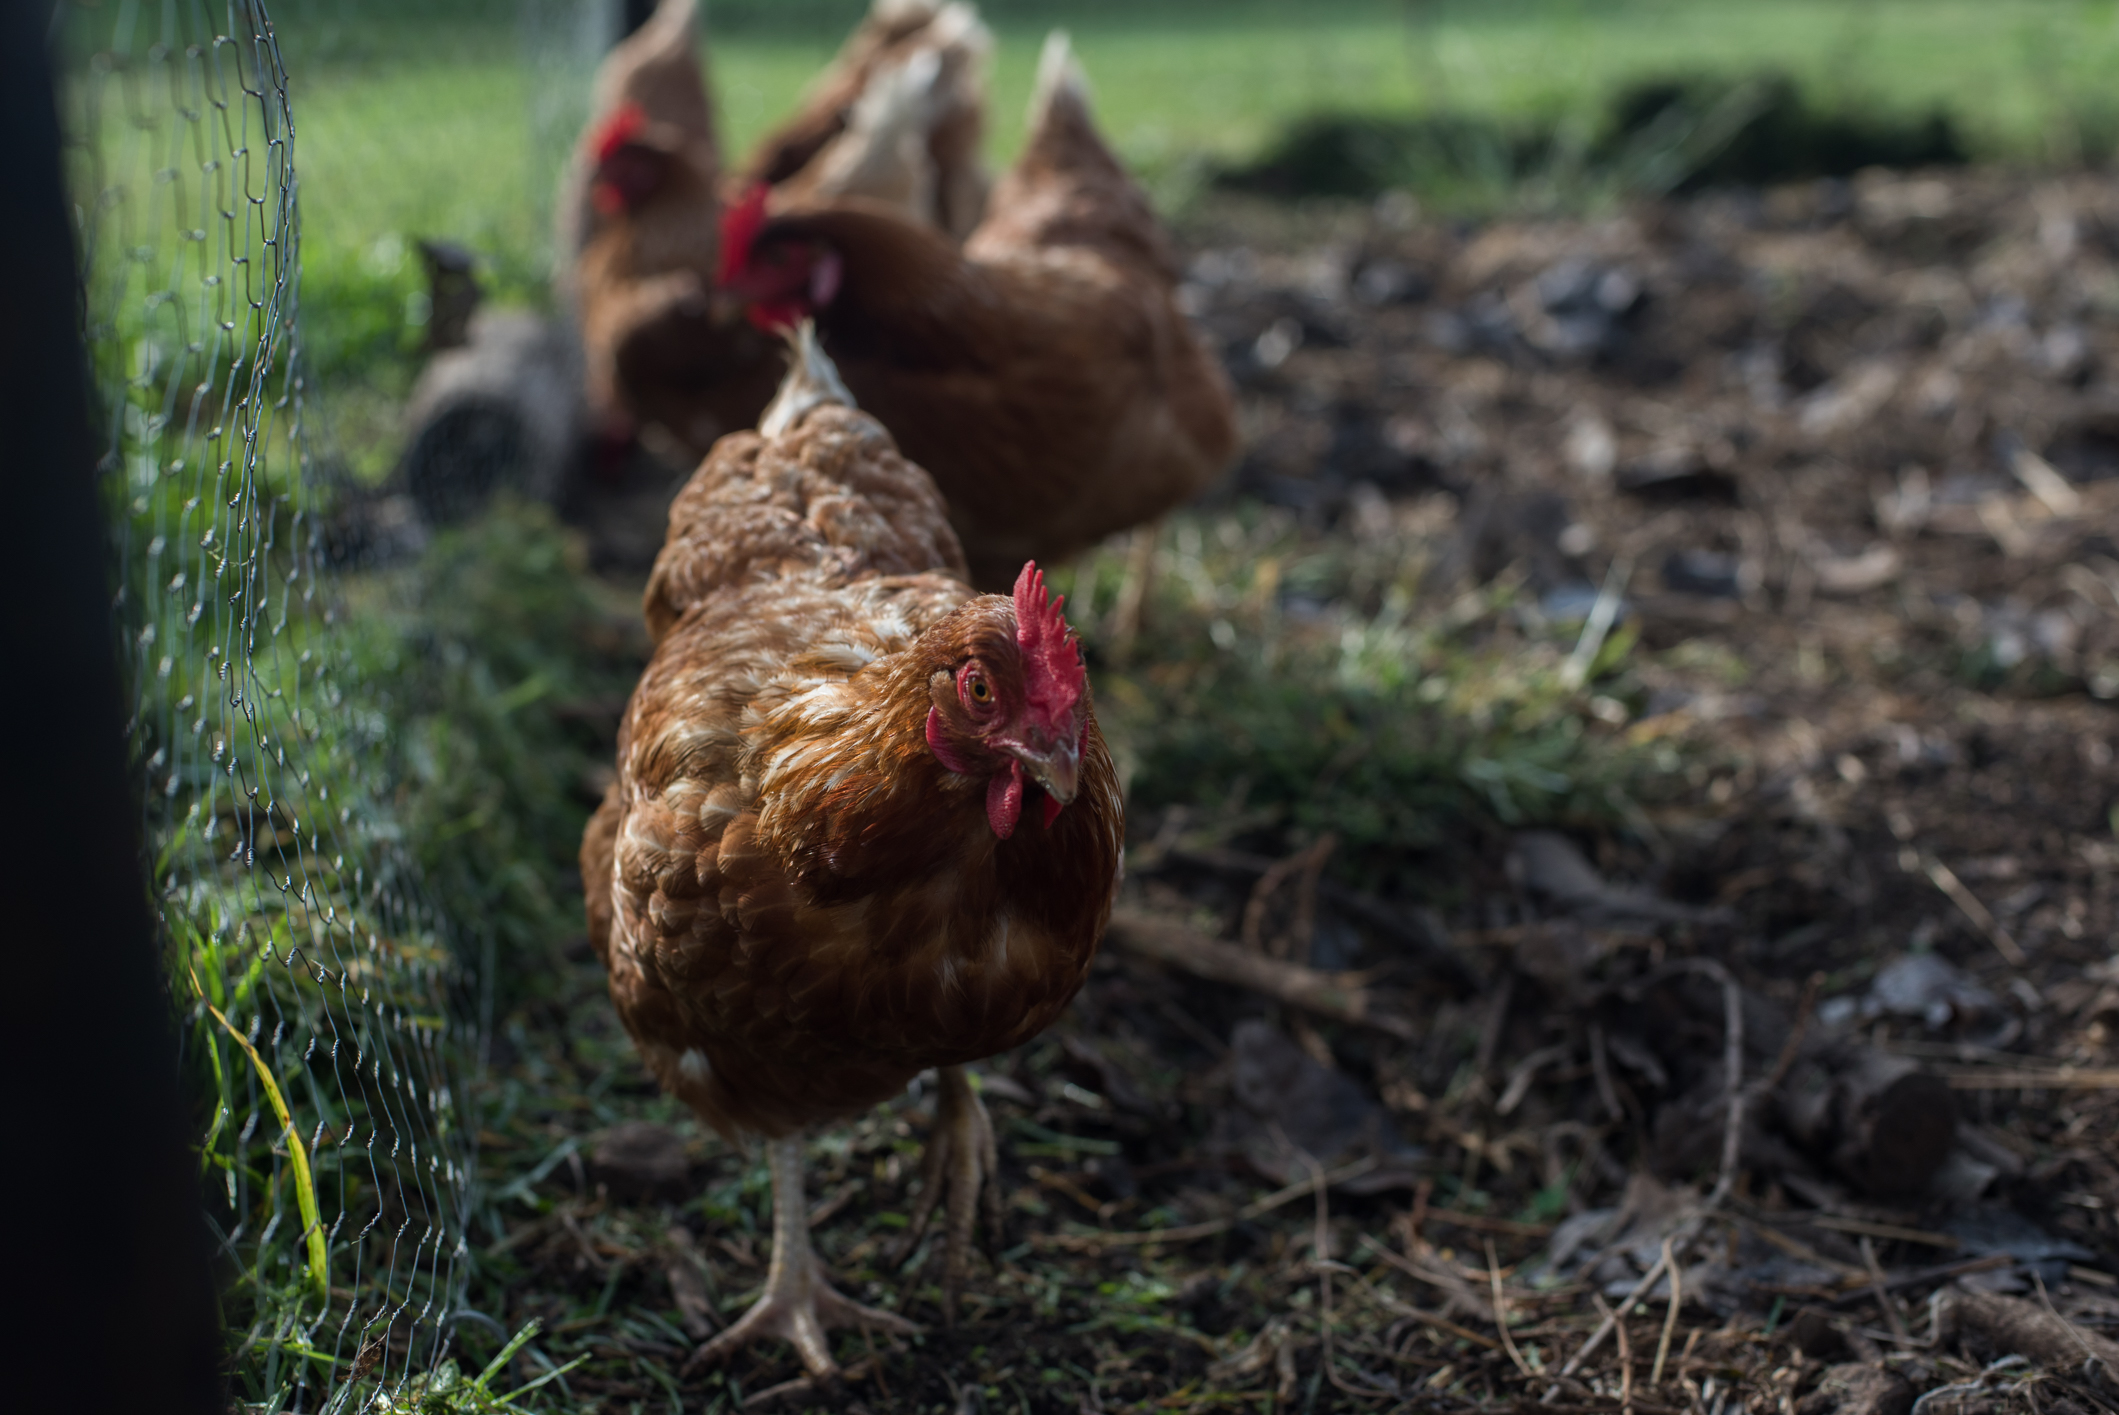
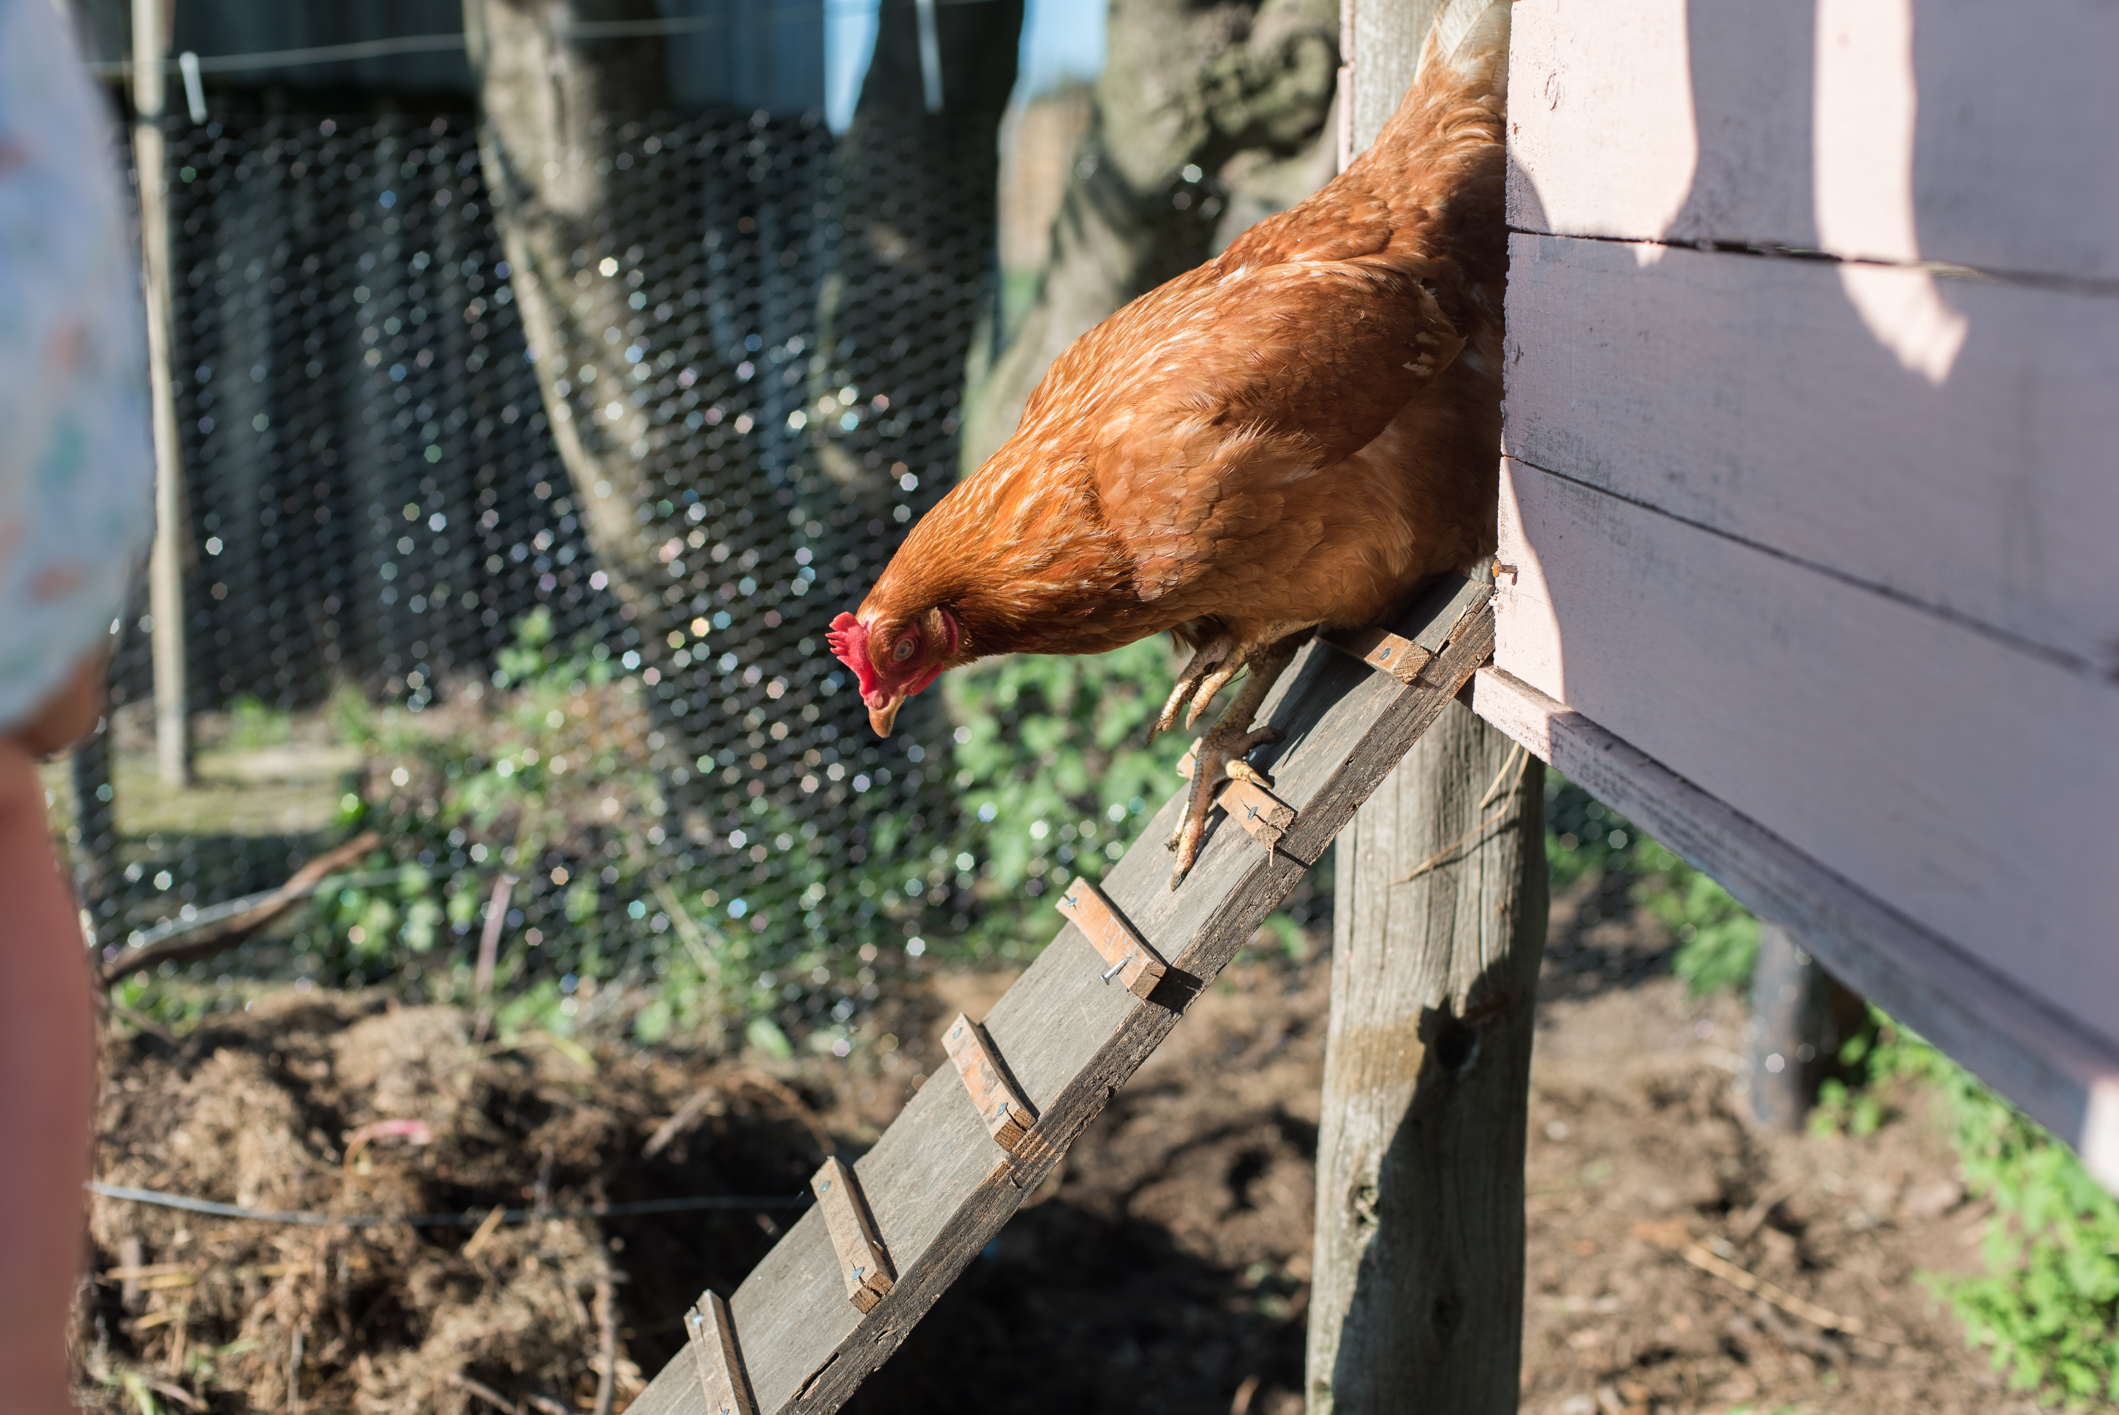
Farmboy didn’t work from any plans when we put it together, working from an idea on Pinterest, and his own clever farmboy mind, he whipped together a very snazzy A-frame house, complete with double story roosting space inside, and a hinged door on the side to collect eggs from. The chickens are locked up at night (to keep them safe and sound) and during the day are let out to wonder around their enclosure. We do let them out into the garden too, but they are such social creatures that they are ALWAYS making themselves at home on our verandah, and leaving ‘evidence’ behind that is just impossible to clean.

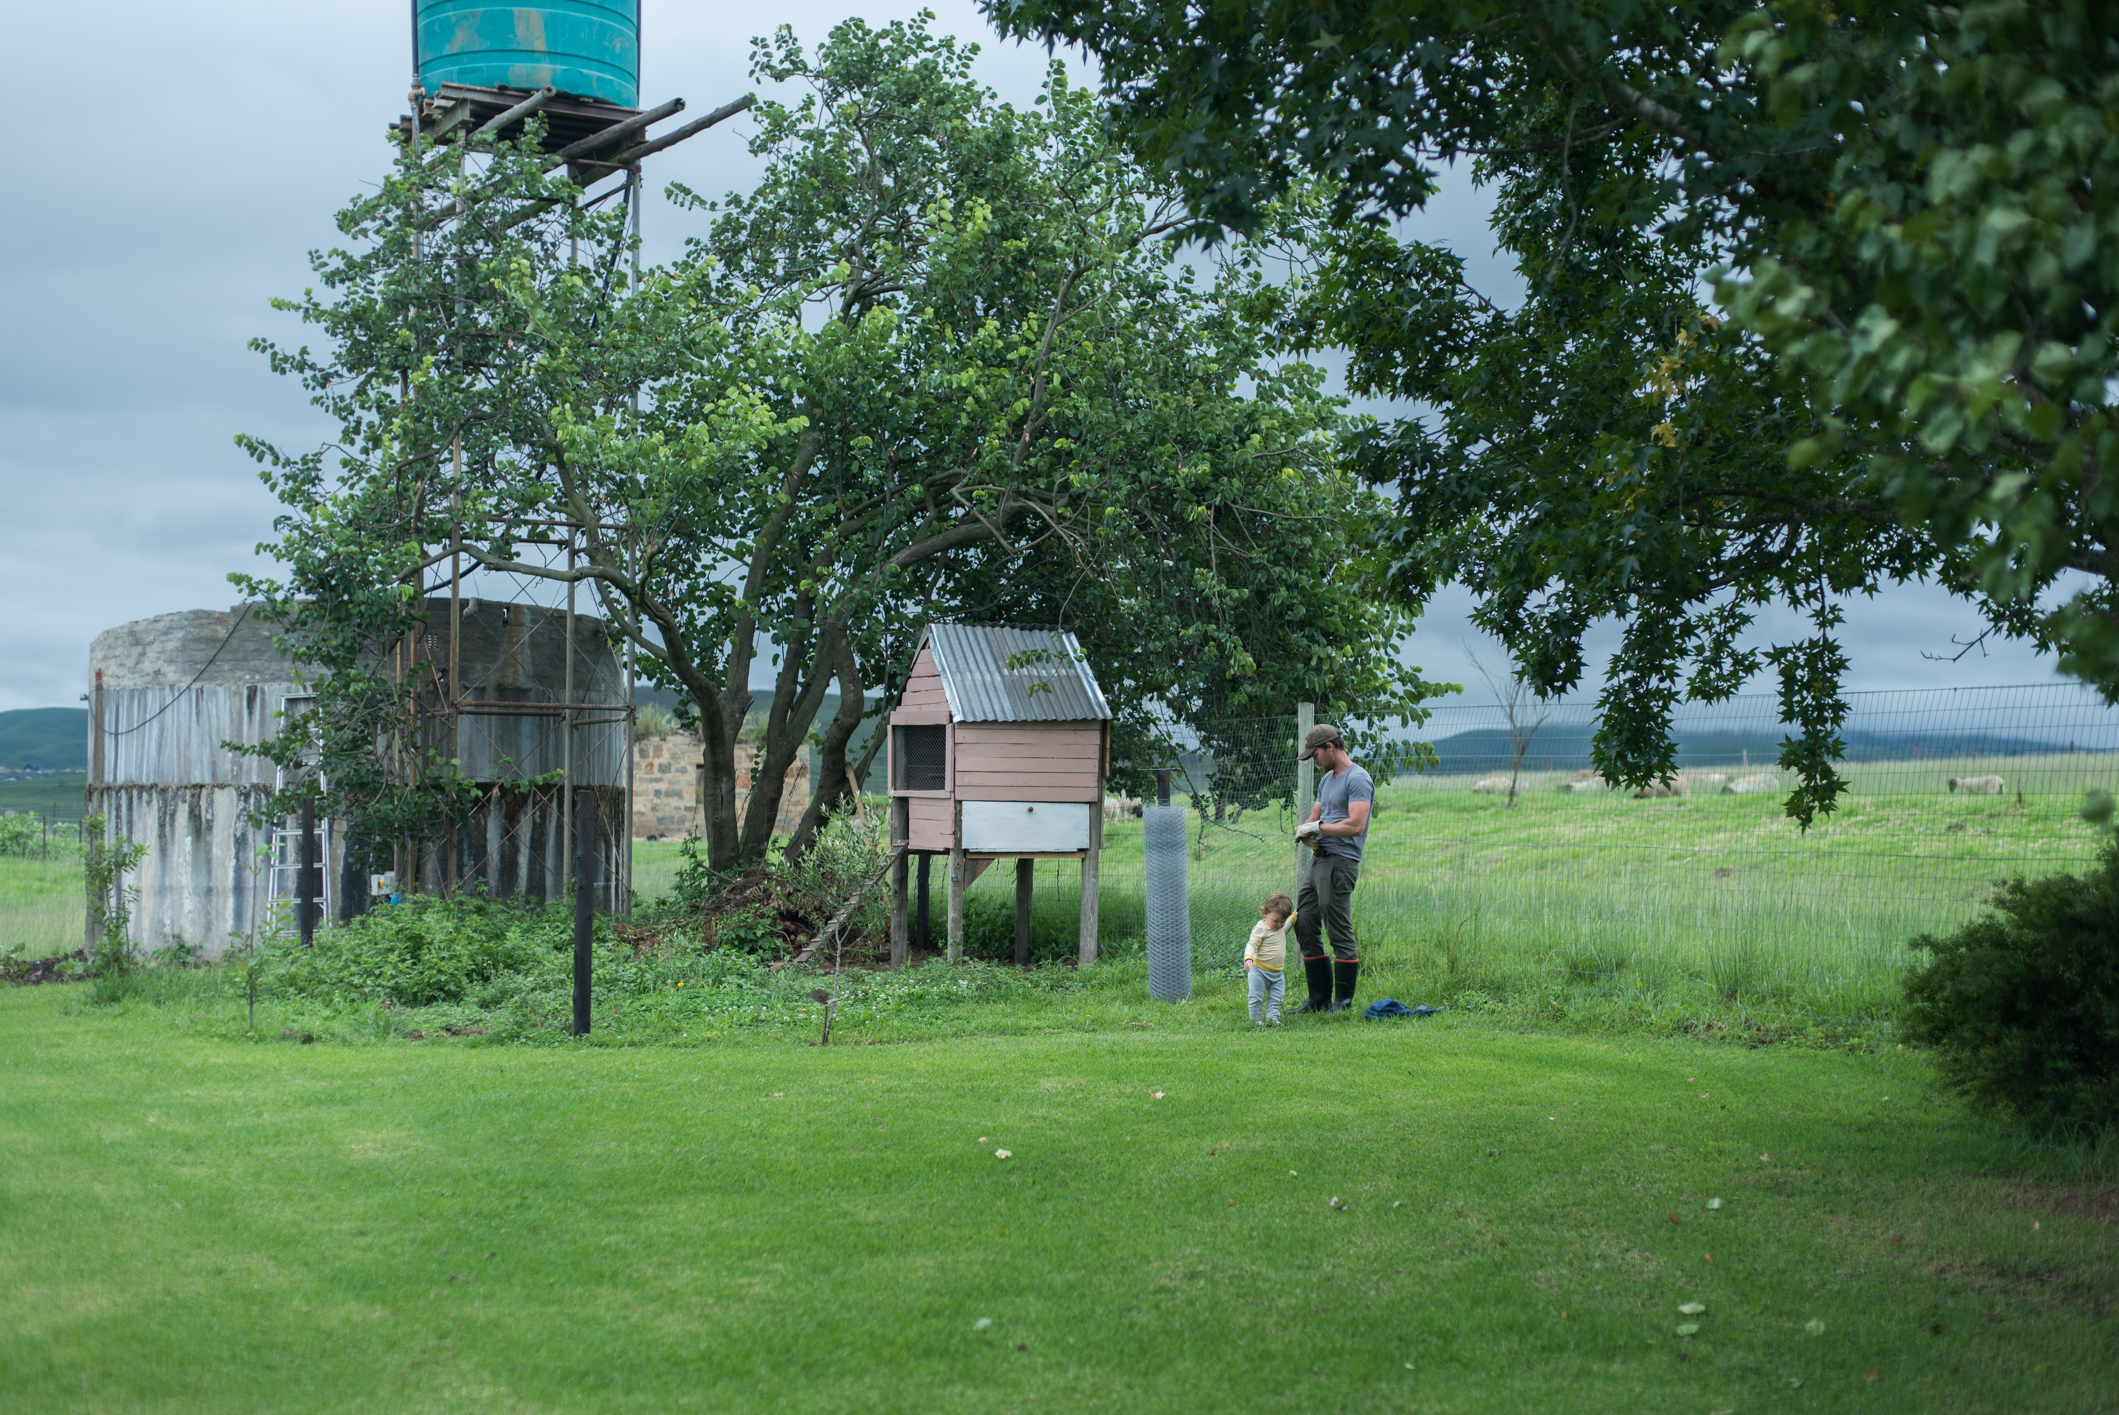
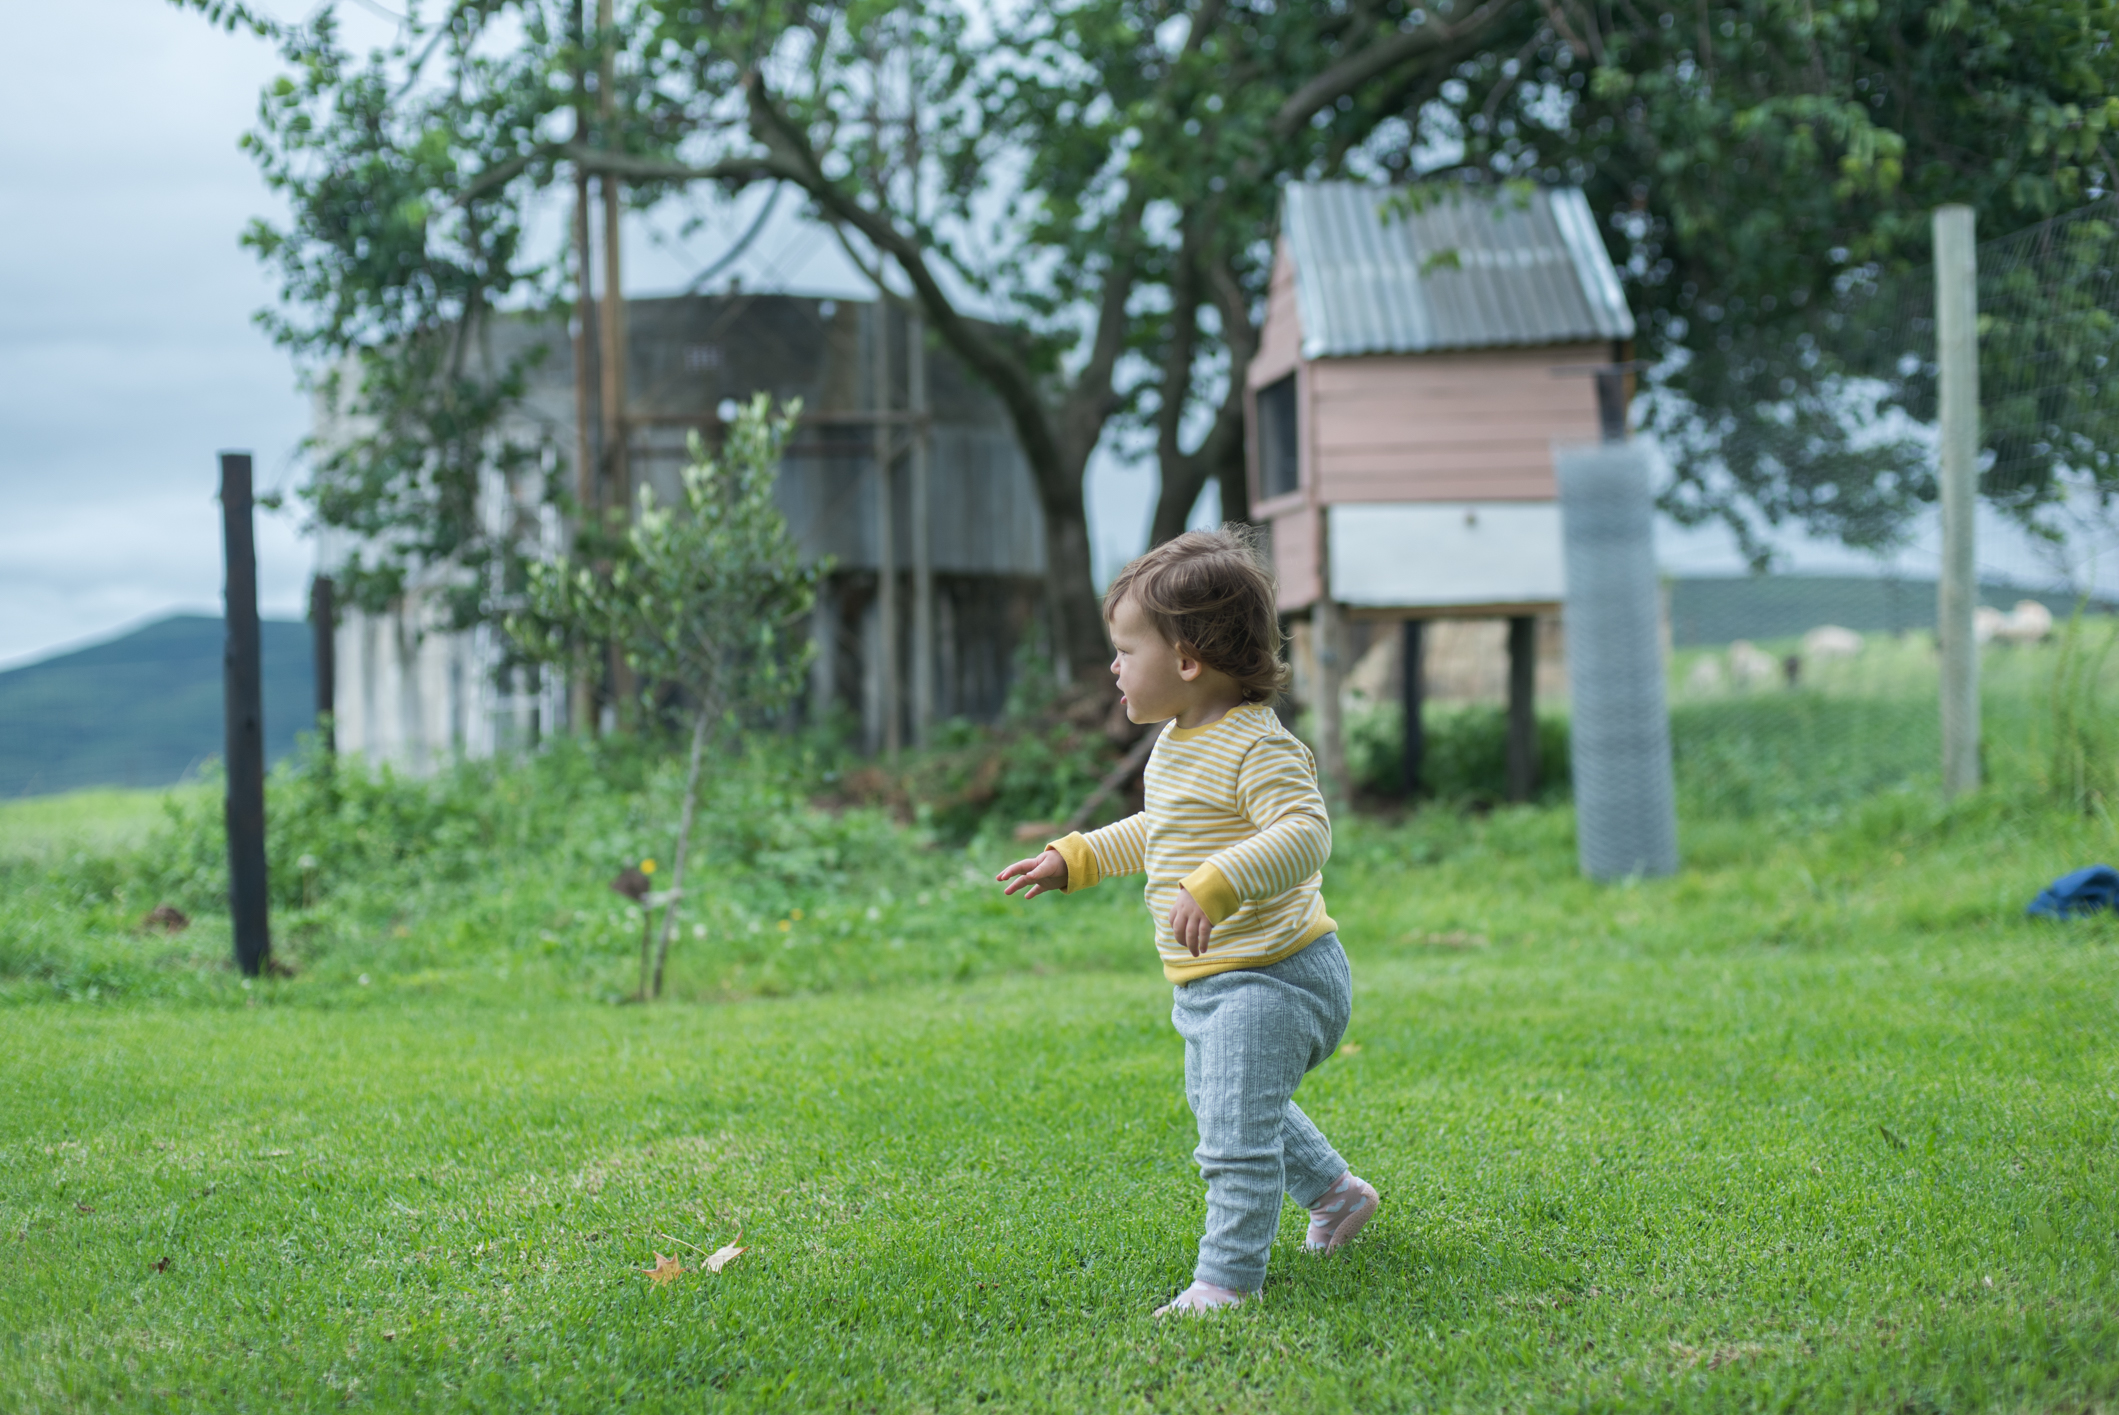
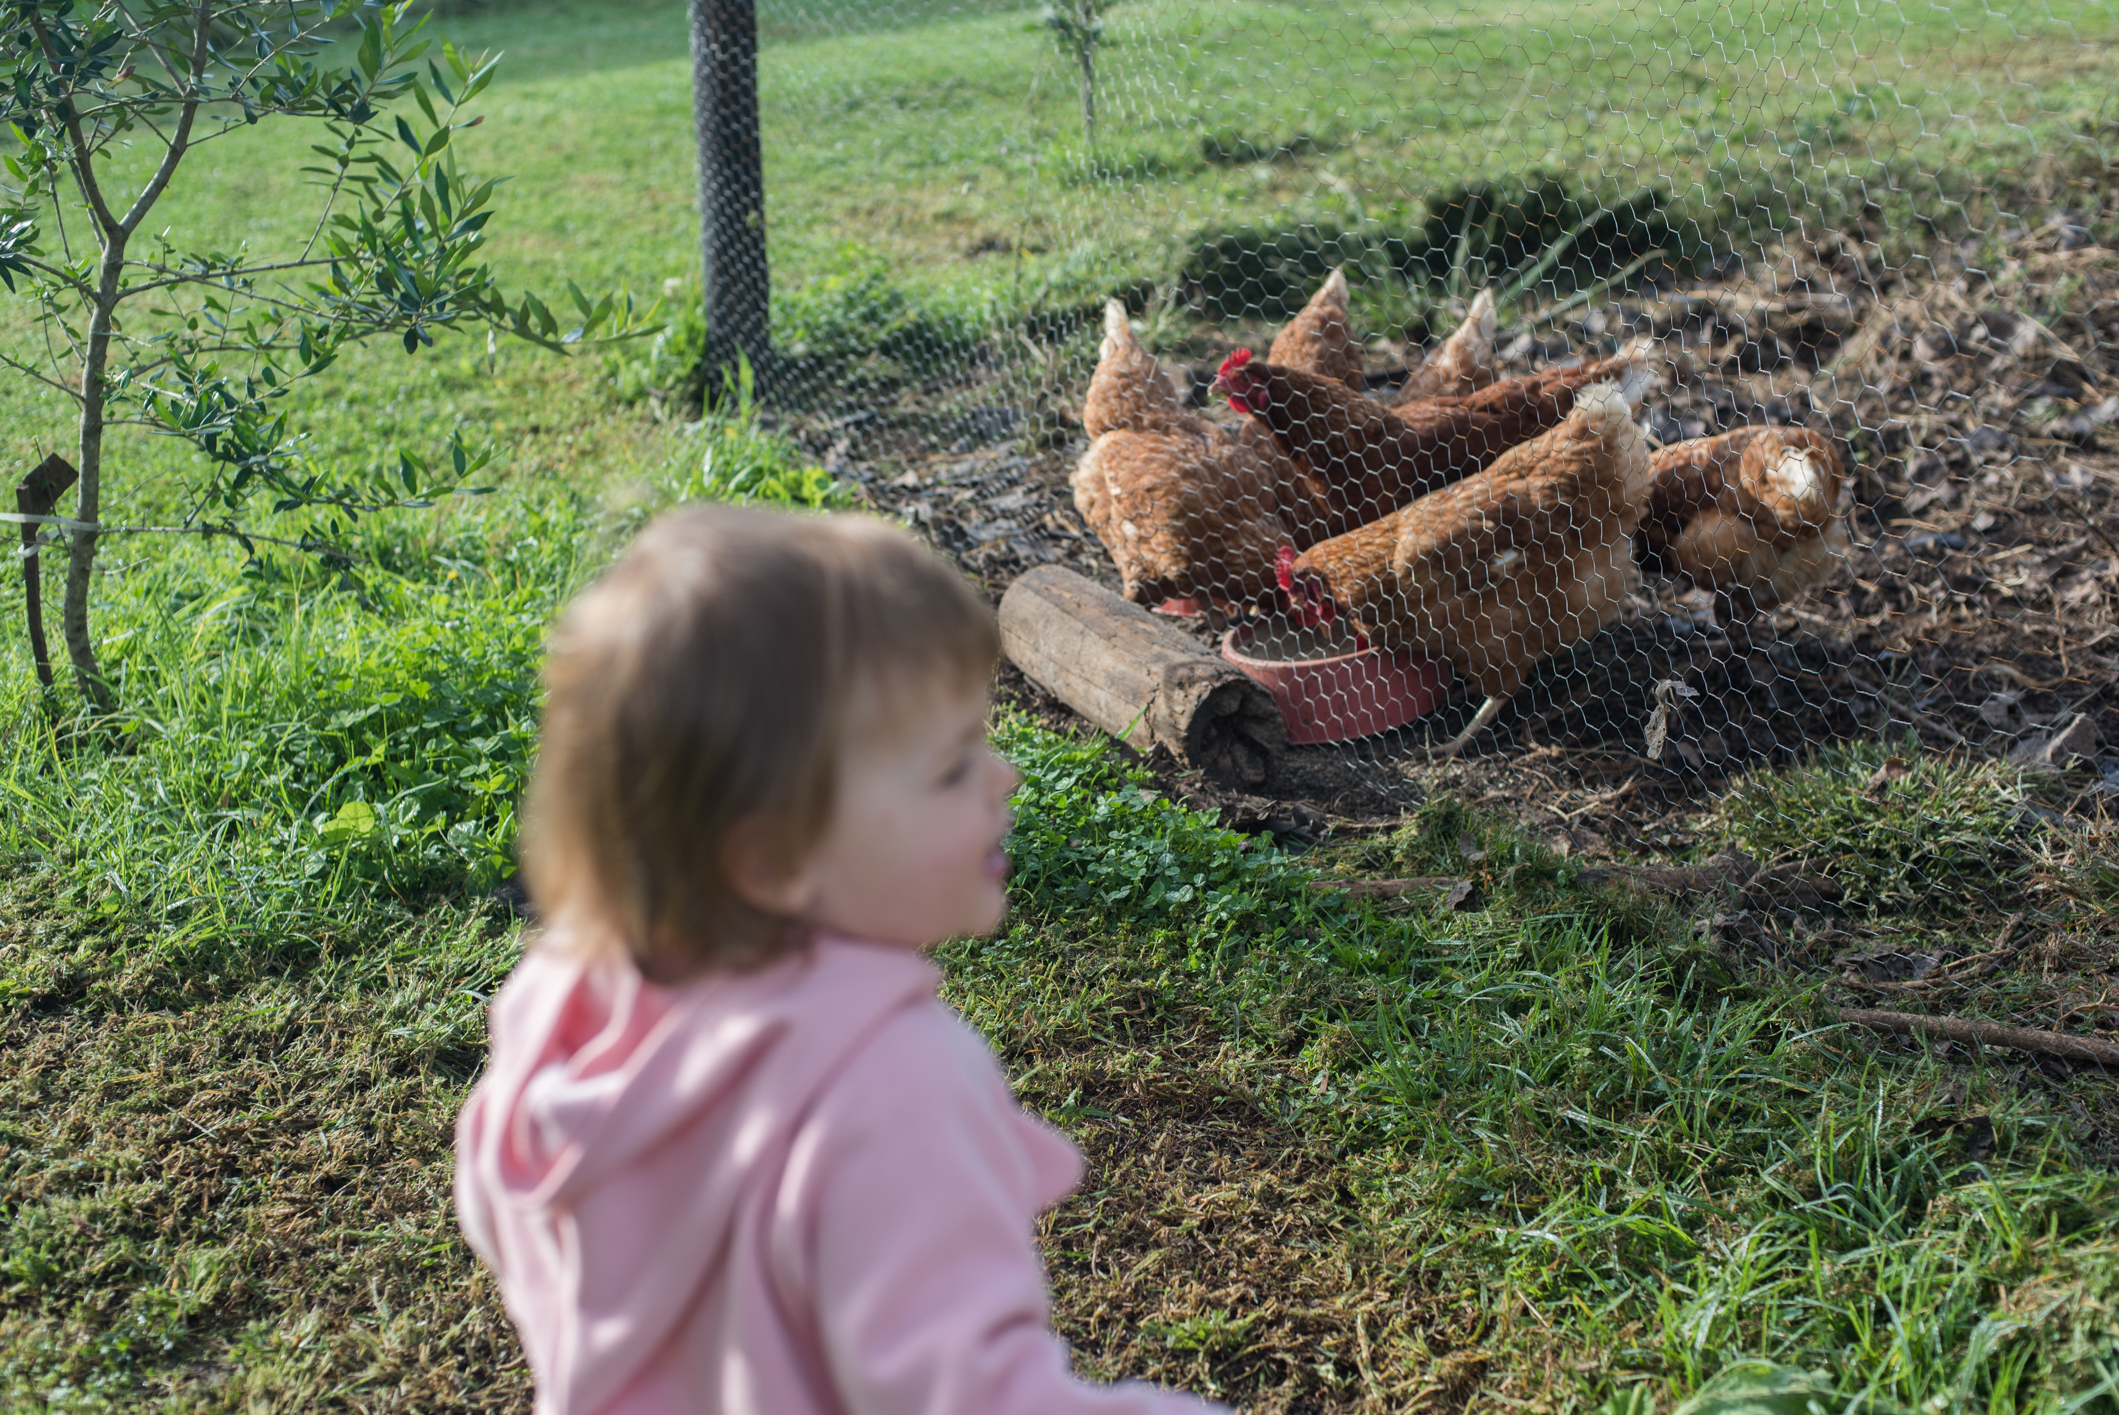
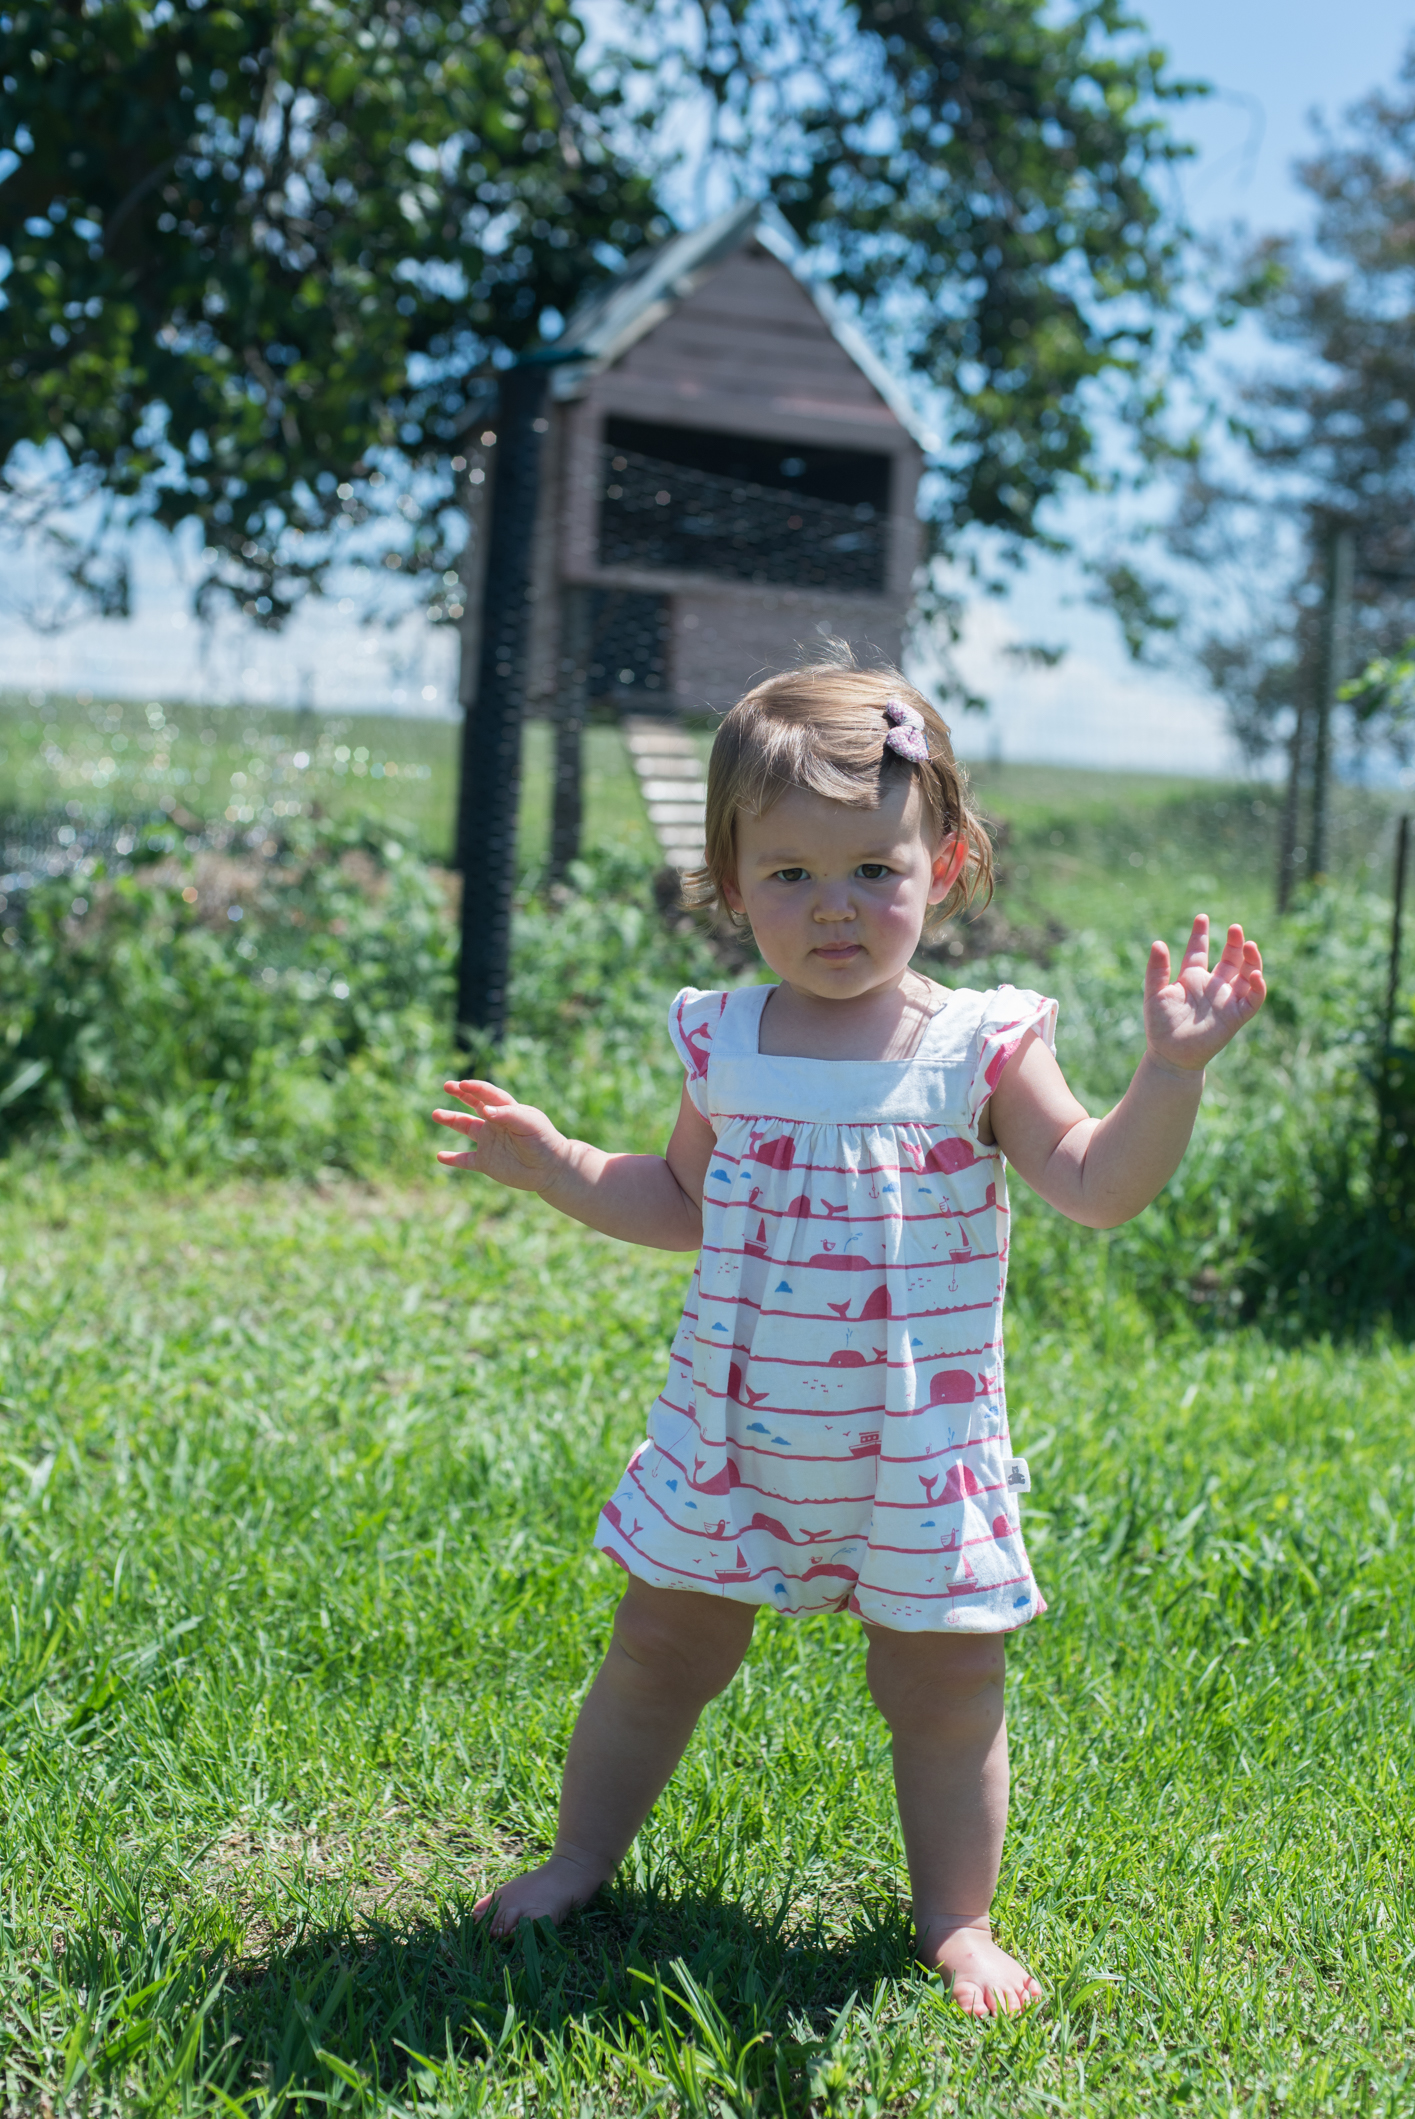
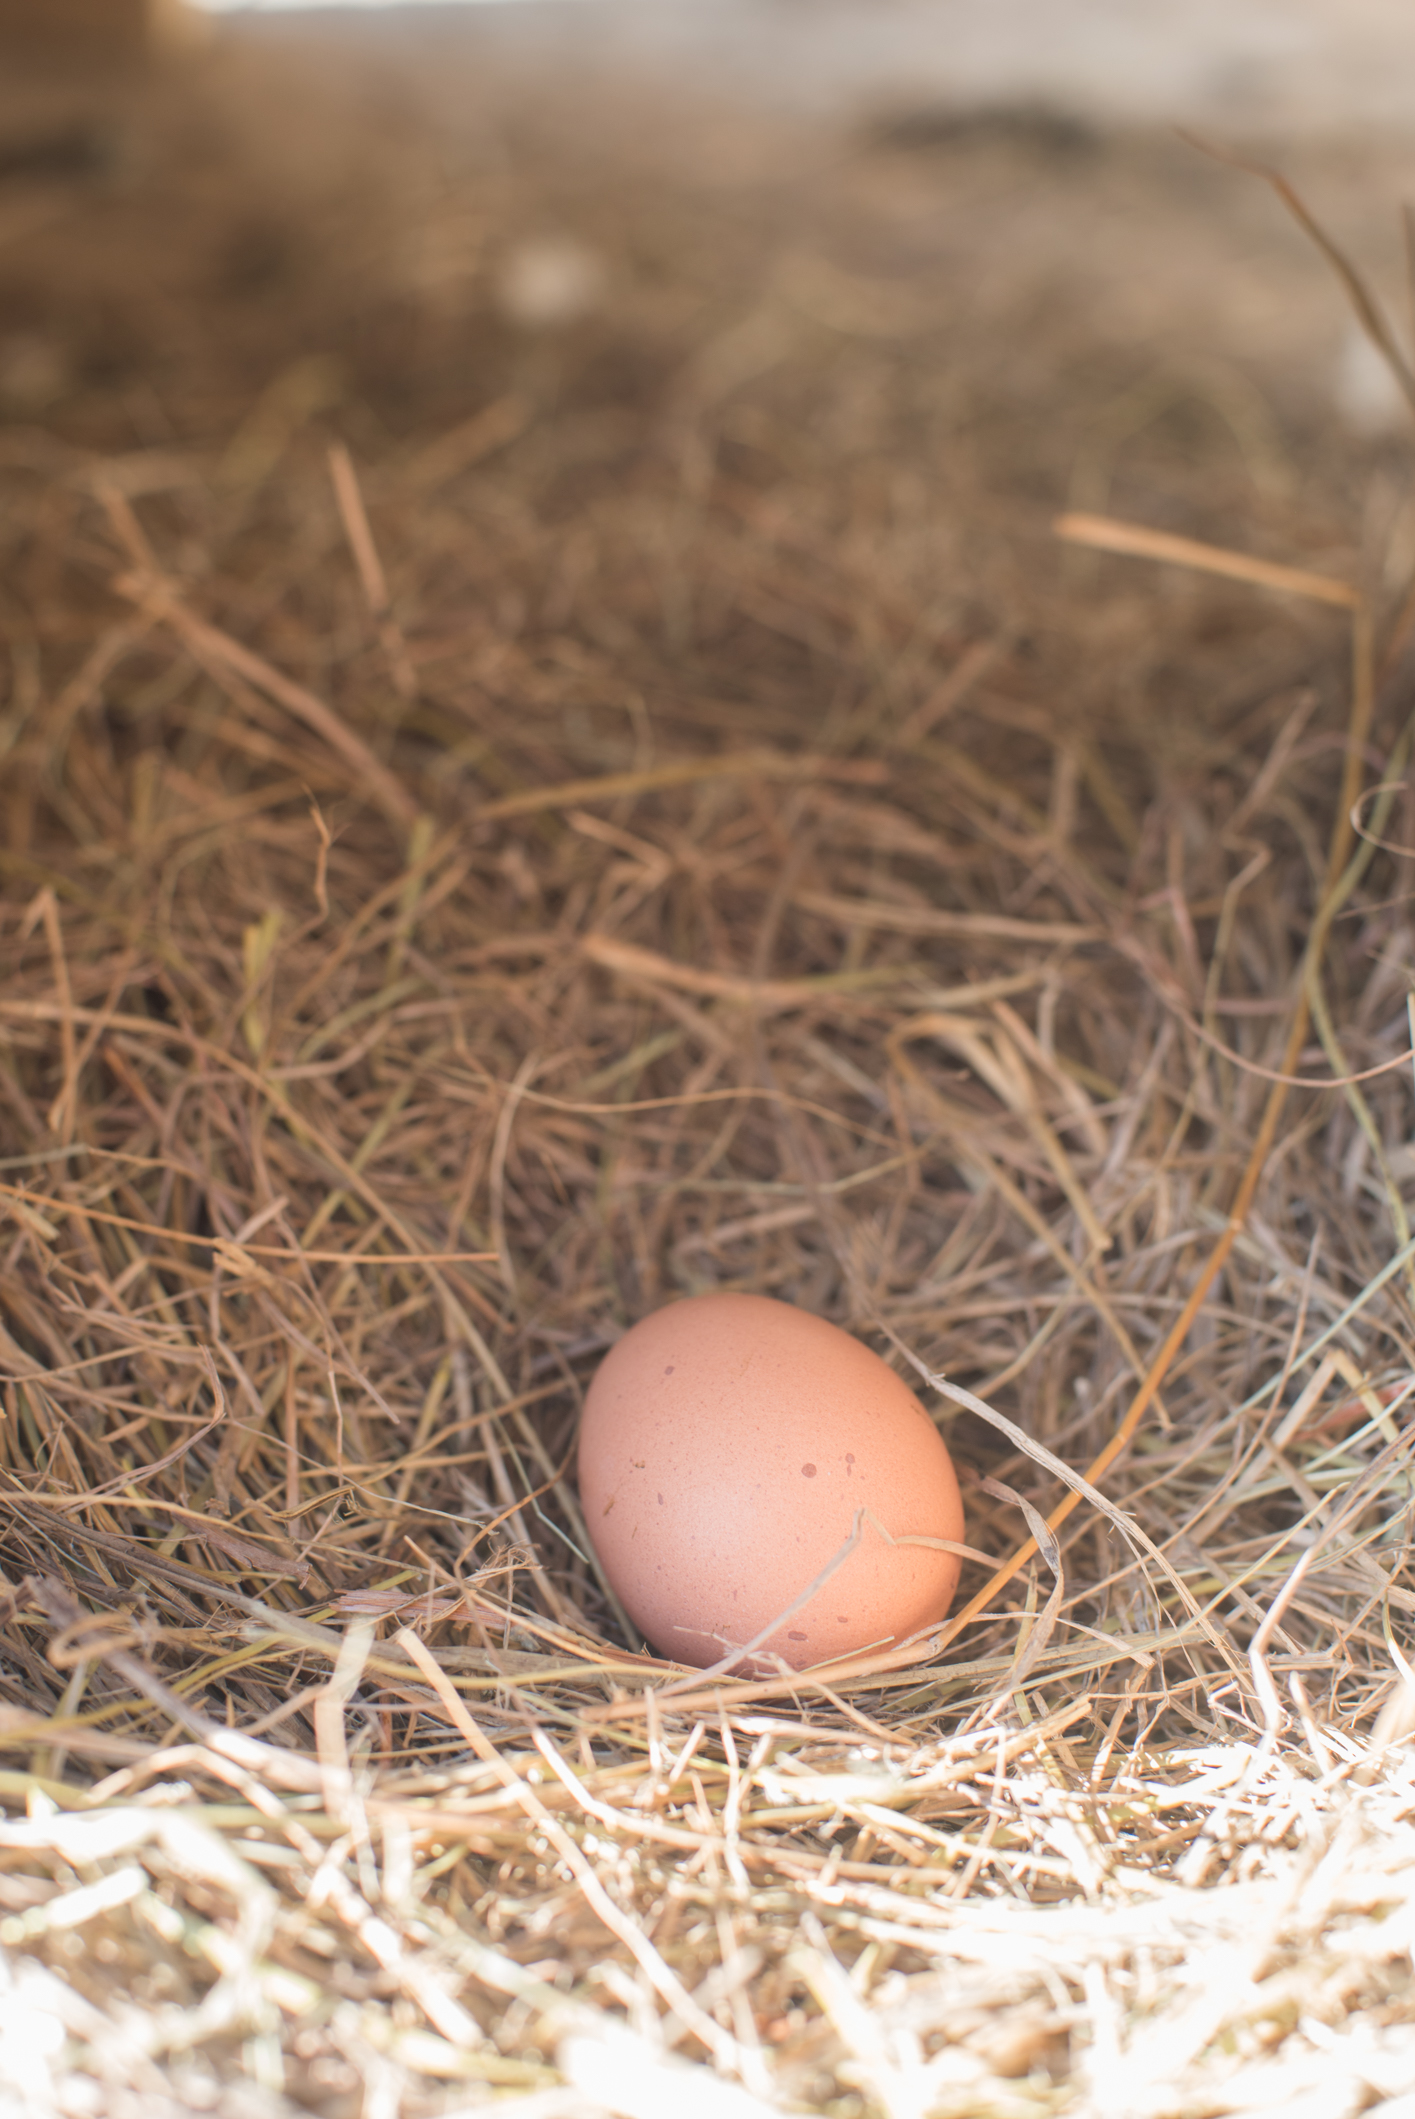
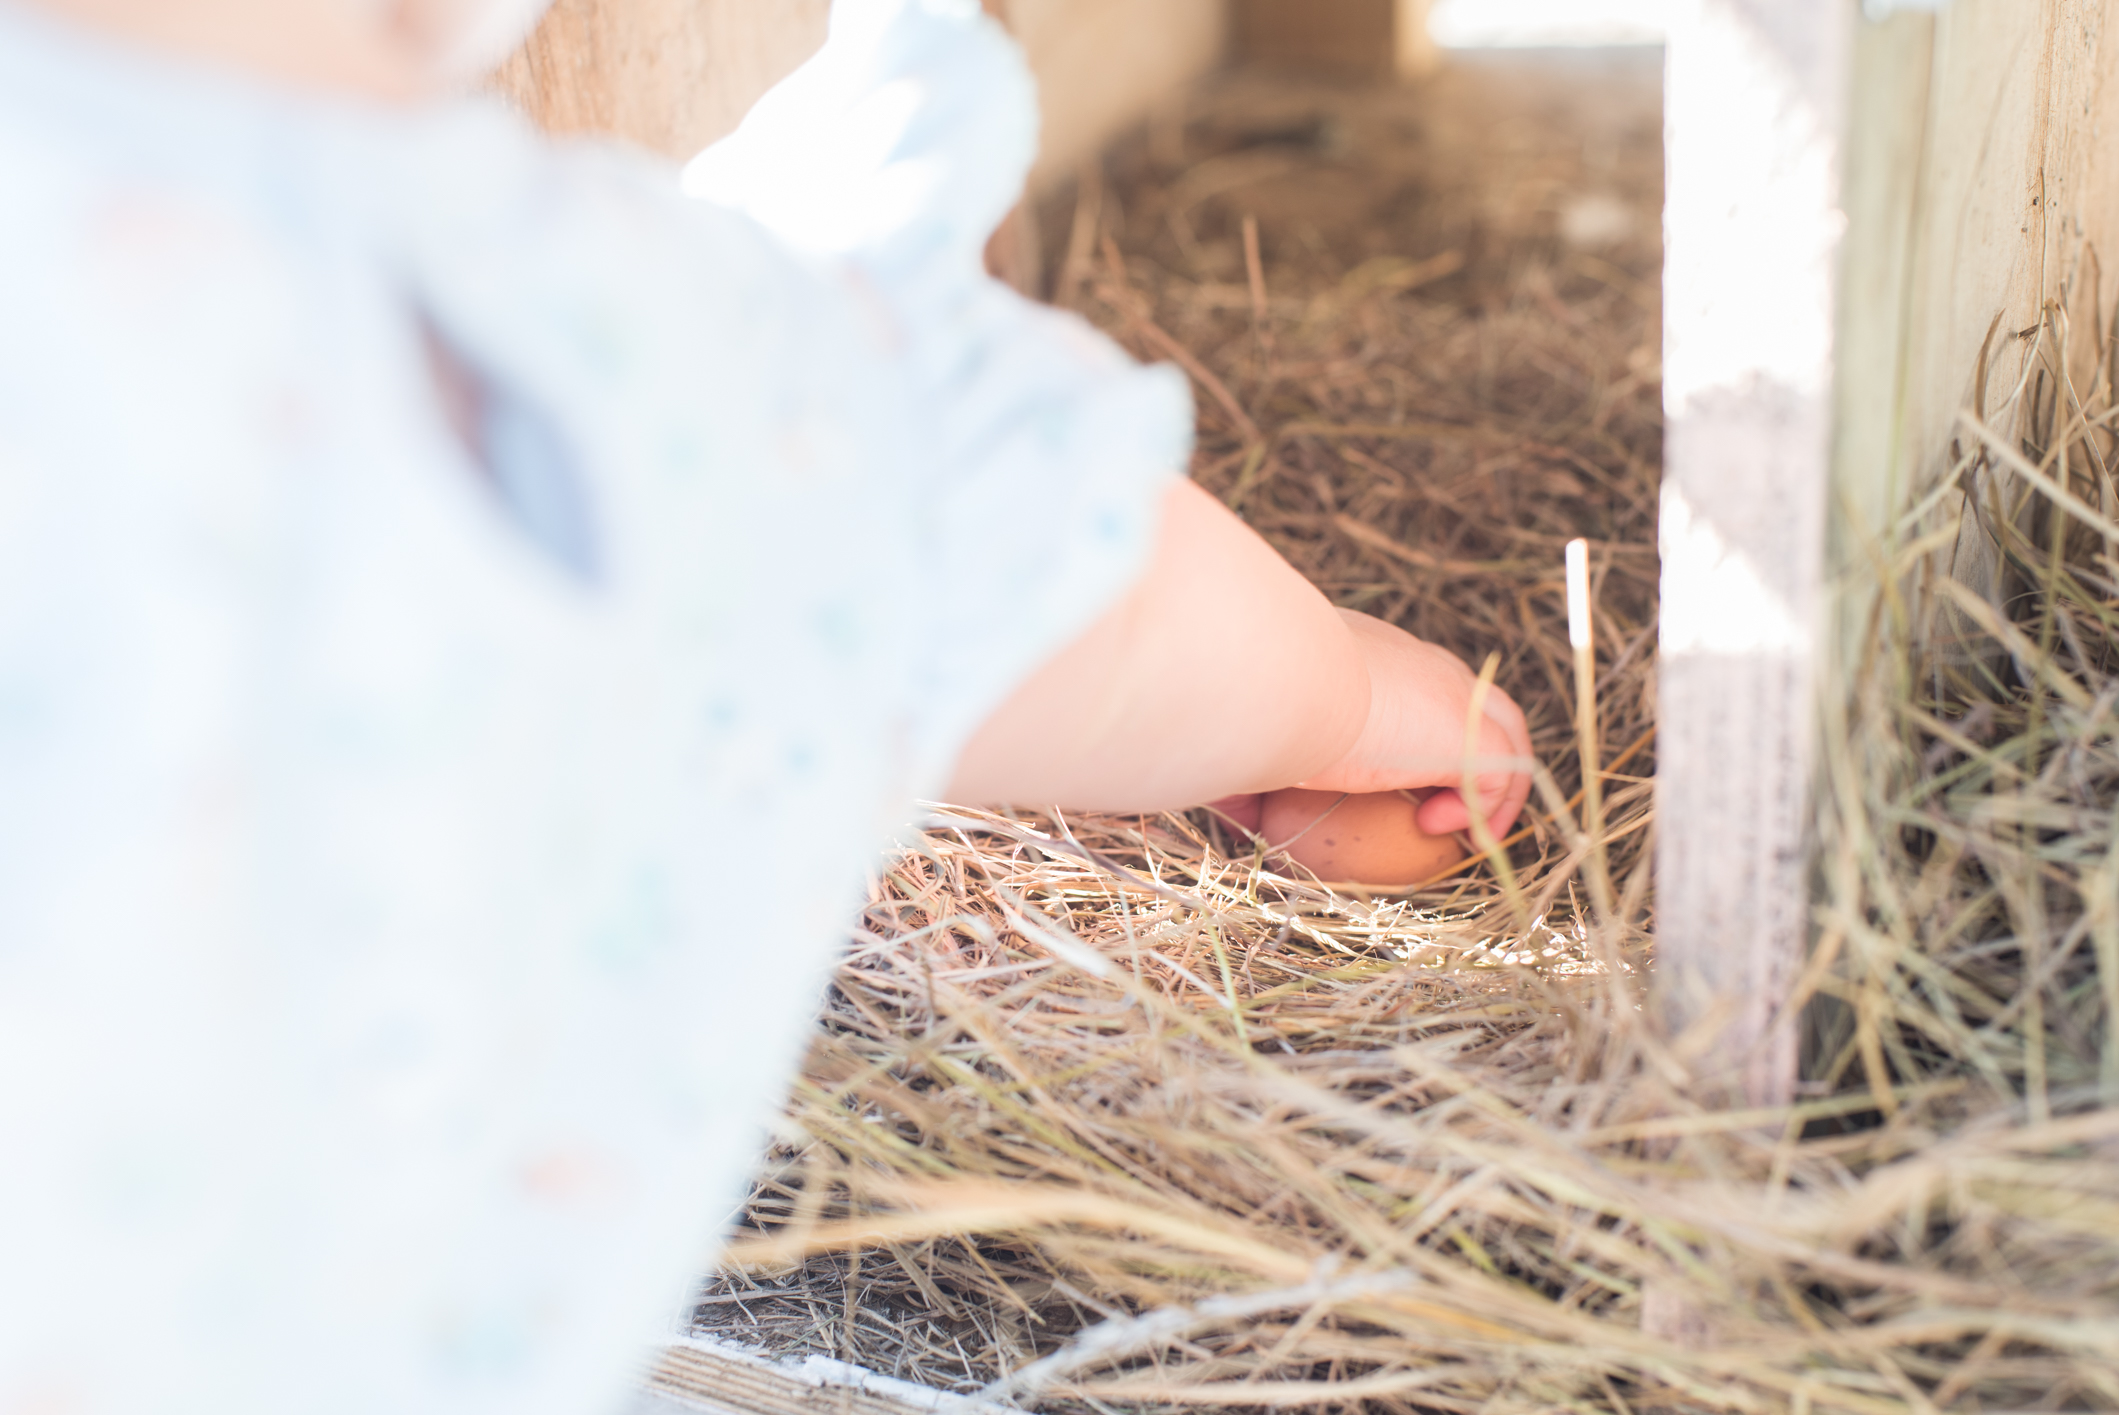
Here are some photos of the behind the scenes set up, as well as some photo of Everly collecting the first egg (it was promptly dropped, much to our horror) but luckily that evening there were another 5 eggs waiting for us.

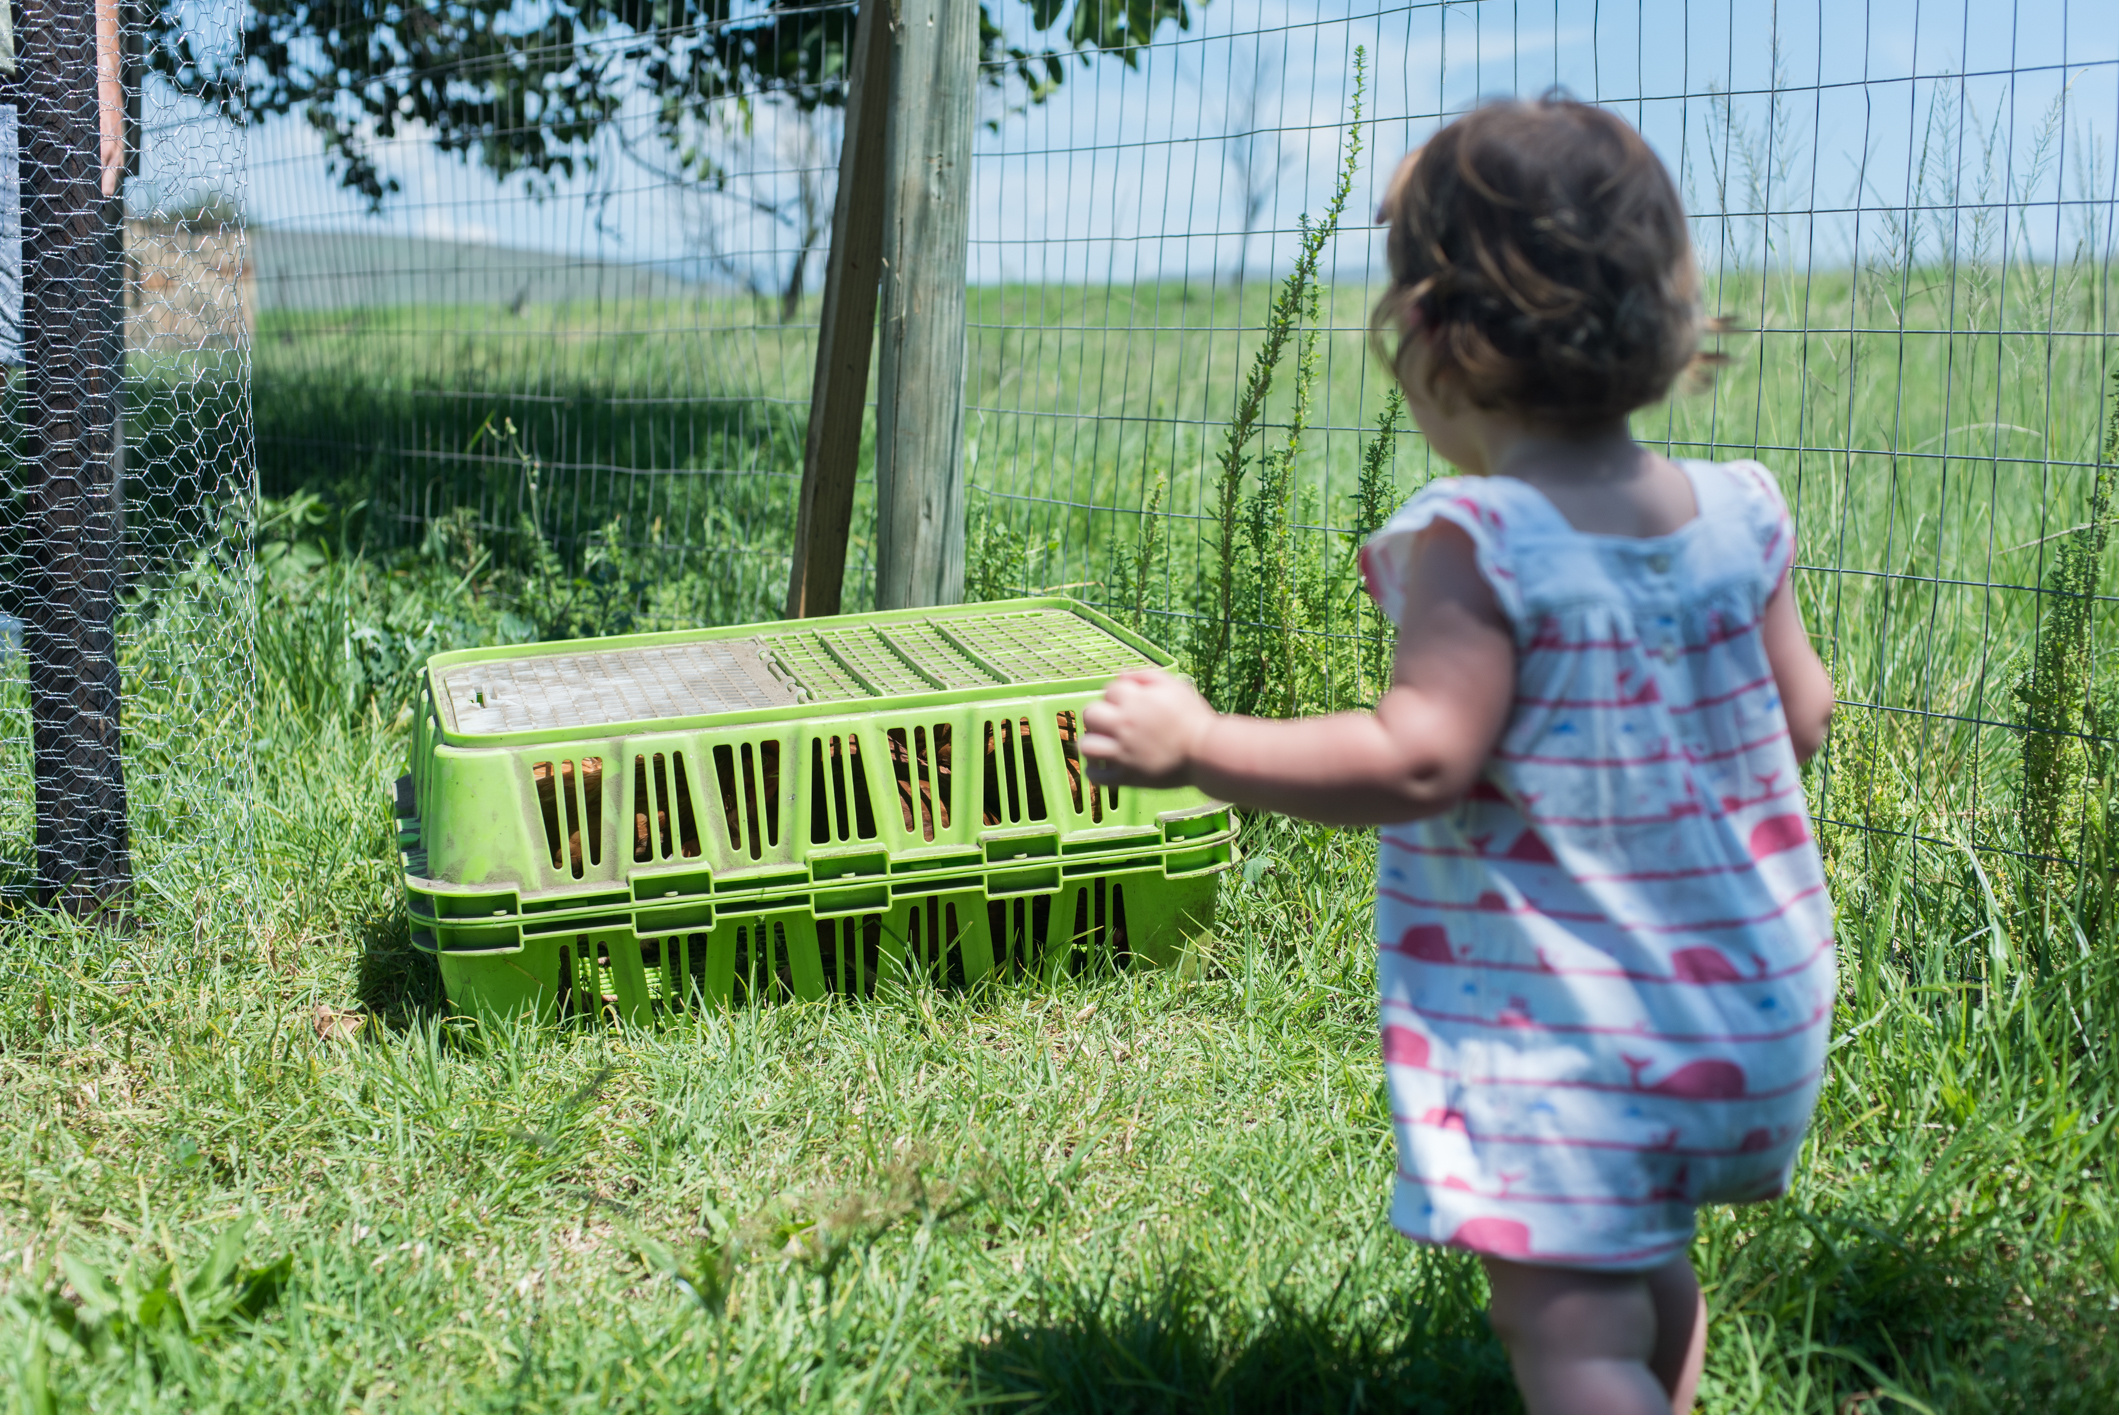
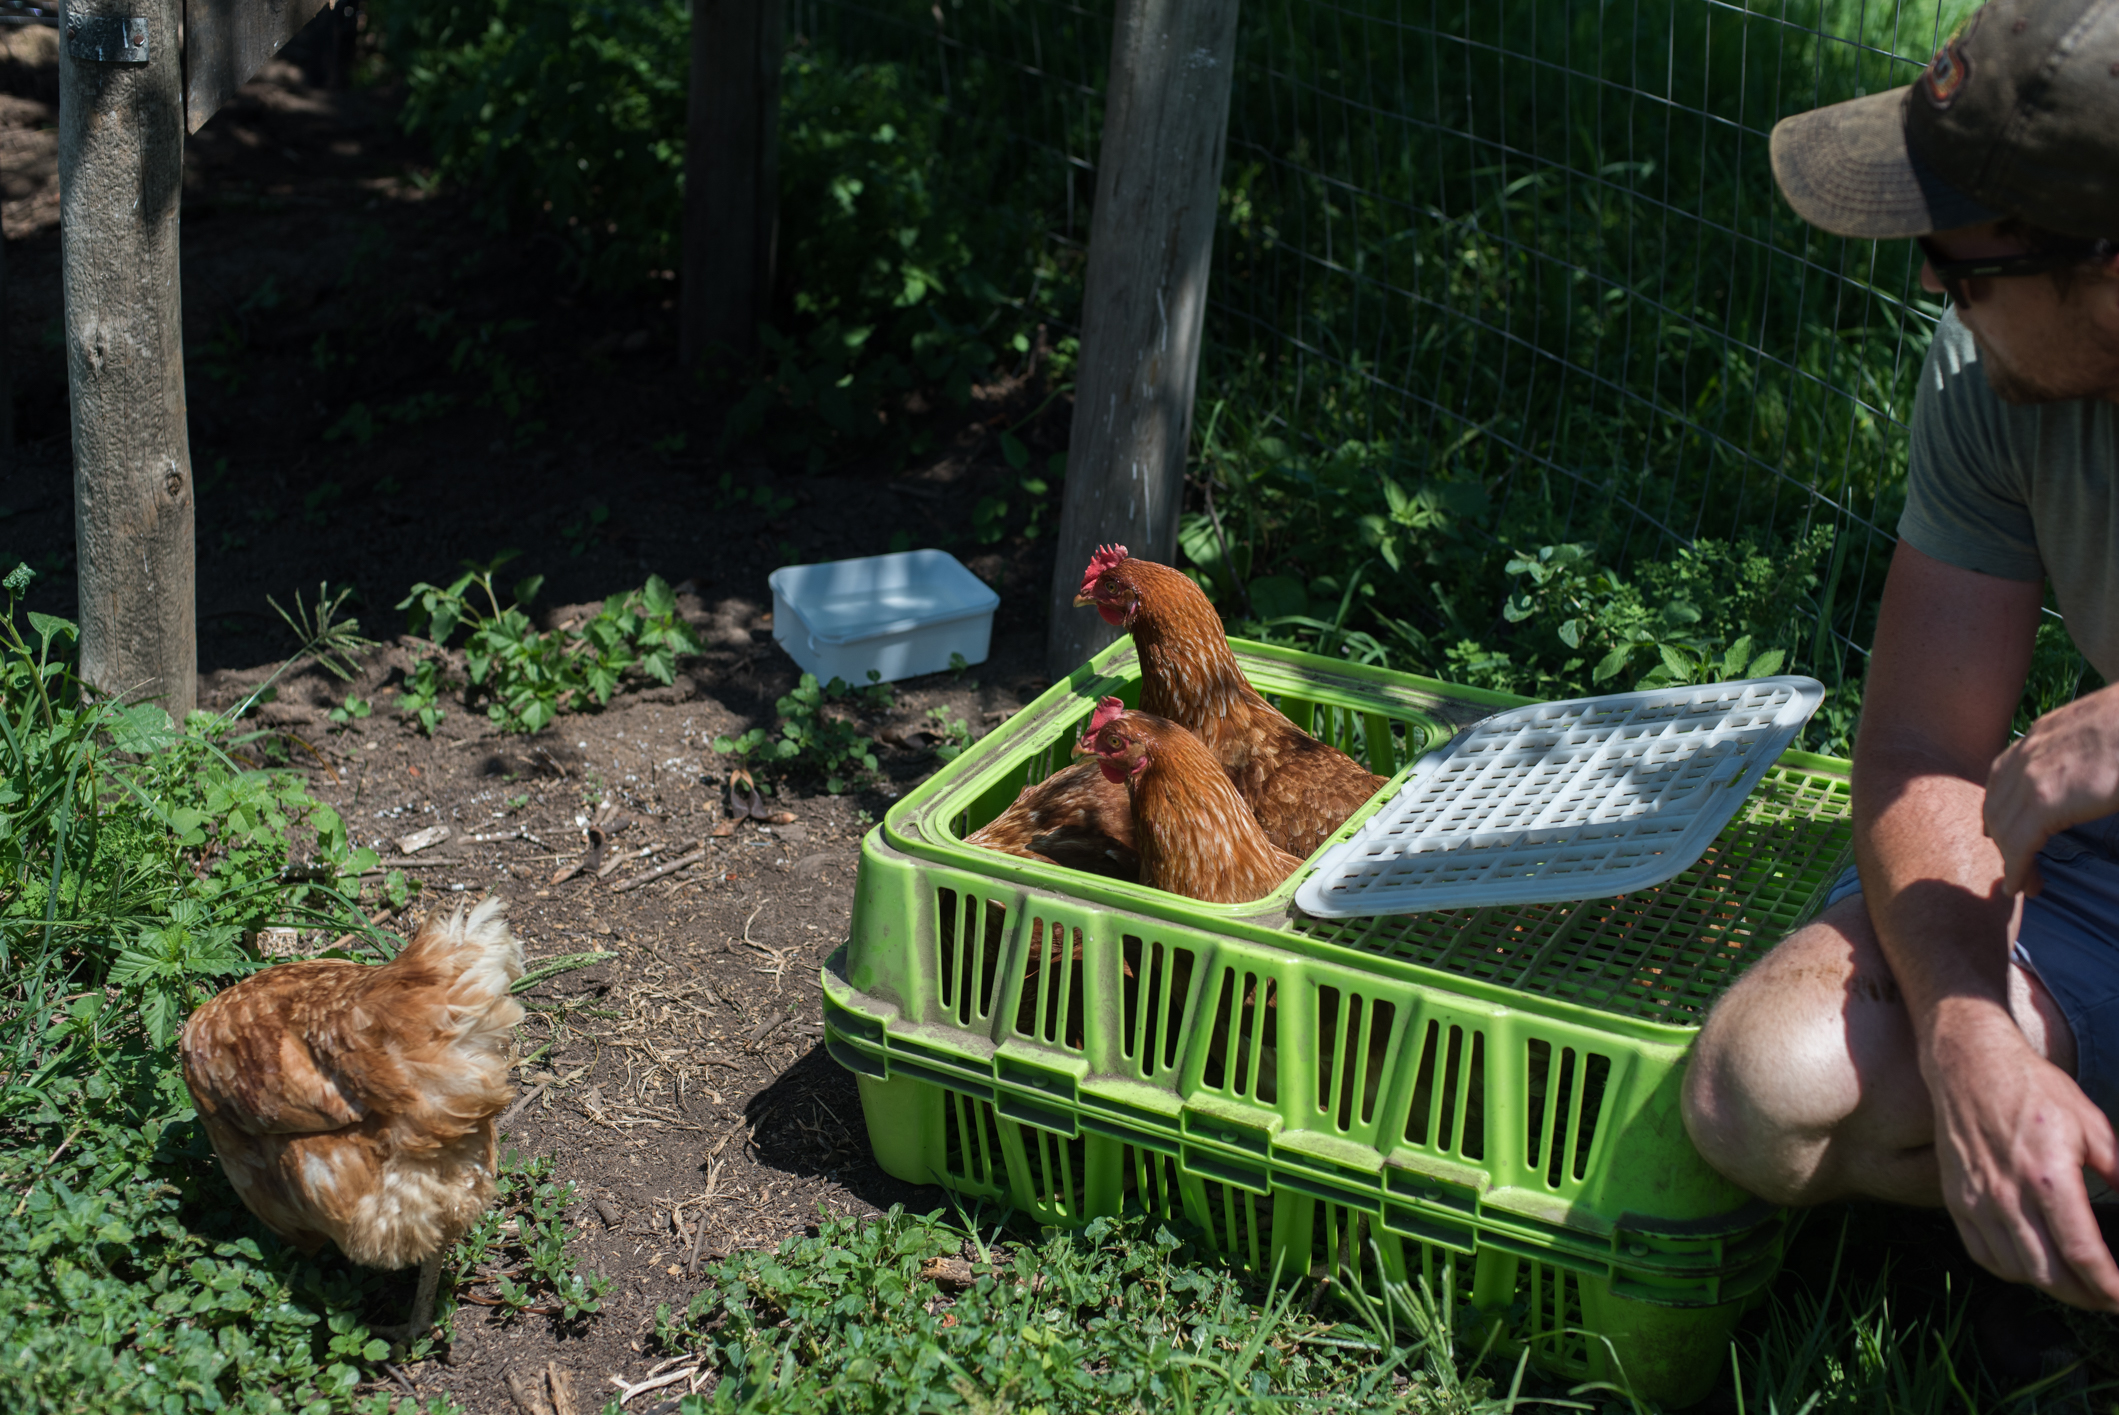
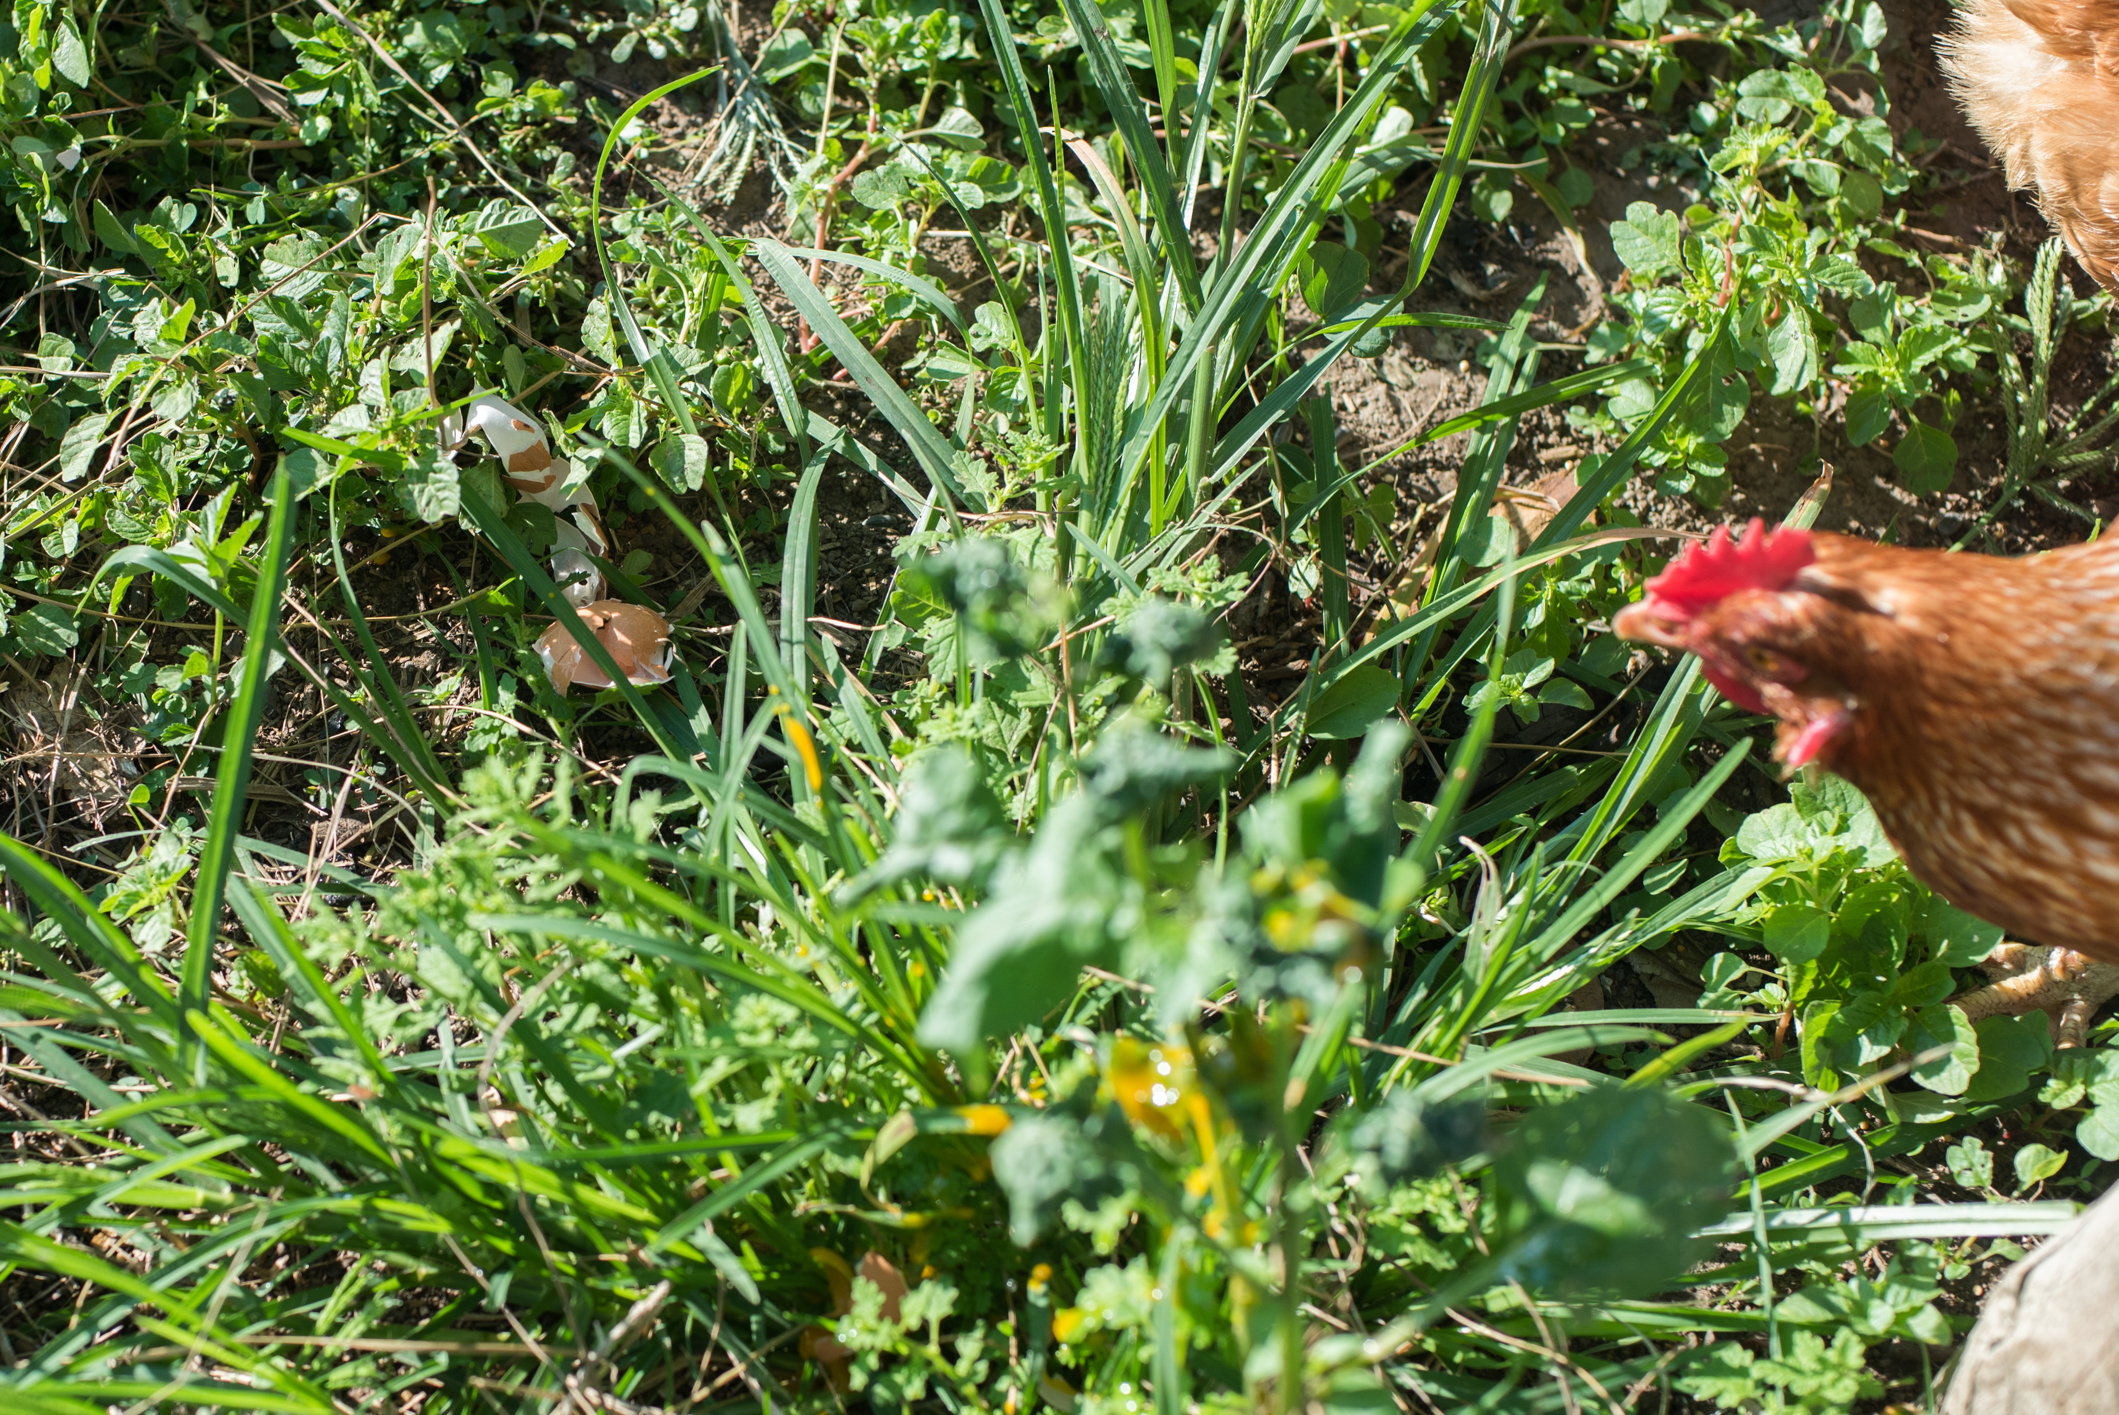
We put all of our garden refuse/mulch into their pen, as they love pecking around in it. We also make sure the have straw for roosting and laying their eggs. Oh and don’t forget about Edgar, the man about town. He’s our friendy garden rooster, who lives in the garden, eating insects and other little bits and pieces…he sleeps in the trees! And everyone morning comes along with us to check on his ladies and make sure they are all happy. Funny little thing.

Enjoy

x

Our Farm Cottage - Before & After

Our Farm Cottage Before and After-03.png

I have been meaning to write this blog post for such a long time (nearly 3 years in fact!) but time has done what it always does, and run away with me. I also find that if I don’t get things done the moment inspiration hit, then I forget about things and get distracted, and so the ideas sit on the back burner until something comes along and inspires me again.

This is what has happened with this blog post. The reason I’ve suddenly realised I HAVE to share it, is because we are doing renovations really soon (a second baby on the way has a way of hurrying things up!) and as baby is due in February, there really isn’t much time to expand our little home. So before the walls get knocked down and we have to move out while the building takes place, I wanted to share some before photos of our little home, as well as photos of how it looks now.

Some background:

We live in a little wooden cottage across the garden from my in-laws. This is the home where Farmboy’s Granny lived in before she passed away. It’s a lovely little home (emphasis on little) with two bedrooms, one bathroom, an open plan lounge/dining area, kitchen and gorgeous verandah area. There is also a two room prefab building outside with a carport, which houses Farmboy’s mancave, and the guest room. With inside having the only bathroom, it makes things a little awkward for guests. My mom has been the most frequent guest, and although she has said she doesn’t mind have a starlight ‘bathroom experience’ in the middle of the night, I know she has just about had enough and we have plans to put in a little Granny flat container home soon.

We are constantly changing things, and as I mentioned above, are about to begin building (we are adding on another bedroom and bathroom and extending the lounge area) and so the photos I have to share with you have been taken along the way during the past couple of years. I hope to have updated images of how it looks currently which I will share soon.

Without further ado (and because this blog post has already taken me nearly 2 weeks to actually put together!) here are the before photos of our home. Things to take particular note of:

  • the colour of the walls

  • the colour of the floors

  • the colour of the ceiling

  • placement of the fridge in the kitchen

  • the curtains


Before…

Work in Progress shots…

We sanded the ceilings and the floors, painting them all white. We used Woodoc 25 Water Borne White for the floors, and painted 2 coats to allow the grain of the wooden floors to show through, and we used a Plascon White Undercoat and Ceiling paint for the Ceilings. Both were really big jobs that we half did ourselves, and then hired some help to finish off. So many people were horrified when I told them we would be painting the floors of our farm home white, but it all came together so well, and has been easy enough to keep clean so far.

The walls were painted with a grey shade (Plascon paint name to be confirmed) and this gave our home a lovely soft and cool feeling.


Some of my favourite DIY projects…


The Lounge

I wanted to do a grey and white theme for our lounge, with a touch of pink. Farmboy was sceptical at first, but after seeing the finished product he says it’s much better than he had imagined it would be. I found the black industrial feel lighting at Mr Price Home, and love how the modern fittings offset the pink, grey and white.

IMG_9146.JPG

Everly’s Room

Everly’s room was the guest room until she came along, and the only change from these photos to now is that she is in her cot and not in the bassinet. I loved having two wingback chairs in her nursery, as although it seems like an extravagance, we had a spare one from the lounge above once we got our couch, and so it went in here and became Daddy’s chair for those first few weeks. Her room is my favourite place in the house and I often sit there with friends so having a spare comfy chair has been wonderful. My feeding chair (the big grey one) was a secondhand find that I had recovered in a gorgeous velvet fabric, and the compactum was also a second hand piece I found in Durban which has worked perfectly as a baby changing station. It fits all her cloth nappies so well too!


Our bedRoom

Our bedroom is pretty simple. There were already huge cupboards extending from wall to wall, in both our room and Everly’s room, and this makes up for the lack of storage space anywhere else in the house. Farmboy and I made our headboard ourselves using this beautiful Protea fabric from U&G in Durban. The side tables were simple wooden boxes Farmboy made himself, and the lamps are from Mr Price Home. The dressing table was a lovely second hand find.


the bathroom

We didn’t really have the time or funds to make any big structural changes to the bathroom, and so made do with a couple of licks of paint (which makes all the difference!). I also used a piece of voile fabric as a makeshift curtain in the bathroom and it has worked rather well. Painting the ceilings white also made a HUGE difference.

The bath is my favourite feature of the whole house, and luckily we don’t have any water restrictions as we use Borehole water and I’m able to bath every day…bliss when pregnant!


The Kitchen

From the old kitchen, we removed the breakfast counter that was next to the front door, and put the fridge there, which really opened up the space. The best thing I ever did was put a bench in the kitchen, as it has become a real social place to be, and as much as I’d like to tear everything out and start again (I’d love to make it open plan!) it works just fine for now.It’s also amazing how you adjust to things. We have very little counter space, and yet somehow have managed too cook and prepare food for lots of guests as well as our everyday family meals.


My Office Nook

This funny little space used to be the dining room, but as it backs onto the bathroom (and it a really funny space to work with) Farmboy set about making me a custom A-frame desk and office space. I just love it and it fits the space so well. The ceilings in our cottage are vaulted, and the A-frame section of the desk really lends itself well to this.

Also pictured, my Pilates ball. I used this as a desk chair before I was pregnant with Everly, and enjoy it so much more than a standard chair.


And there you have it. Our cosy little farm cottage as it looks now. Once the renovations are done (hopefully by the time the new baby is here in February!) I will share more photos of what the space looks like.

IMG_0074.jpg

In the mean time, I hope you enjoyed this glimpse into our little home.

x