How to style photographs for your blog
/This post is all about helping you create beautiful photographs for your blog, using tools that you already have around the house. I want to show you that you don't need to have a big, fancy camera to create pretty pictures. All of these photographs have been shot using an Iphone 4S, and when edited, they have been edited in Instagram.
The most important part of blog posts for me, is the images and photographs that go along with the text. If a blog post has terrible photographs, now matter how good their content is, I tend to move on to the next one and probably won't go back. I am a very visual person, and tend to skim over long, wordy blog posts but if a blog has pretty, creative photographs I can spend hours pouring over the details of the photo's, and I'm always left feeling inspired for my own blog. So this post is going to give you some tips for styling your photographs and making them look beautiful, without the need for any fancy equipment.
Step 1 {Think}
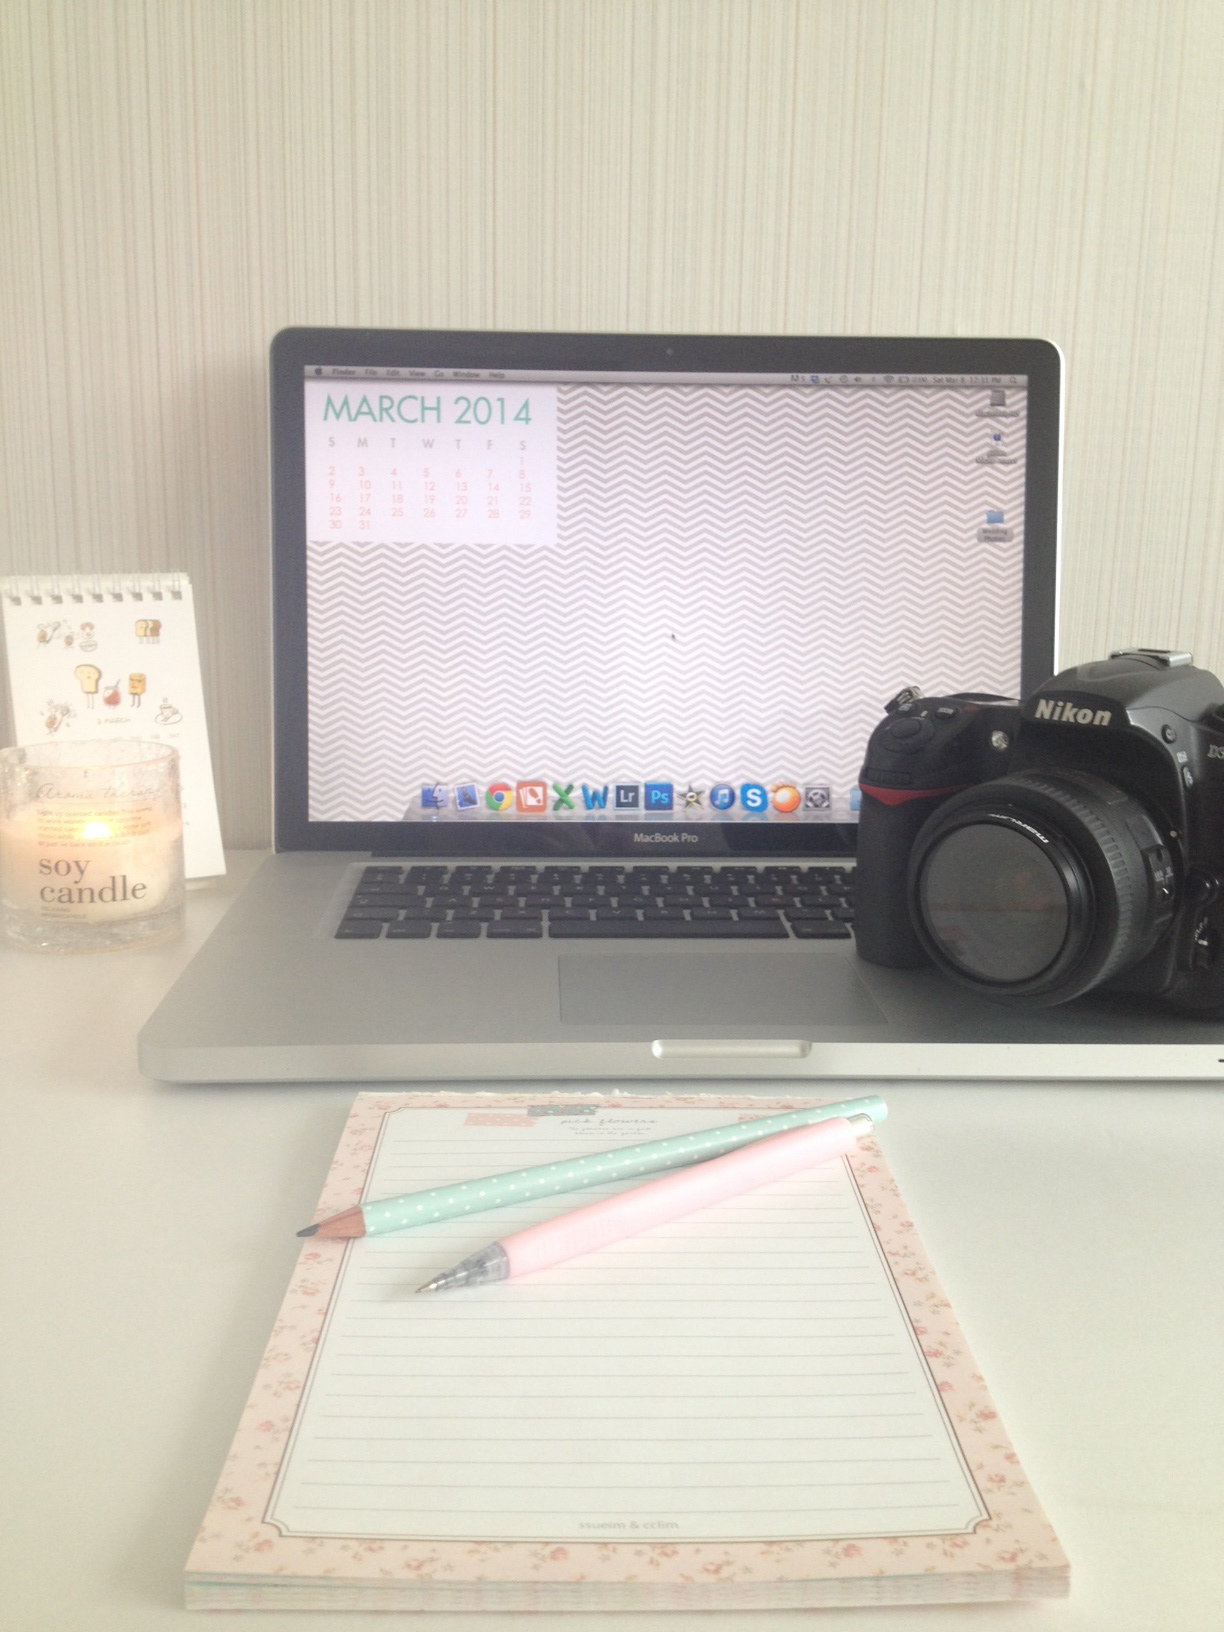
Think about the type of photograph you want to take. Are you going for soft and whimsical, or clear and bright? The kind of photo you want to create will determine the sorts of props you will need to make it happen. I wanted to create images images for this blog post that made use of the pretty bits if stationery I have. Most of my stationery colours are pastel and so I decided to go for a muted, warm feeling and added a candle for a little extra ambiance. If you want to style photographs for a recipe post, think about bright colours (possibly adding a variety utensils/fruit/bowls/chopping boards to the mix to give it a kitcheny feel).
Step 2 {Studio Space}
The base for most styled shoots is a white background/surface so as not to distract from the actual content of your photograph. White also reflects light and when paired with natural light (place your products near a big window for the best natural light) creates a beautiful, soft glow and always looks very professional. I used 2 pieces of white foam board from my local stationery store. One piece for the 'table' or rather to cover my horrible green crates that I use for height, and then I used the other for the background in some of my images. When I didn't use the white board for the background I made sure to set up my 'studio' with a simple section of wallpaper in our apartment.
My studio (unedited). As you can see, you really don't need anything fancy. I used these crates instead of the table as I could move them to the big natural light source in our bedroom.
Step 3 {Play}
Now that you've got your space set up you need to play around with your props until you are happy. Try different angles, try playing with height, move objects around. The options are endless. This is the best and the worst part of styling for me. I love making things look pretty, but sometimes it can take up to 20 tries before I am happy with the photo's.
Once you feel you've got some great photos, delete the ones you don't like (there's no use having 50 photographs of the same thing when you only need about 5 - 10 good ones).
Styling your photographs is easy...you don't even need to be a very creative person, just play round with your props and have fun! You can read about more tips and apps for editing your phone pictures by clicking here and here.


