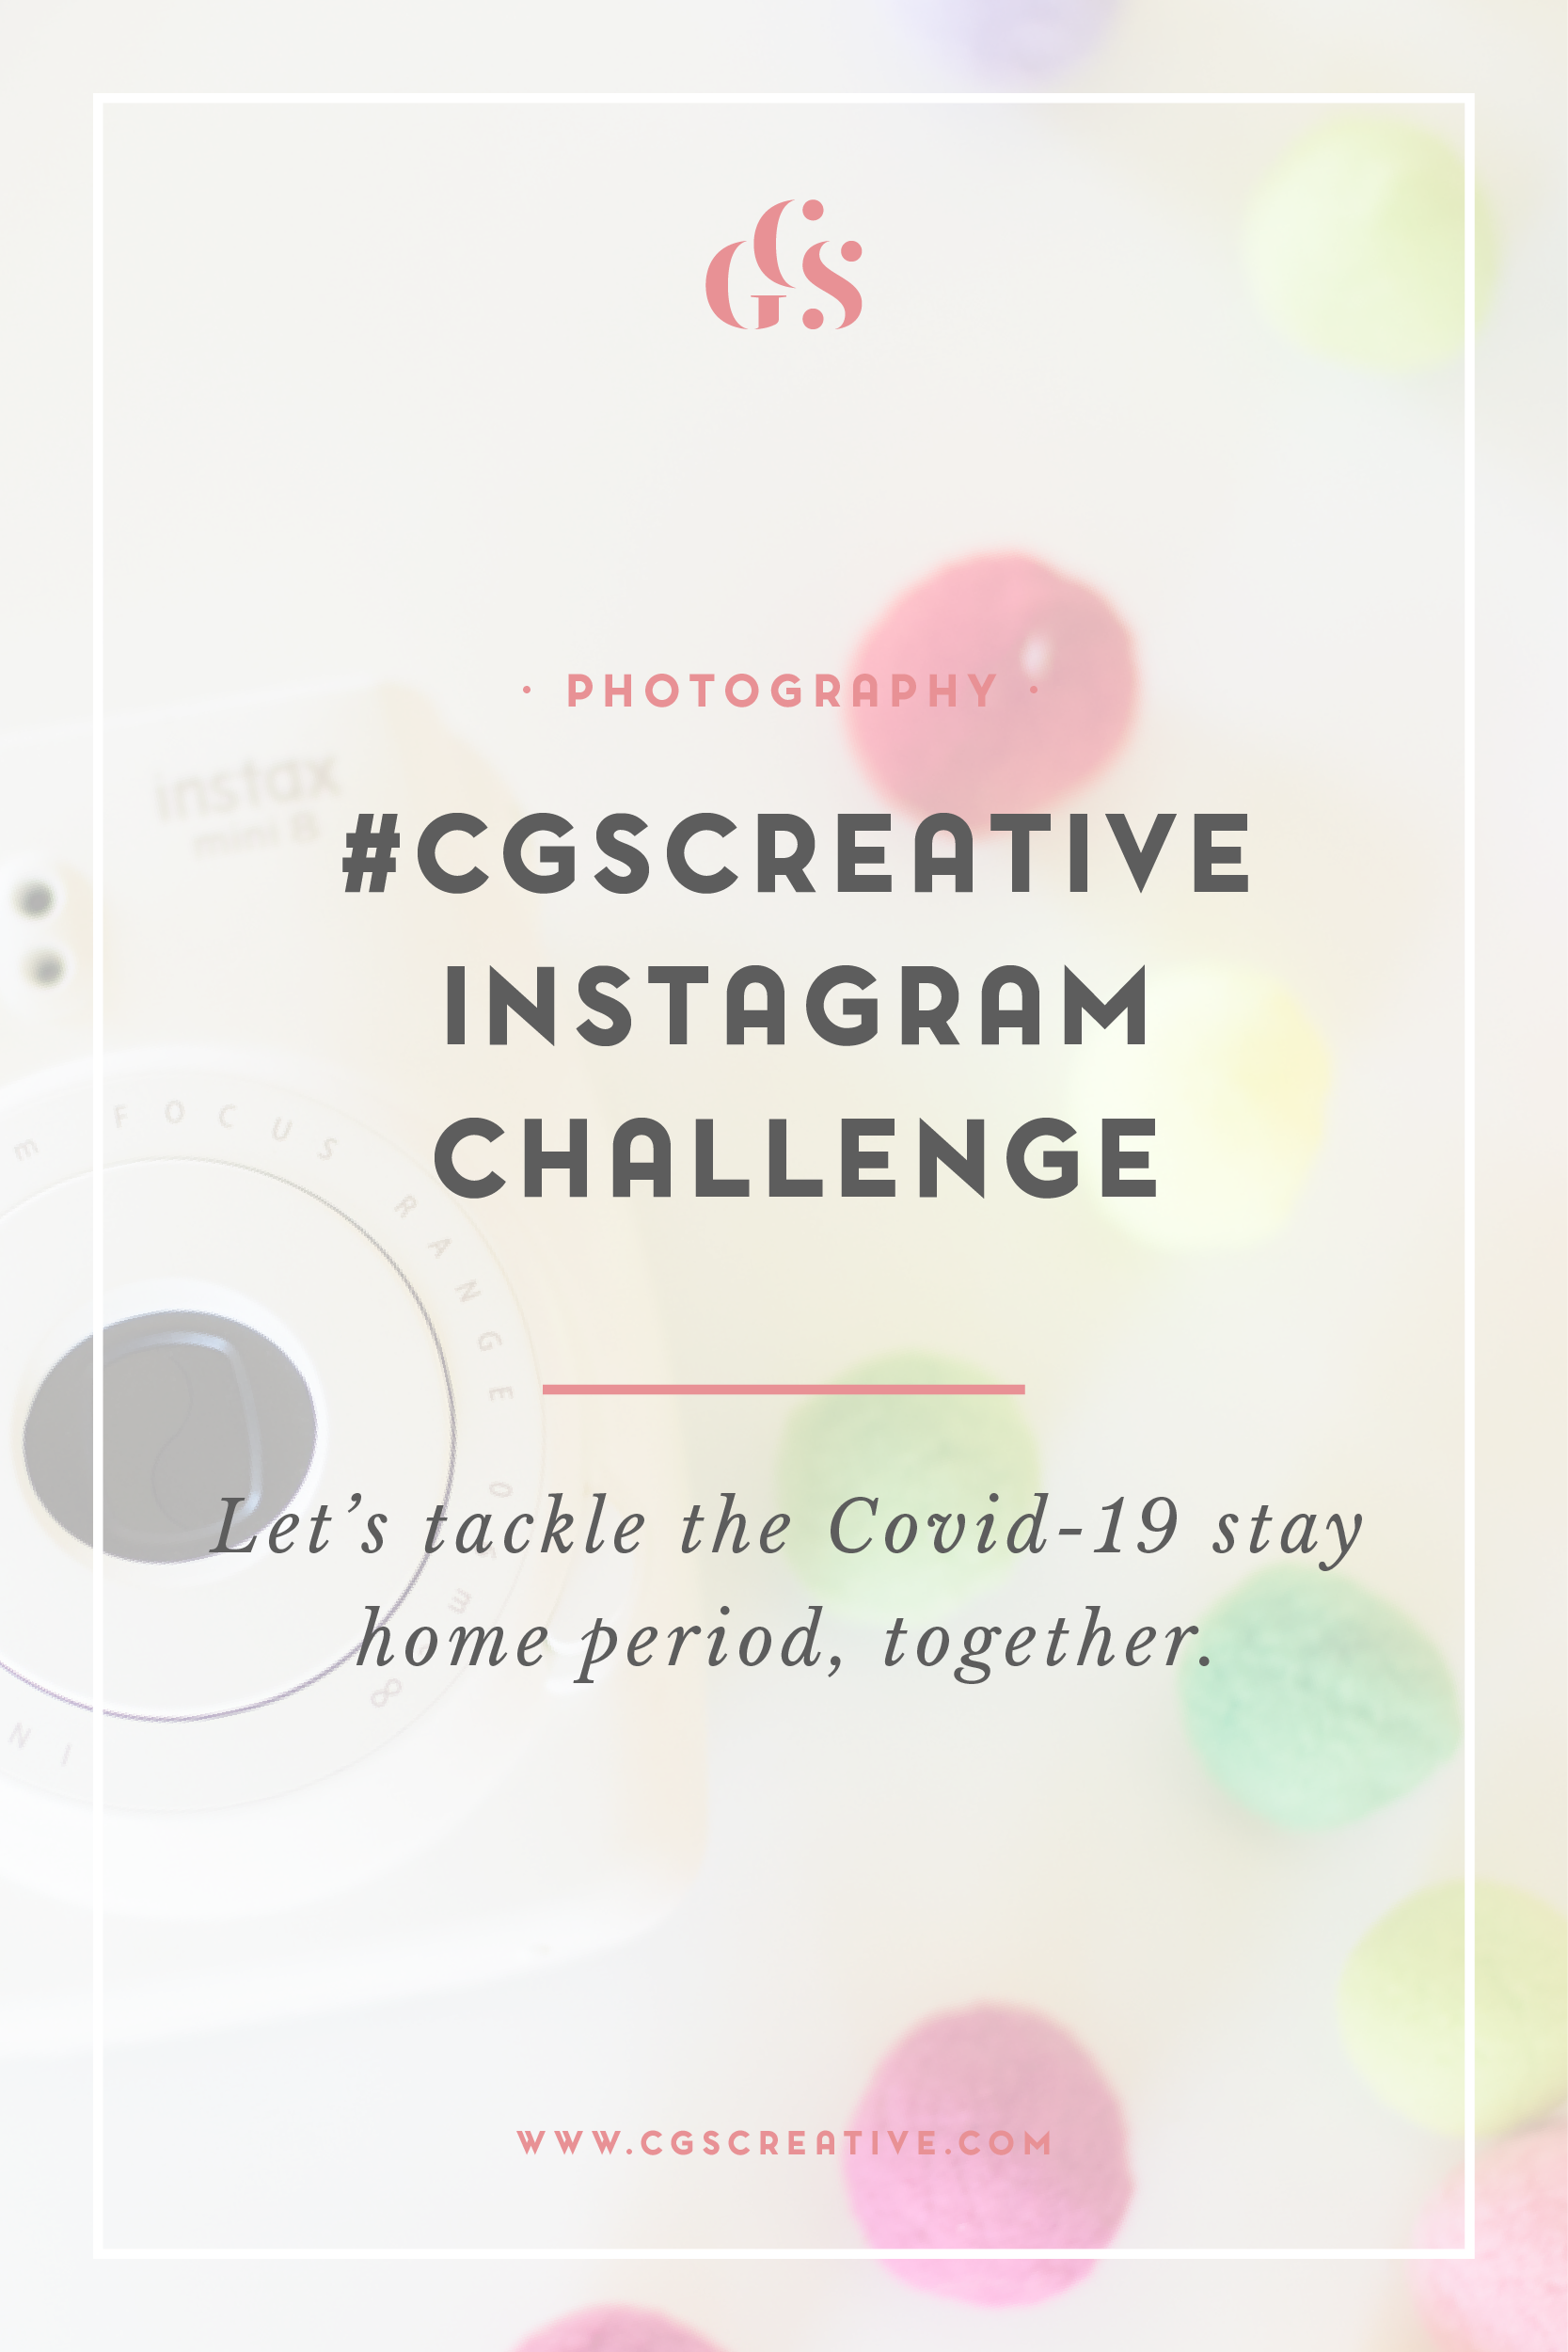
The #CGScreative June Photo Challenge - An Easy & Fun way to grow your Instagram Account
/
Hi friend!
Today I'm so excited to tell you all about the latest CGScreative Photo Challenge that is happening over on Instagram for the month of June. You may remember the first photo challenge I did in April this year (which was a huge success with over 1200 submissions from people all over the world!). I received so many emails from the CGScreative community asking me if there would be another one, and so I am delighted to give a big resounding YES to that question!
First, a little bit more on the purpose of this challenge:
Instagram is all about ENGAGEMENT, it always has been and always will be. A lot of people have gotten rather upset about the algorithm changes that have been slowly rolling out since April, but I want to tell you it's not all bad news!
Instagram now aims to show us the content it thinks we like, based on our previous actions (ie. our likes and comments). This means that it is now more important than ever to be liking and commenting on those accounts that you really love and want to follow, rather than engaging with accounts that you hope will follow you if you spam their feed enough
With the above in mind, I started the CGScreative Photo Challenge in April, and have brought it back again for June. The challenge is a fun way for us all to engage with one another in a genuine way, while helping each other get seen by more people. Doing this grows your own audience and following as well as everyone else's...it's basically a win-win situation!
Read More