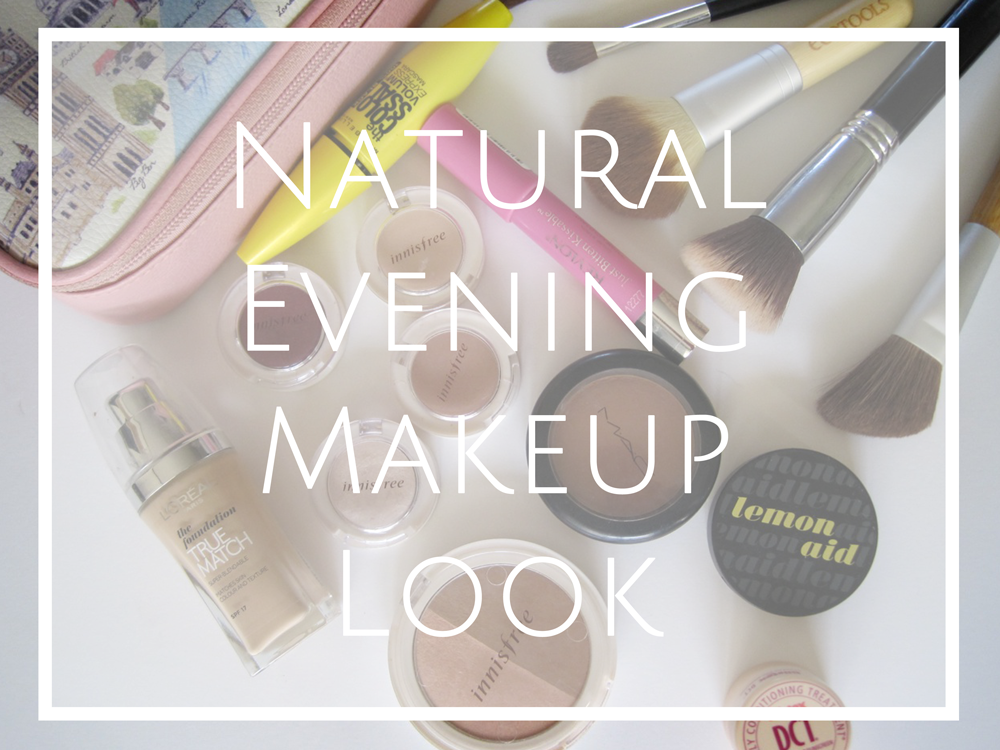
Quick & Easy, Budget Friendly Everyday Makeup Look Tutorial Especially for the Moms - Video

Quick & Easy, Budget Friendly Everyday Makeup Look Tutorial Especially for the Moms Video Tutorial CityGirlSearching-01.png

Being a mom is hard, especially on those days when you feel like that's all you are. I'm sure it's not just me who still wants to feel like a lady, even if I've got unwashed hair and struggling to remove the smell of milk from my clothes...and this is when I turn to my makeup stash to help me feel a little more like the old me. 

I've got a very quick and easy, budget friendly, everyday makeup look which I put together (along with product recommendations) especially for the busy moms. And even though this video has been created with the mom in mind, it's certainly just as useful to those of my followers who haven't yet/aren't planning to enter the mommy stage of their lives. It won't take you hours to do, and you don't need a lot of products either. I've shared my recommendations of products I use and love, but you could create the same look using what you've already got in your makeup bag.

Click below to watch the video.

Enjoy!

x

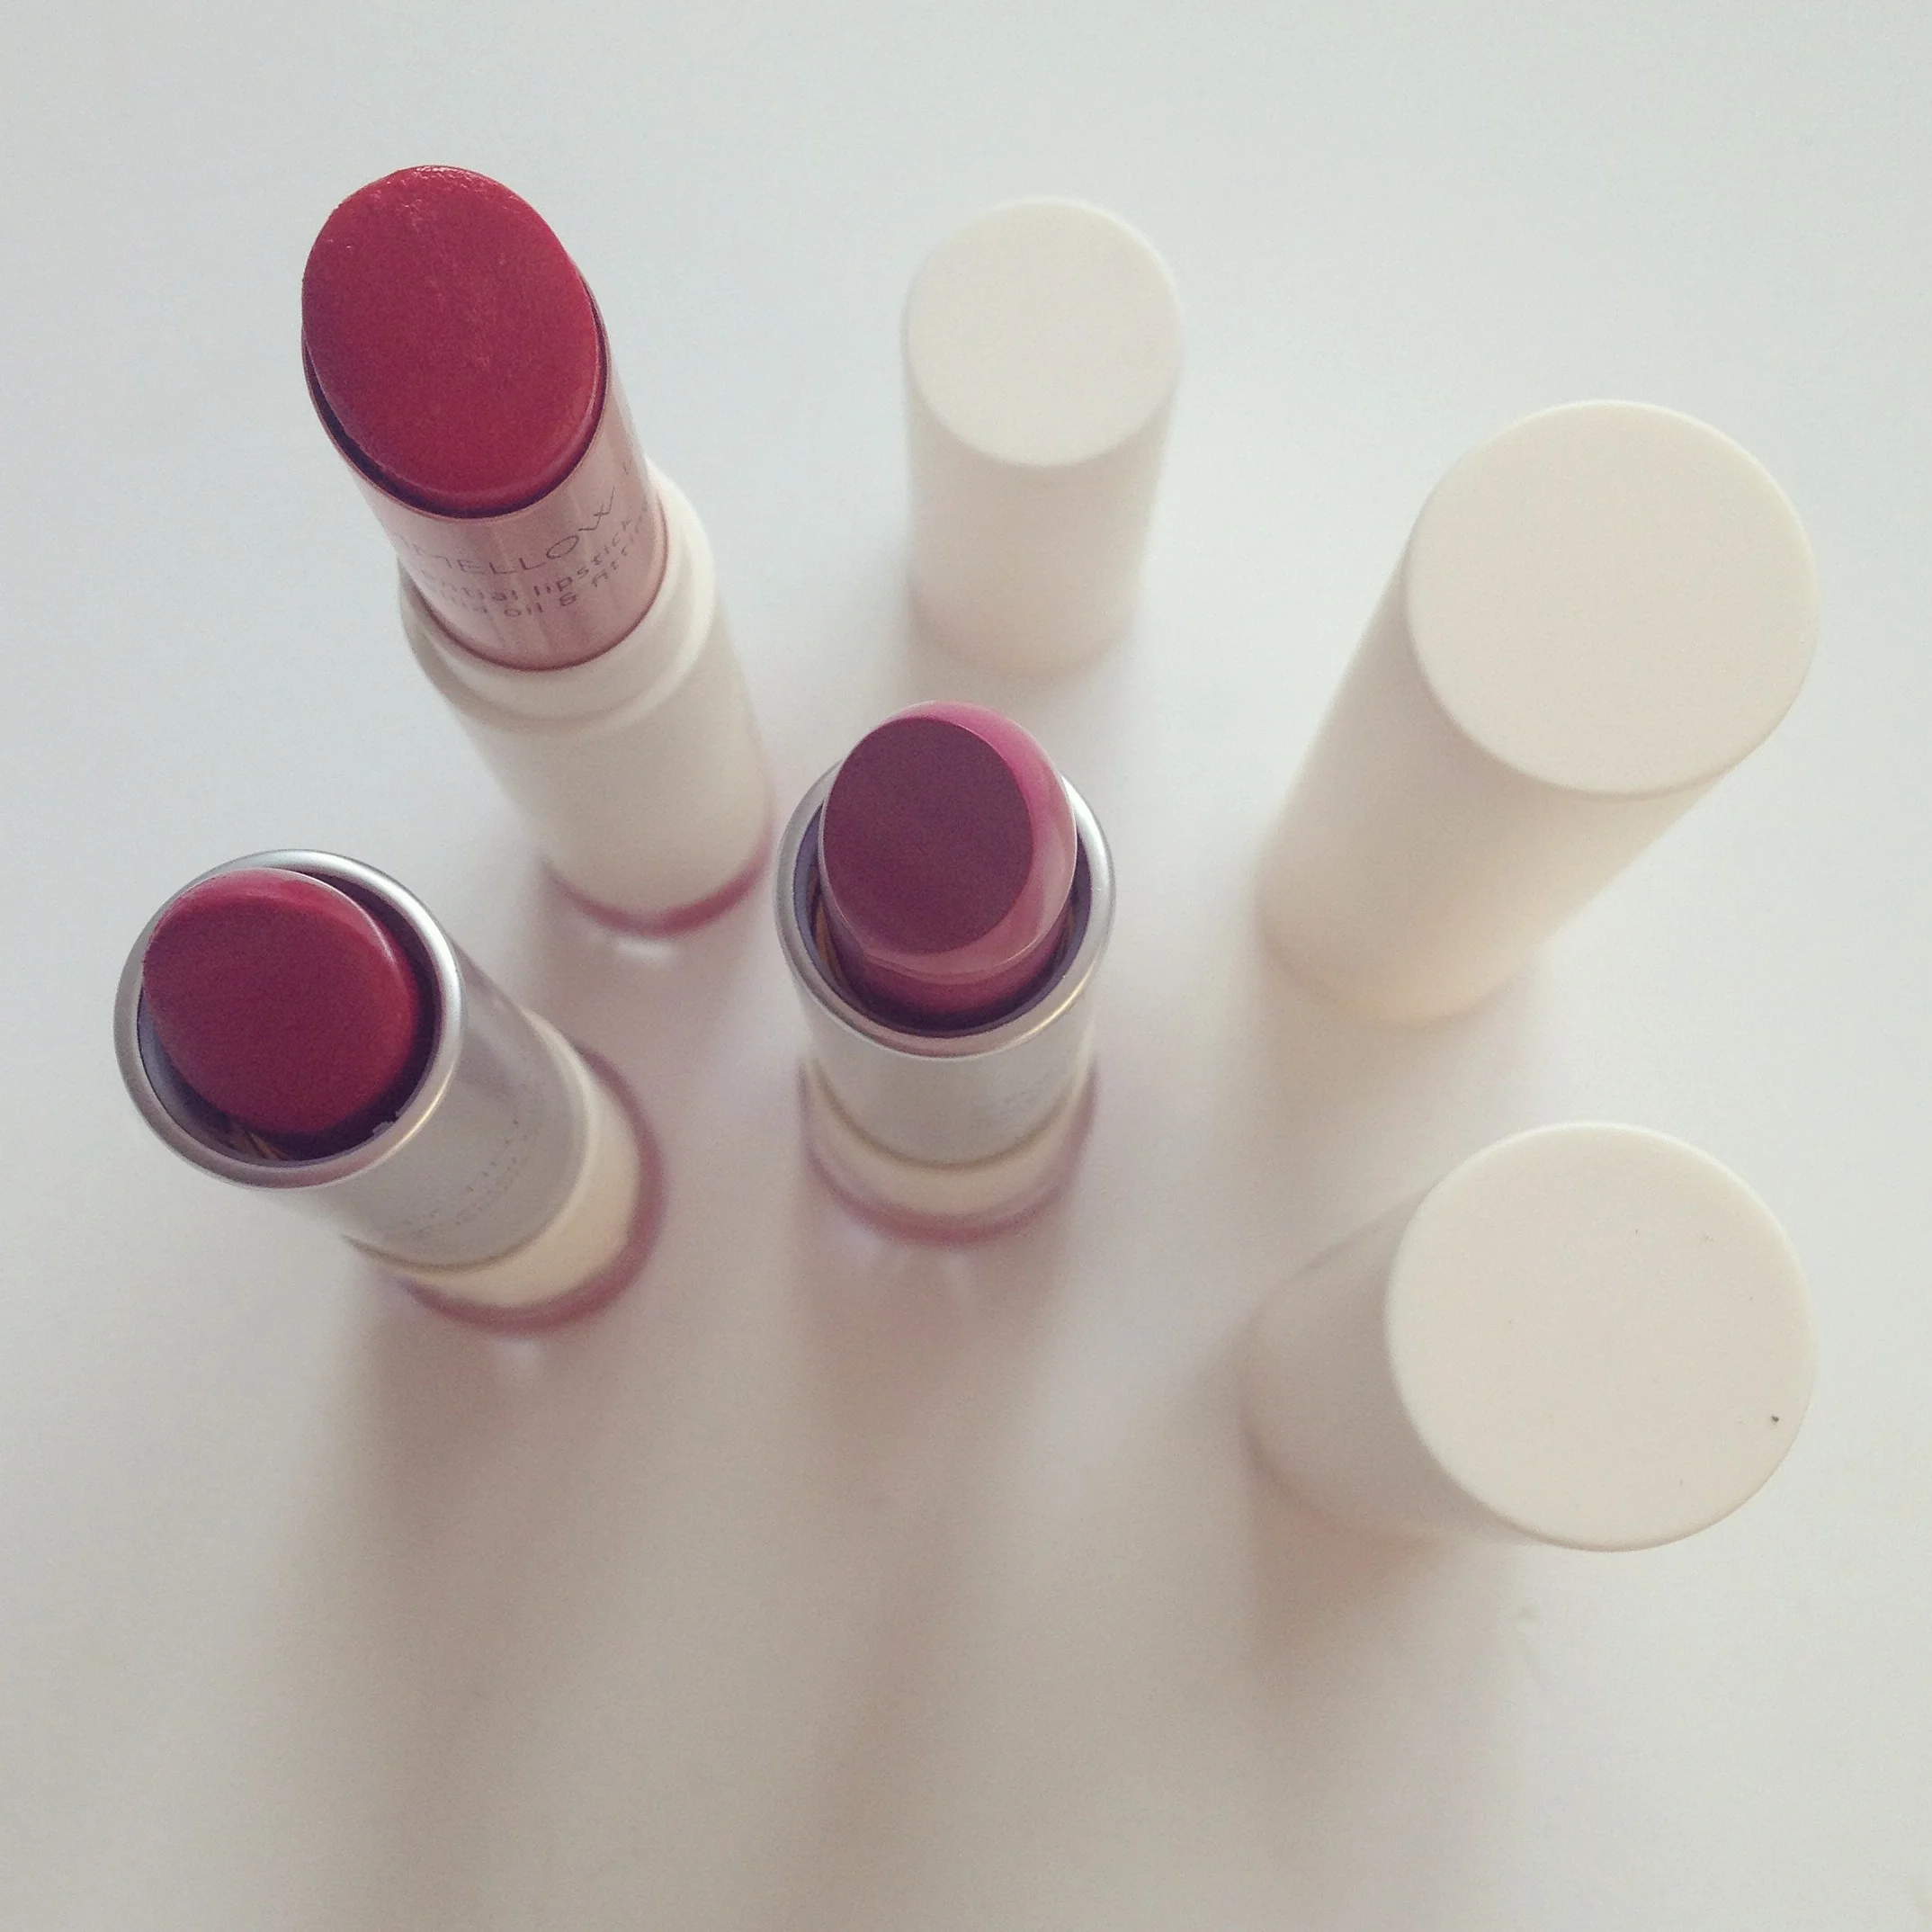
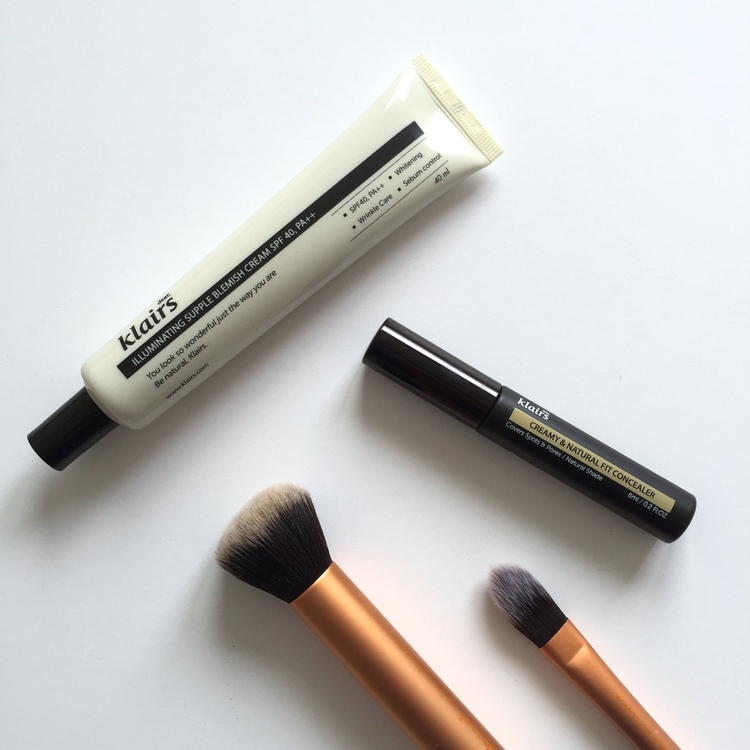
Here are the products I mention in my video:
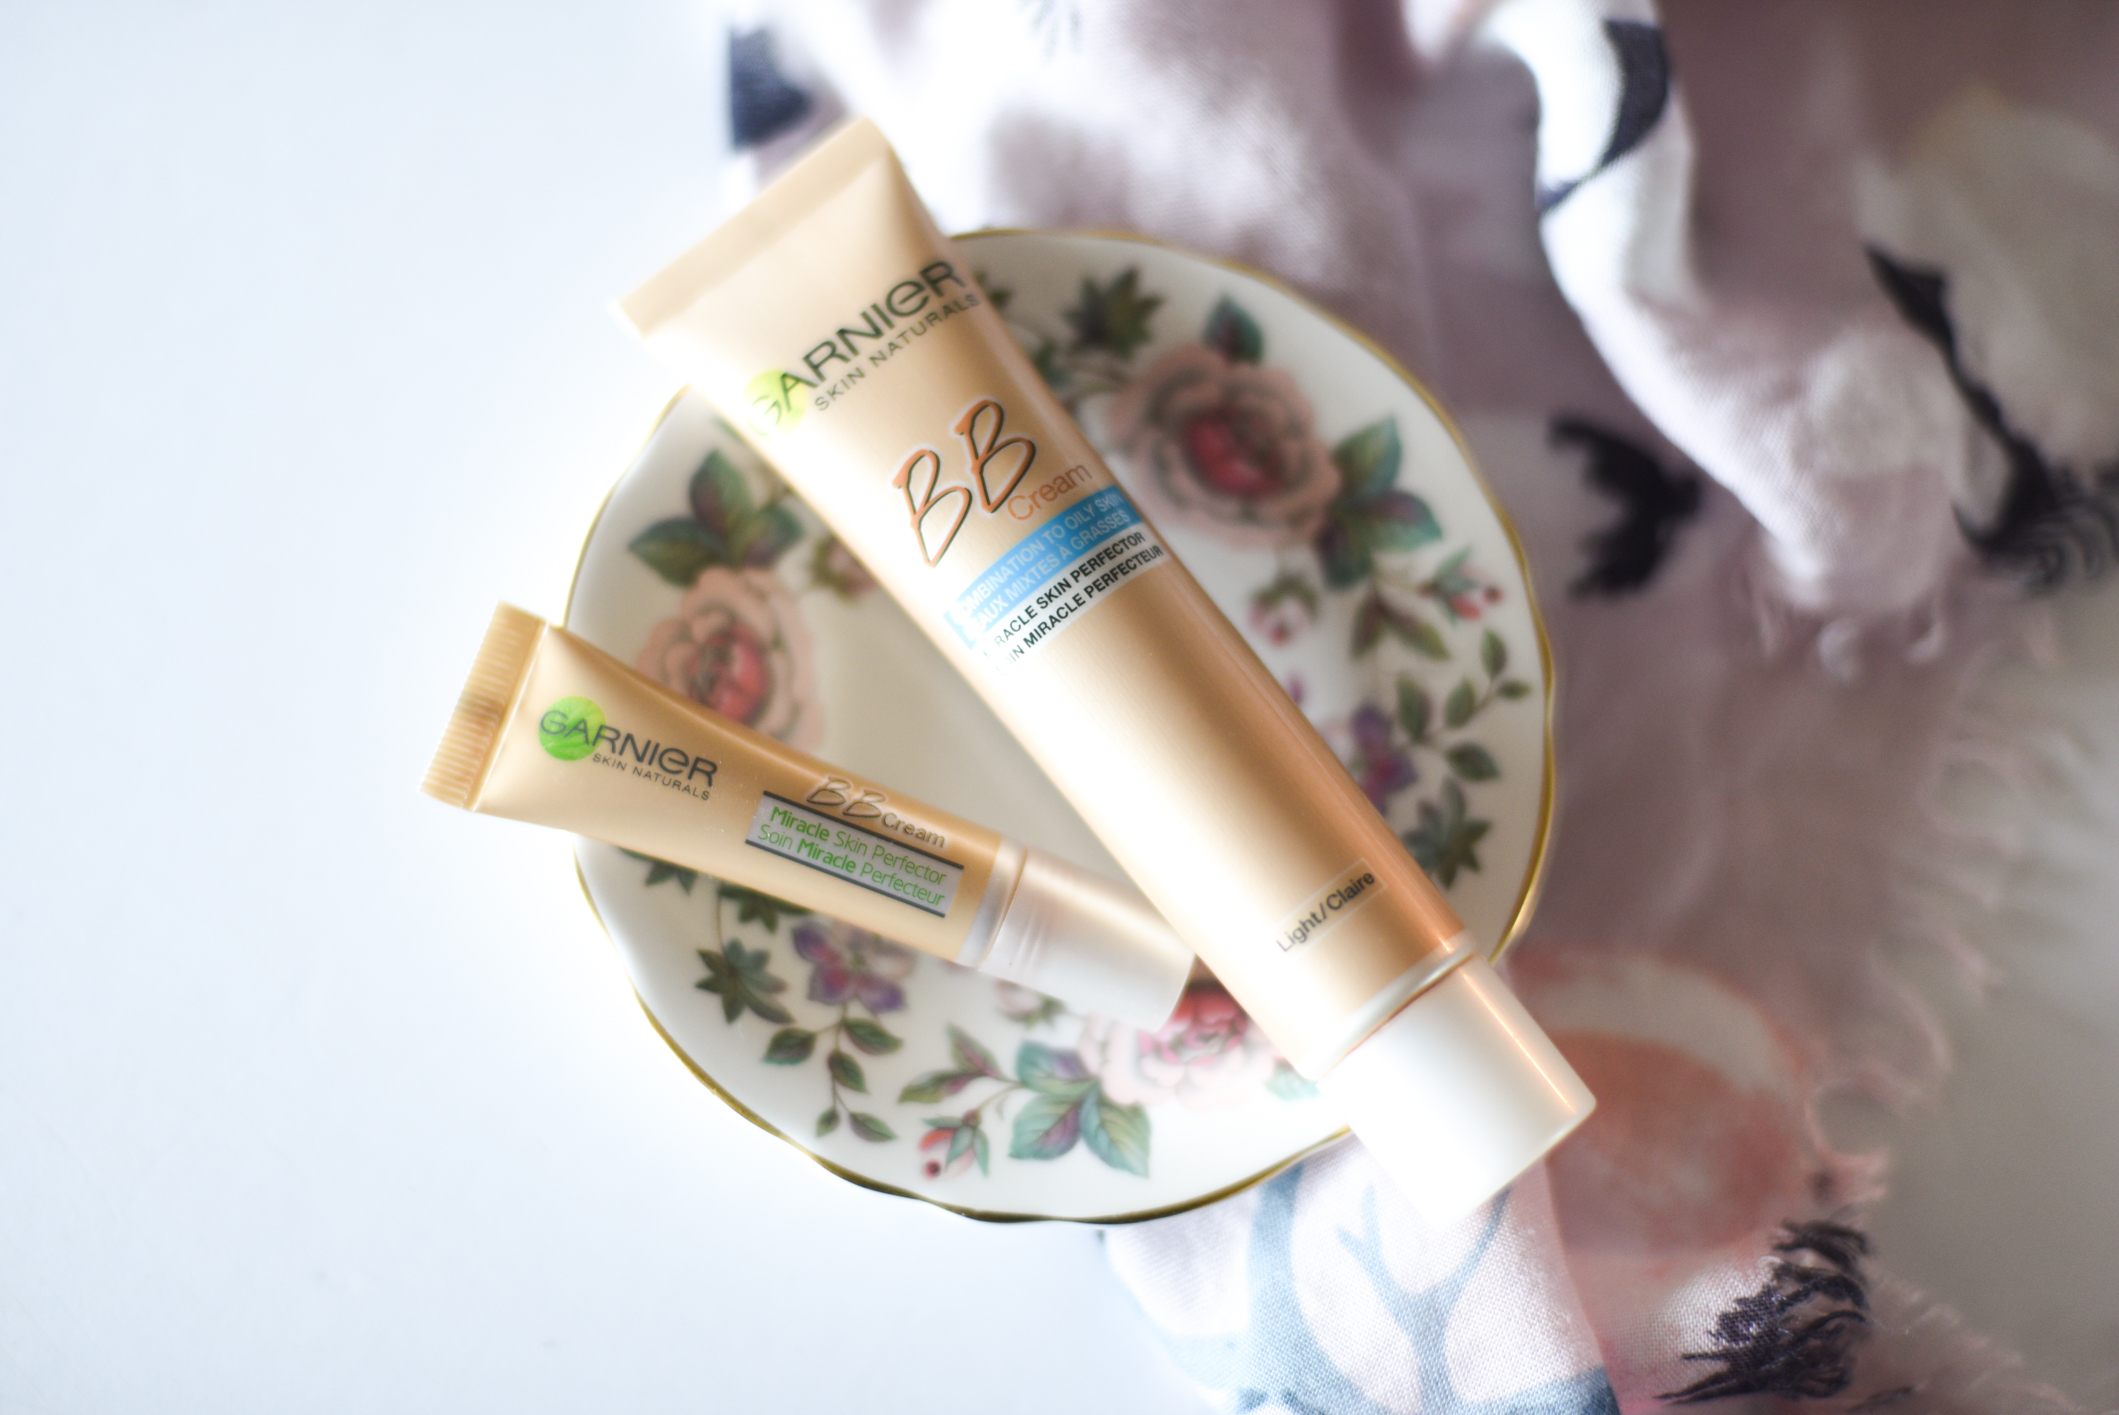
Foundation

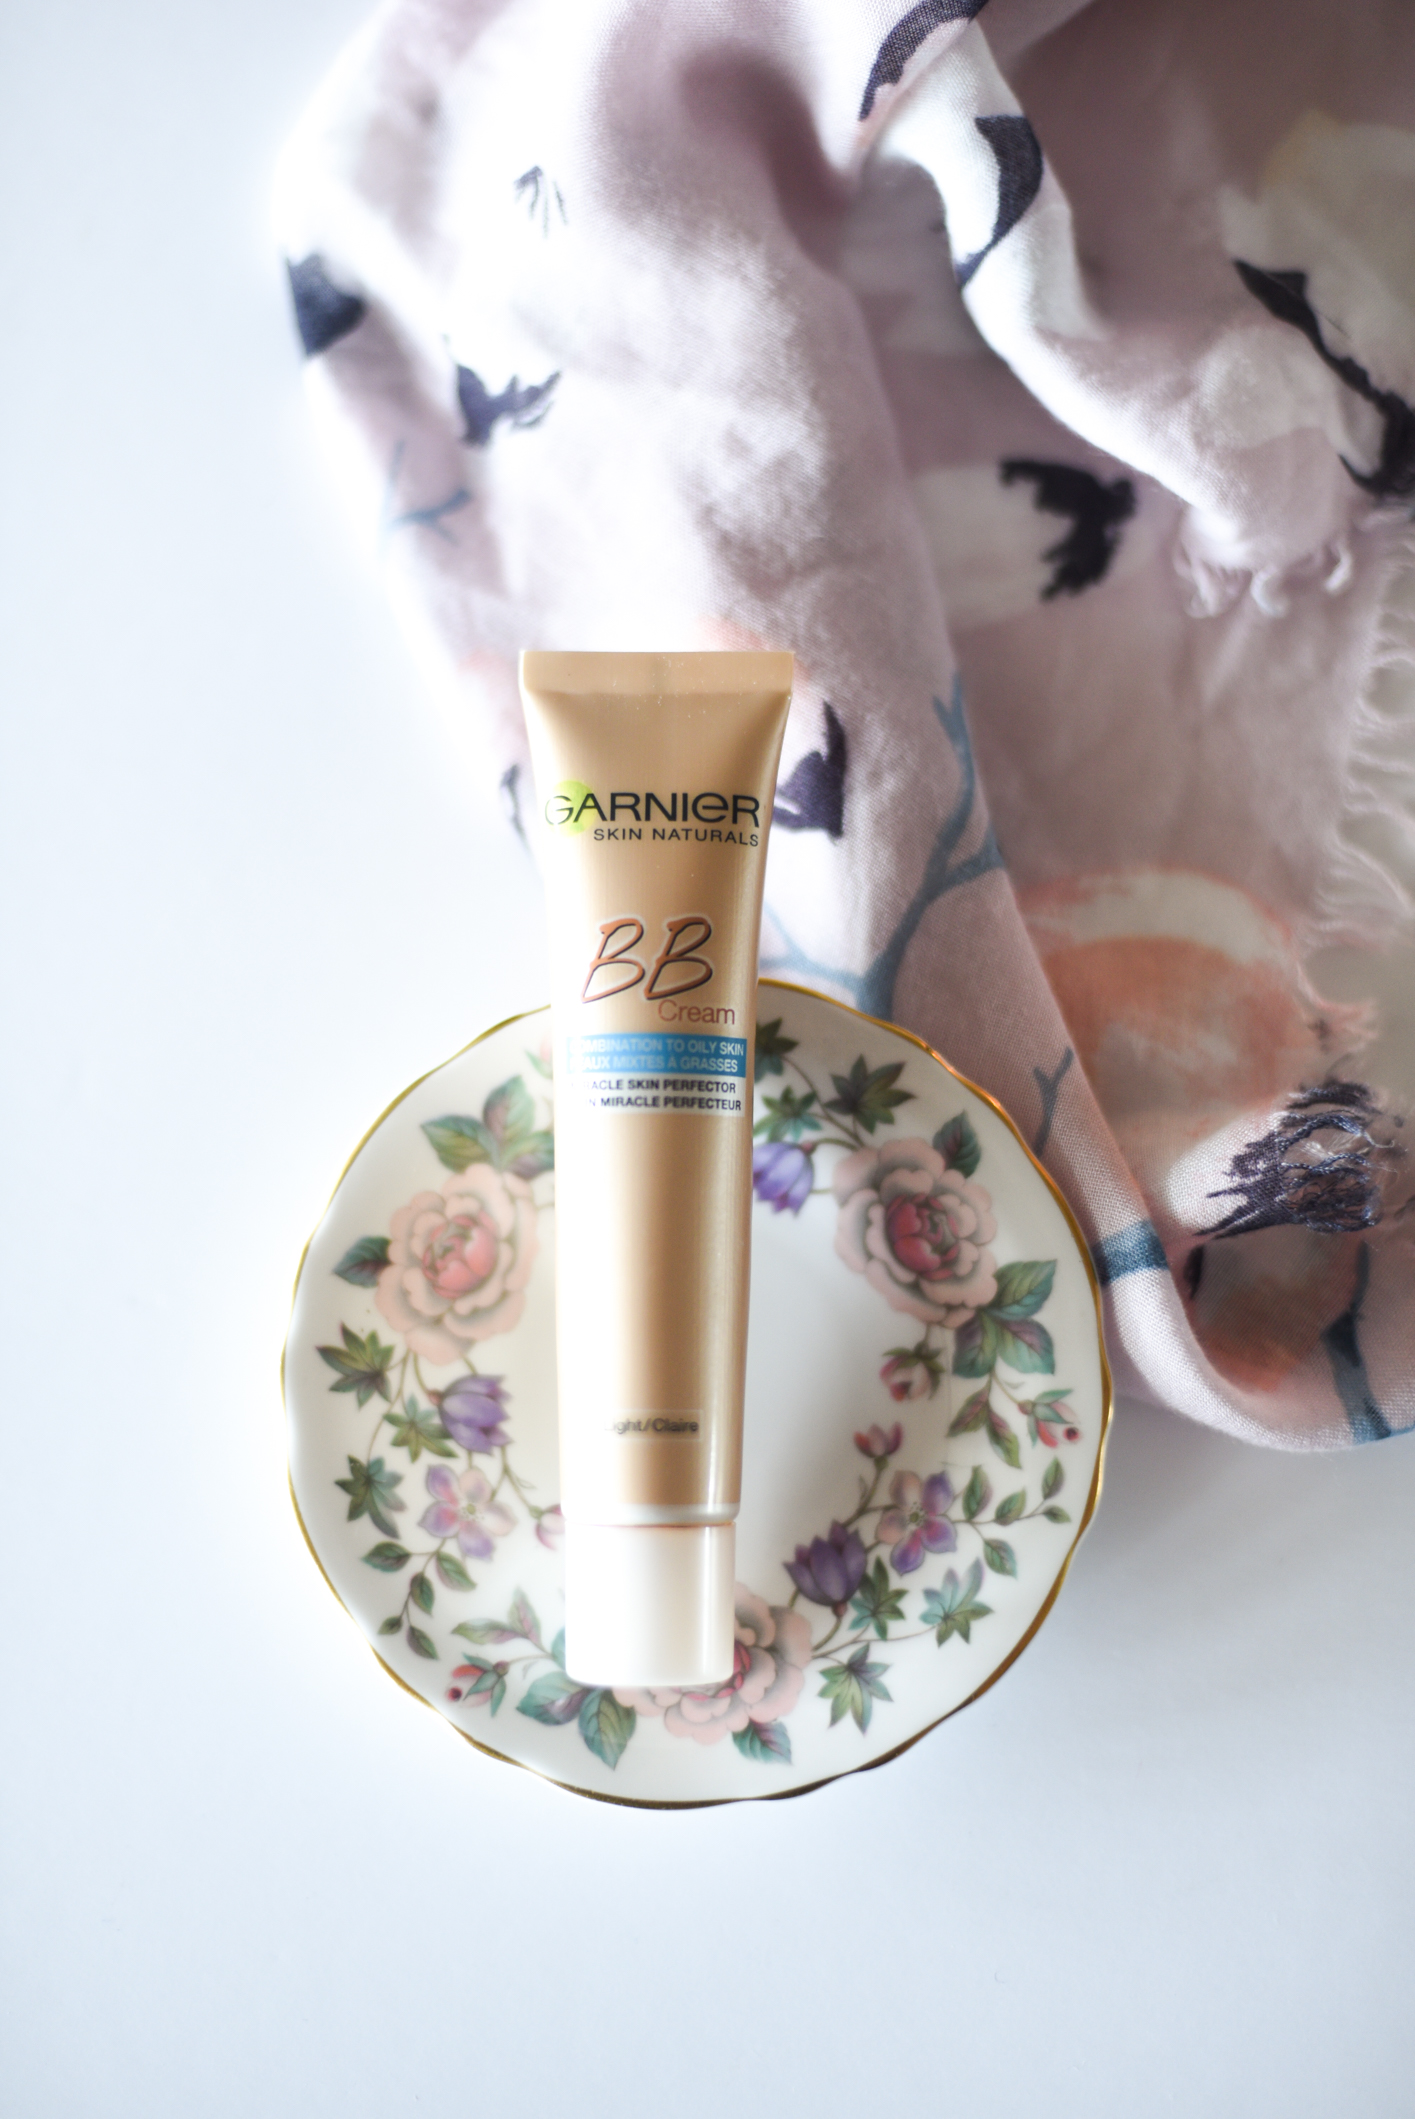
  • Garnier Miracle Skin Perfector BB Cream in Light

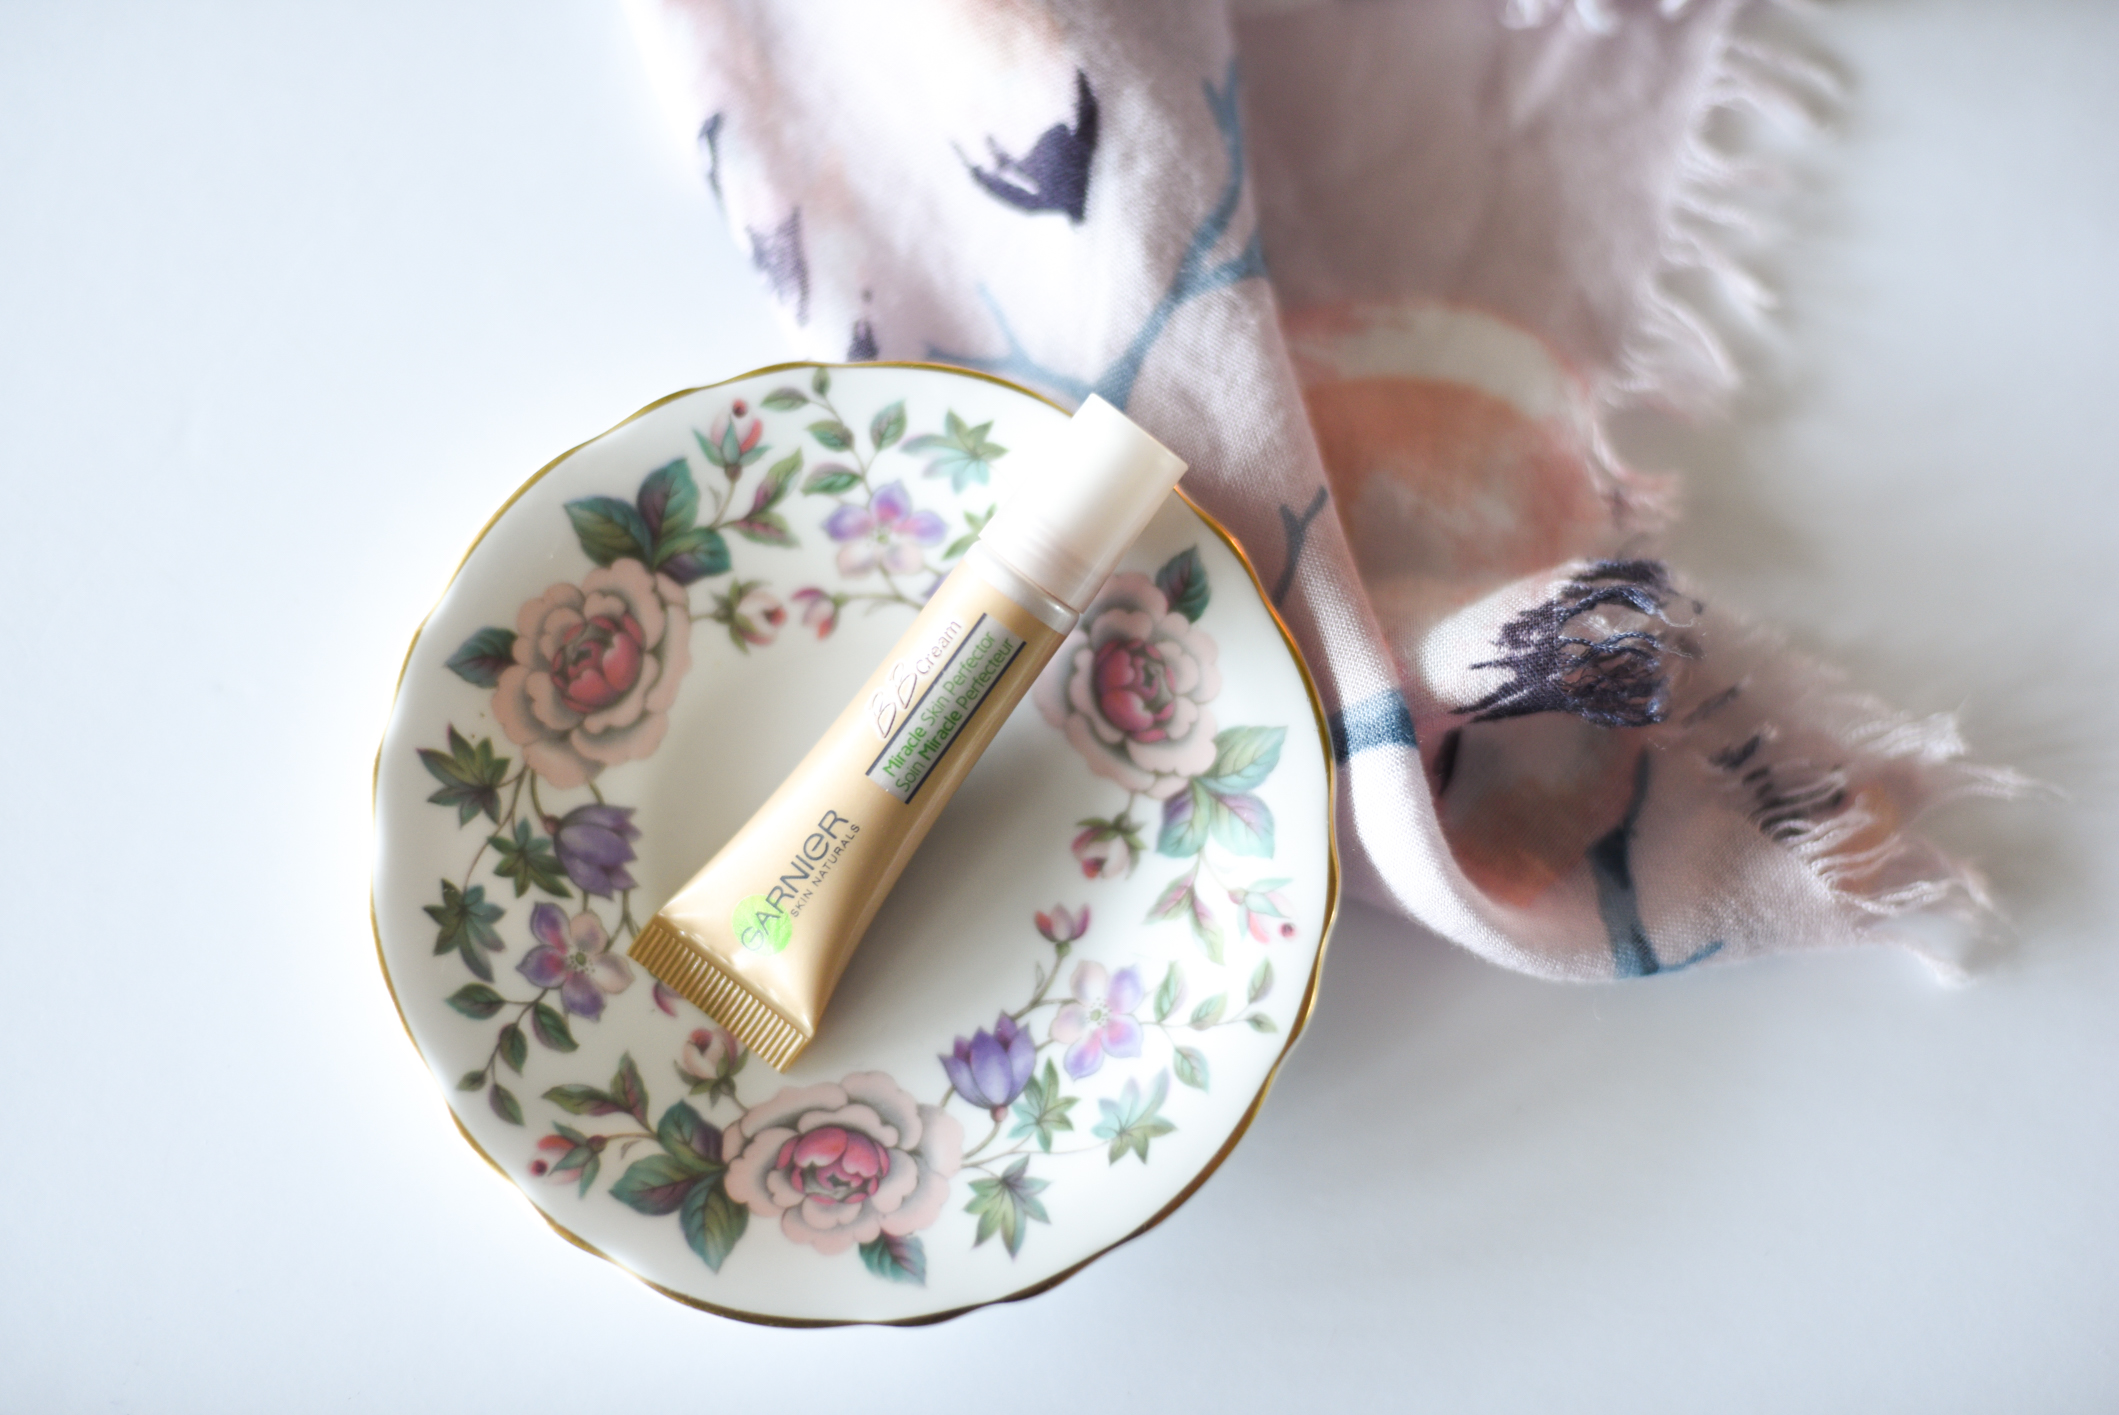
  • Garnier Miracle Skin Perfector Roll on BB Cream for eyes & blemishes

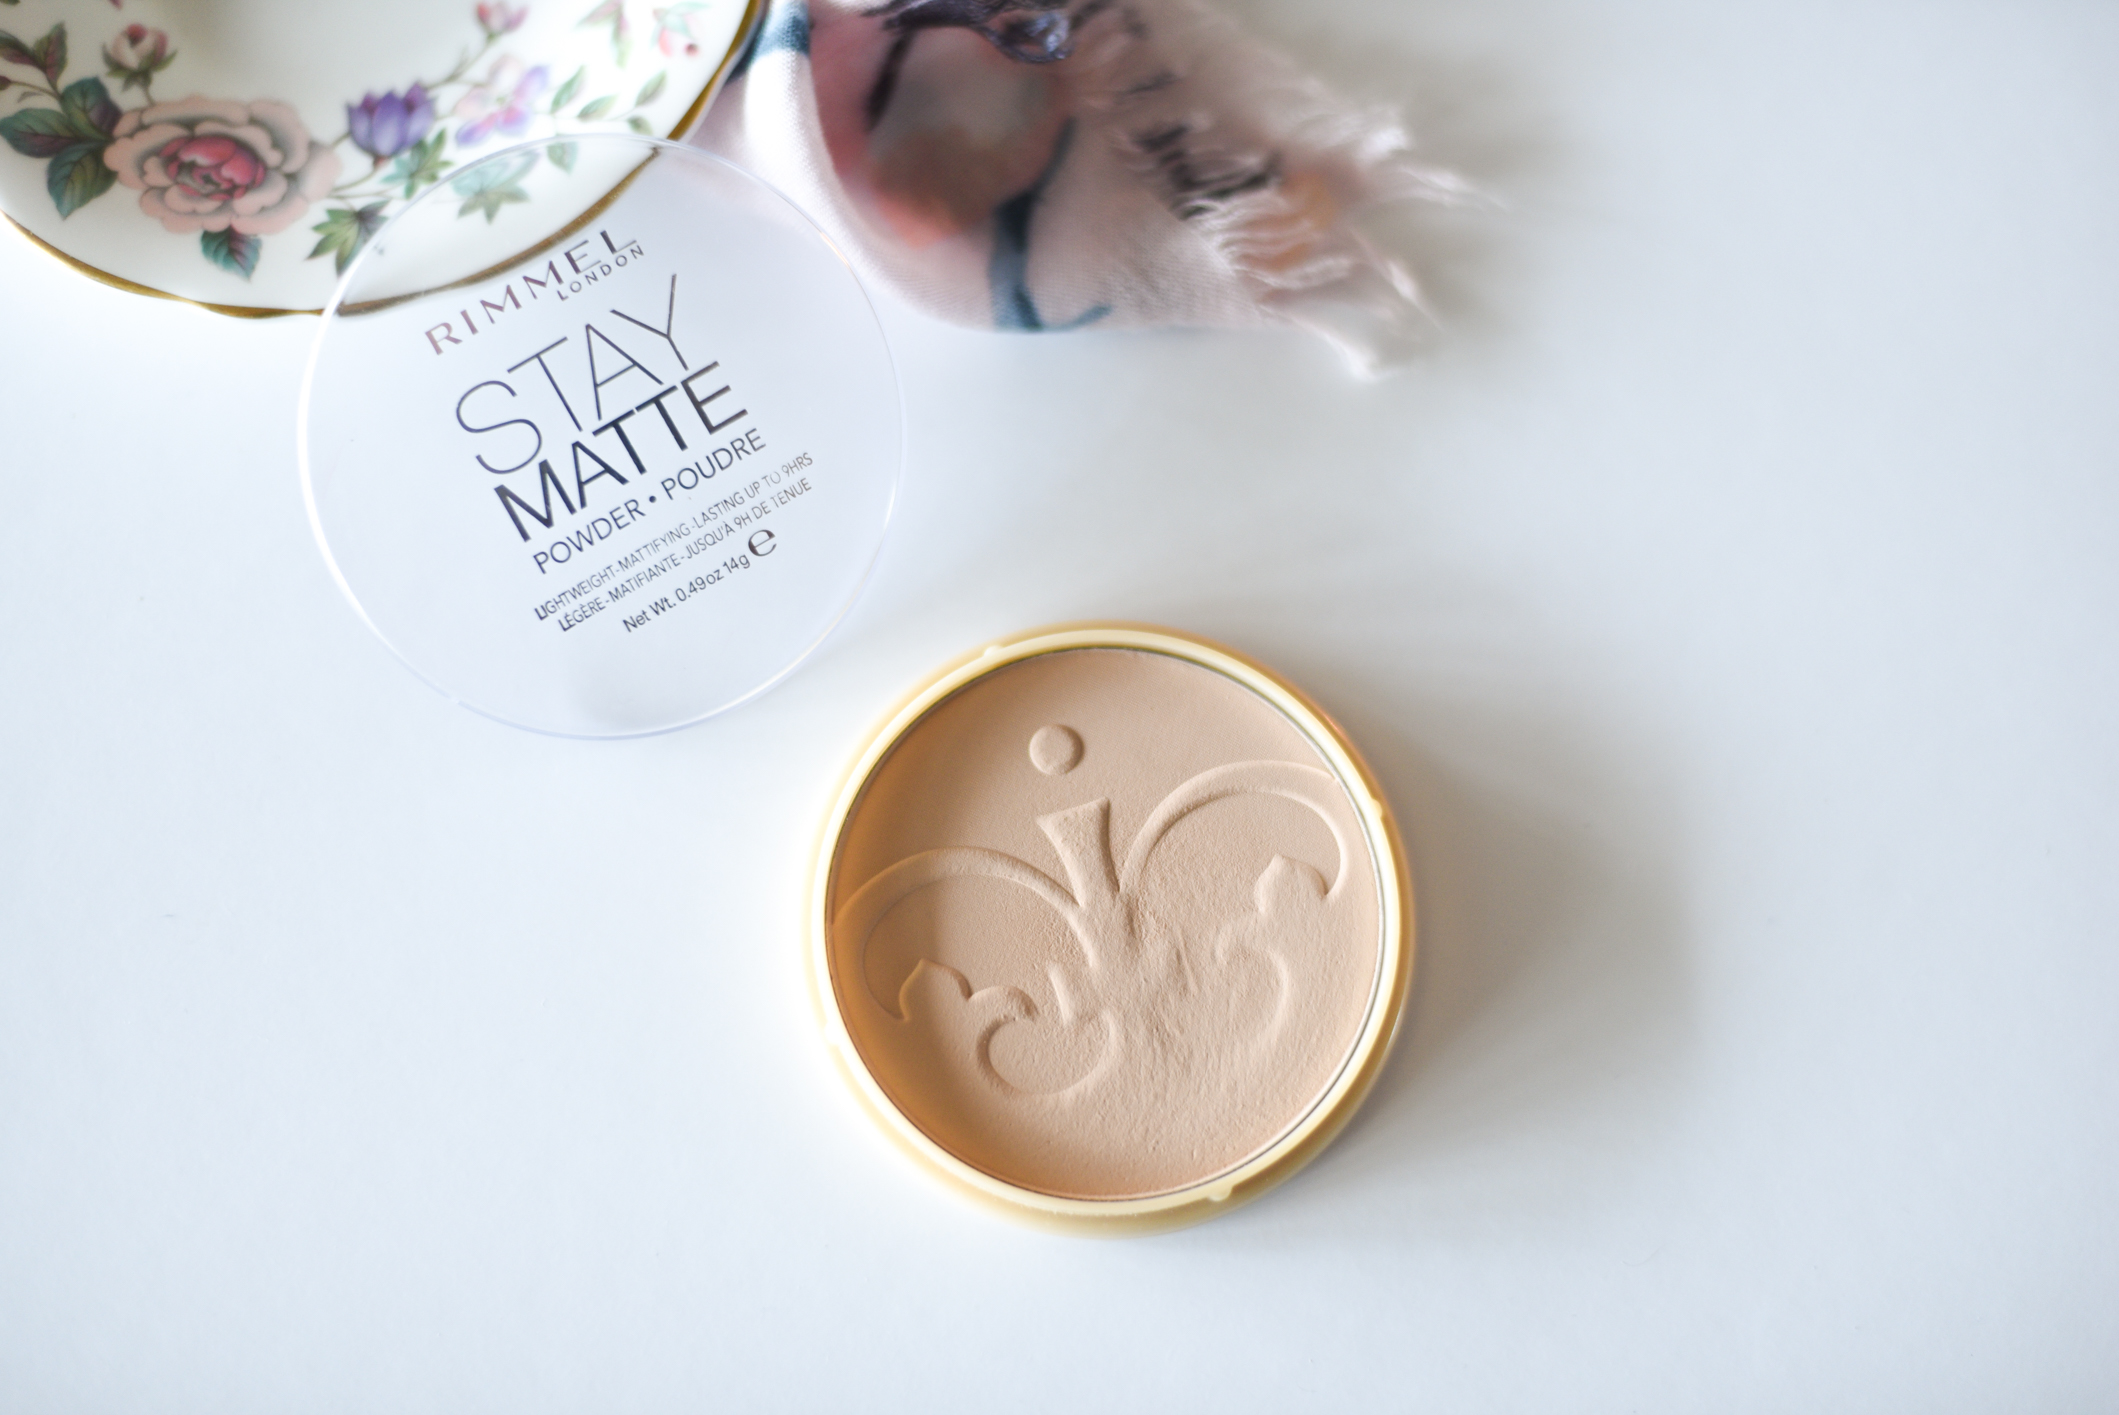
  • Rimmel Stay Matte Pressed Powder
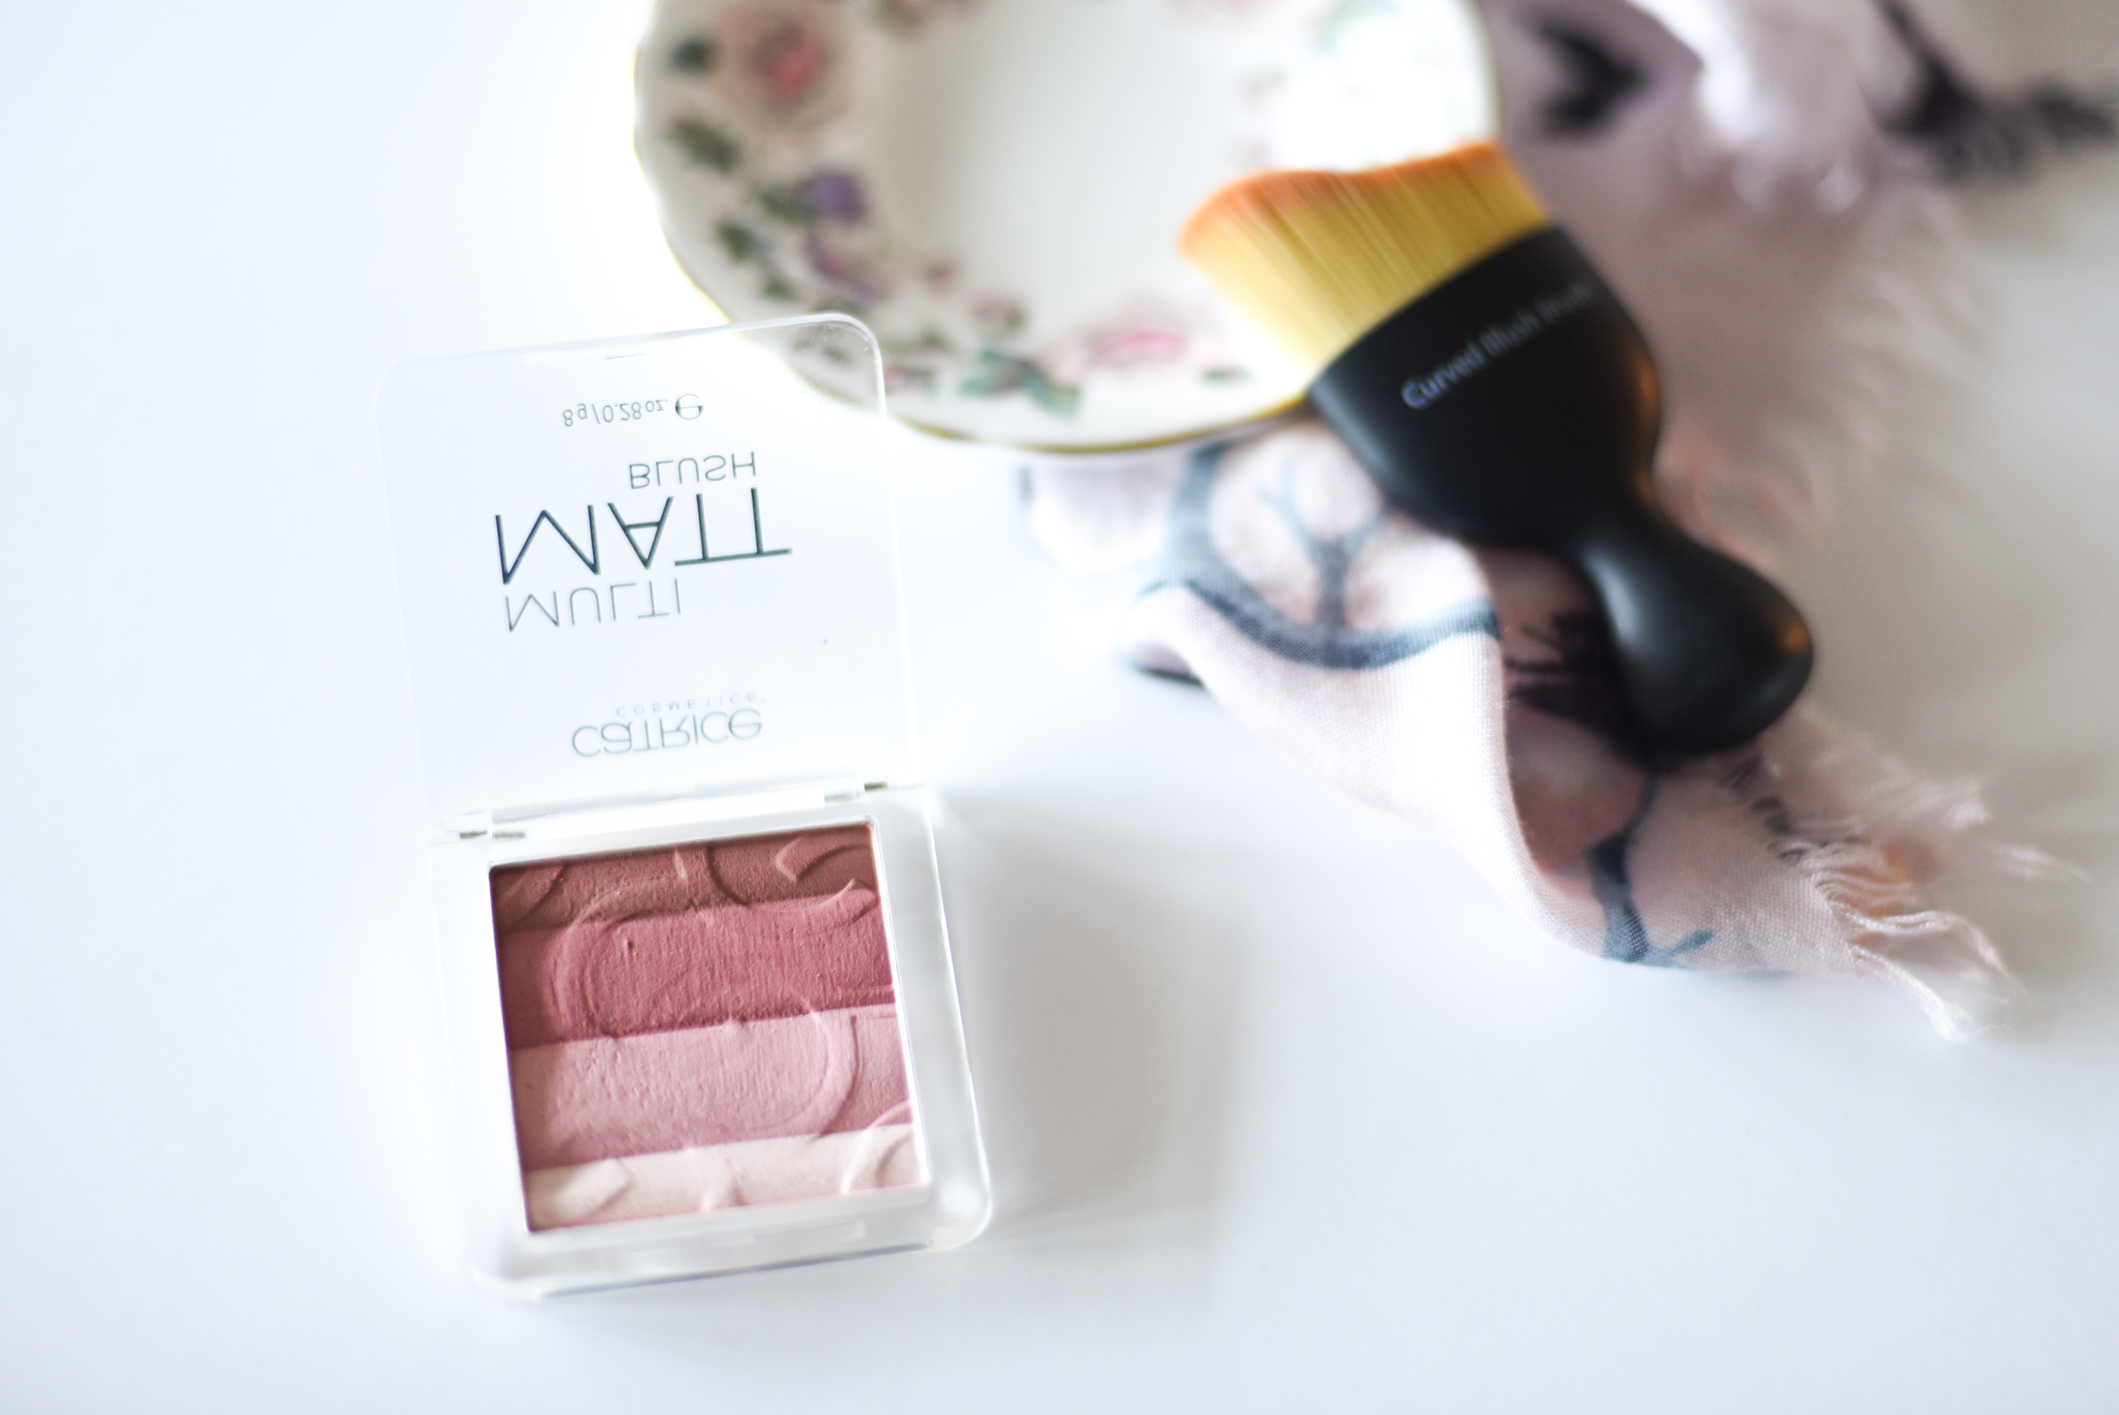
Blush

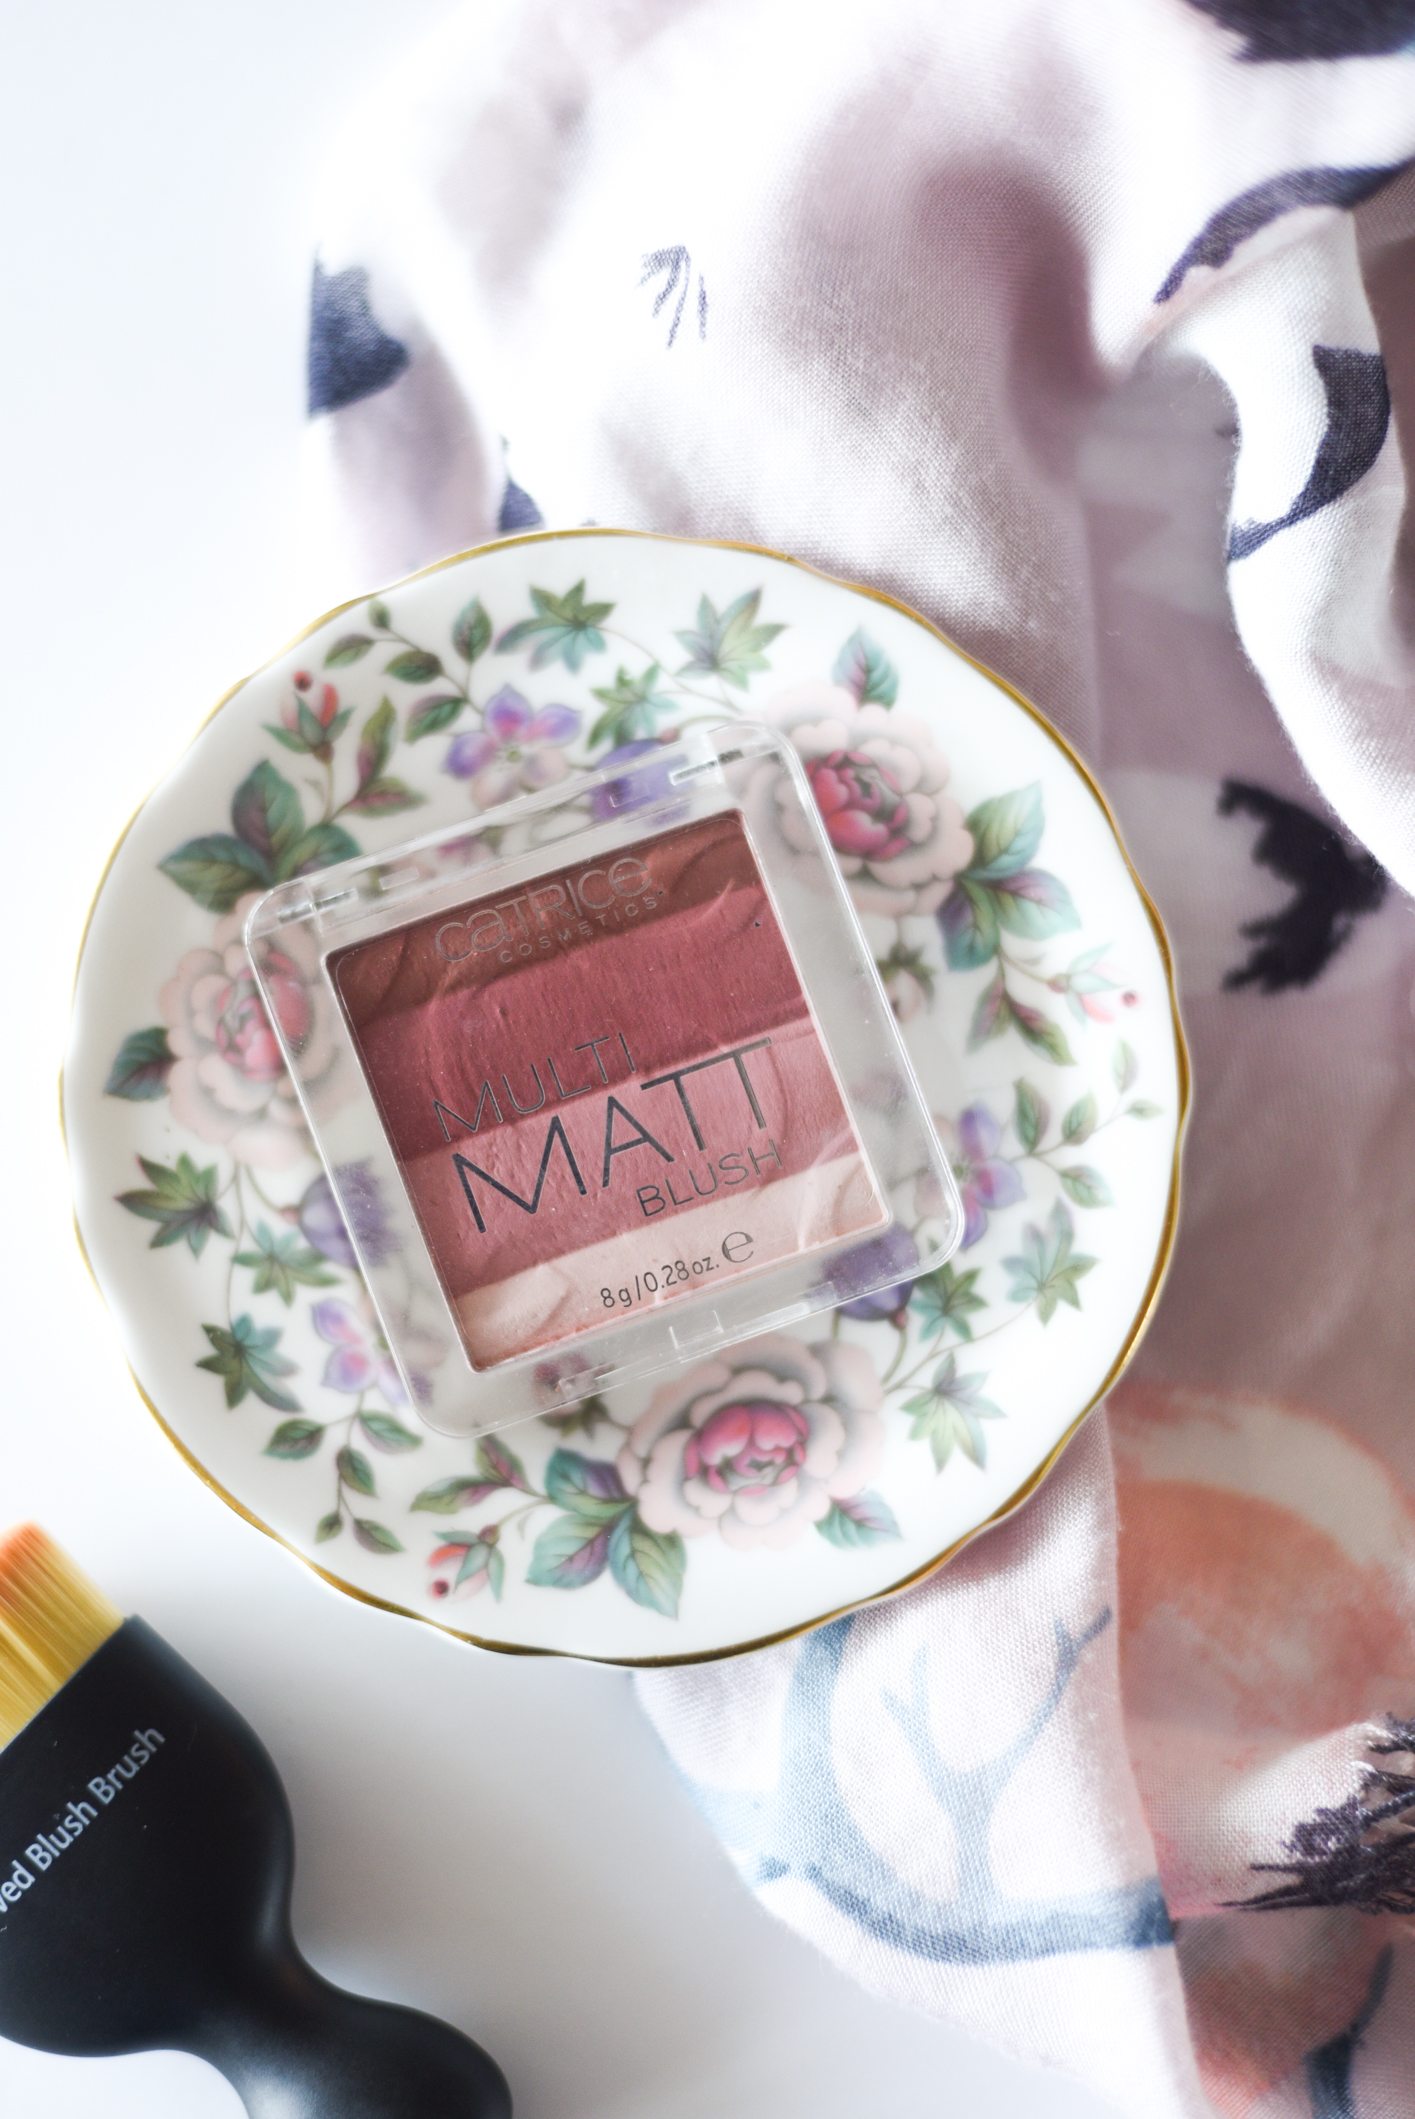
  • Catrice Cosmetics Multi-Matt Blush in LaLaLavender
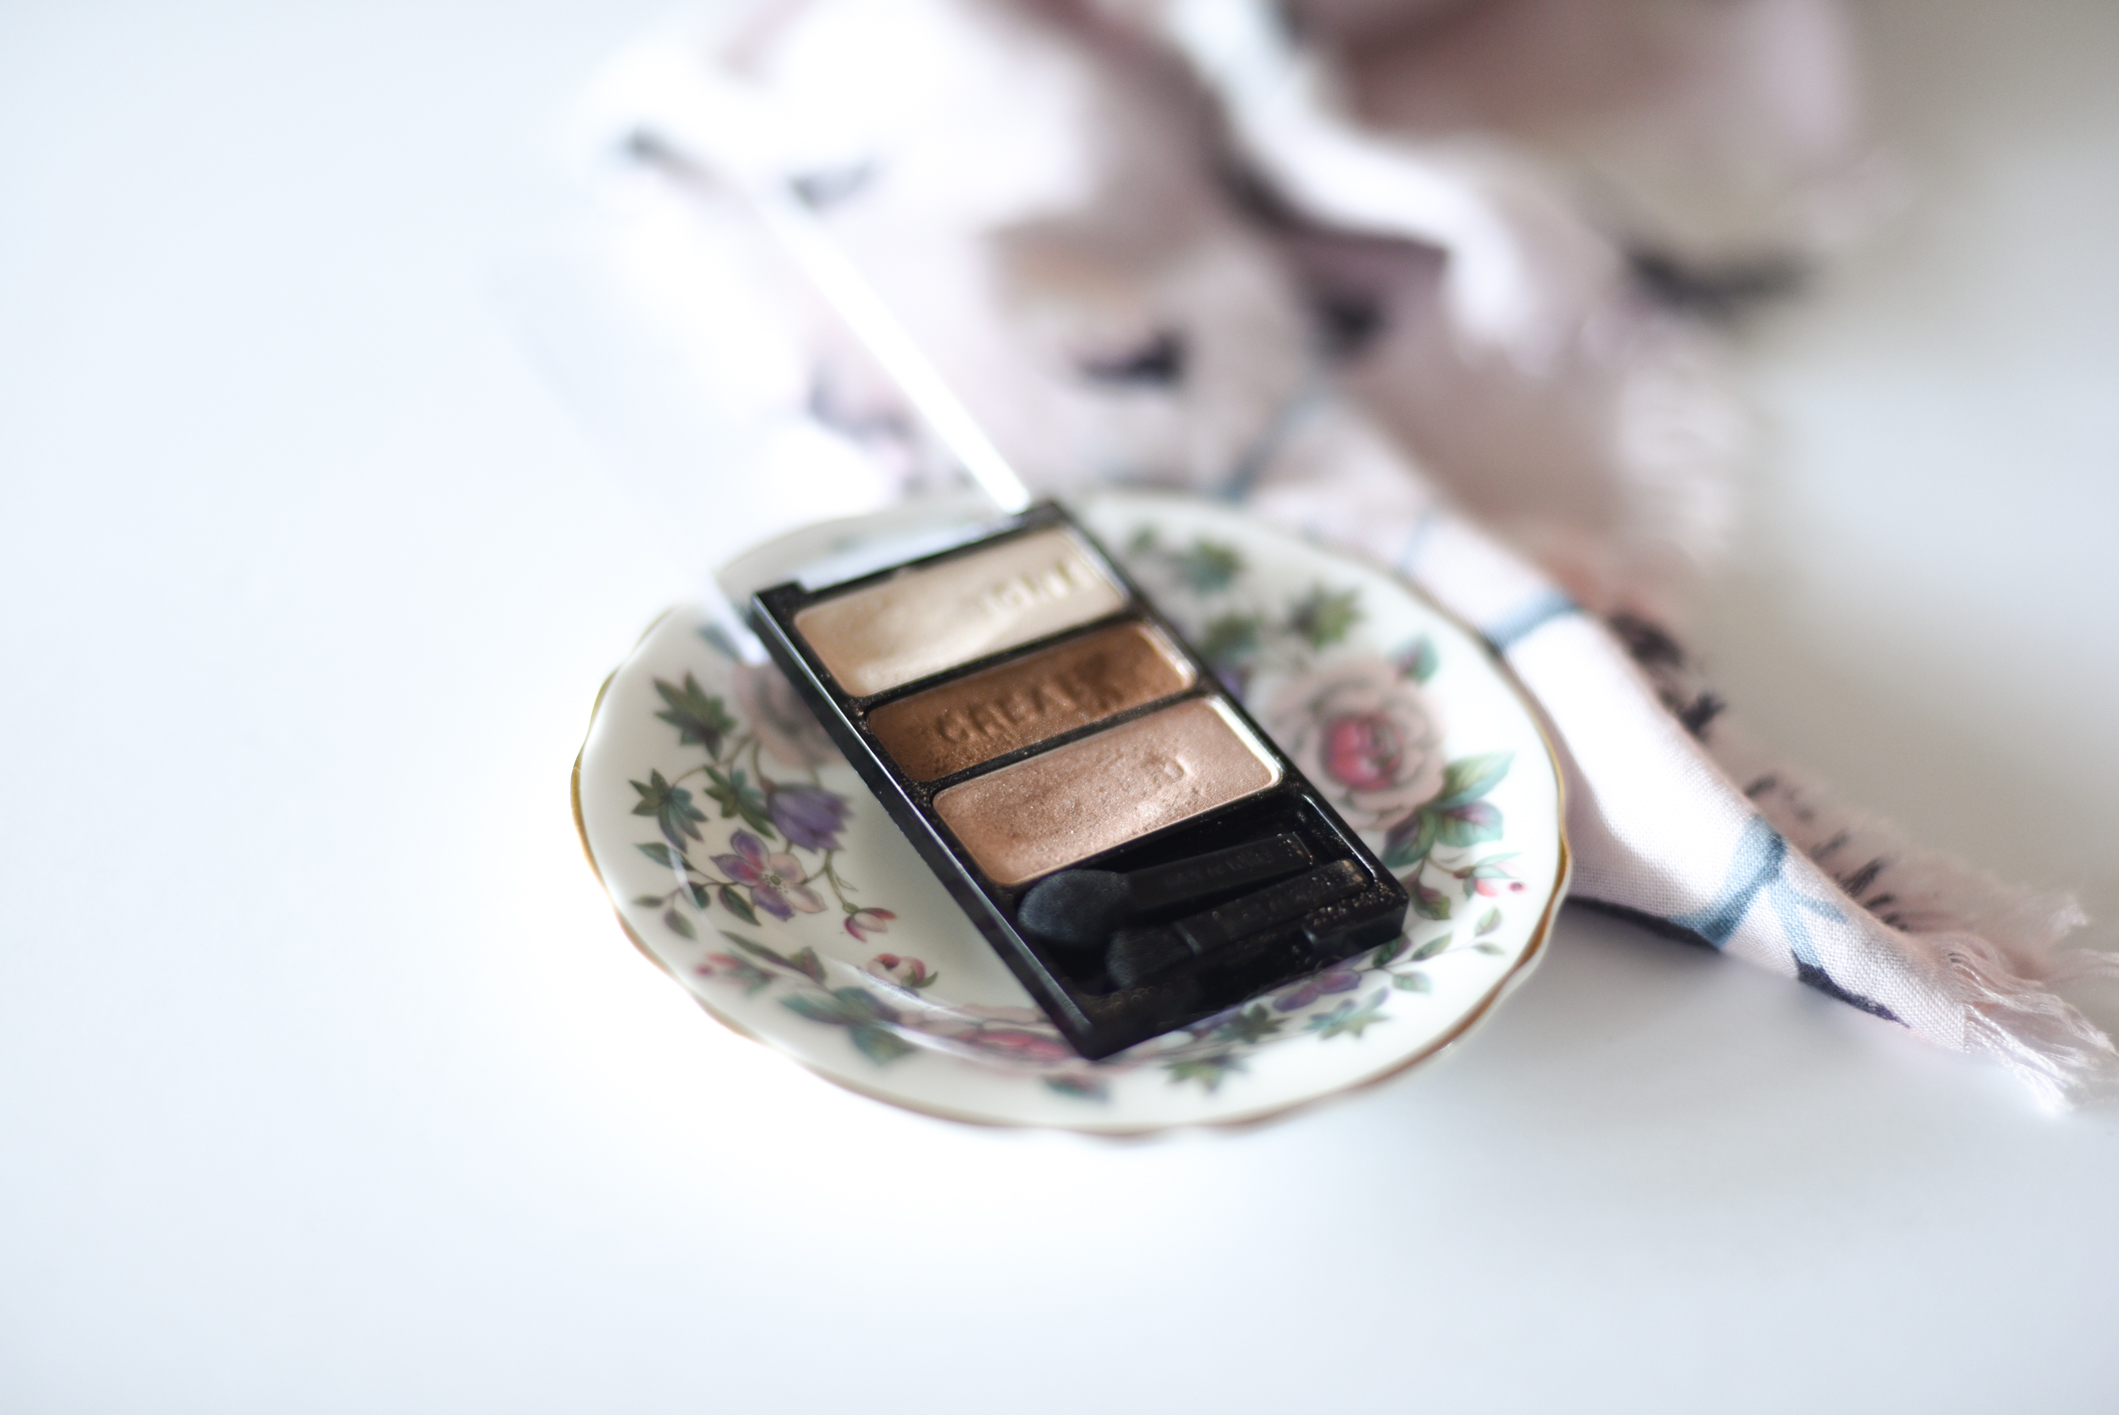
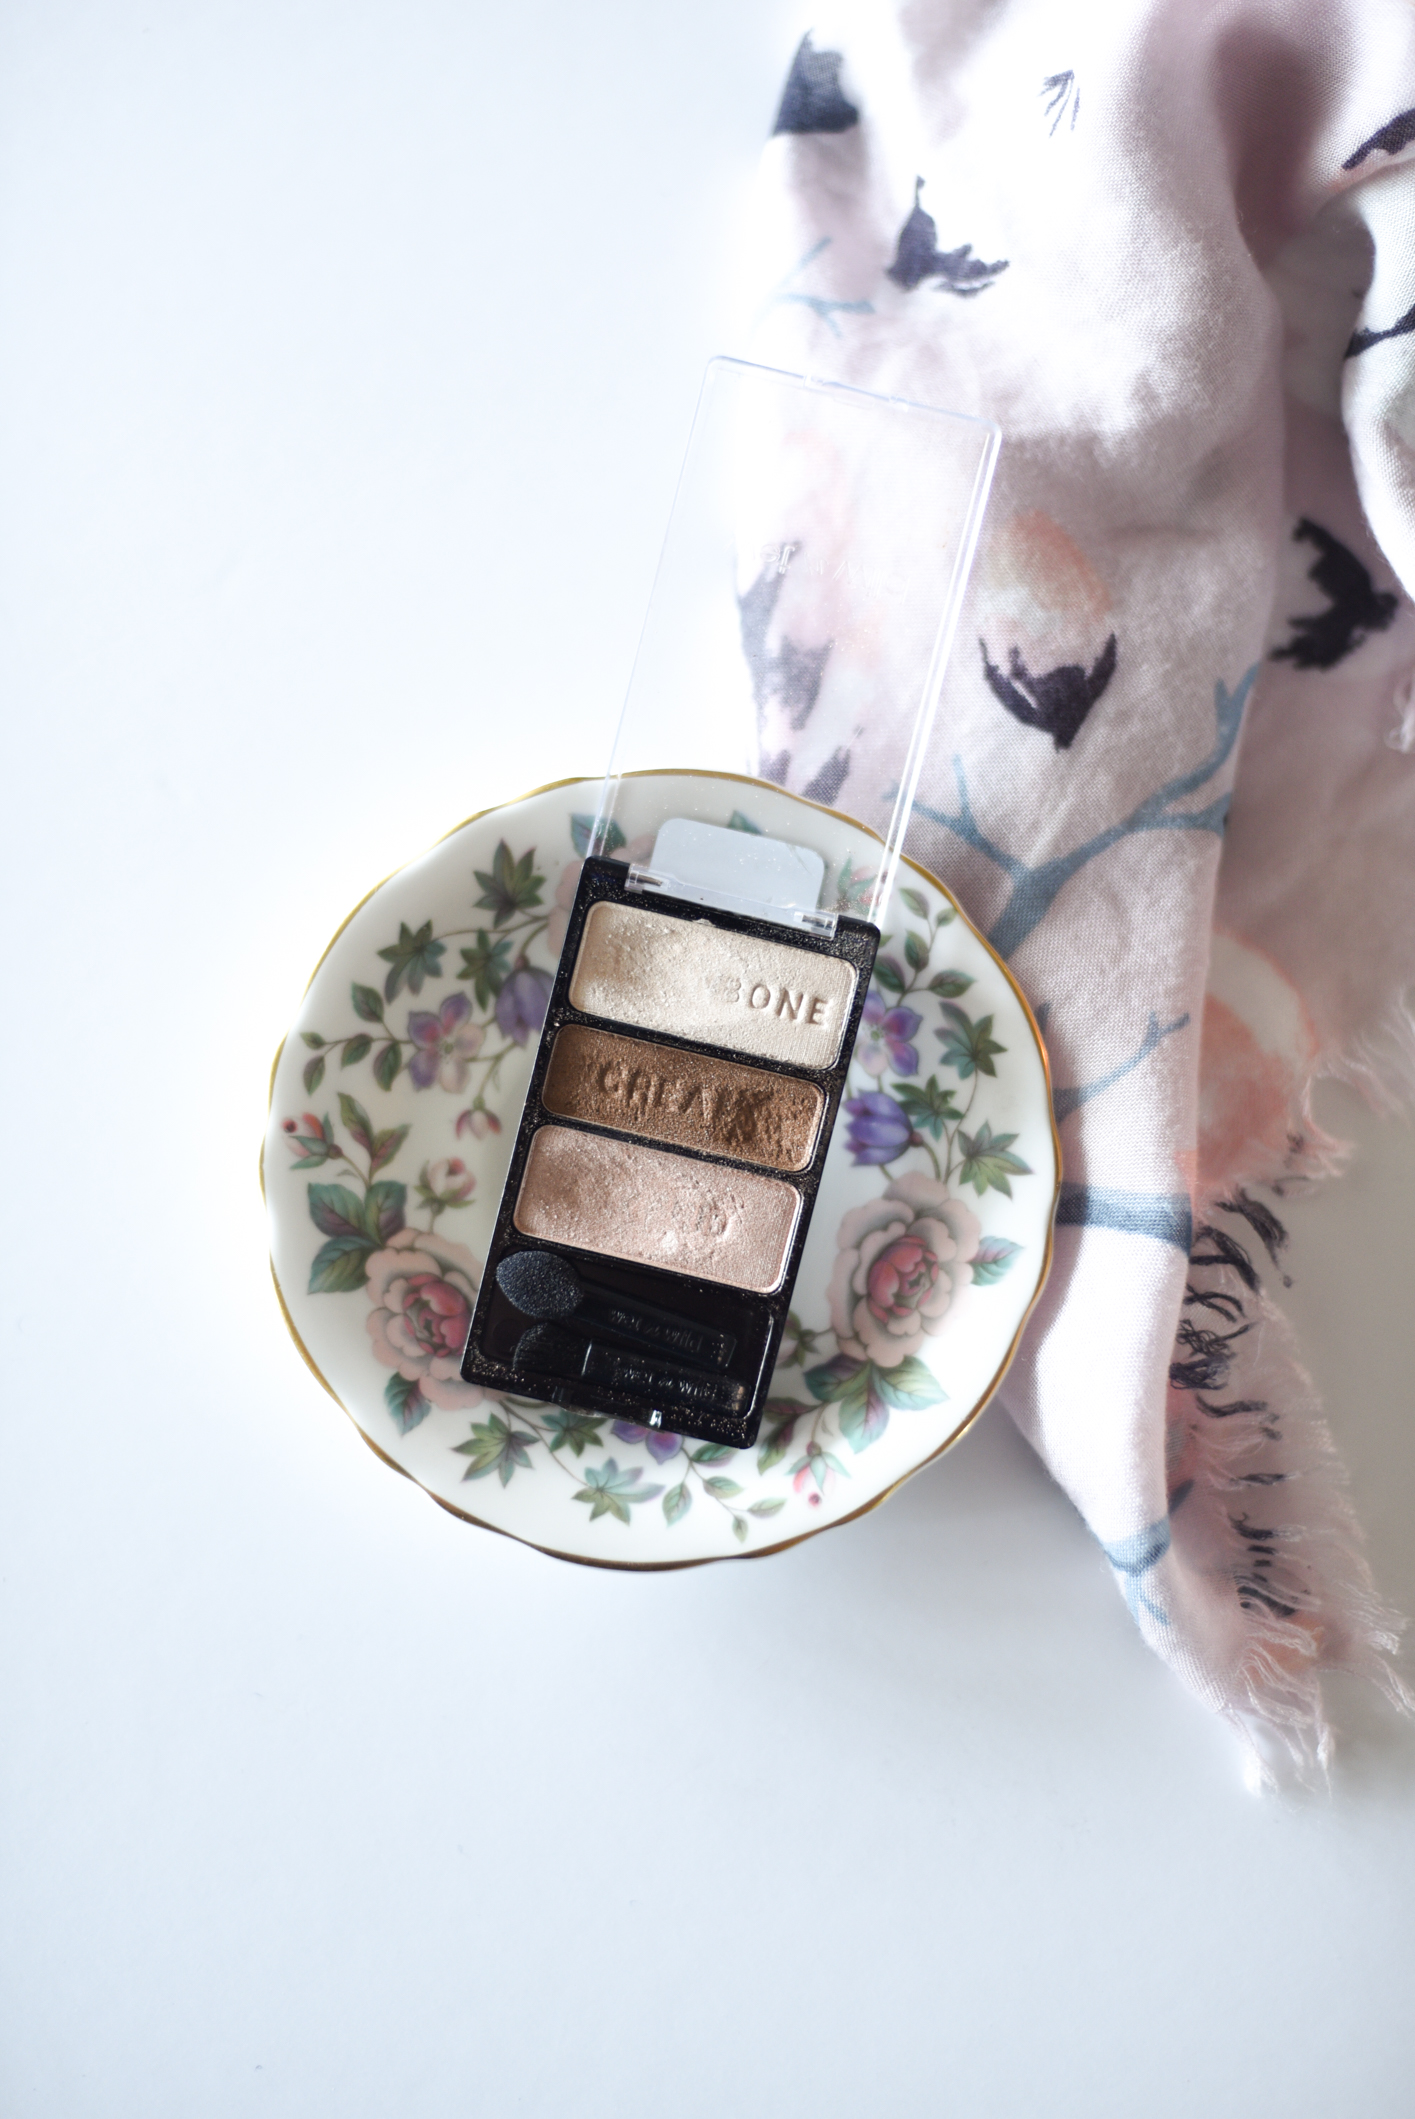
 

Eyes

  • Wet n Wild Eyeshadow Trio in Walking on Eggshells

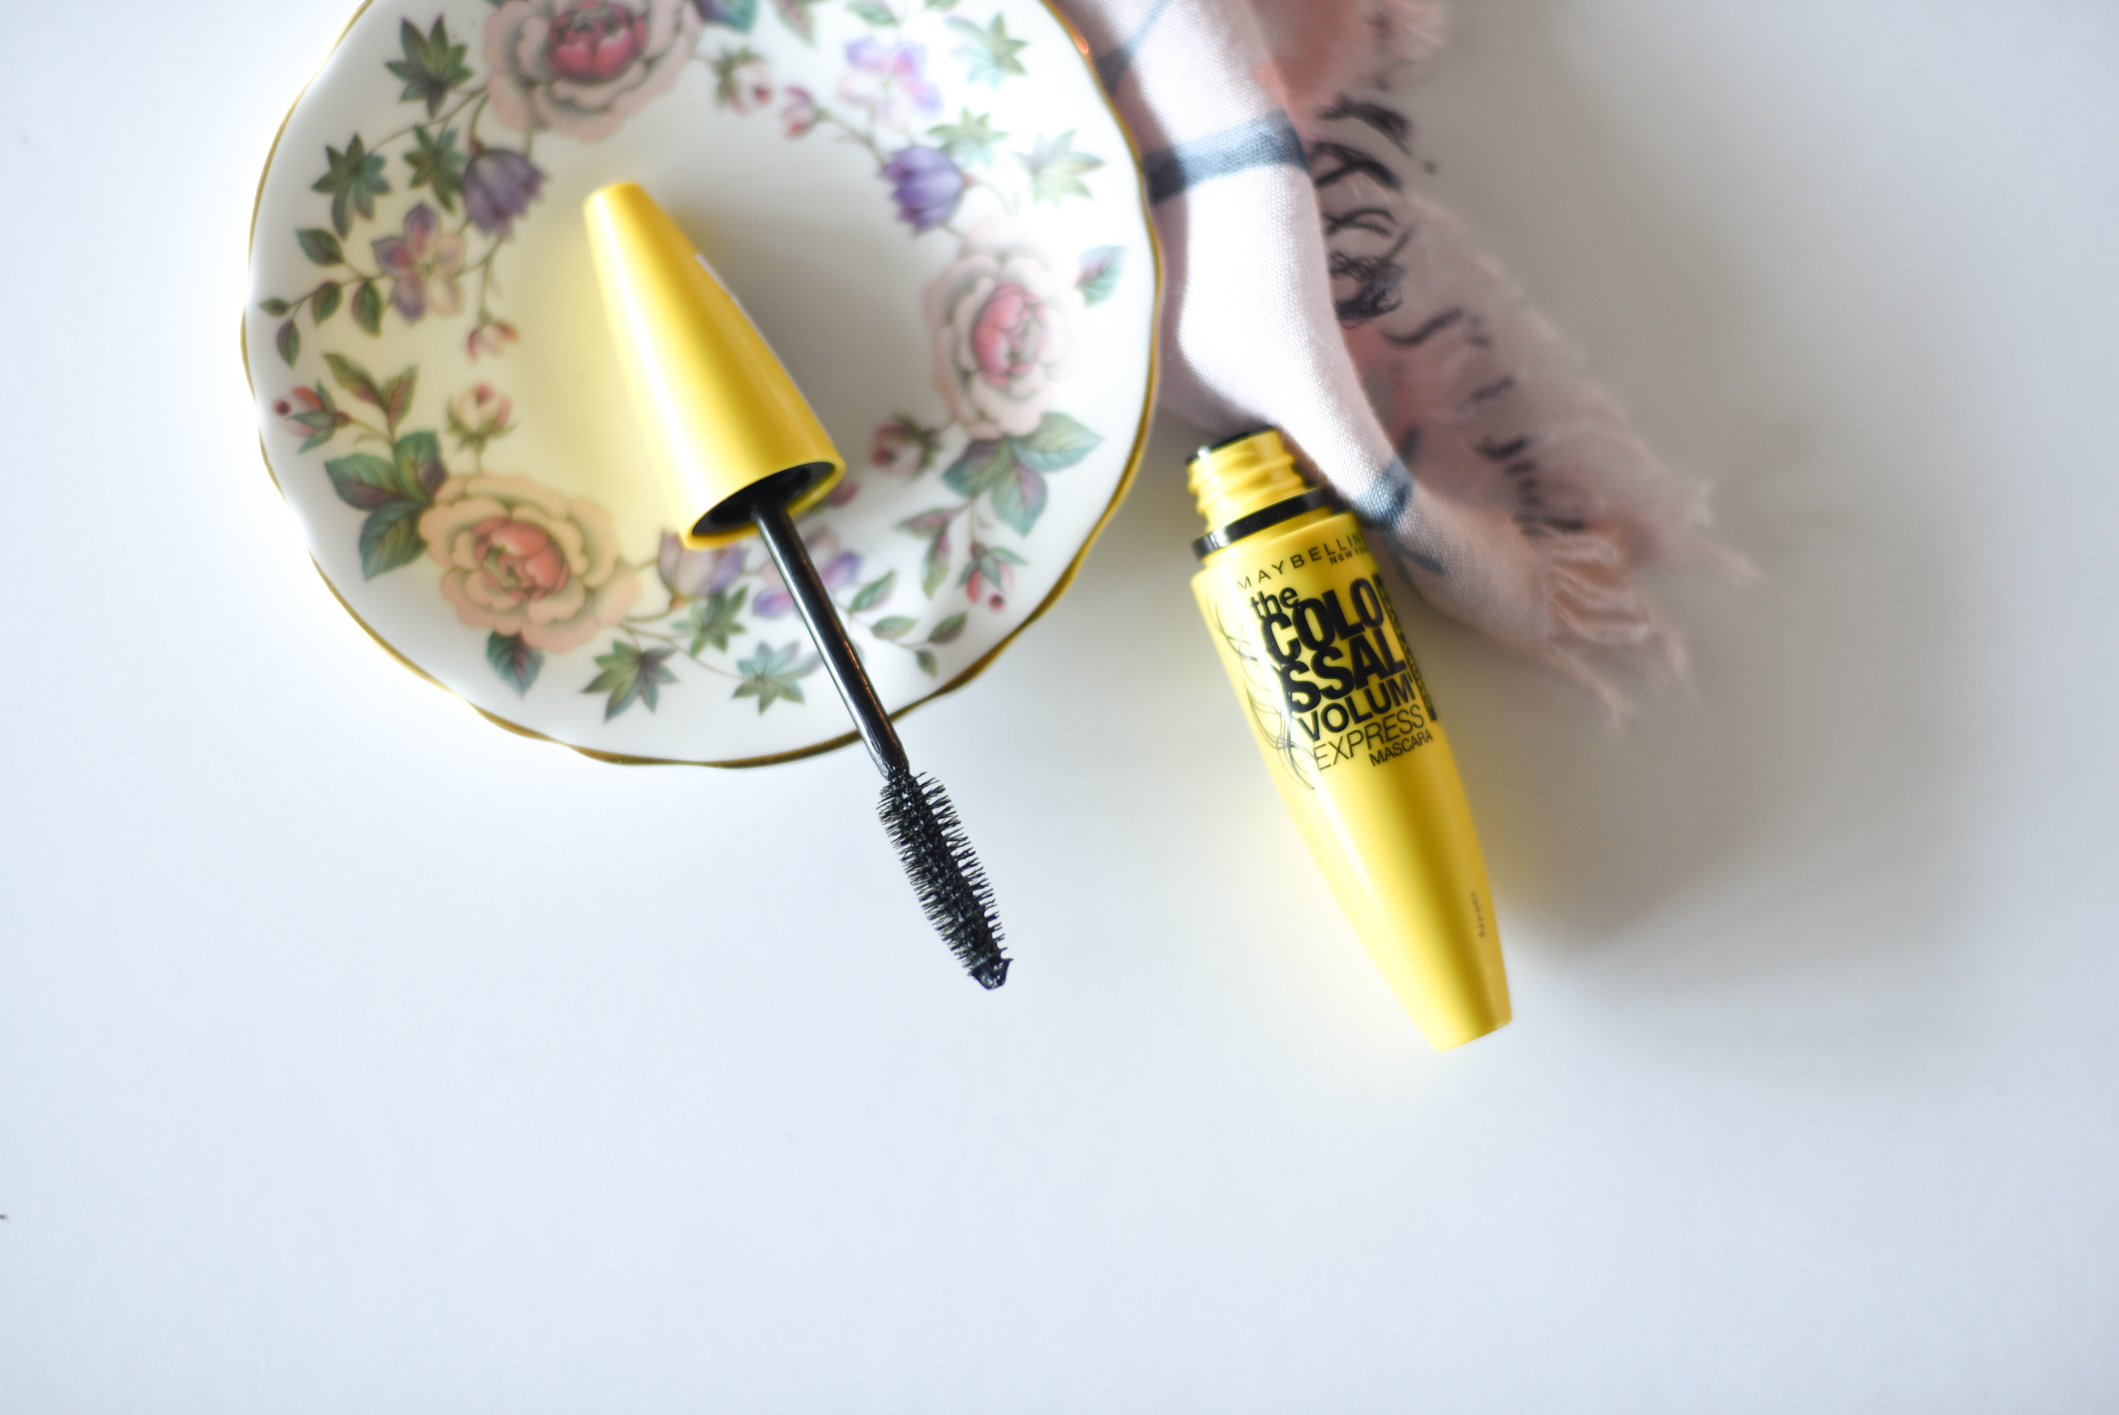
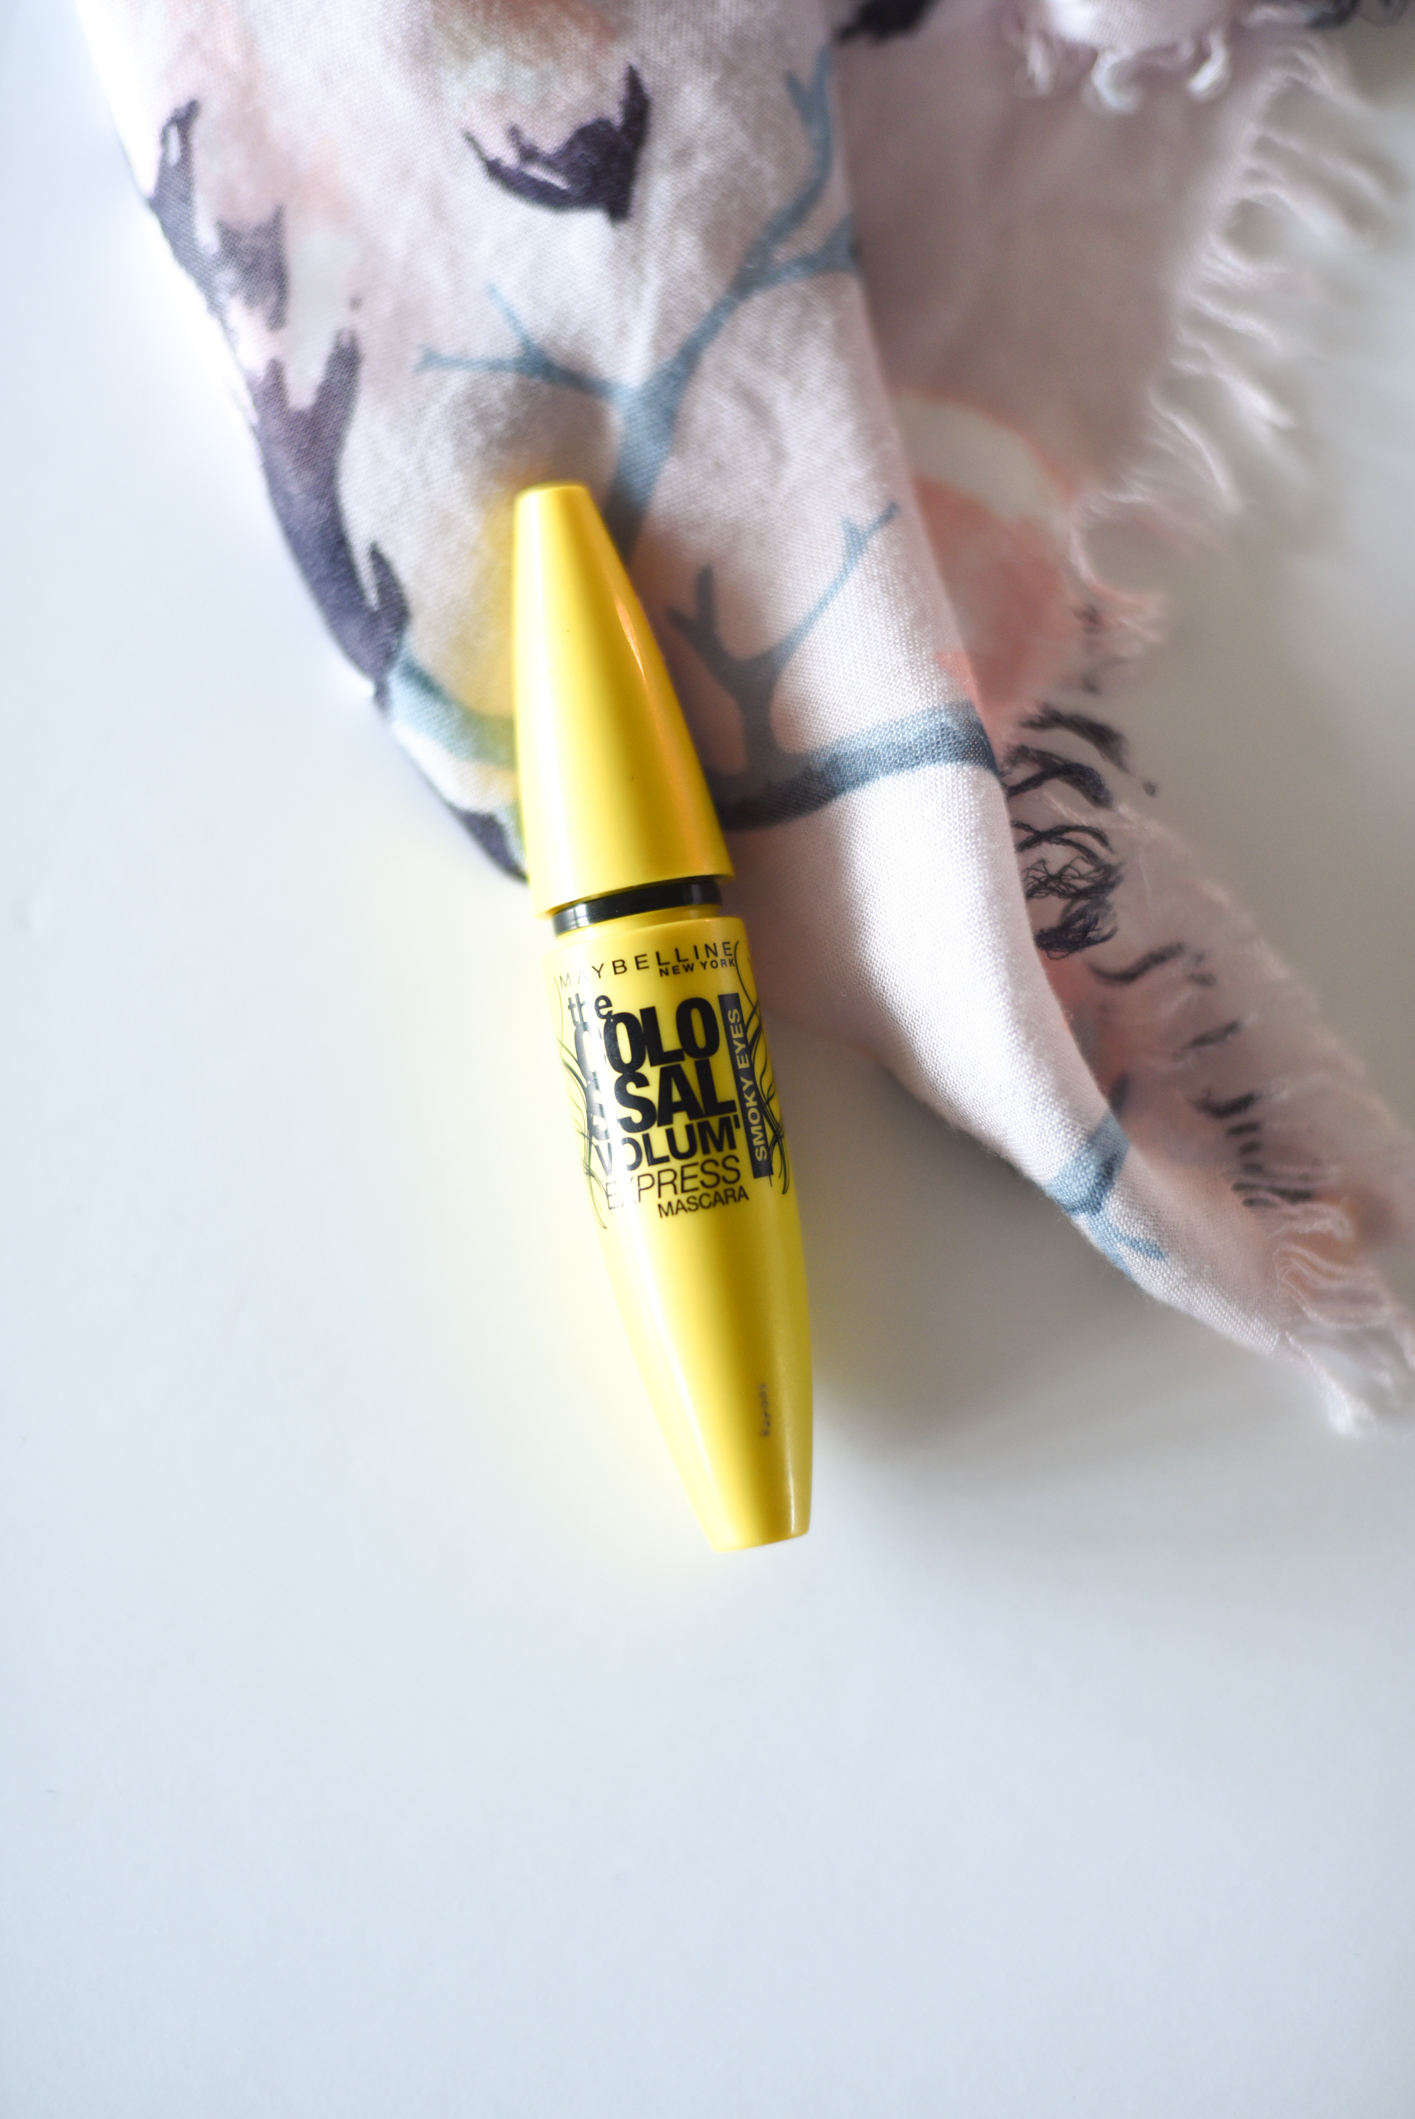
  • Maybelline The Collosal Volum' Express Mascara in Black

I hope you enjoyed the video! Here are some of my other videos that you might enjoy too:

#FromFarmToTable - Homemade Baby food in Collaboration with Tommee Tippee

#FromFarmToTable Homemade Baby Food with Tommee Tippee -01-01.png

If you've been following me for a little while now, you might have seen my previous posts here on the blog and on Instagram where I’ve been sharing the beginning of our #EverlyStartsSolids journey.  My little girl is now 6 months old, and we are well into the swing of things when it comes to weaning her onto real food. I'm so excited to share this post with you, showing you how easy it is to make your own baby food, ensuring you avoid all those nasty additives and preservatives that are in store bought purees.

Although we are using fresh veggies from our own little veggie garden, you can still make delicious and nutritious meals for your little ones using store bought fruit & veg. 

EverlyStartsSolids from Farm to Table Starting Solids with a Baby (27 of 117).jpg

Our veggie garden goes through a lot of ups and downs. Sometimes it looks amazing and is bountiful, and other times I spend my life picking off the millions of snails that find their way onto anything and everything that grows. Plus there's the constant battle with the weeds. But even though it takes a bit of work, there's nothing quite like the feeling of picking your own homegrown vegetables, and eating them fresh from the garden.

Having our own veggie garden has also inspired me to make all my own first meals for Everly. We live out in the middle of nowhere, and so it's pretty much impossible to pop to the shops and stock up on ingredients. But I'm really not going to complain, when these are the views we look out on every day...

EverlyStartsSolids from Farm to Table Starting Solids with a Baby (110 of 117).jpg

Today I want to share with you one of the recipes from Meg Faure's Weaning Sense recipe book. This is her Rainbow Veg Mash, and is a really lovely 'base' to start with, and then to add other more exciting flavours to once your little one is used to it. So far I've added chicken stock, liver and cream cheese to it, and Everly has loved it! The recipe makes about three baby cup fulls which you can freeze easily for future use.

I've really been liking the Tommee Tippee Explora Freezer pots for freezing, as they have a very clever rubber base that allows you to ‘pop’ out the frozen food easily. They are also dishwasher, microwave & steriliser safe, although I prefer to heat up Everly’s food using hot water as I’m not a huge fan of the microwave. I also love the Essentials food pots (the pink see-through pots pictured below with the pinks lids) for storing left over food, and particularly for heating up her meals. They stack beautifully, taking up less space in your freezer, and are ideal for traveling too. Also, as they are see-through, you can easily tell what food is inside. This is particularly helpful if you are like me, and like to make & freeze in bulk. You can tell at a quick glance whether it’s butternut or beetroot, and grab what you need.

EverlyStartsSolids Colaboration with TommeeTippee CGScreative (57 of 90).jpg

When it comes to actually steaming & blending baby food, I can't get over just how easy it is to do with the Steamer Blender machine from Tommee Tippee. I was sent over one to try, and at first I thought it to be a bit of an extravagance. I mean, can't you just use a pot and then transfer everything to another bowl and blend using a hand blender or blending machine? Well, read on friends!

Now, while you can just use any old pot you have at home to steam and then blend with another device, the Steamer Blender just makes things sooooooo easy. It's as simple as; chop veggies, pop into the jug, press some buttons and voila, a perfectly steamed & blended meal…ready to be eaten (or frozen for later).

When steaming veggies, it's really easy to forget that a lot of the goodness stays behind in the water. With this machine, the water stays in the jug, and then is used to blend the mixture. This way, all the goodness goes right back into the meal. And if you are already past the first few weeks of starting solids with your little one, you'll be happy to know that you can set the amount of 'blending' you'd like. You can make really smooth purees for the beginning stages of your solid food journey, or you can leave it chunkier as baby progresses to more textured food. Or you can skip the blending stage altogether…there are so many different options. I have to say this gadget really does make life simpler.

I've even been known to whip up a good couple of batches of sweet potato mash for Farmboy and myself, so believe me when I say you really will get a lot of use out of the Steamer Blender, even as baby gets older.

I have been freezing extra 'single' food into ice trays (ice cubes are the perfect size for Everly's first meals as she isn't eating that much just yet). Then I go shopping in the freezer, picking out a few ice cube combinations and then pop them into a cup to defrost. You can also take the frozen cubes out the night before and put them in the fridge to defrost overnight if you're the sort of person who remembers to do that. I always plan on doing that and then forget!

Another huge bonus when it comes to the Steamer Blender machine is how easy it is to clean. I know not everyone is as crazy about doing the dishes as I am (for realsies, I genuinely find doing the dishes to be relaxing and FAR prefer it to cooking!). So for those moms or dads out there who despise doing the dishes, this piece of tech is going to change your life! There aren't a million and one pots and pans and spoons. It's one jug that is easy to rinse clean, and then can be popped into the dishwasher if you're feeling really lazy. Otherwise it's a quick rinse in hot soapy water and then you're good to go!

Want to see the steamer blender in action? We made a fun little video showcasing our meal prep and would love to share it with you. You’ll also be able to see our menagerie of animals, in particular, #AmberTheGinger & #ShadowTheJindo. 

We hope you enjoyed the little glimpse into our lives here on the family dairy farm. I've got lots more video ideas (including a few on cloth nappies!) which I'm going to be putting up on my youtube channel soon. Let me know in the comments below if there's anything in particular you'd like me to make a video about. 

I post a lot of behind the scenes photos & videos over on Instagram Stories, so make sure you're following me over there too. Please do drop me a message and say hi, I love making new friends! 

Gallery Block
This is an example. To display your Instagram posts, double-click here to add an account or select an existing connected account. Learn more

Interested in finding our more about other Tommee Tippee products? The brand is very active on Facebook and have just launched their South African Instagram Account for you to connect with them and ask any questions you might have.

This post is sponsored by Tommee Tippee but all thoughts & views are honest and my own. 

Island Camping in Korea...Wido Island

Island Camping in Korea...Wido Island

This was our second camping trip to Wido Island, a small island on the west coast of Korea, accessible only by ferry from Gyeokpo.

Even though right now it's technically Winter here in Korea, I saw buds on the trees while working to work yesterday. So thought this post would be a good one to write now so that you can get planning your first Spring camping trip of the year. 

Having a dog here in Korea (click here to read more about our rescue pooch #ShadowTheJindo & owning a dog in Korea) makes it hard to travel. We do have a car, which makes our lives 100 times easier, but the accommodation is always a problem. You see many Koreans are terrifies of 'big' dogs (even though our pup would only be considered a medium sized dog in most countries). Here in Korea, he is a great big, scary wolf. and so booking accommodation is always a problem. Even the places which allow dogs usually turn us away when they catch a glimpse of him. This is why we go camping so much. This post is all about Wido Island, and one of our favourite (usually deserted!) places to camp in Korea.

Read More

Everyday Makeup Look Tutorial With Light Smokey Eye & Bright Lip (Video Tutorial)

Korean Beauty Products Everyday makeup look

I've been on my video game lately, having published two Youtube videos in one week! I'm feeling very inspired to continue making videos, so If there is anything in particular you'd like to see (beauty, lifestyle, life in Korea, more of my rescue pup!) let me know in the comments below. Also, I would so appreciate it if you could take a moment to subscribe to my channel by clicking here...thank you!

Today's post is an everyday makeup tutorial with a very light smokey eye and a bright lip thrown into the mix. This is my everyday makeup look that I wear to work here in Korea and it really doesn't take long to apply. I won't always wear face & eye primer, it depends on whether I remember to apply it and I don't wear eye liner everyday but since I found these 101 Play Eyeliners from Etude House, I wear eye liner more often. They are just so easy to use and are super long lasting.

Enjoy! x

I absolutely love the Innisfree Colour Glow lipstick featured at the end of the video (click here for a full review), it has such an amazing creamy texture and glides onto your lips so effortlessly. You don't need to fuss with putting it on, it just goes on where it's supposed to. I do wish it lasted longer, but that's the problem with creamier lipsticks. I don't mind reapplying it throughout the day though, its easy enough that you don't even need a mirror!

Here are full reviews of the products mentioned in the video. Just click on each image to see the full review.

Remember to leave me a comment below if there is something particular you want to see in my next video, I love hearing from you!

Elisha Coy 3D Spin Cleaner {Review & Video}

I have been wanting to try out this face cleansing tool ever since I first spotted it on WishTrend. Then when I saw it was on special for only $48 instead of the usual $120, I ordered it right away and haven't looked back since. This little beauty has been an amazing addition to my skin care routine, giving me smoother, brighter and softer skin than ever before.

WishTrend currently has the face cleaner as part of an ElishaCoy Cleansing kit which includes the cleaner, 2 brush heads and the ElishaCoy Vita Capsule Cleanser all for $48 instead of the usual $120. 

The one brush is a large white, soft bristled brush designed for everyday use. It's very gentle on your skin and my skin (which is often very sensitive to new products) has had no bad reaction to either the brush or the Vita Capsule Cleanser. I was a little worried that my skin would be red and agitated after use, but that hasn't been the case at all. The whole experience of using this brush incredibly relaxing. After filming the video below, even my husband wanted to give it a try. The first thing he told me was how surprised he was at the how relaxing he felt using it. If you are still worried about your skin having a reaction, then try using it twice a week until your skin feels used to it. I use the brush every other day, in total about 4 times a week. It is gentle enough to use everyday, so see how you skin feels after the first use.

The bristles are incredibly soft and feel like silk on your skin. The smaller brush is designed to target blackheads and works in the same way as the larger brush head but as it is smaller is able to really get into the corners around you nose to deep clean your pores.

Both the brush head rotate 360 degrees allowing the bristles to thoroughly cleanse your pores and scrub deep down removing dirt and other impurities. The cleaner runs on 2 AA sized batteries which are inserted into the bottom and covered with a waterproof piece of plastic to make sure you don't electrocute yourself in the bathtub. The Cleansing kit from Wishtrend includes 2 batteries so you can get scrubbing right away.

I've used a lot of face scrubs before (my favourite being this one from SkinFood and this one from Klairs) but even these don't clean my skin like this little machine does. What's great about it is you can use it with your regular face cleanser for a much deeper clean. Just squeeze a dollop of your face wash onto the bristles, dip the brush head into water, place on your face and press the on button. Slowly move the brush over your face, being careful not to get any product in your eyes and then after a few minutes, rinse off with warm water. Your skin will feel softer, cleaner and ready for the rest of your skincare routine. The brush has two settings, fast and slow, so you can adjust accordingly to your skin. I started off the slowest setting, and now only use the fast setting.

The biggest thing I have noticed with my skin after using this cleaner is how much better the rest of my skin care products respond to my skin. Everything I put on after cleansing literally melts into my skin. I no longer have to stand around rubbing my face for ages to wait for creams to absorb and as a result, my foundation goes on better. What this means for your skin is your pores are squeaky clean and able to absorb so much more of the active ingredients in your creams, lotions and serums. I hadn't expected to feel such a difference in the rest of my skin care routine, but I have pleasantly surprised.

ElishaCoy Vita Capsule Cleanser

This foam cleanser works wonderfully with the 3D Spin Cleaner. It leaves my skin feeling squeaky clean without over drying and leaves me with brighter skin after every use. This cleanser is formulated for all skin types and a contains a blend of 10 different vitamin capsules. Although formulated as a thick and rich cream, once mixed with water it becomes a fluffy and light foam. 

The tube contains 80ml of product, and as you only need a little to get a rich foam, it's going to last you a good long time. I love the scent of the cleanser too, it's light and refreshing and leaves me feeling thoroughly pampered like I've just been to the spa. 

Here is a quick little video of me giving you a quick preview of this cleansing brush. As you can see, I'm all about the pink...

Have you ever used a face brush or cleansing tool like this one? Do you want to try one? I'd love to hear from you in the comments below!

Easy Natural Evening Makeup Look {Video}

NaturalMakepLookVideoCGS

A super easy to do, natural look to wear for evening (or day if you felt like wearing a slightly darker eye during the day). See below for product info.

Enjoy!

PRODUCTS SHOWN IN THIS VIDEO 
-L'Oreal True Match Foundation in R3 C3 Beige Rose
-The FaceShop Dual Veil Concealer in V210
-Maybelline The Colossal Volum Express in Blackest Black
-Innisfree Mineral Single Shadow in #1,#38, #38, #41
-Mac Matte Powder Blush in Harmony
-Revlon Just Bitten Kissable in 015 Cherish Devotion


-Eco Tools Brushes (Mineral Powder Brush & Crease Brush bought on iHerb: http://bit.ly/1Fcex1A
-Innisfree Diagonal Cheek Brush
-Sigma F80 Stippling Brush: http://bit.ly/1Fcex1A 
(the following online store ships Sigma Makeup brushes to South Africa: http://bit.ly/1AZxG09)
-Blistex Daily Conditioning Treatment

I hope you enjoyed this makeup video, let me know in the comments section below what you'd like to see in my next video!

x

Video: How to make your Nail Polish Last Longer & a *GIVEAWAY*

HowoMakeYourNailPolishLastLonger

Hello everyone and welcome to my first Youtube nail tutorial. In this video I will be showing you how to make your nail polish last longer.

All you need is

-a base coat

-a colour polish

-a top coat

 I'll be using Innisfree's Eco Base Coat, Innisfree's #108 colour polish, The Face Shop's gold glitter colour polish & The Face Shop's Gel Touch Nails top coat. 

Click on the video below to start watching.

*Make sure to watch till the end for the GIVEAWAY!!

You can enter the giveaway by either commenting on the video above (you might need to open the video up in Youtube itself to comment under it) or you can leave your comments here on my blog in the comments section below.

Rules:

-Giveaway is open internationally!

-Giveaway closes at midnight on Thursday February 12th & the Winner will be announced on Friday February 13th!

-Share this post on Facebook/Twitter/Instagram for more entries (please make sure to use the #citygirlsearching hashtag and tag me in your posts so I can keep track of all your entries).

GOOD LUCK!