English Science Camp And Activities for kids - VOLCANOES

EnglishScienceCampActivitiesVolcanoKids

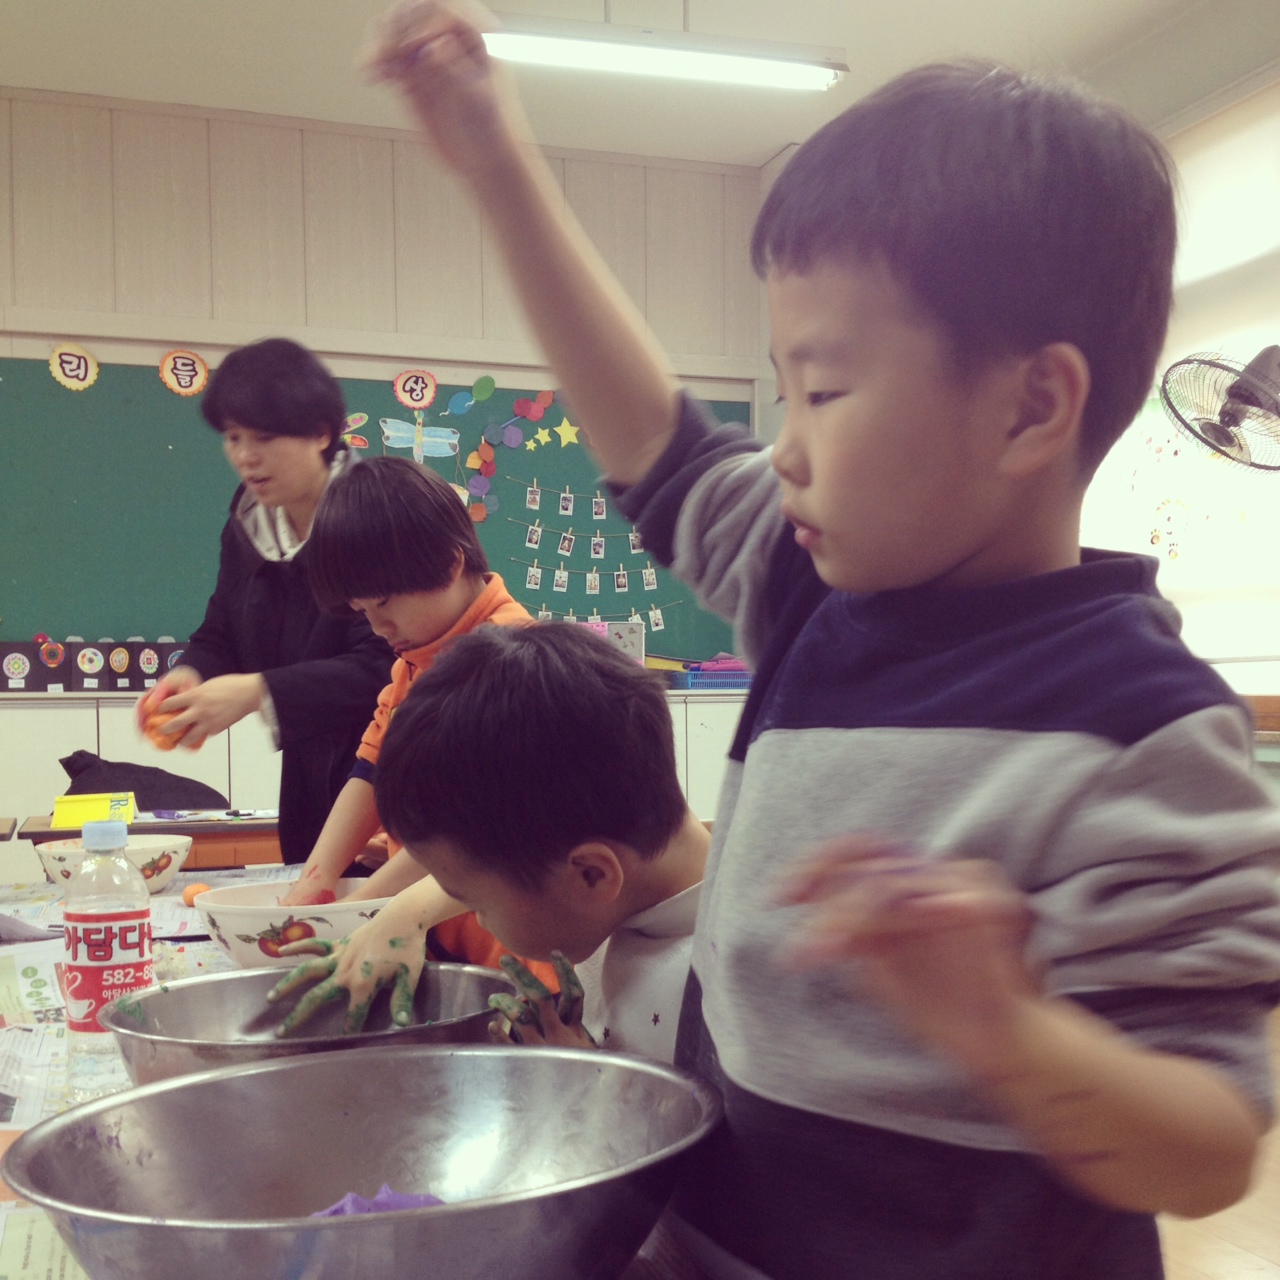
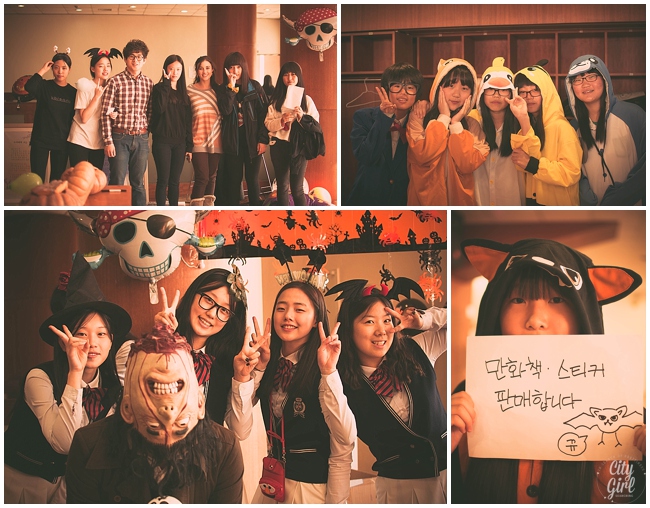
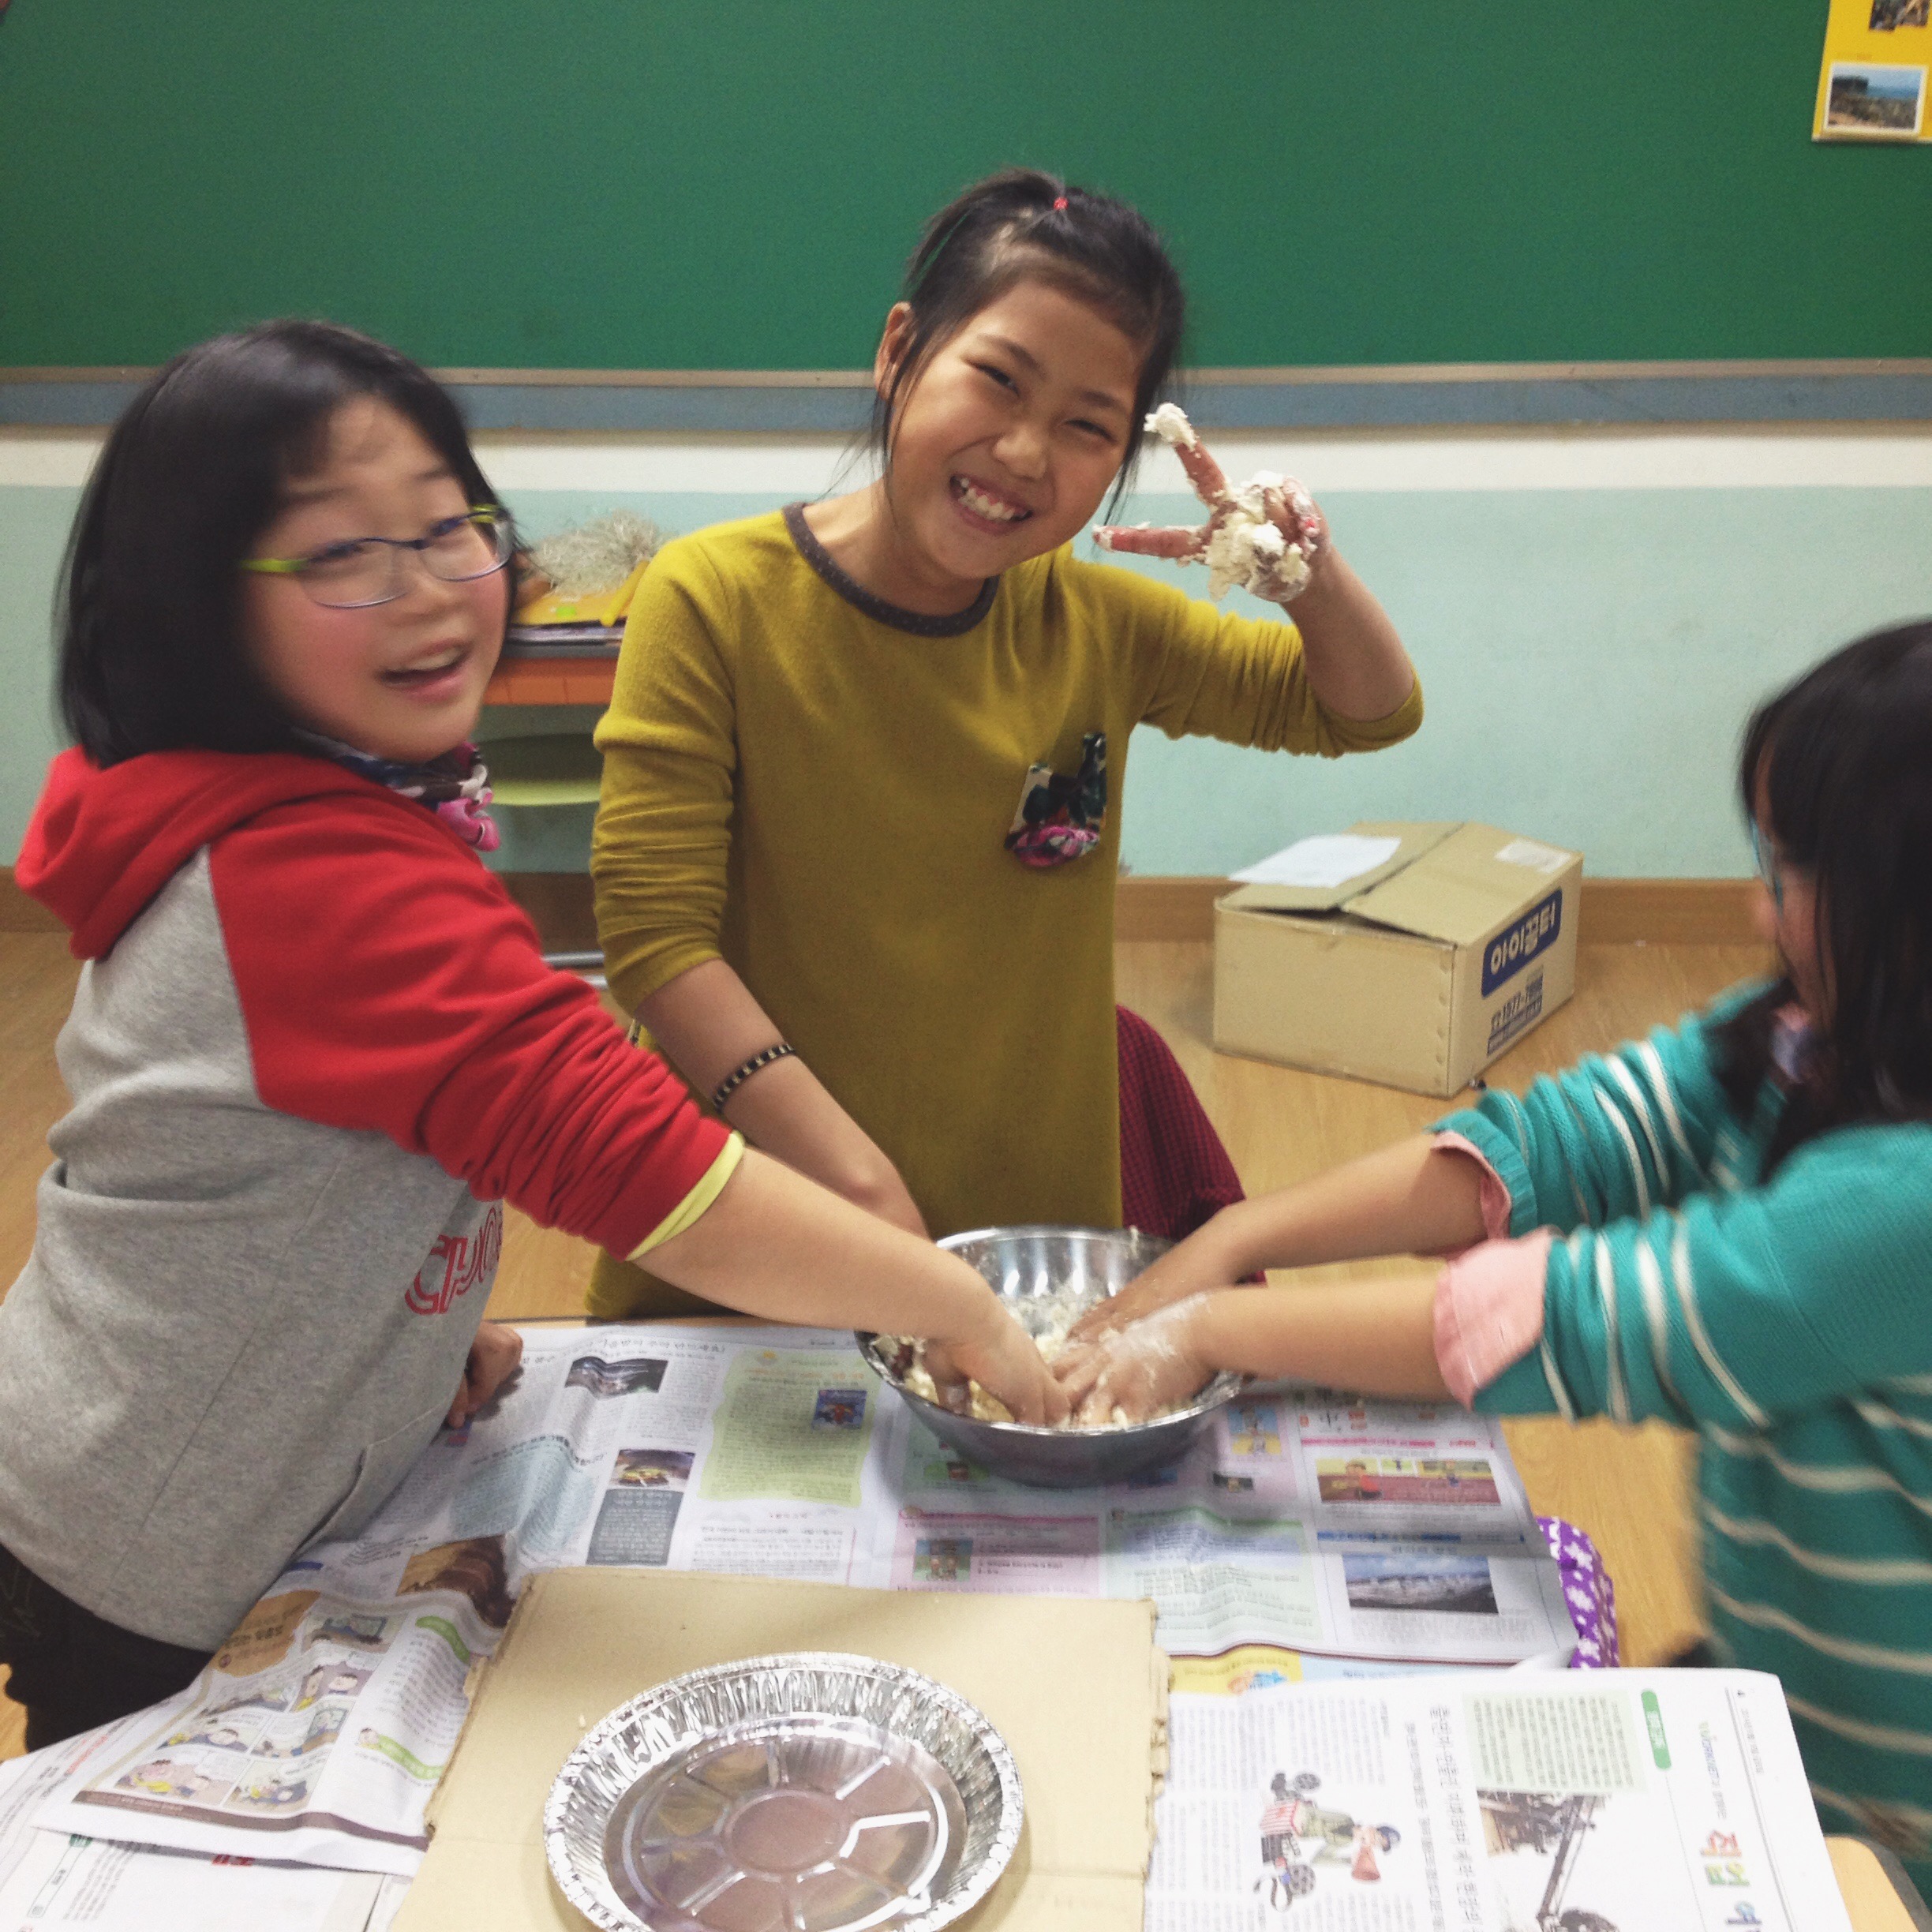
I taught a rather fun science English camp to different groups of students at the end of last year. I wanted something that was very hands on for the kids, while being fun and educational. I did these lessons with both elementary and middle schoolers and all my kids loved these experiments. We made exploding volcanoes and did the Egg drop experiment. This post will be focused on...

Volcanoes

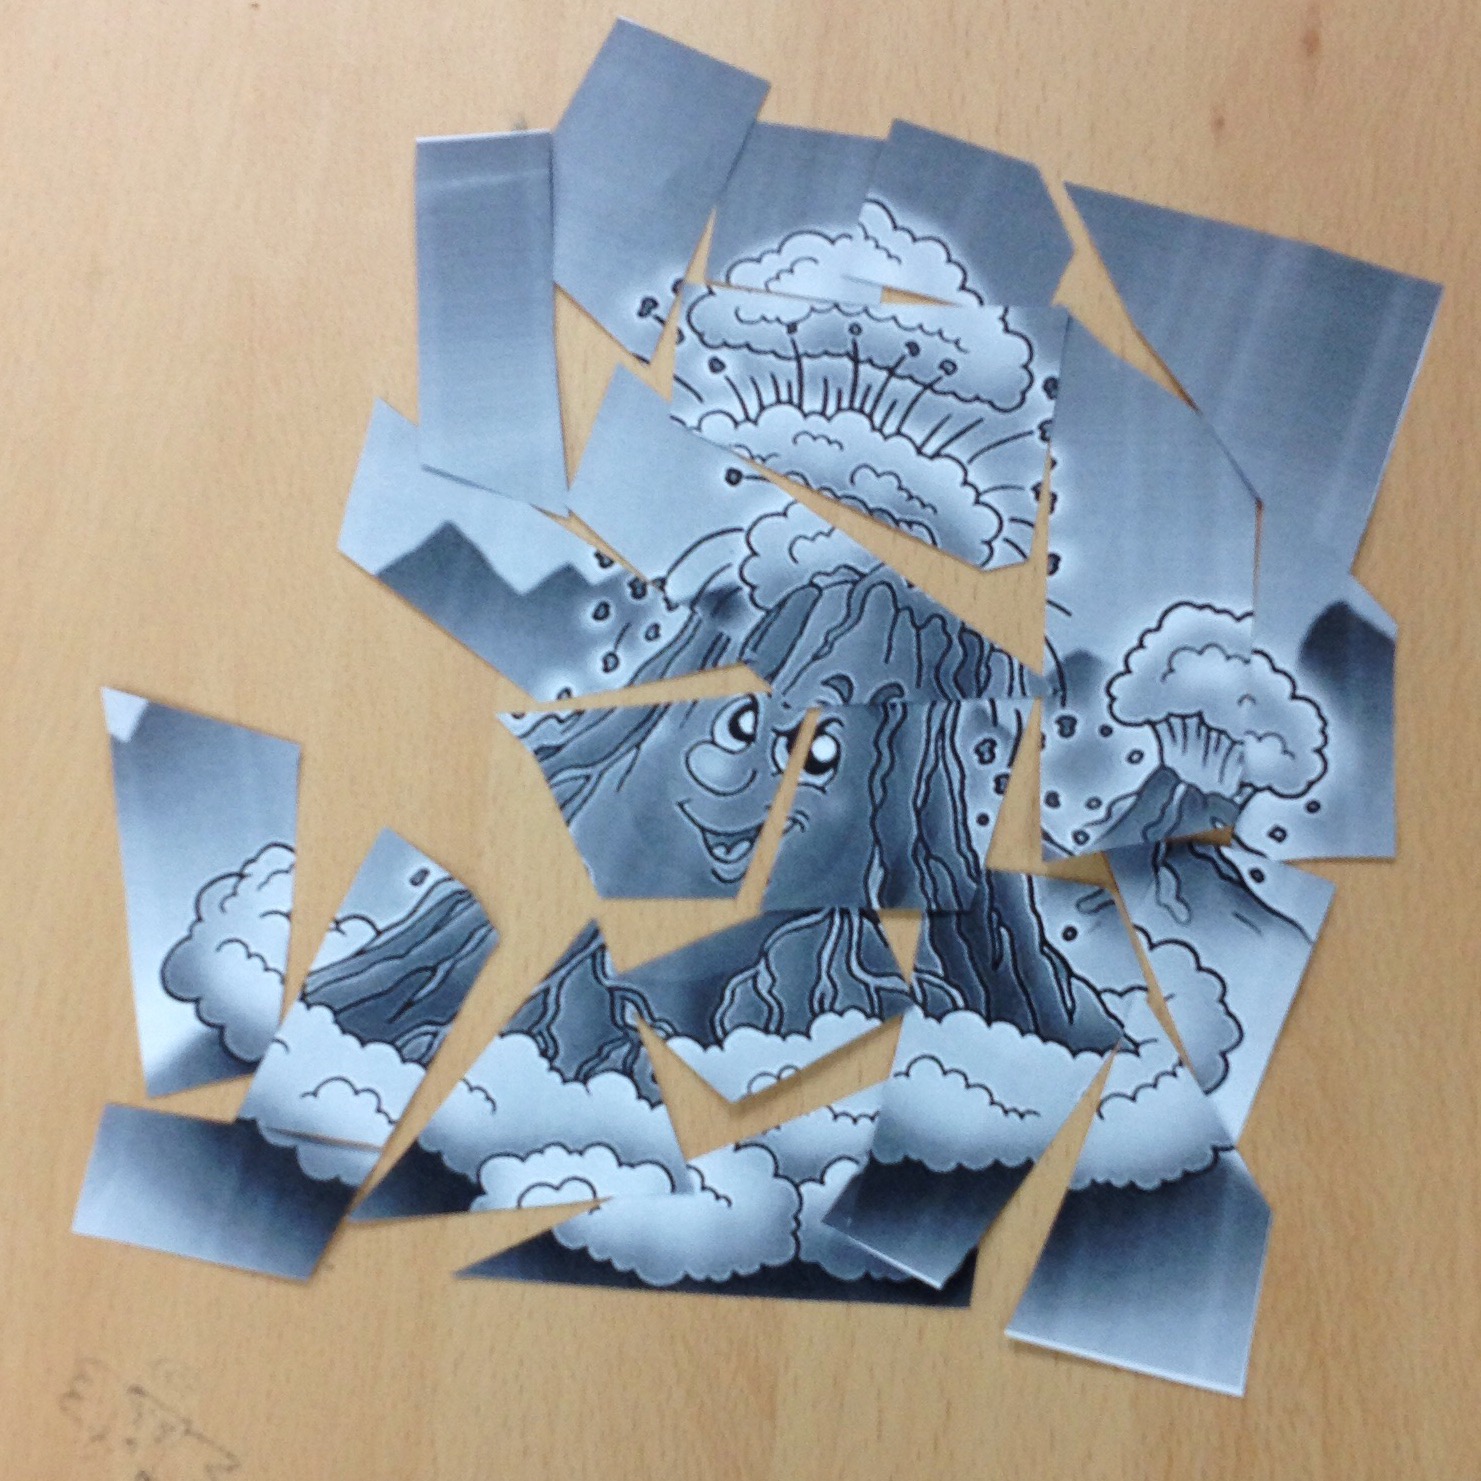
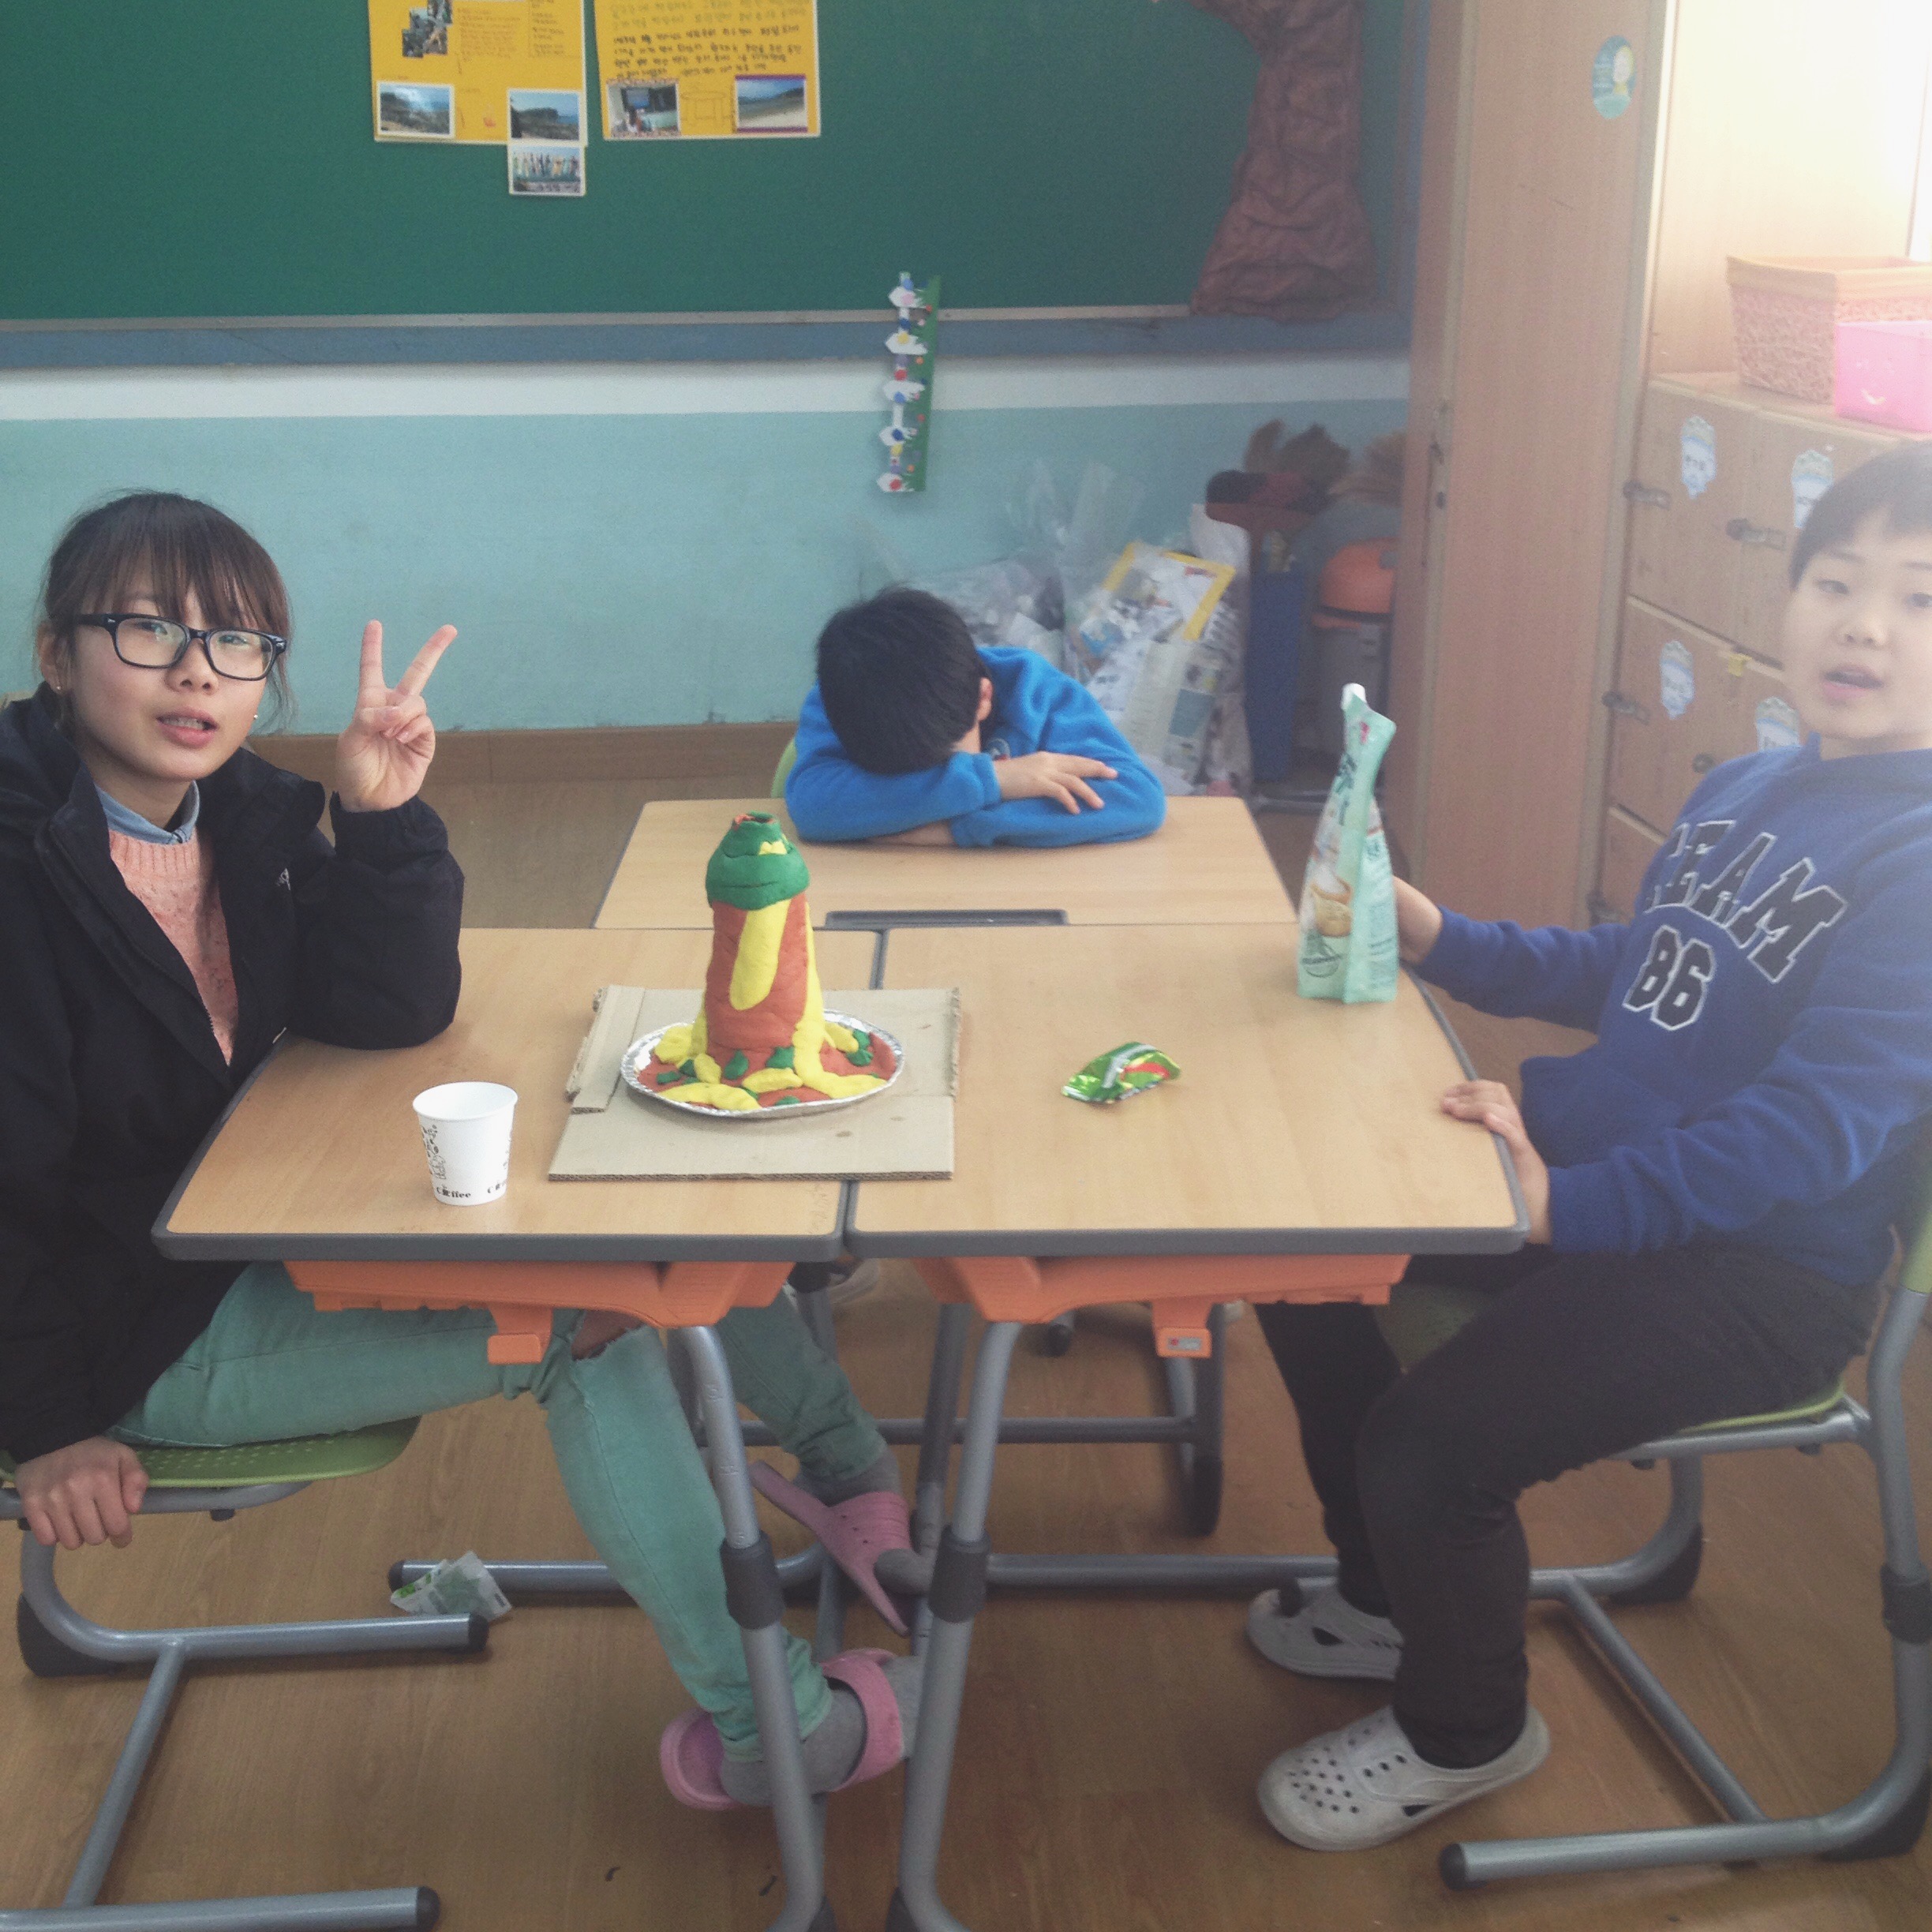
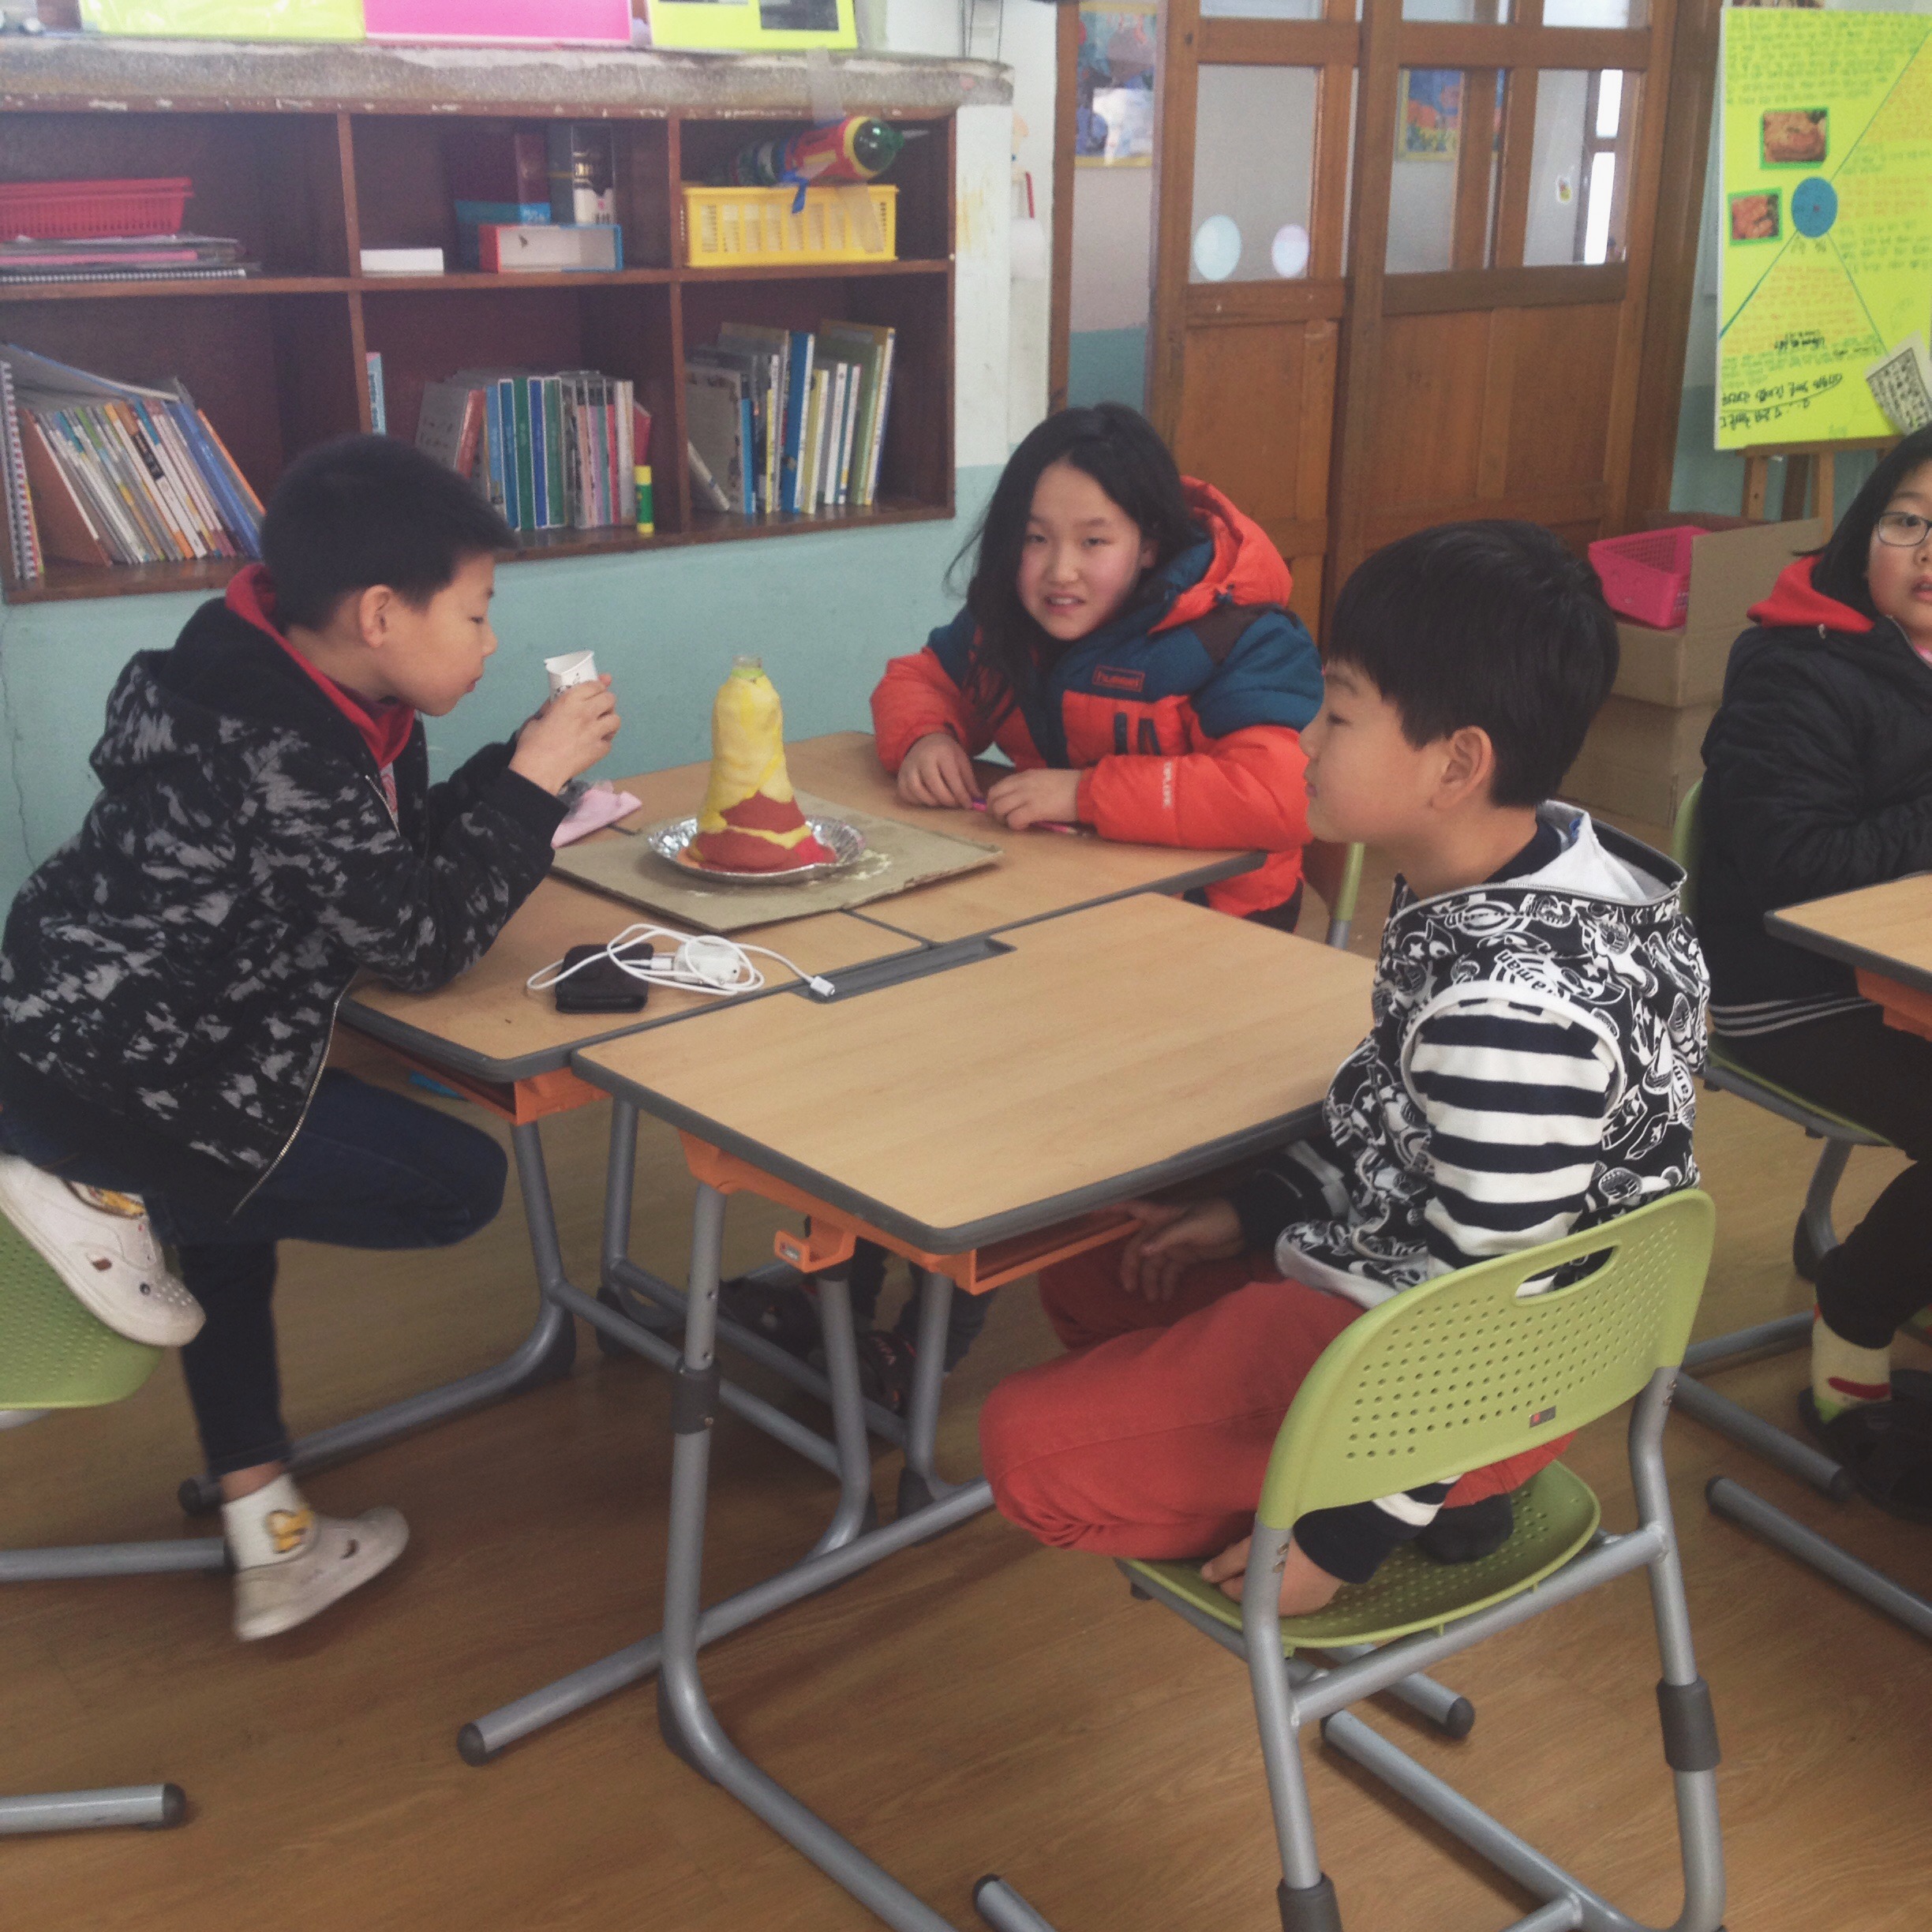
I started the lesson by having my students in groups of 4. I gave each group a picture of a volcano that I had cut up into small pieces. I placed the picture facedown and then told them they had to put the pieces of the puzzle together and the first team to do it would be the winner.

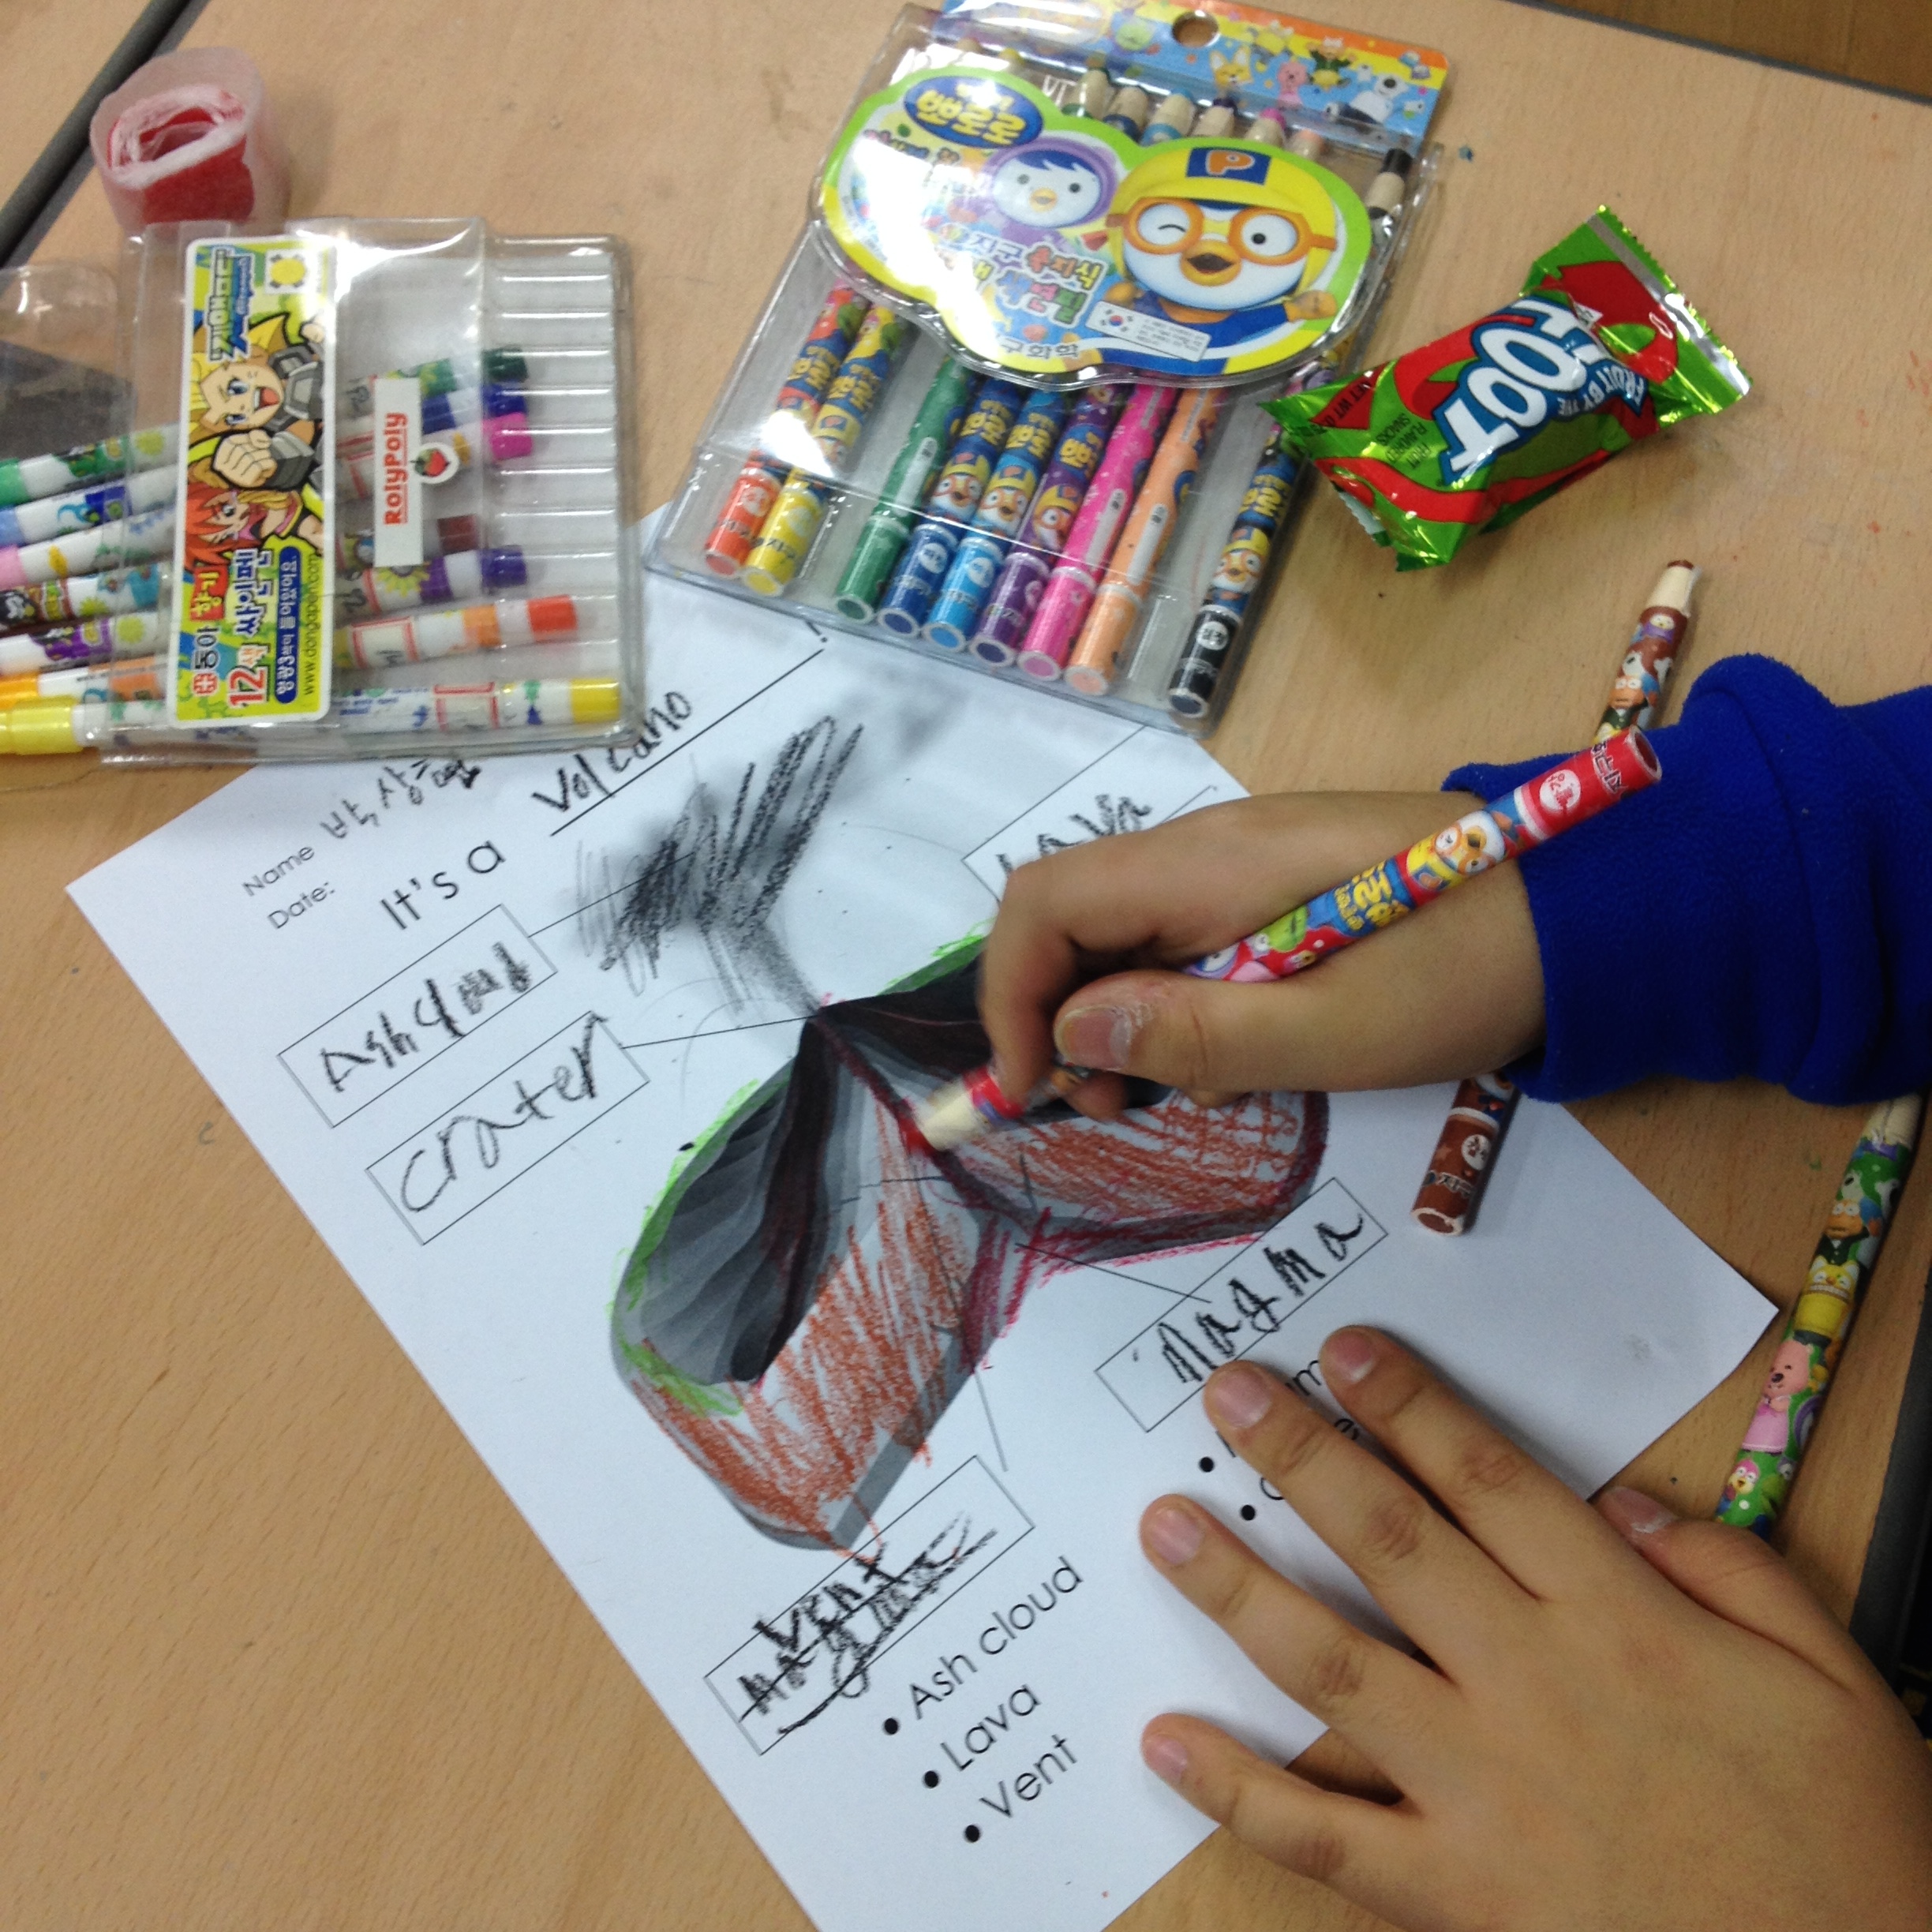
Then we went over a very basic power point presentation showing the different parts of the volcano and completed a worksheet (I found the worksheet on Waygook, an incredible research, free rich website aimed at teachers here in South Korea). 

Then we set about making our volcanoes. I found all the ingredients that I needed at my local mart:

Ingredients for the Volcano

Vinegar

Oil

Flour

Dish Soap

Baking Soda

Water

Salt (try to use buy a ground salt...I learnt this lesson from the No Cook Play Dough recipe I did last year, course salt is horrible when making clay!)

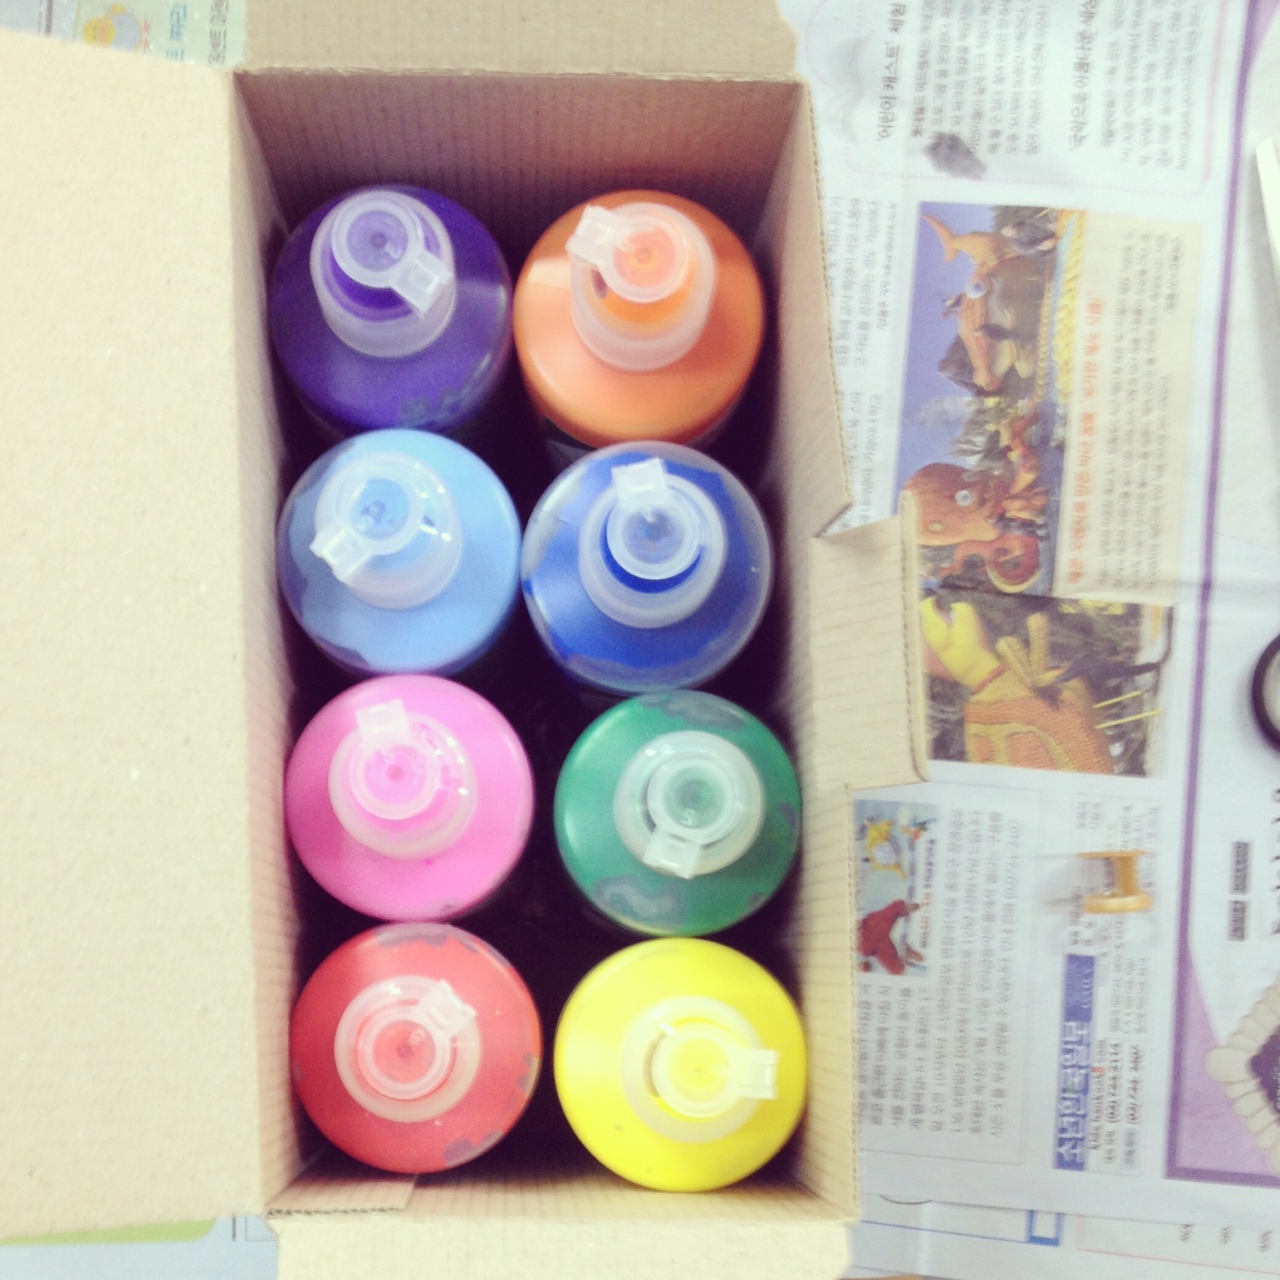
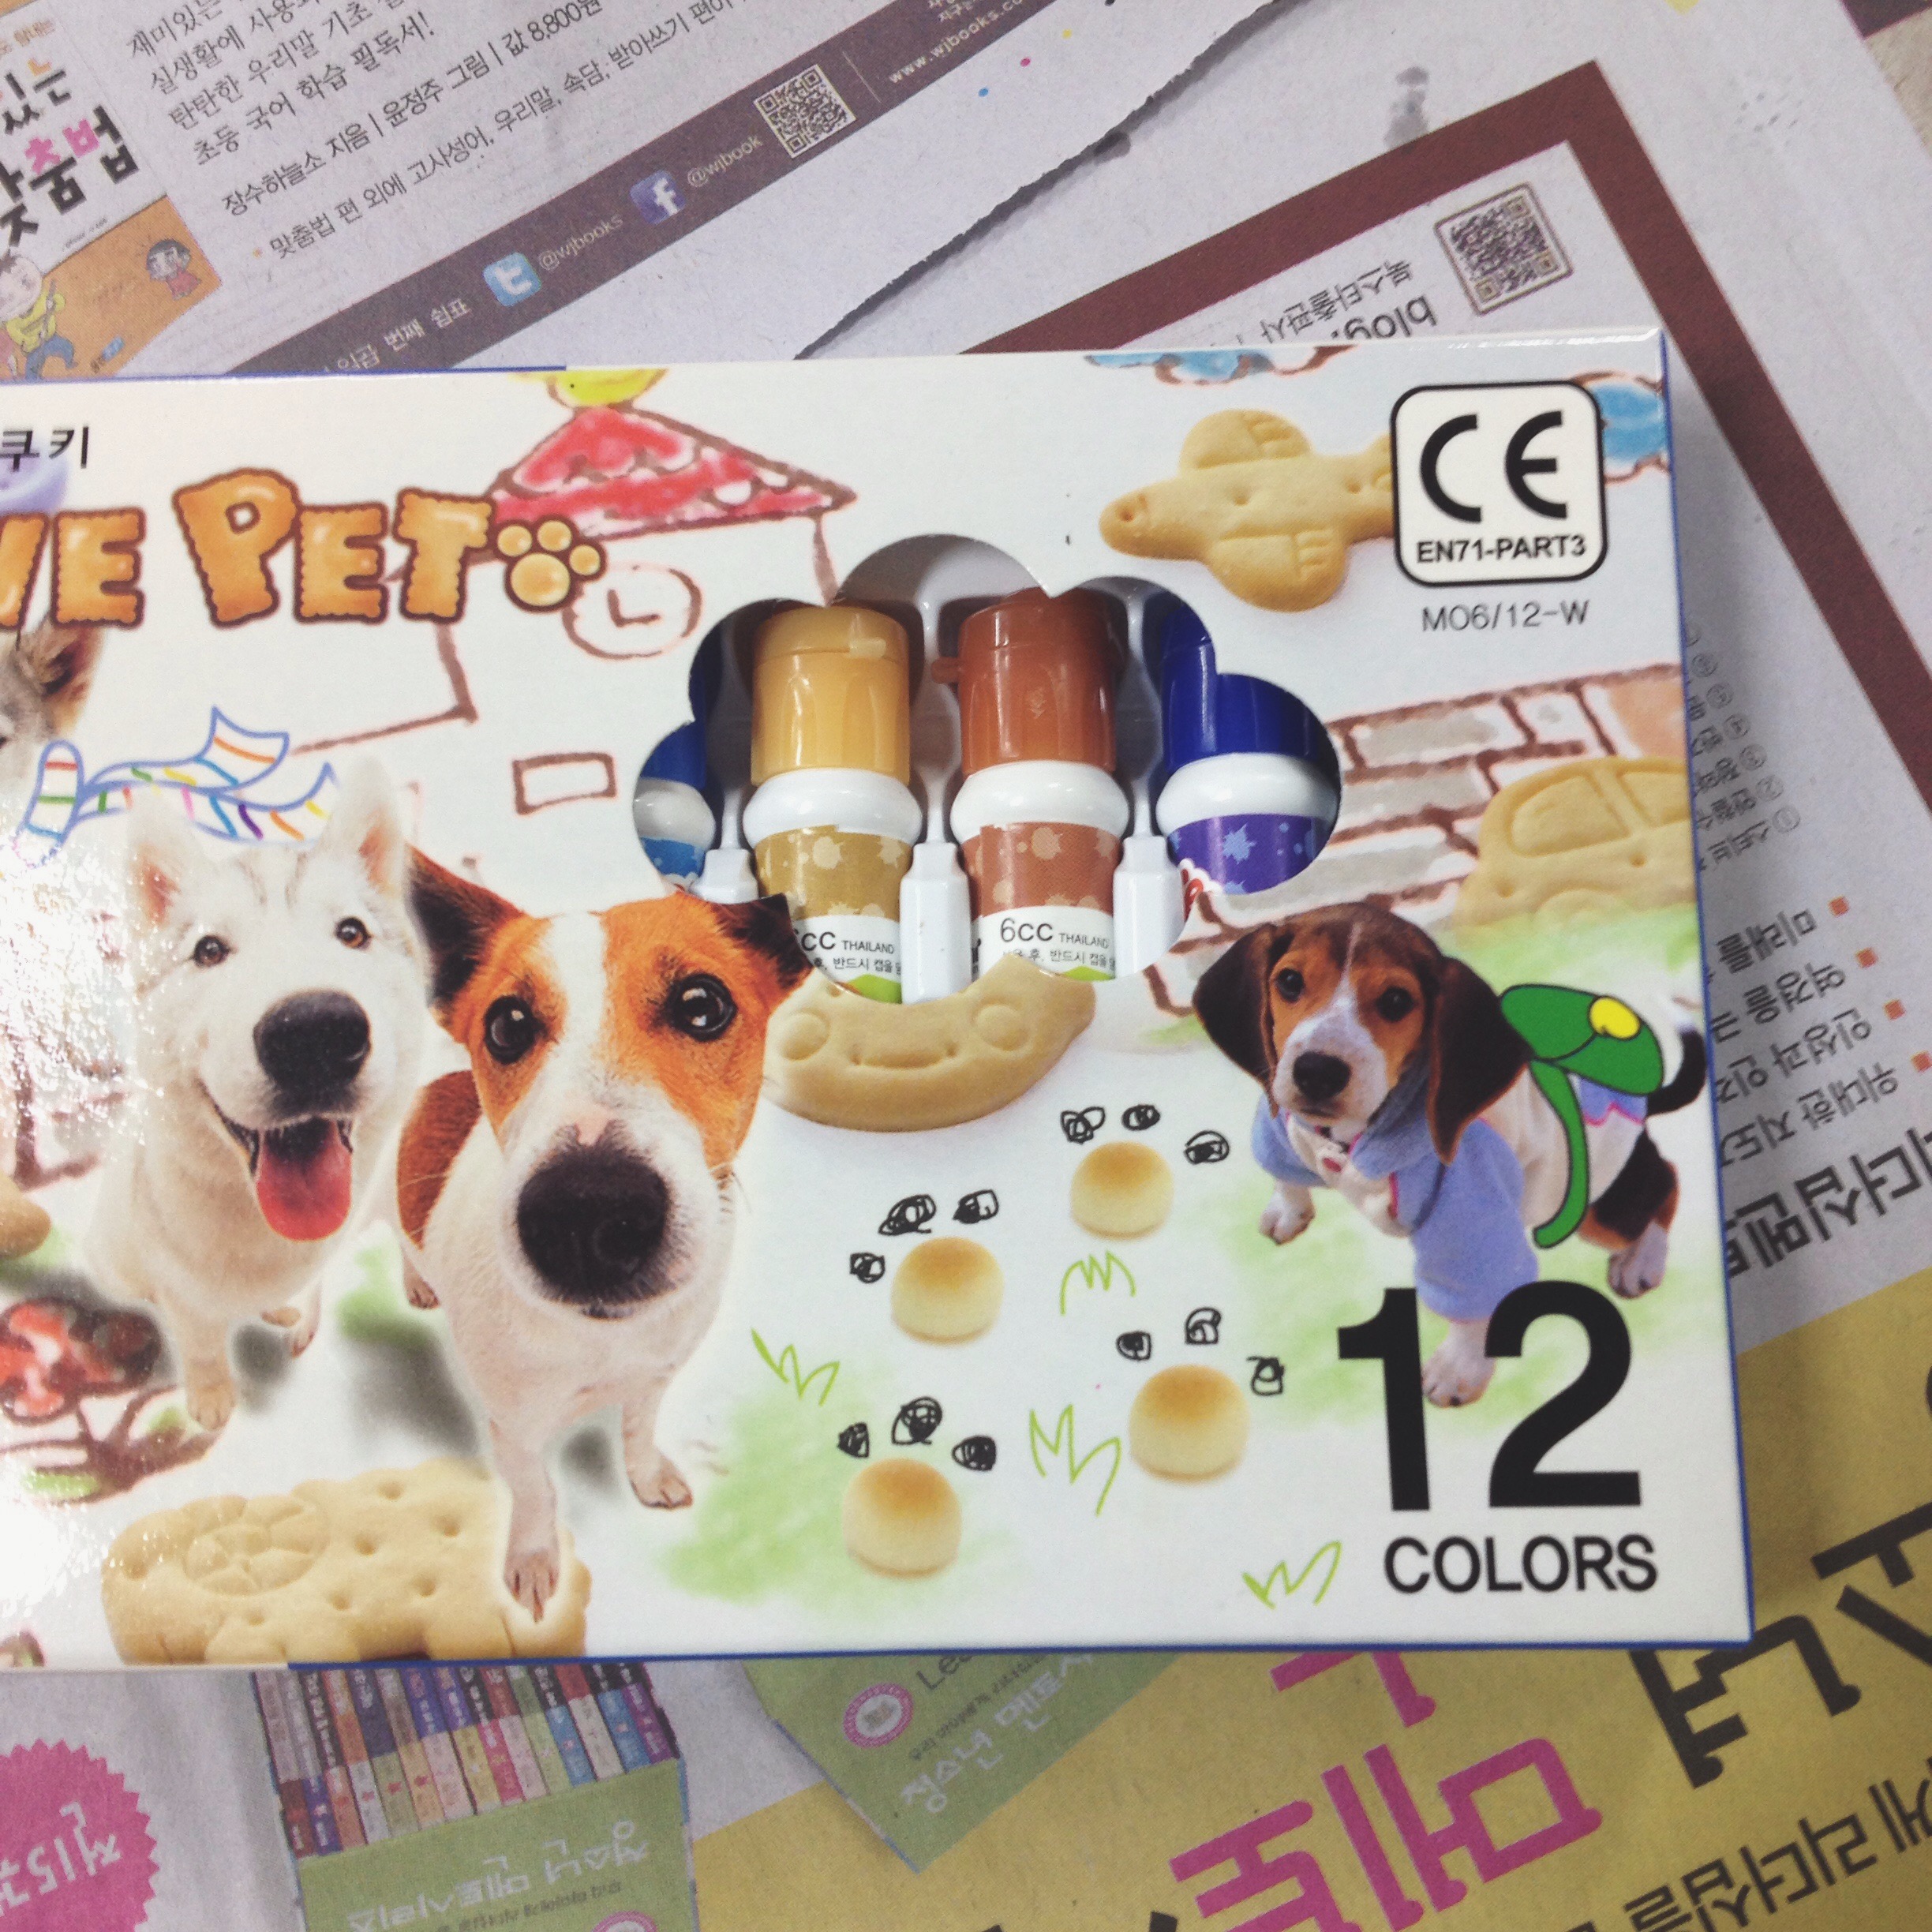
Water based paints (i found these at the back of my English room)

Bottles (for the structure of your volcano)

How to Make the Volcano

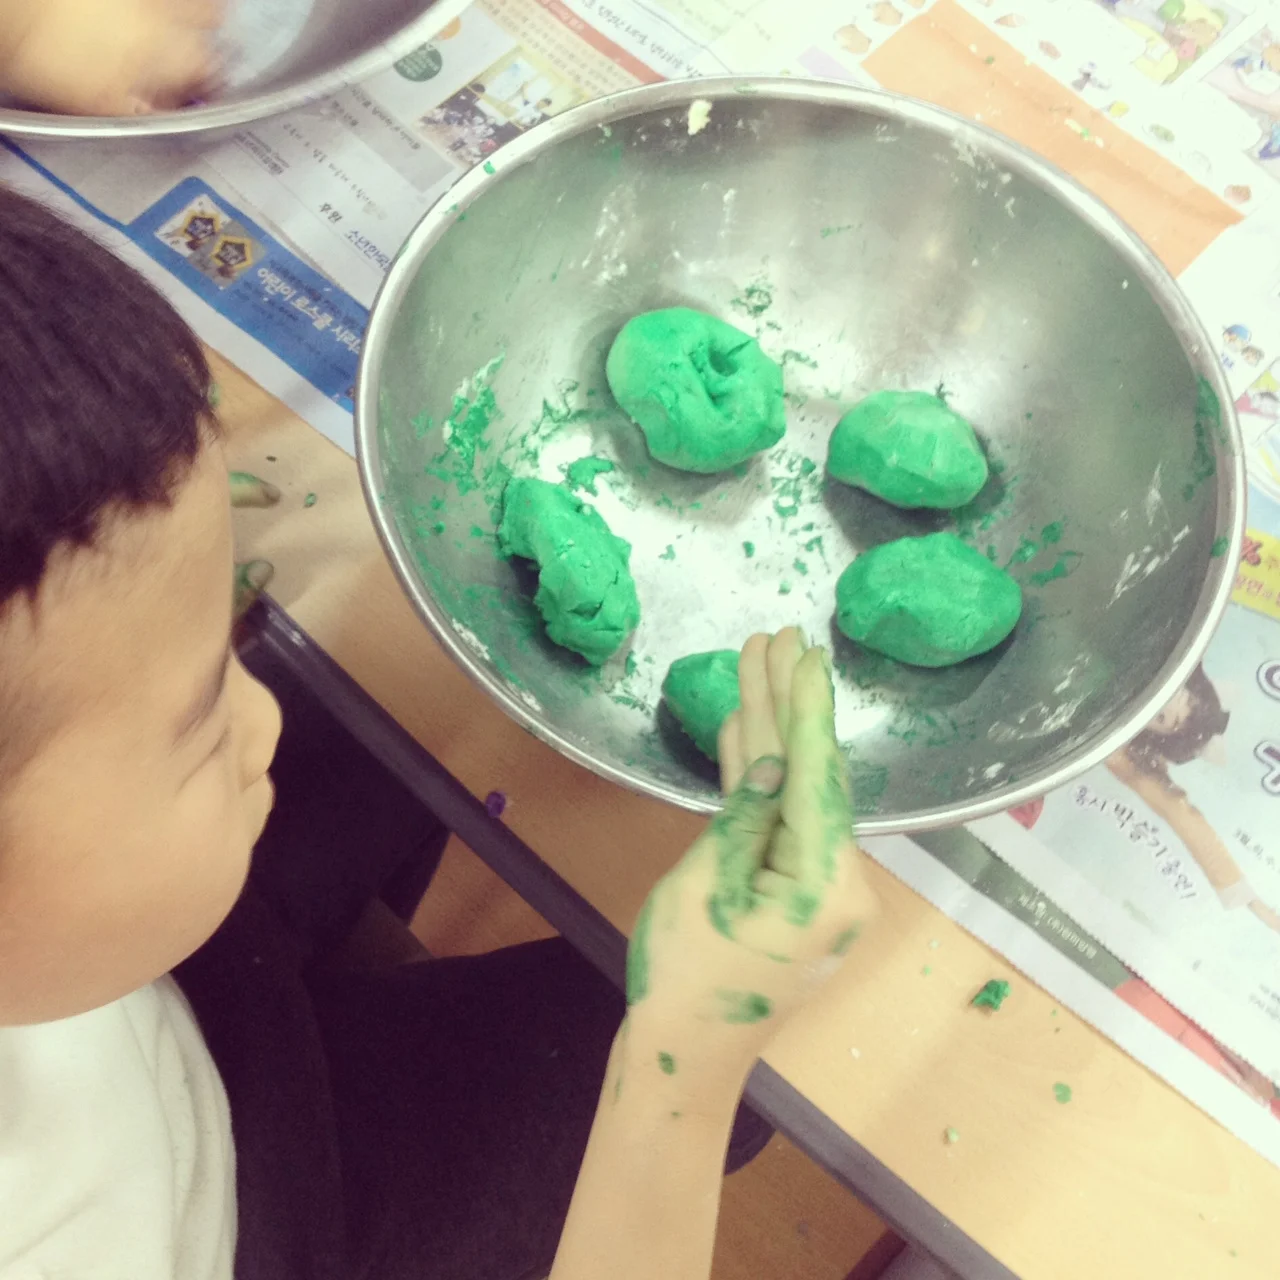
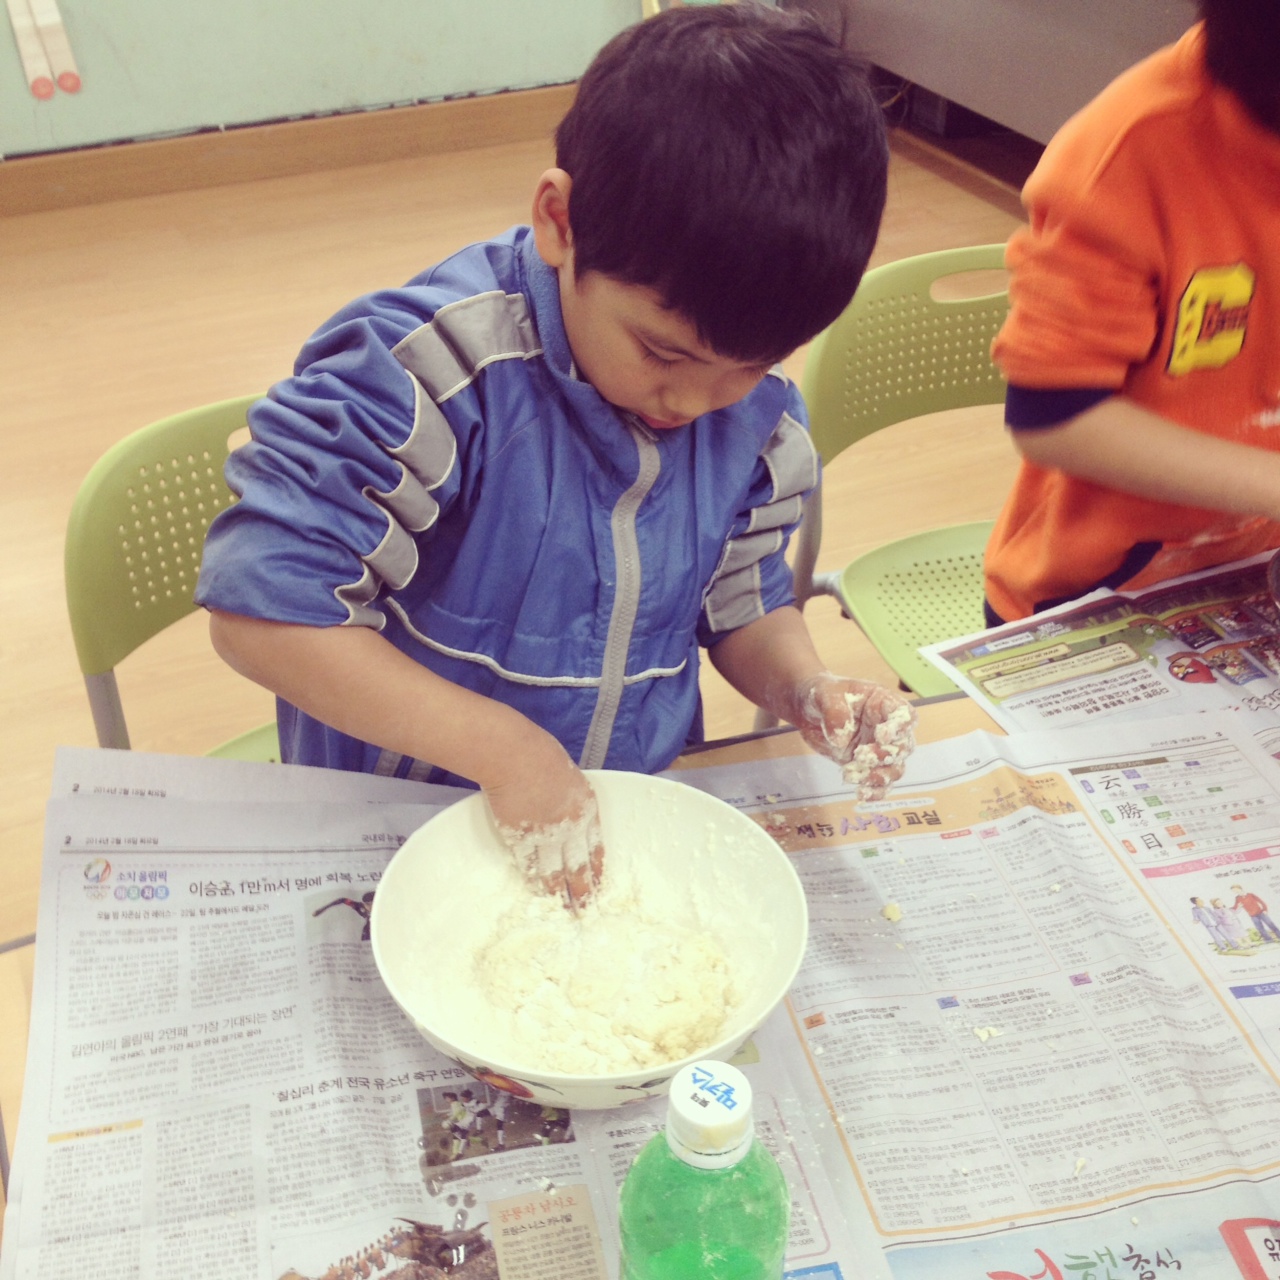
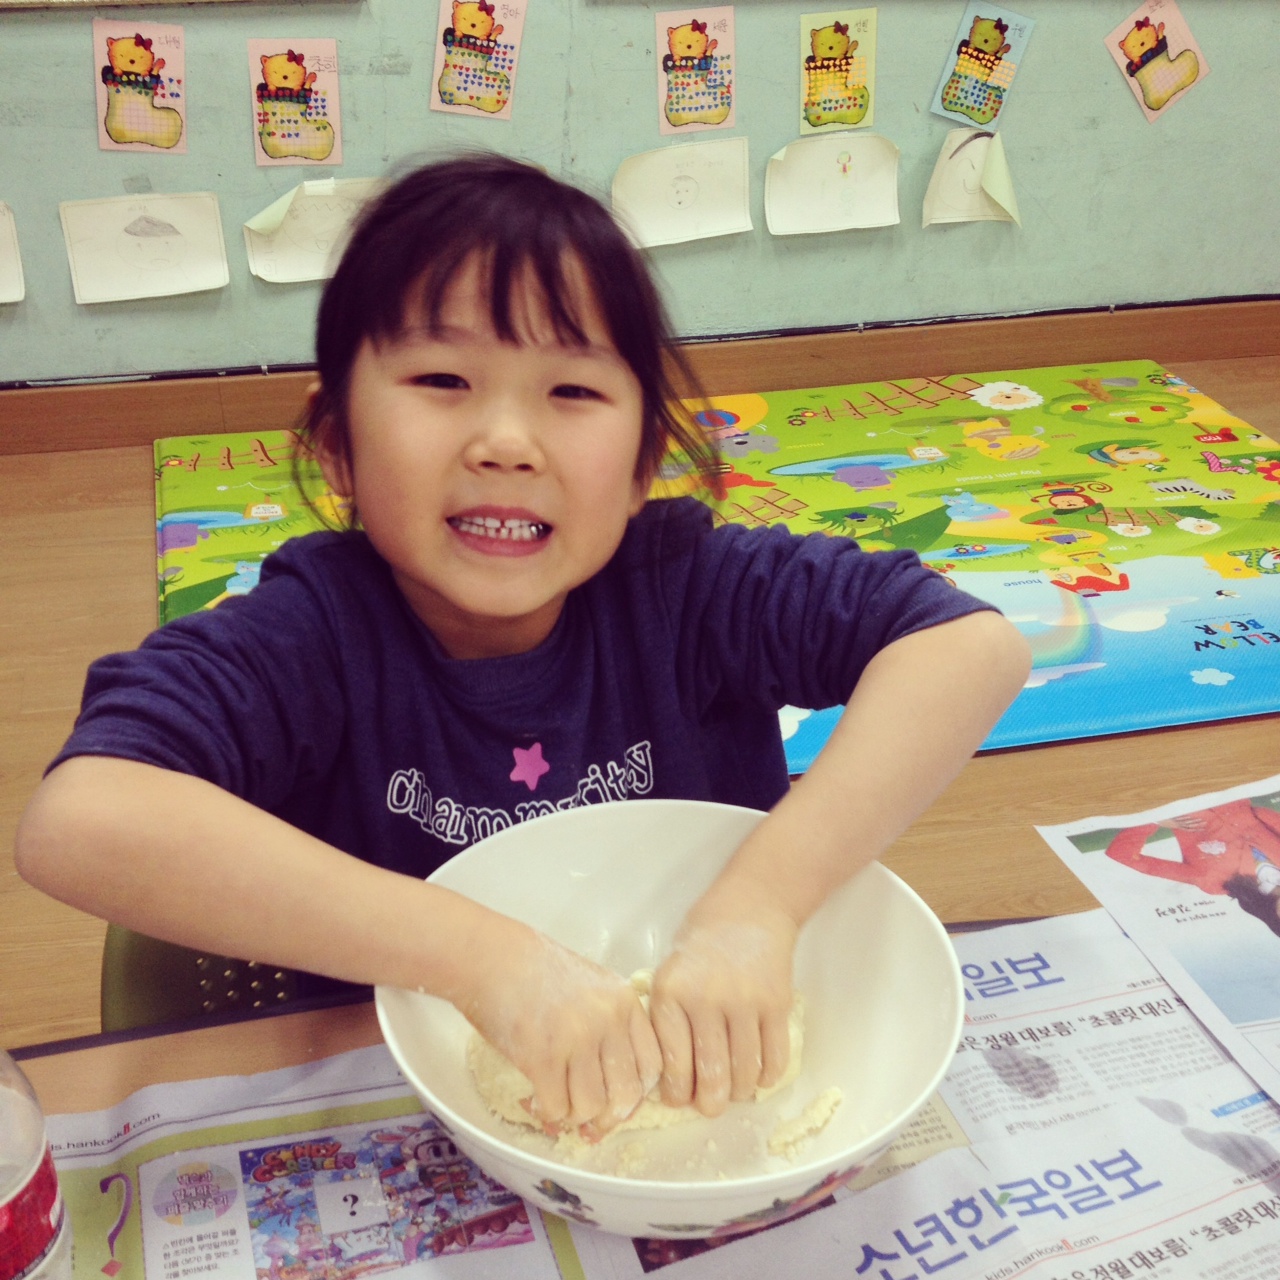
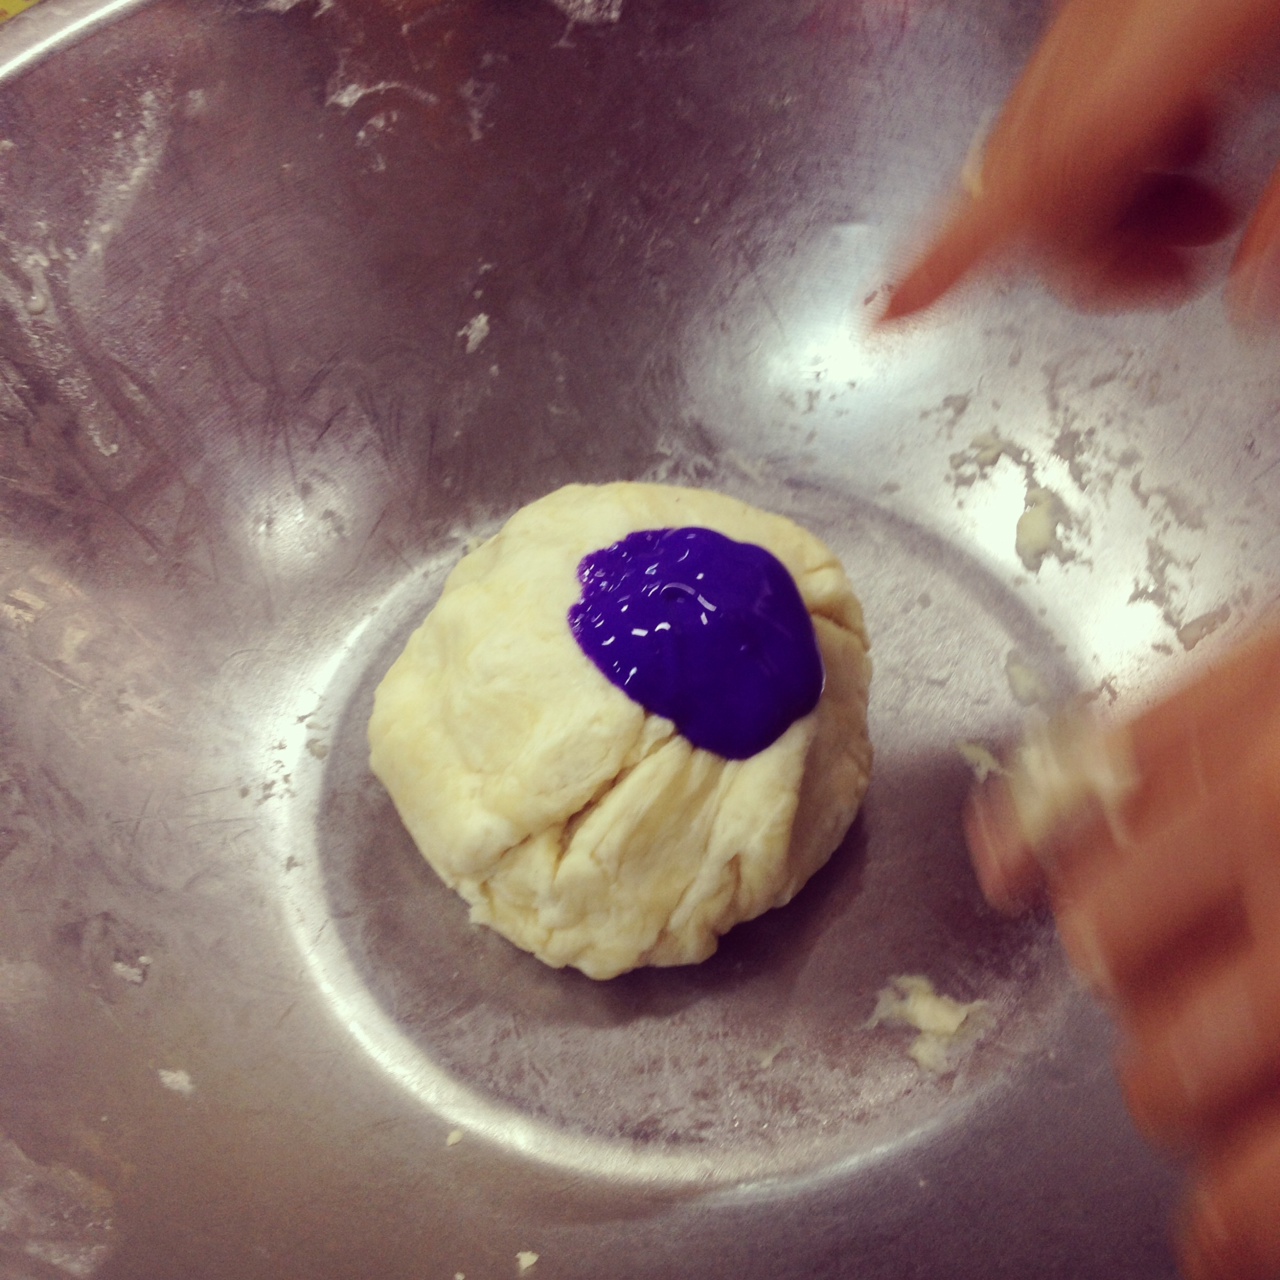
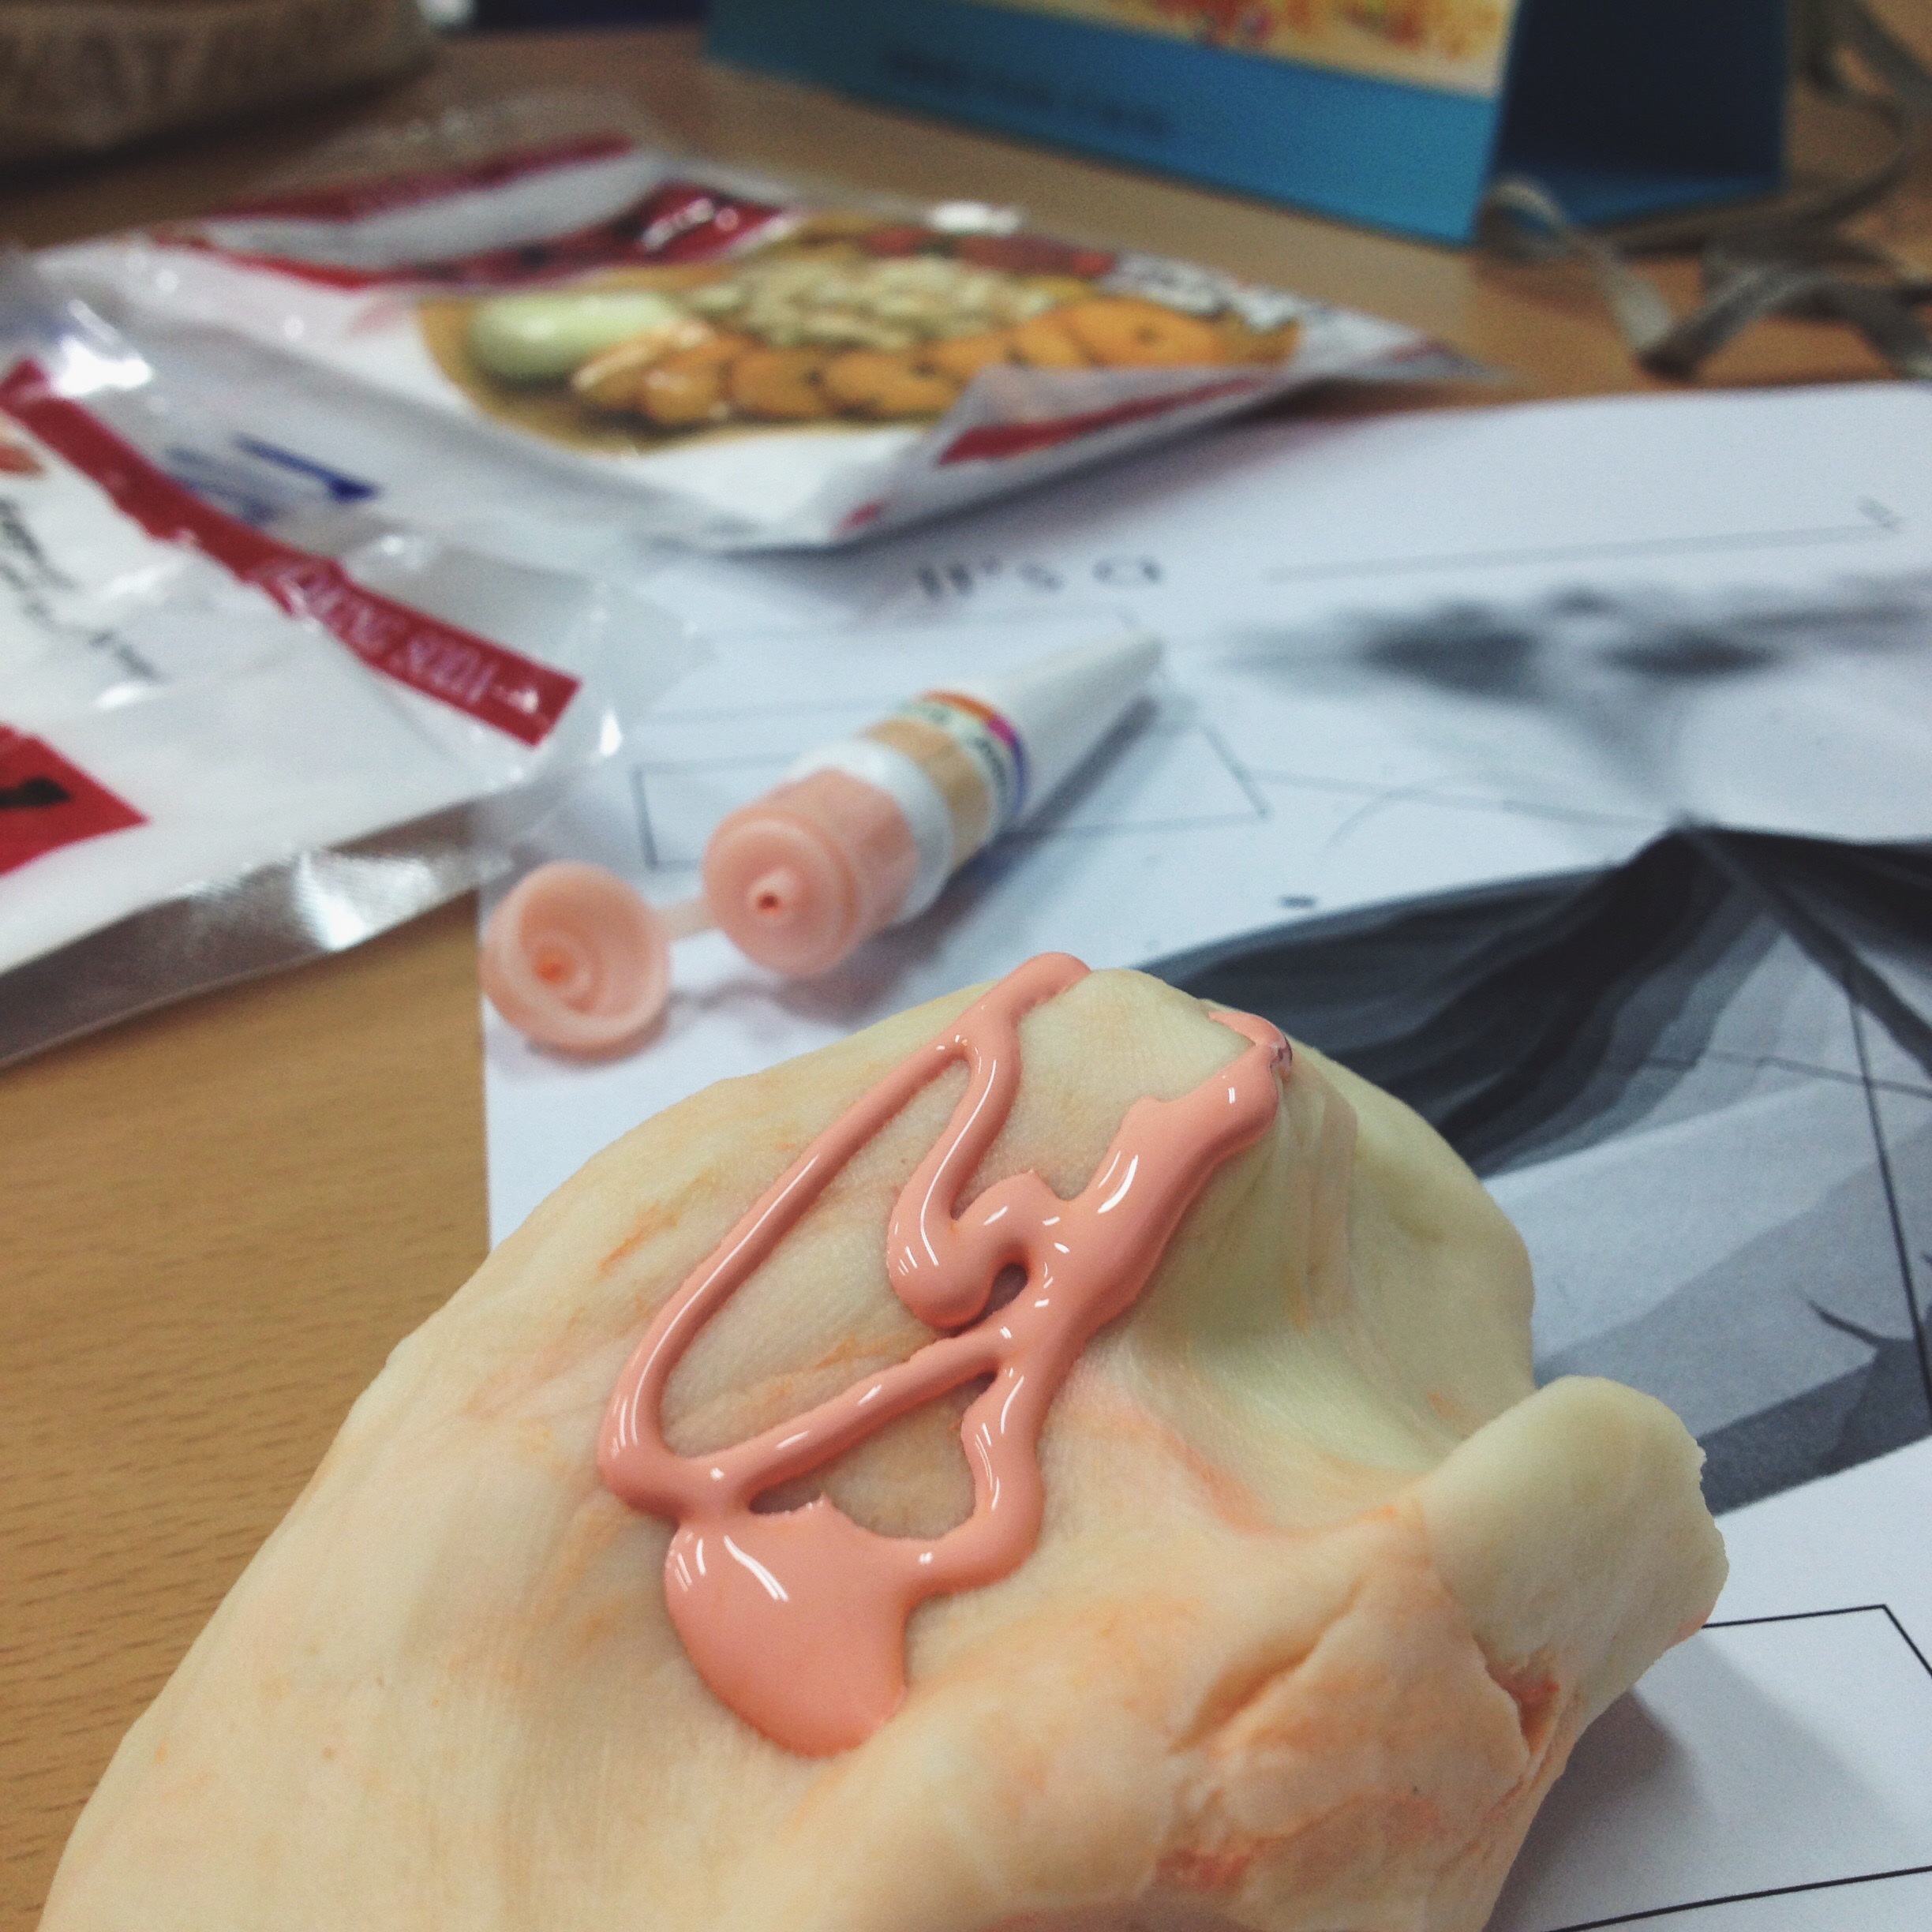
For the dough a.k.a. the outside of the volcano

- In a large bowl mix together 3 cups of flour, 1 cup oil, 1 cup salt, 1/2 cup of water. Keep mixing! Add more flour, salt, oil as needed.

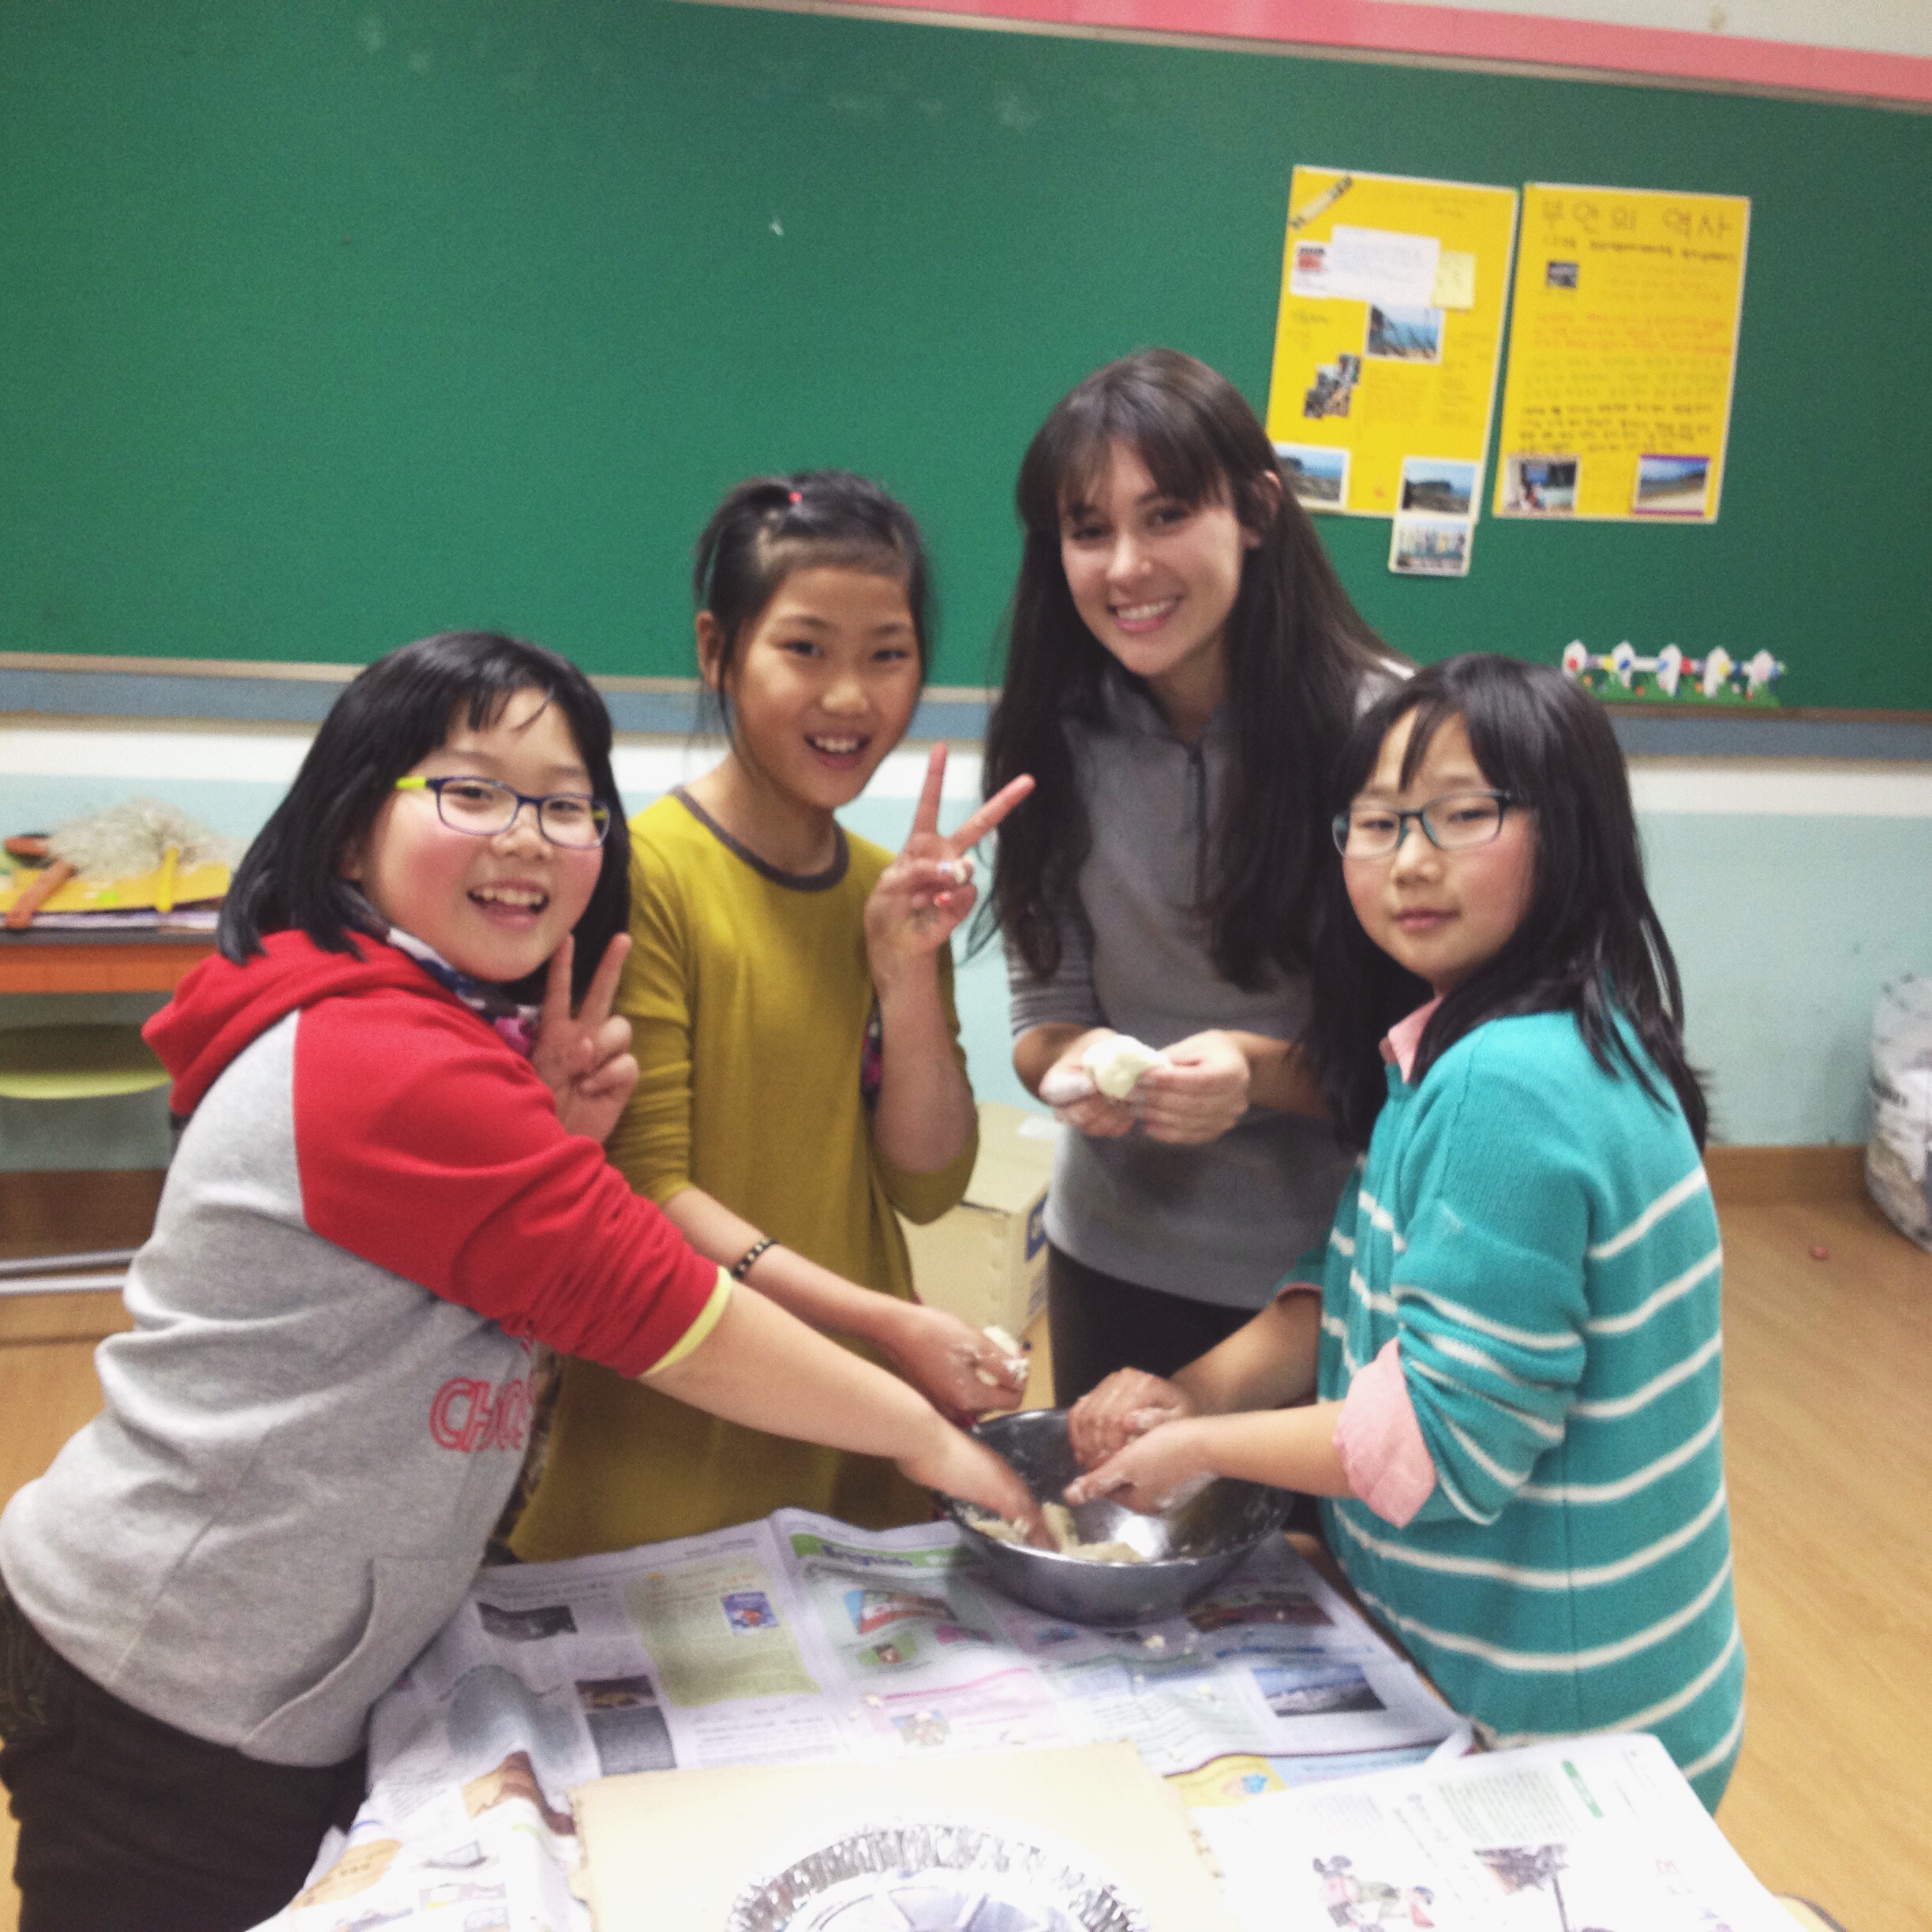
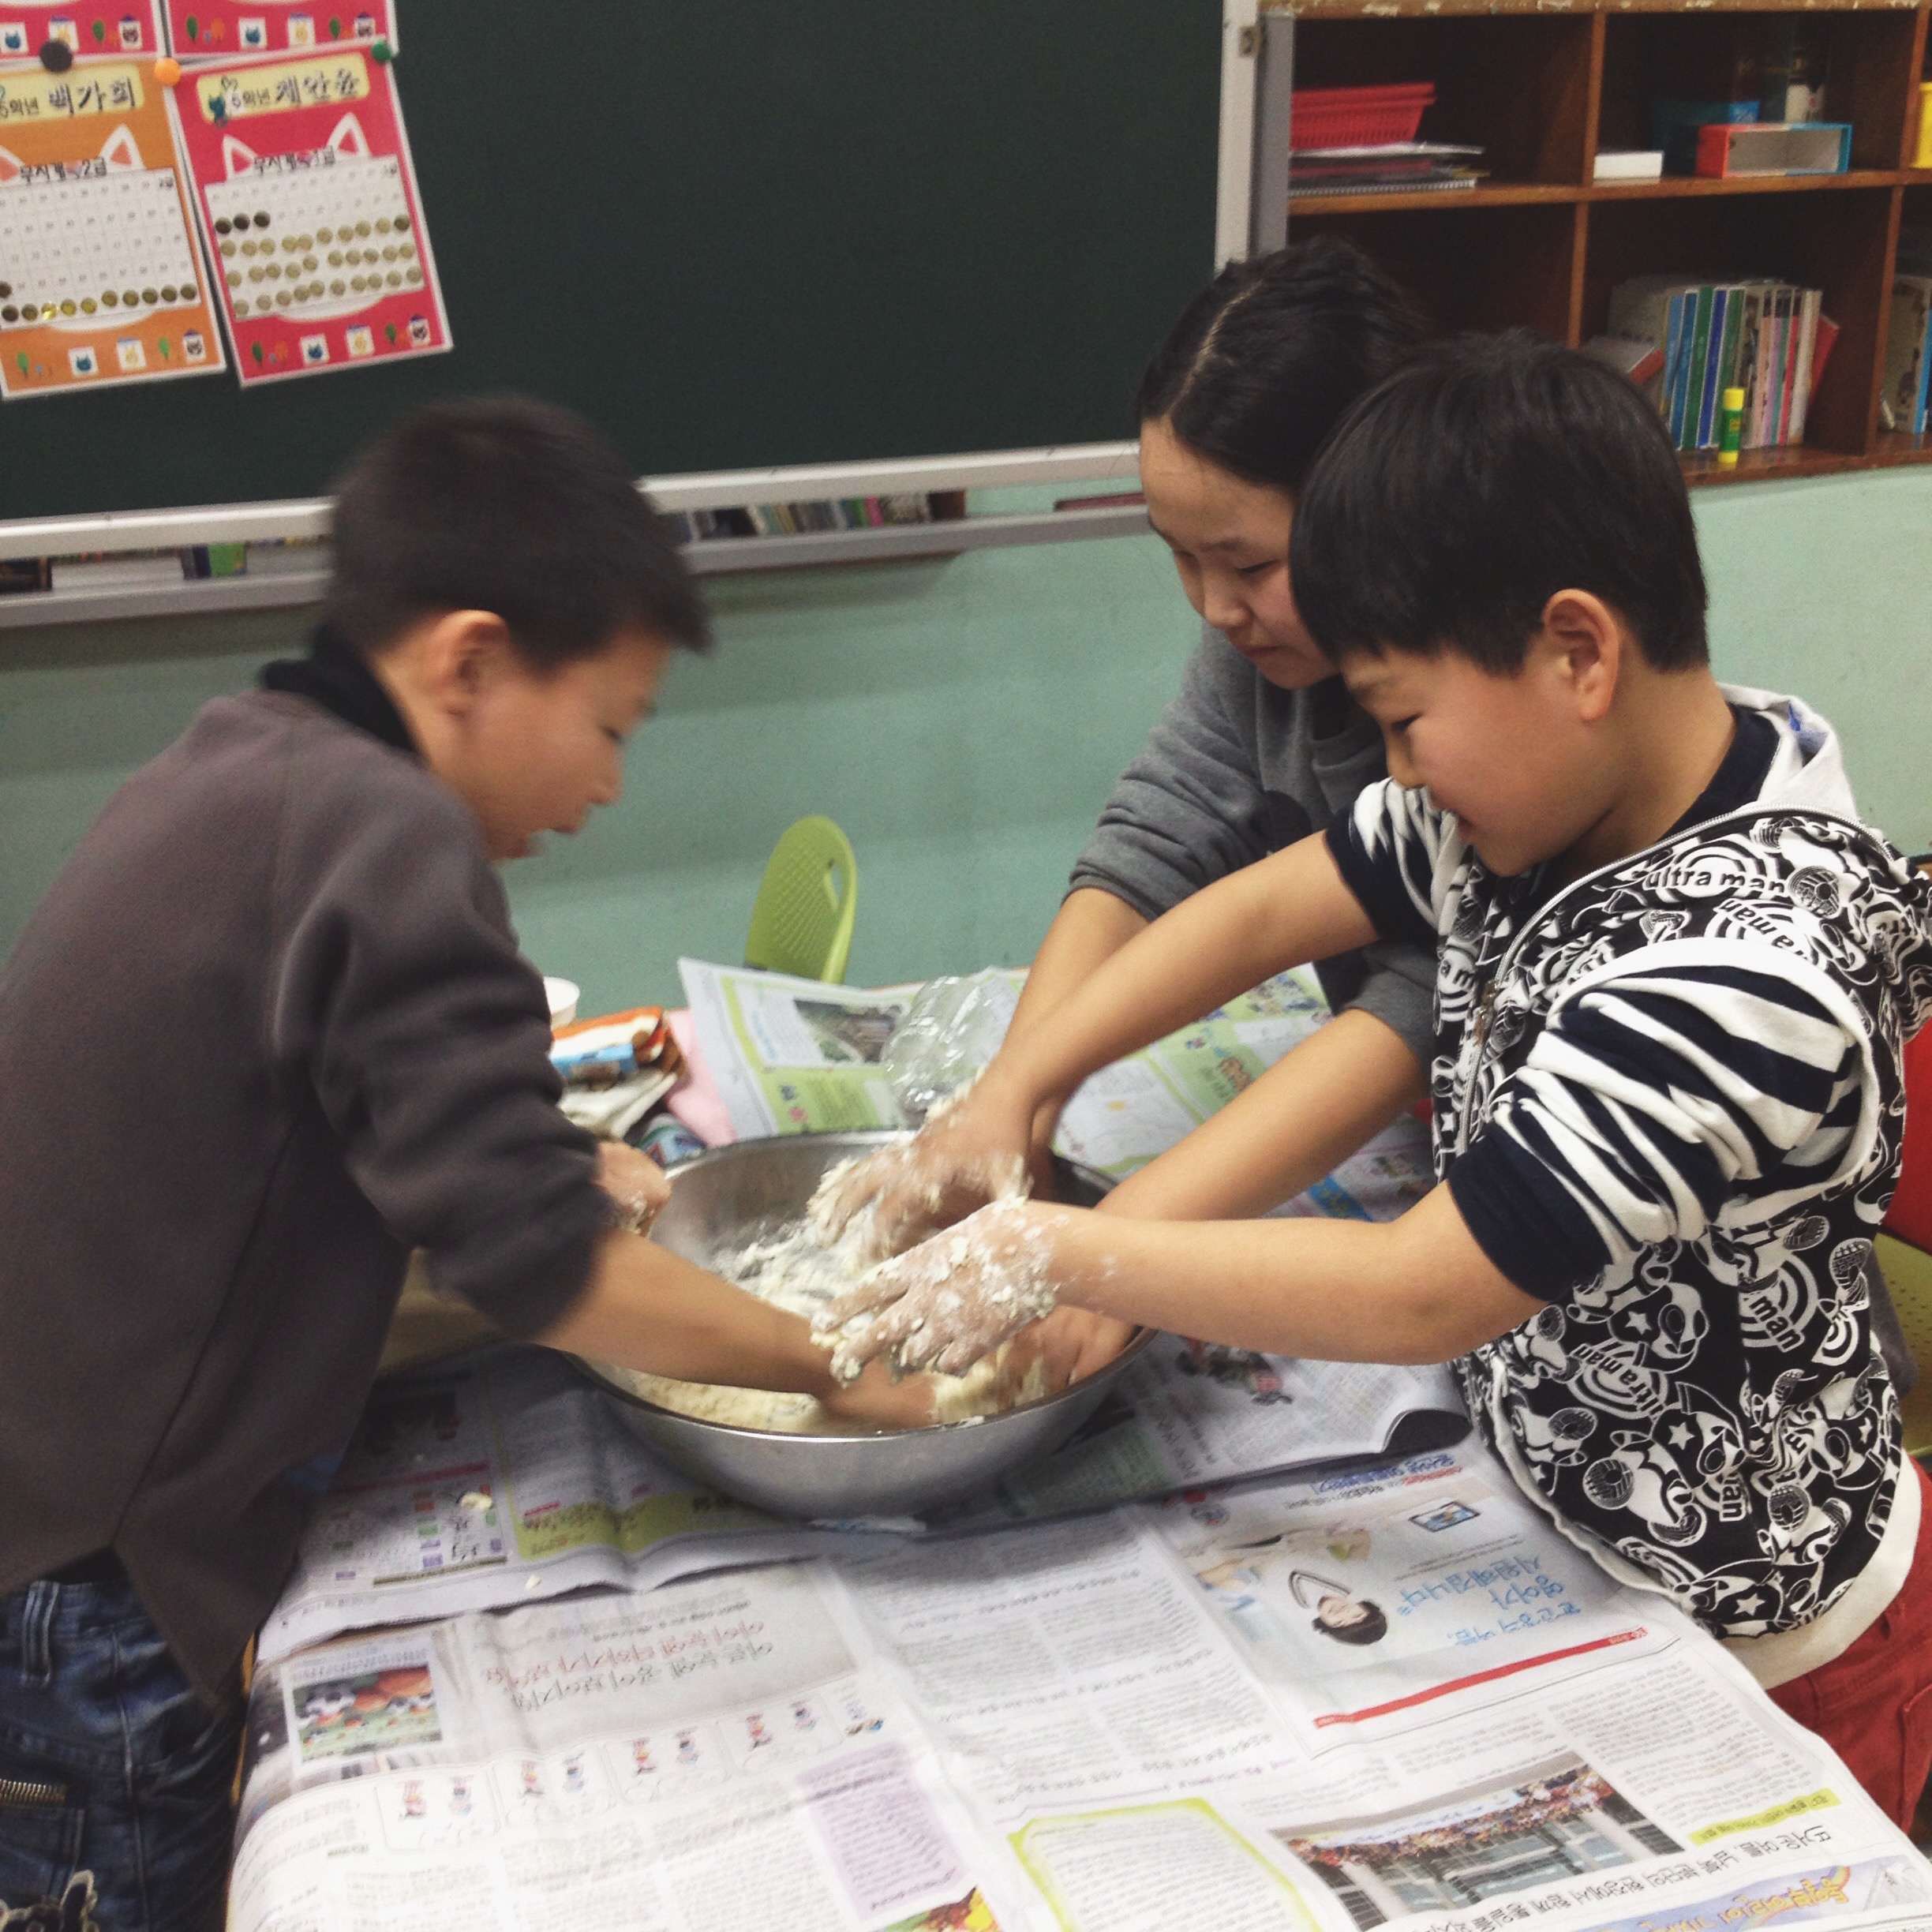
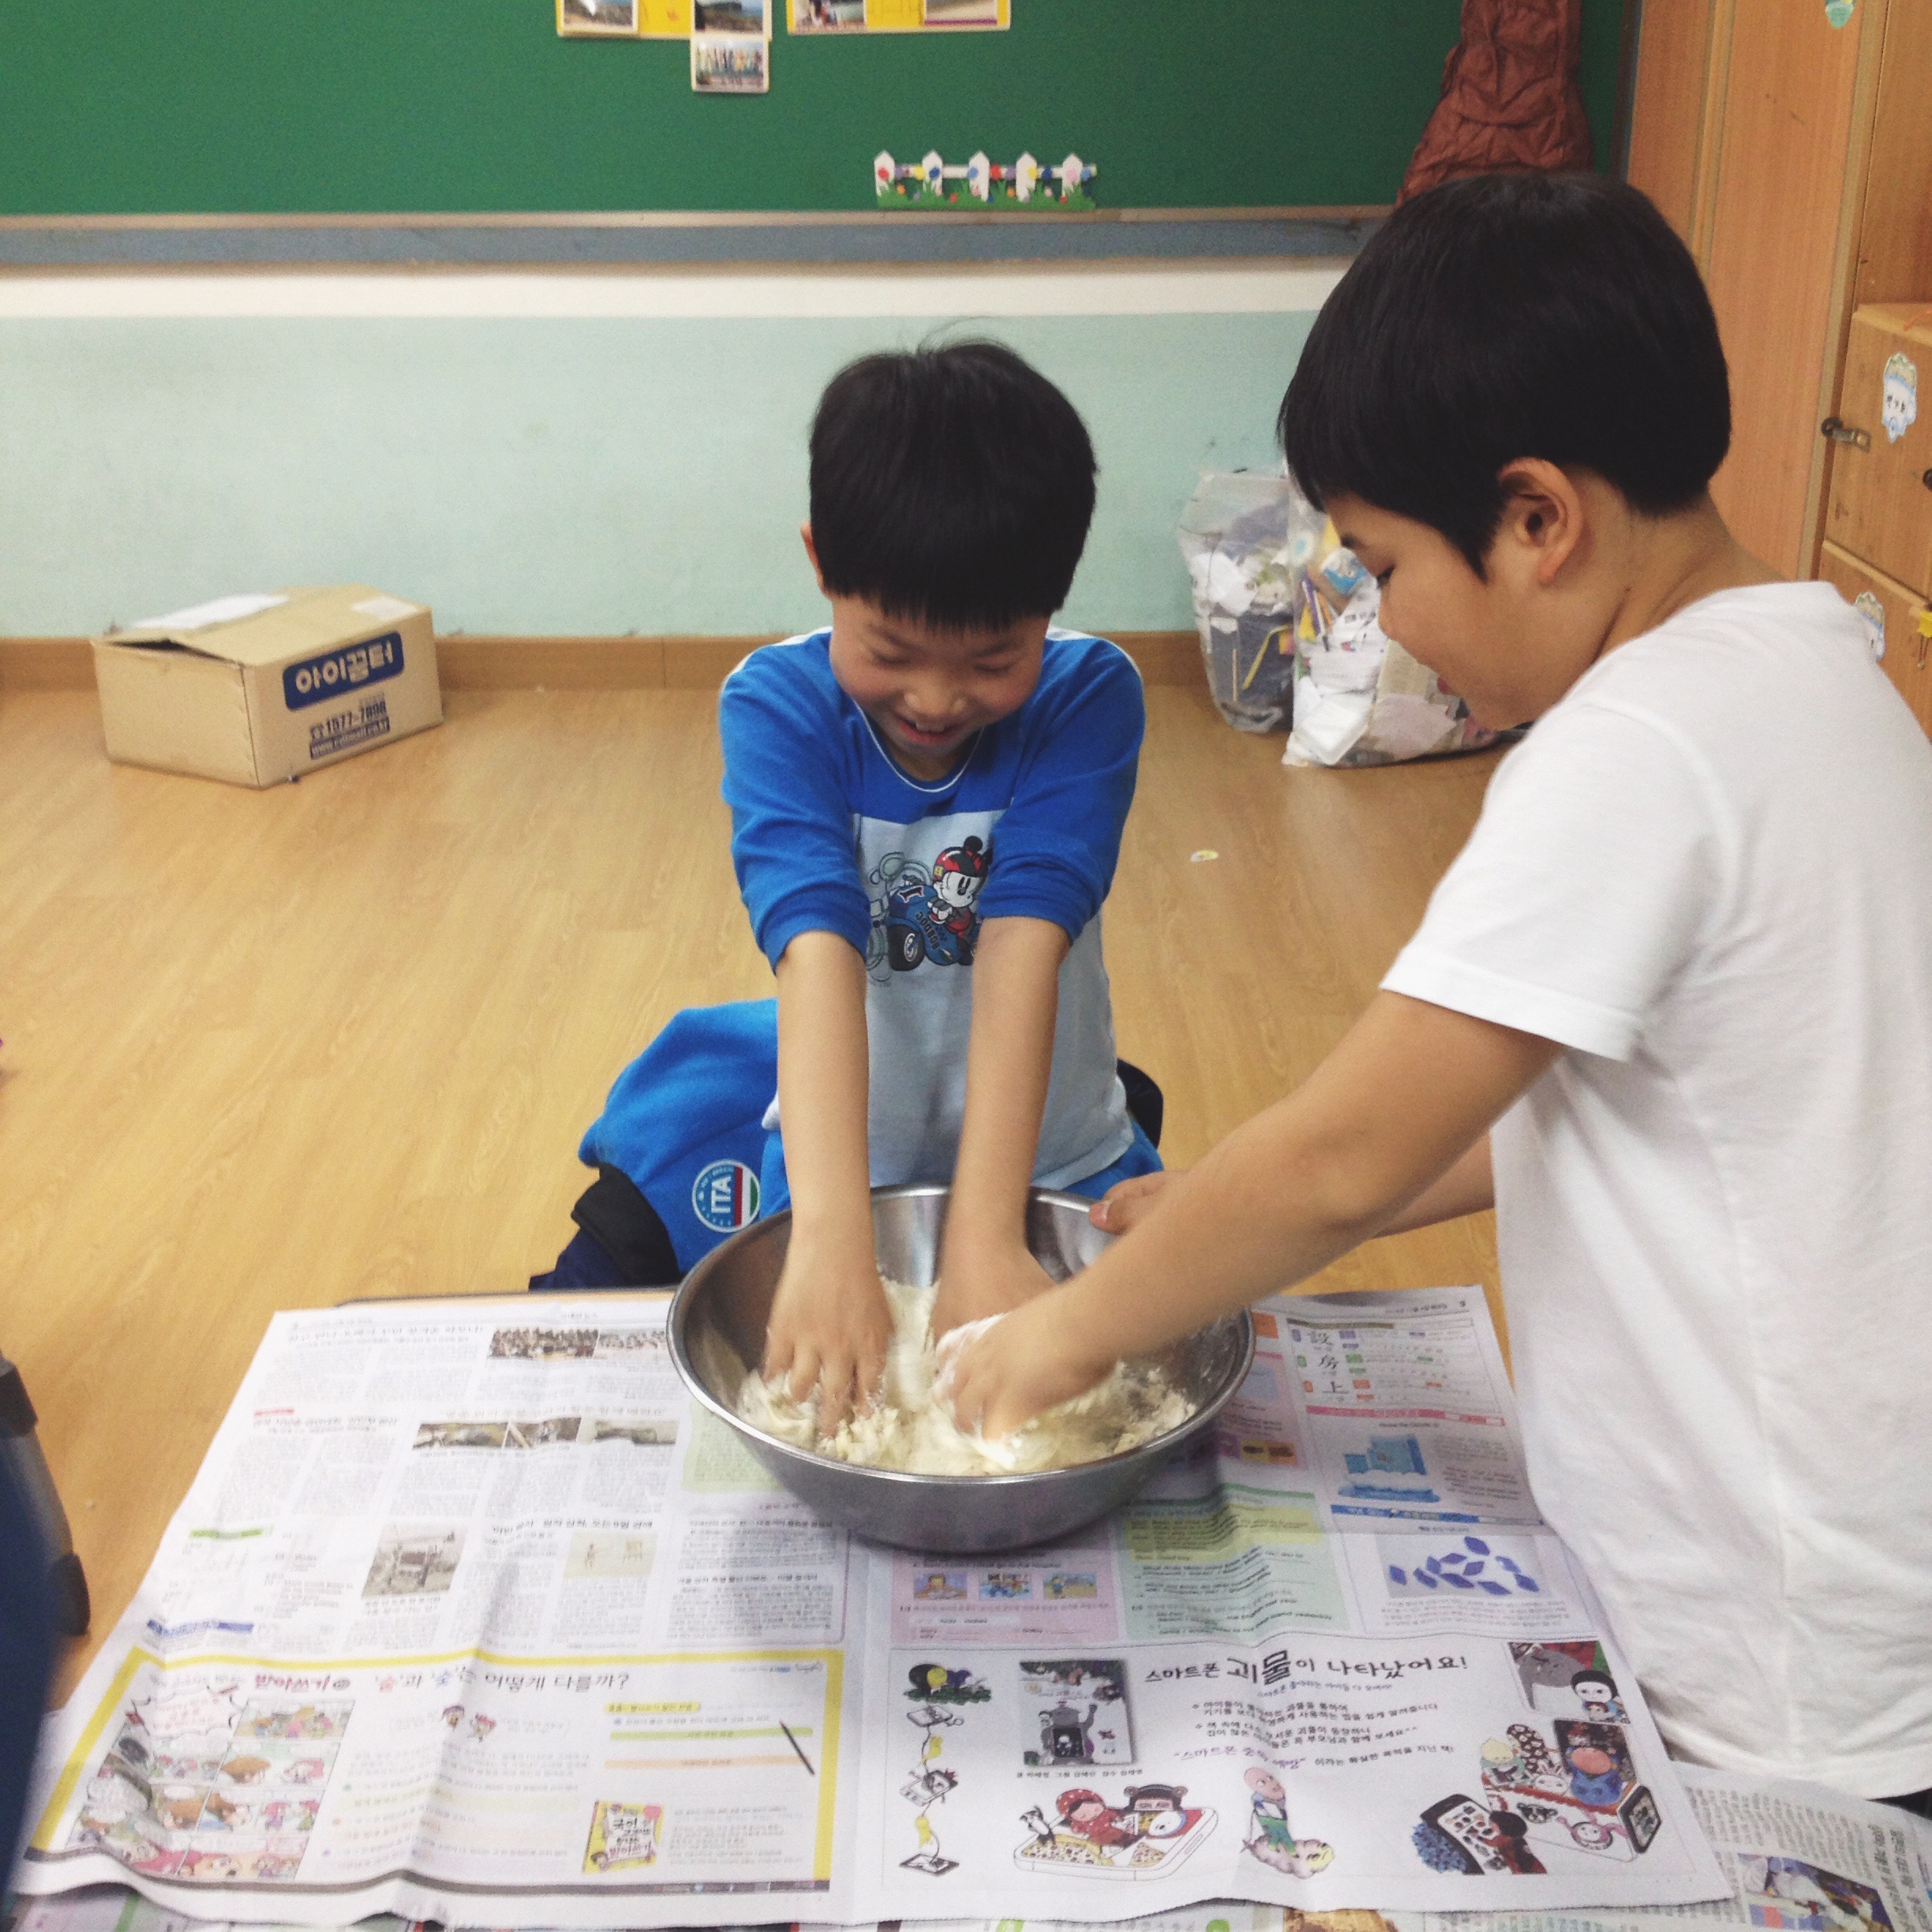
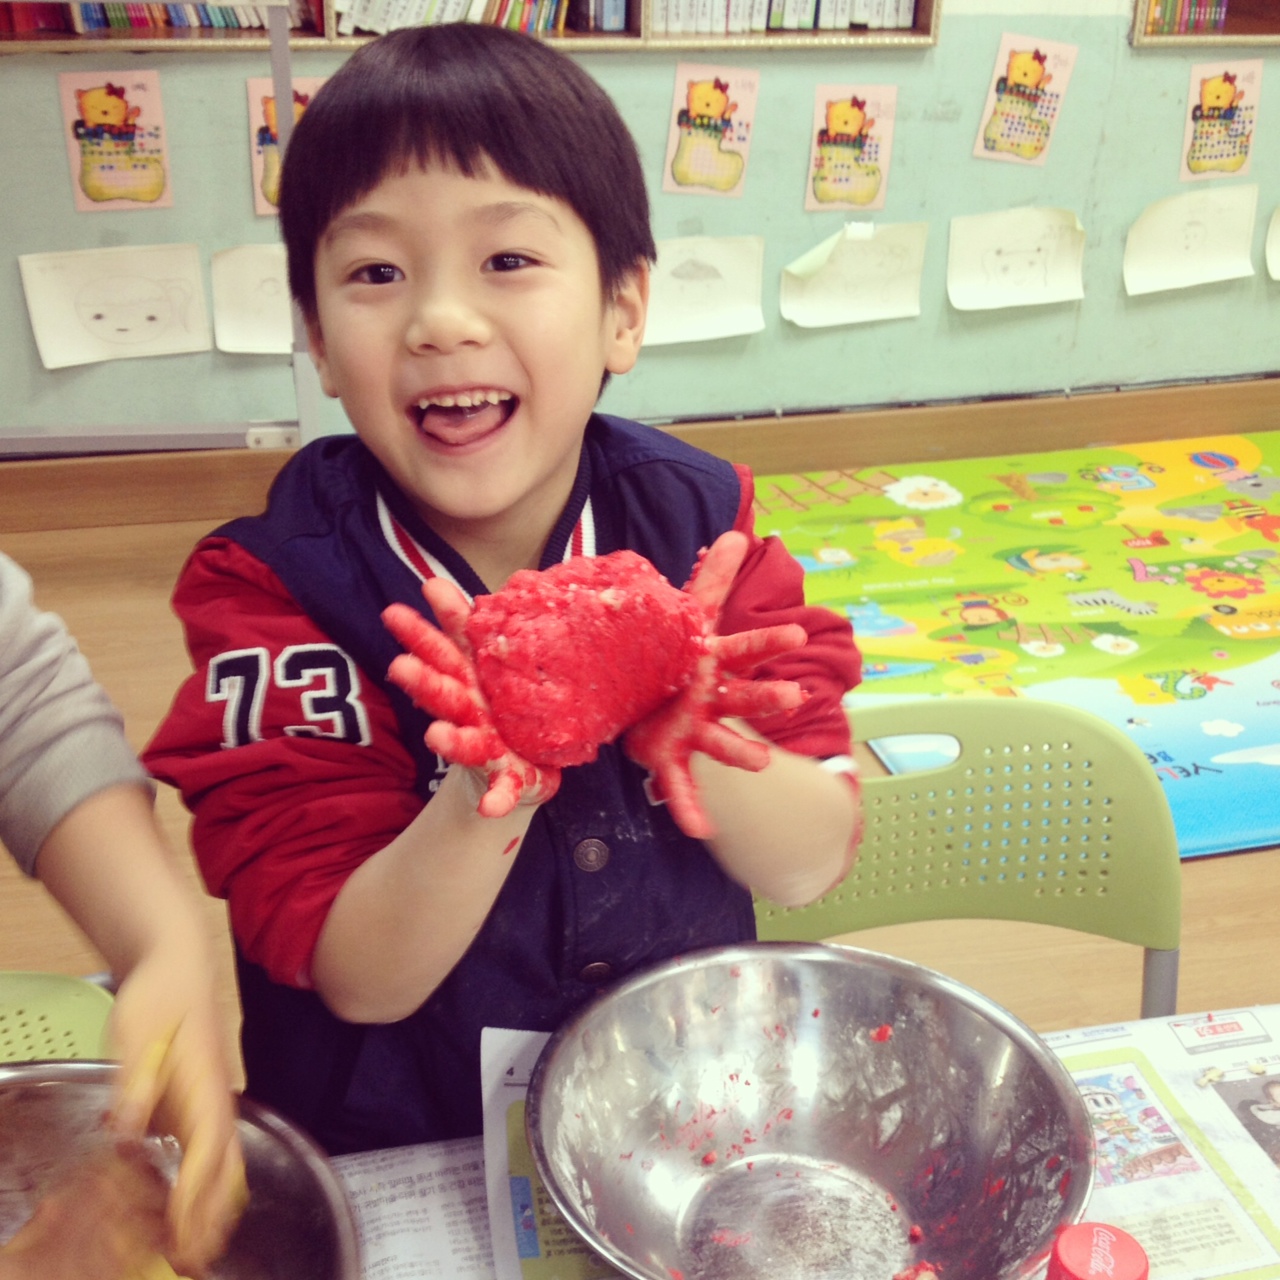
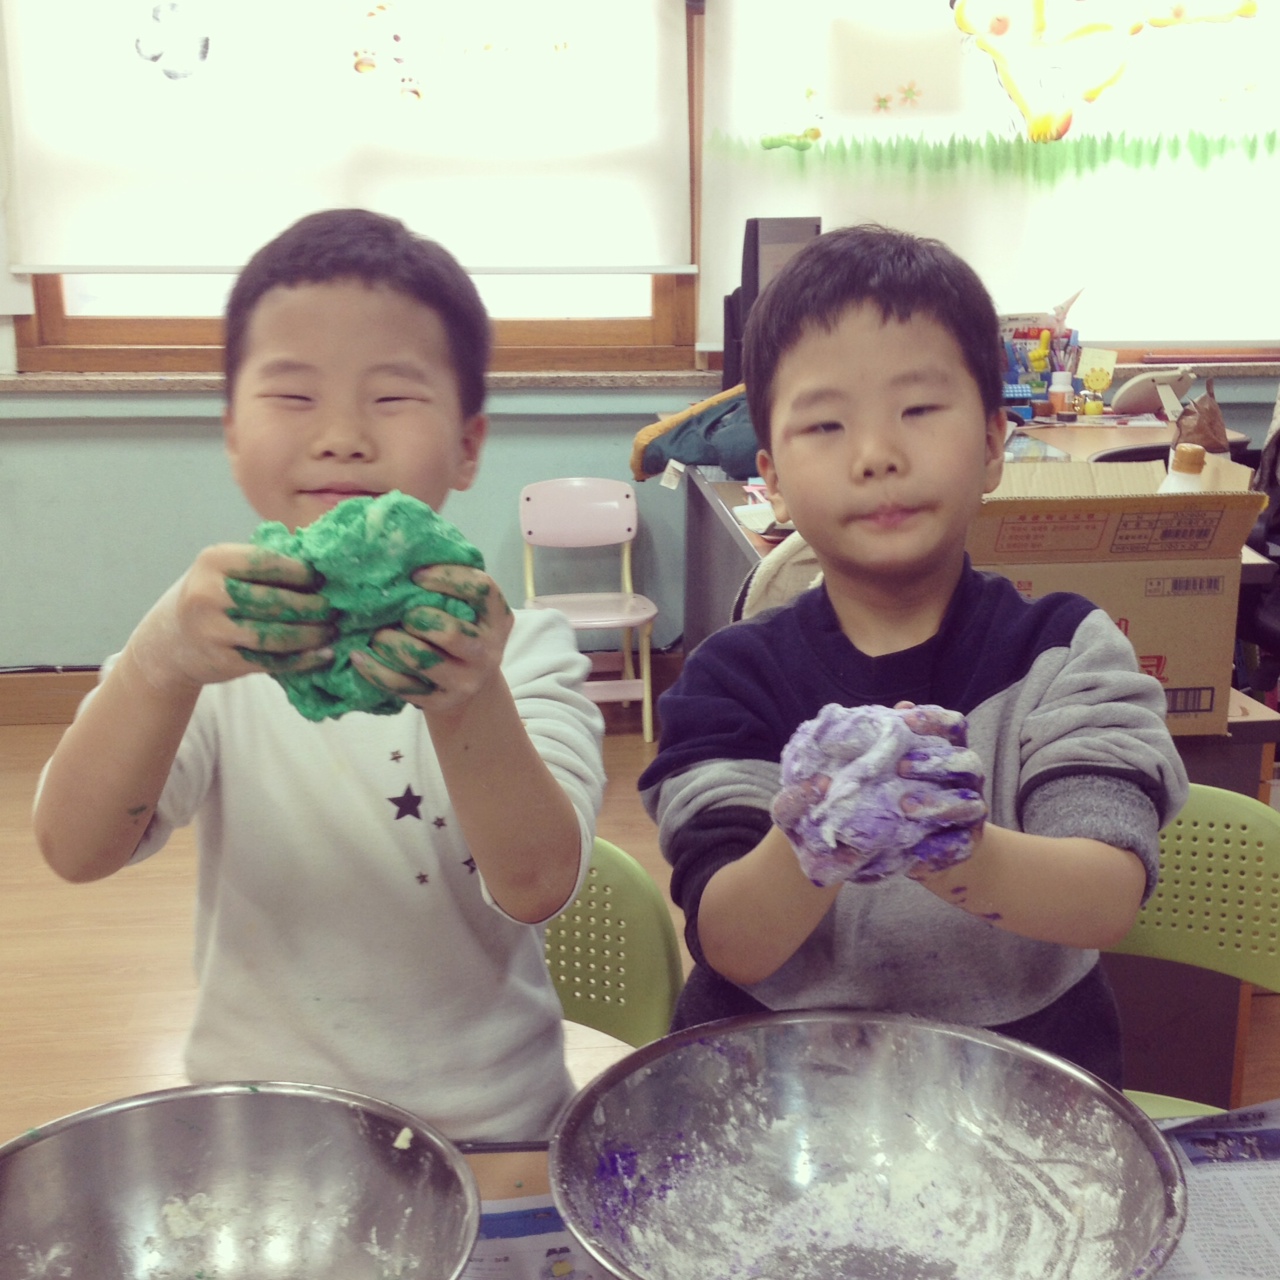
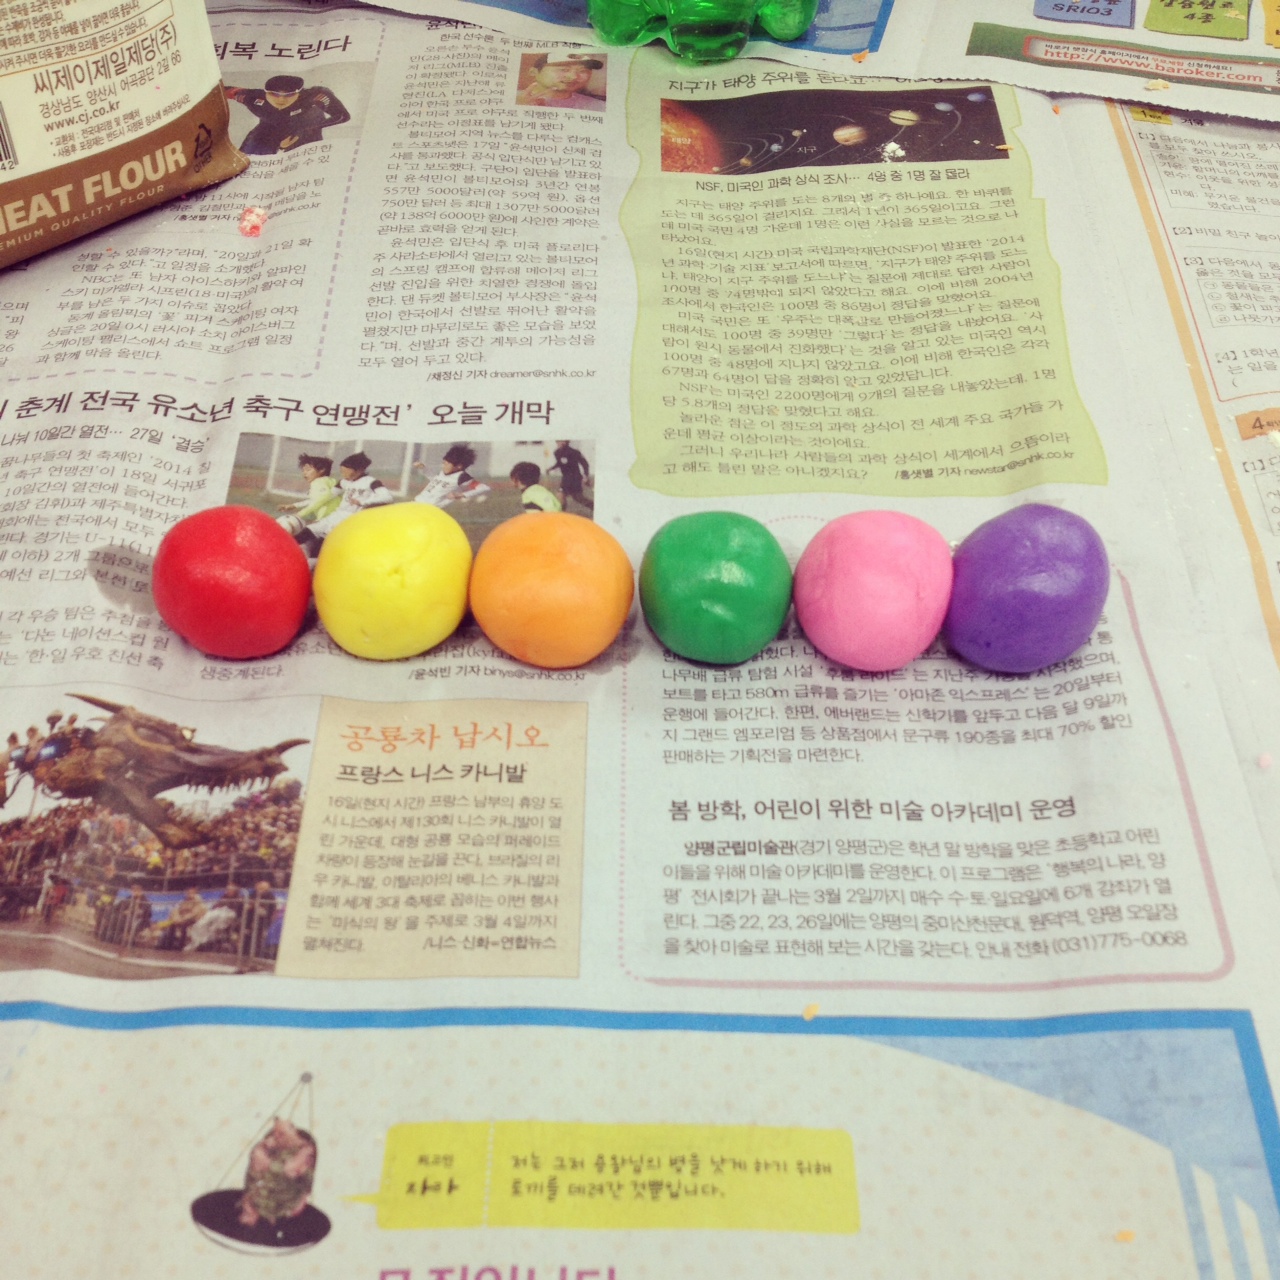
- Add paint and keep mixing and kneading until fully absorbed

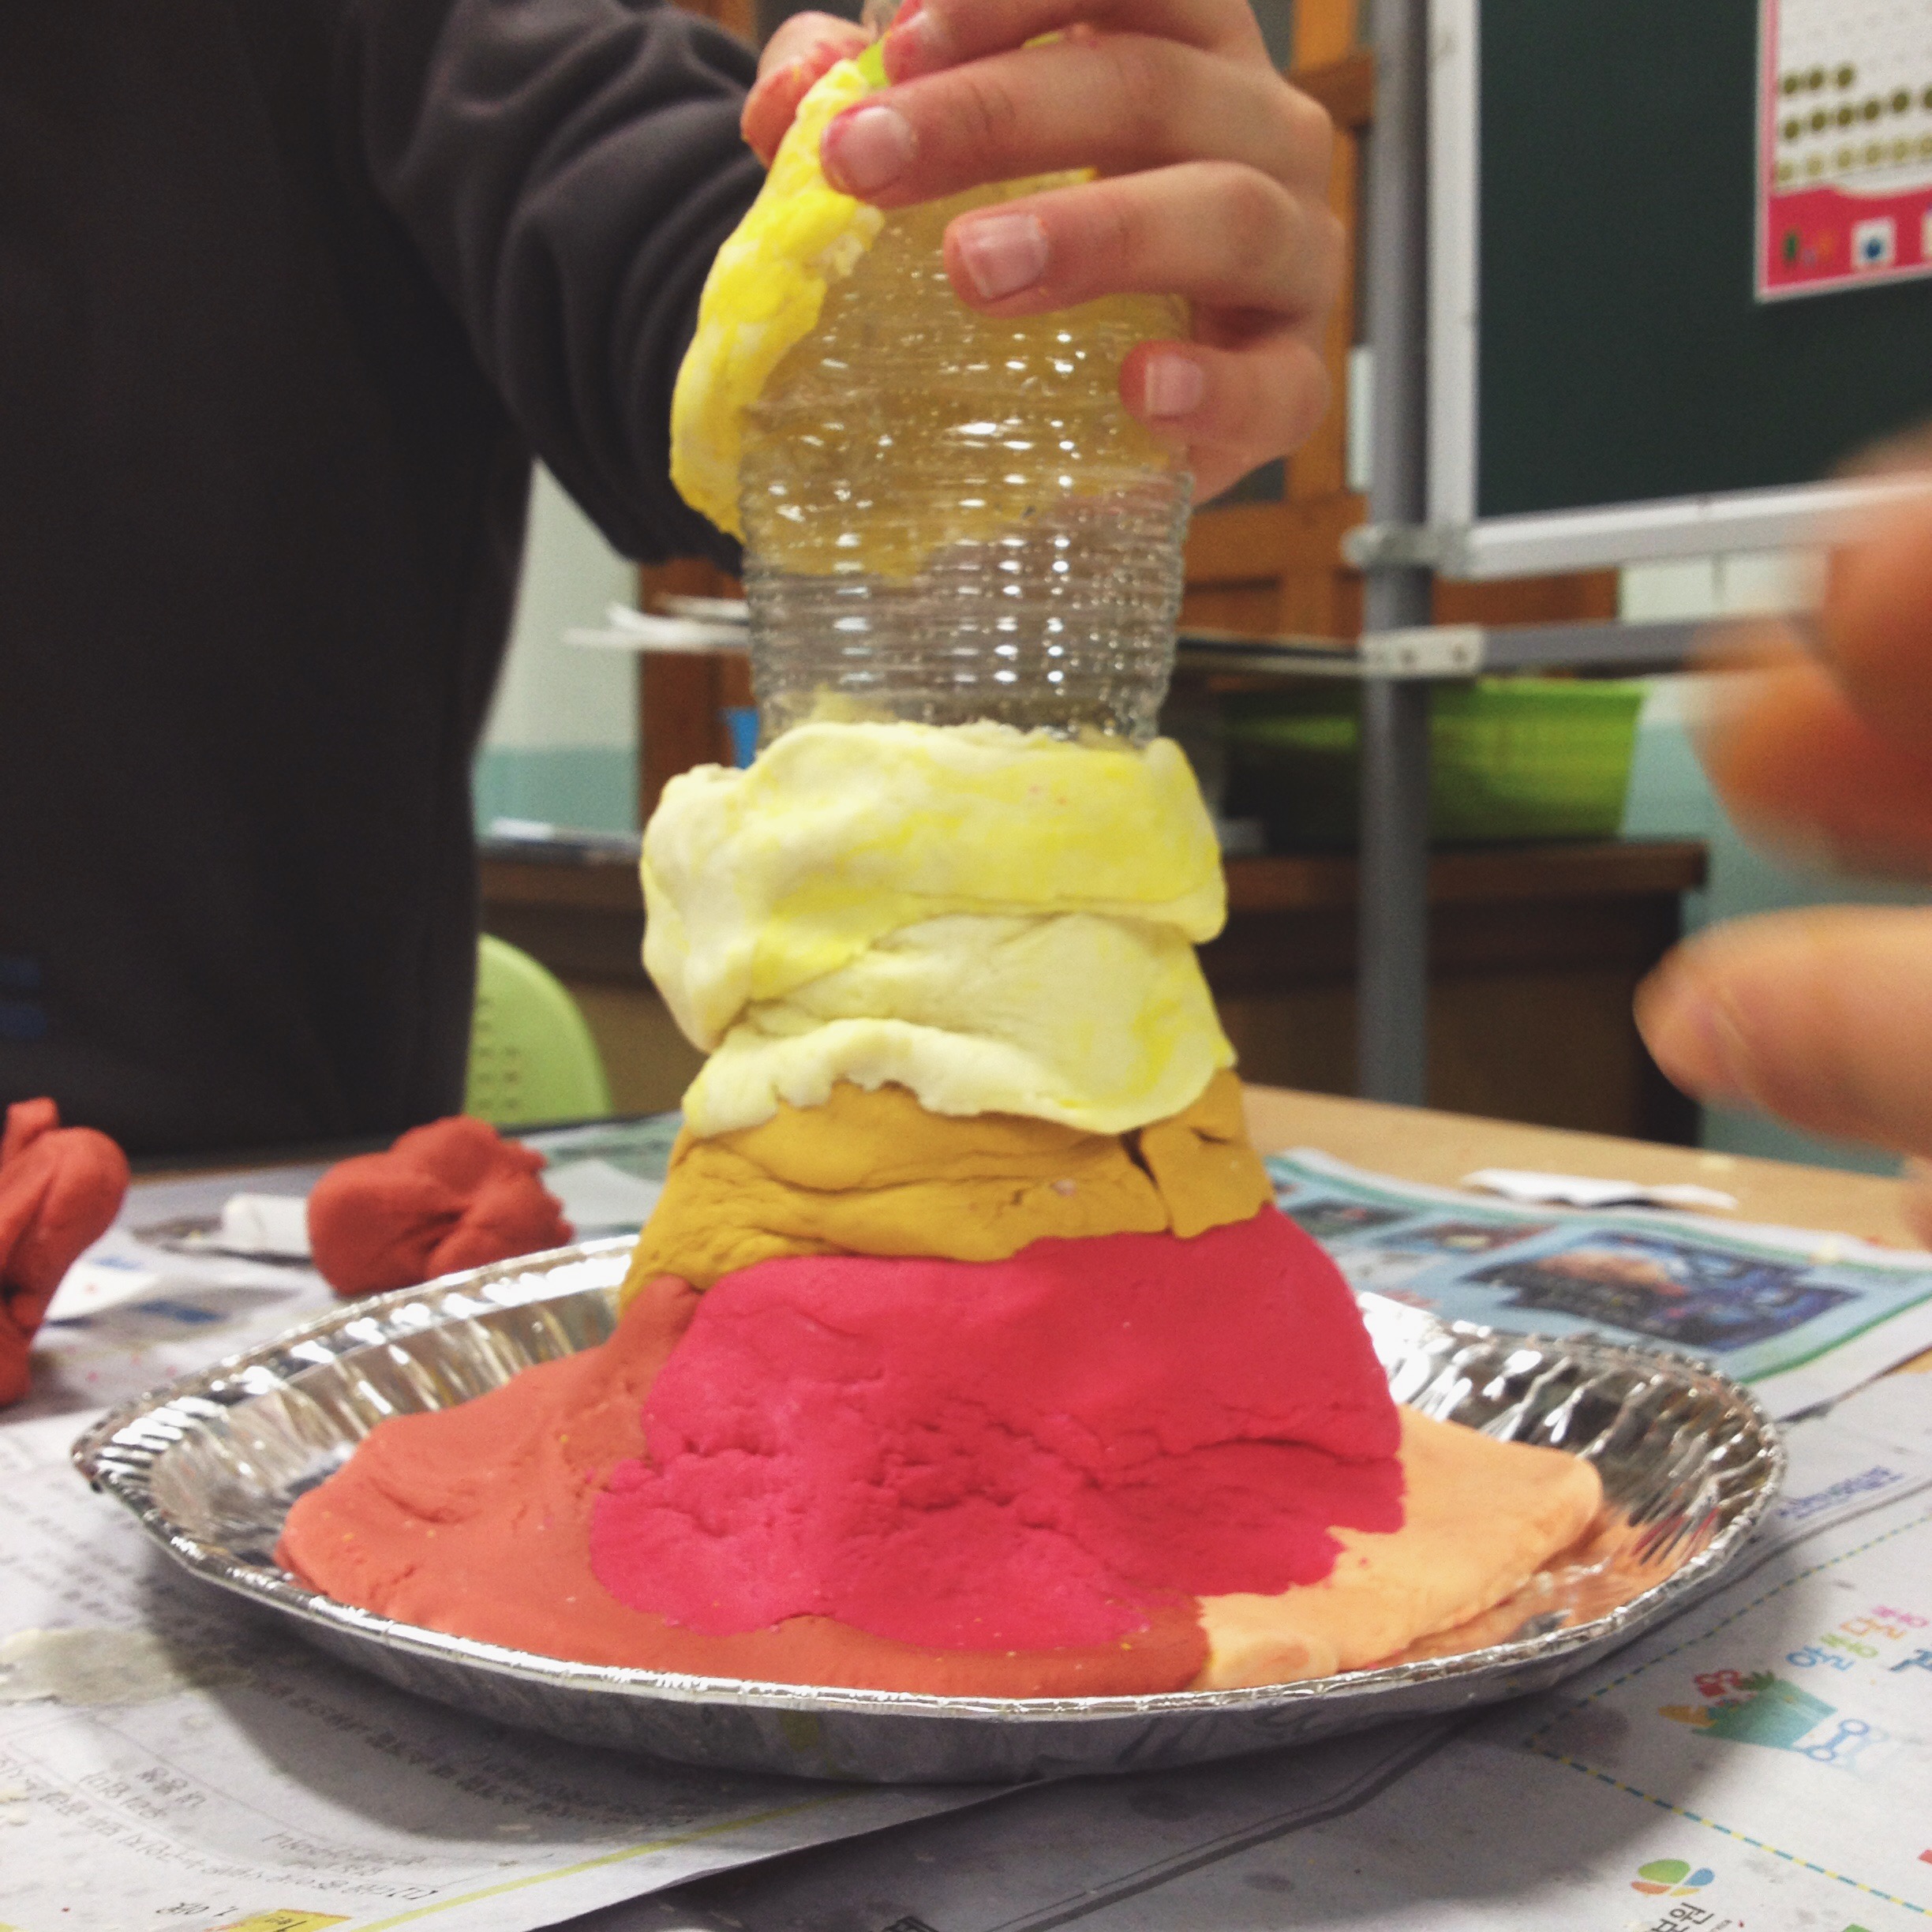
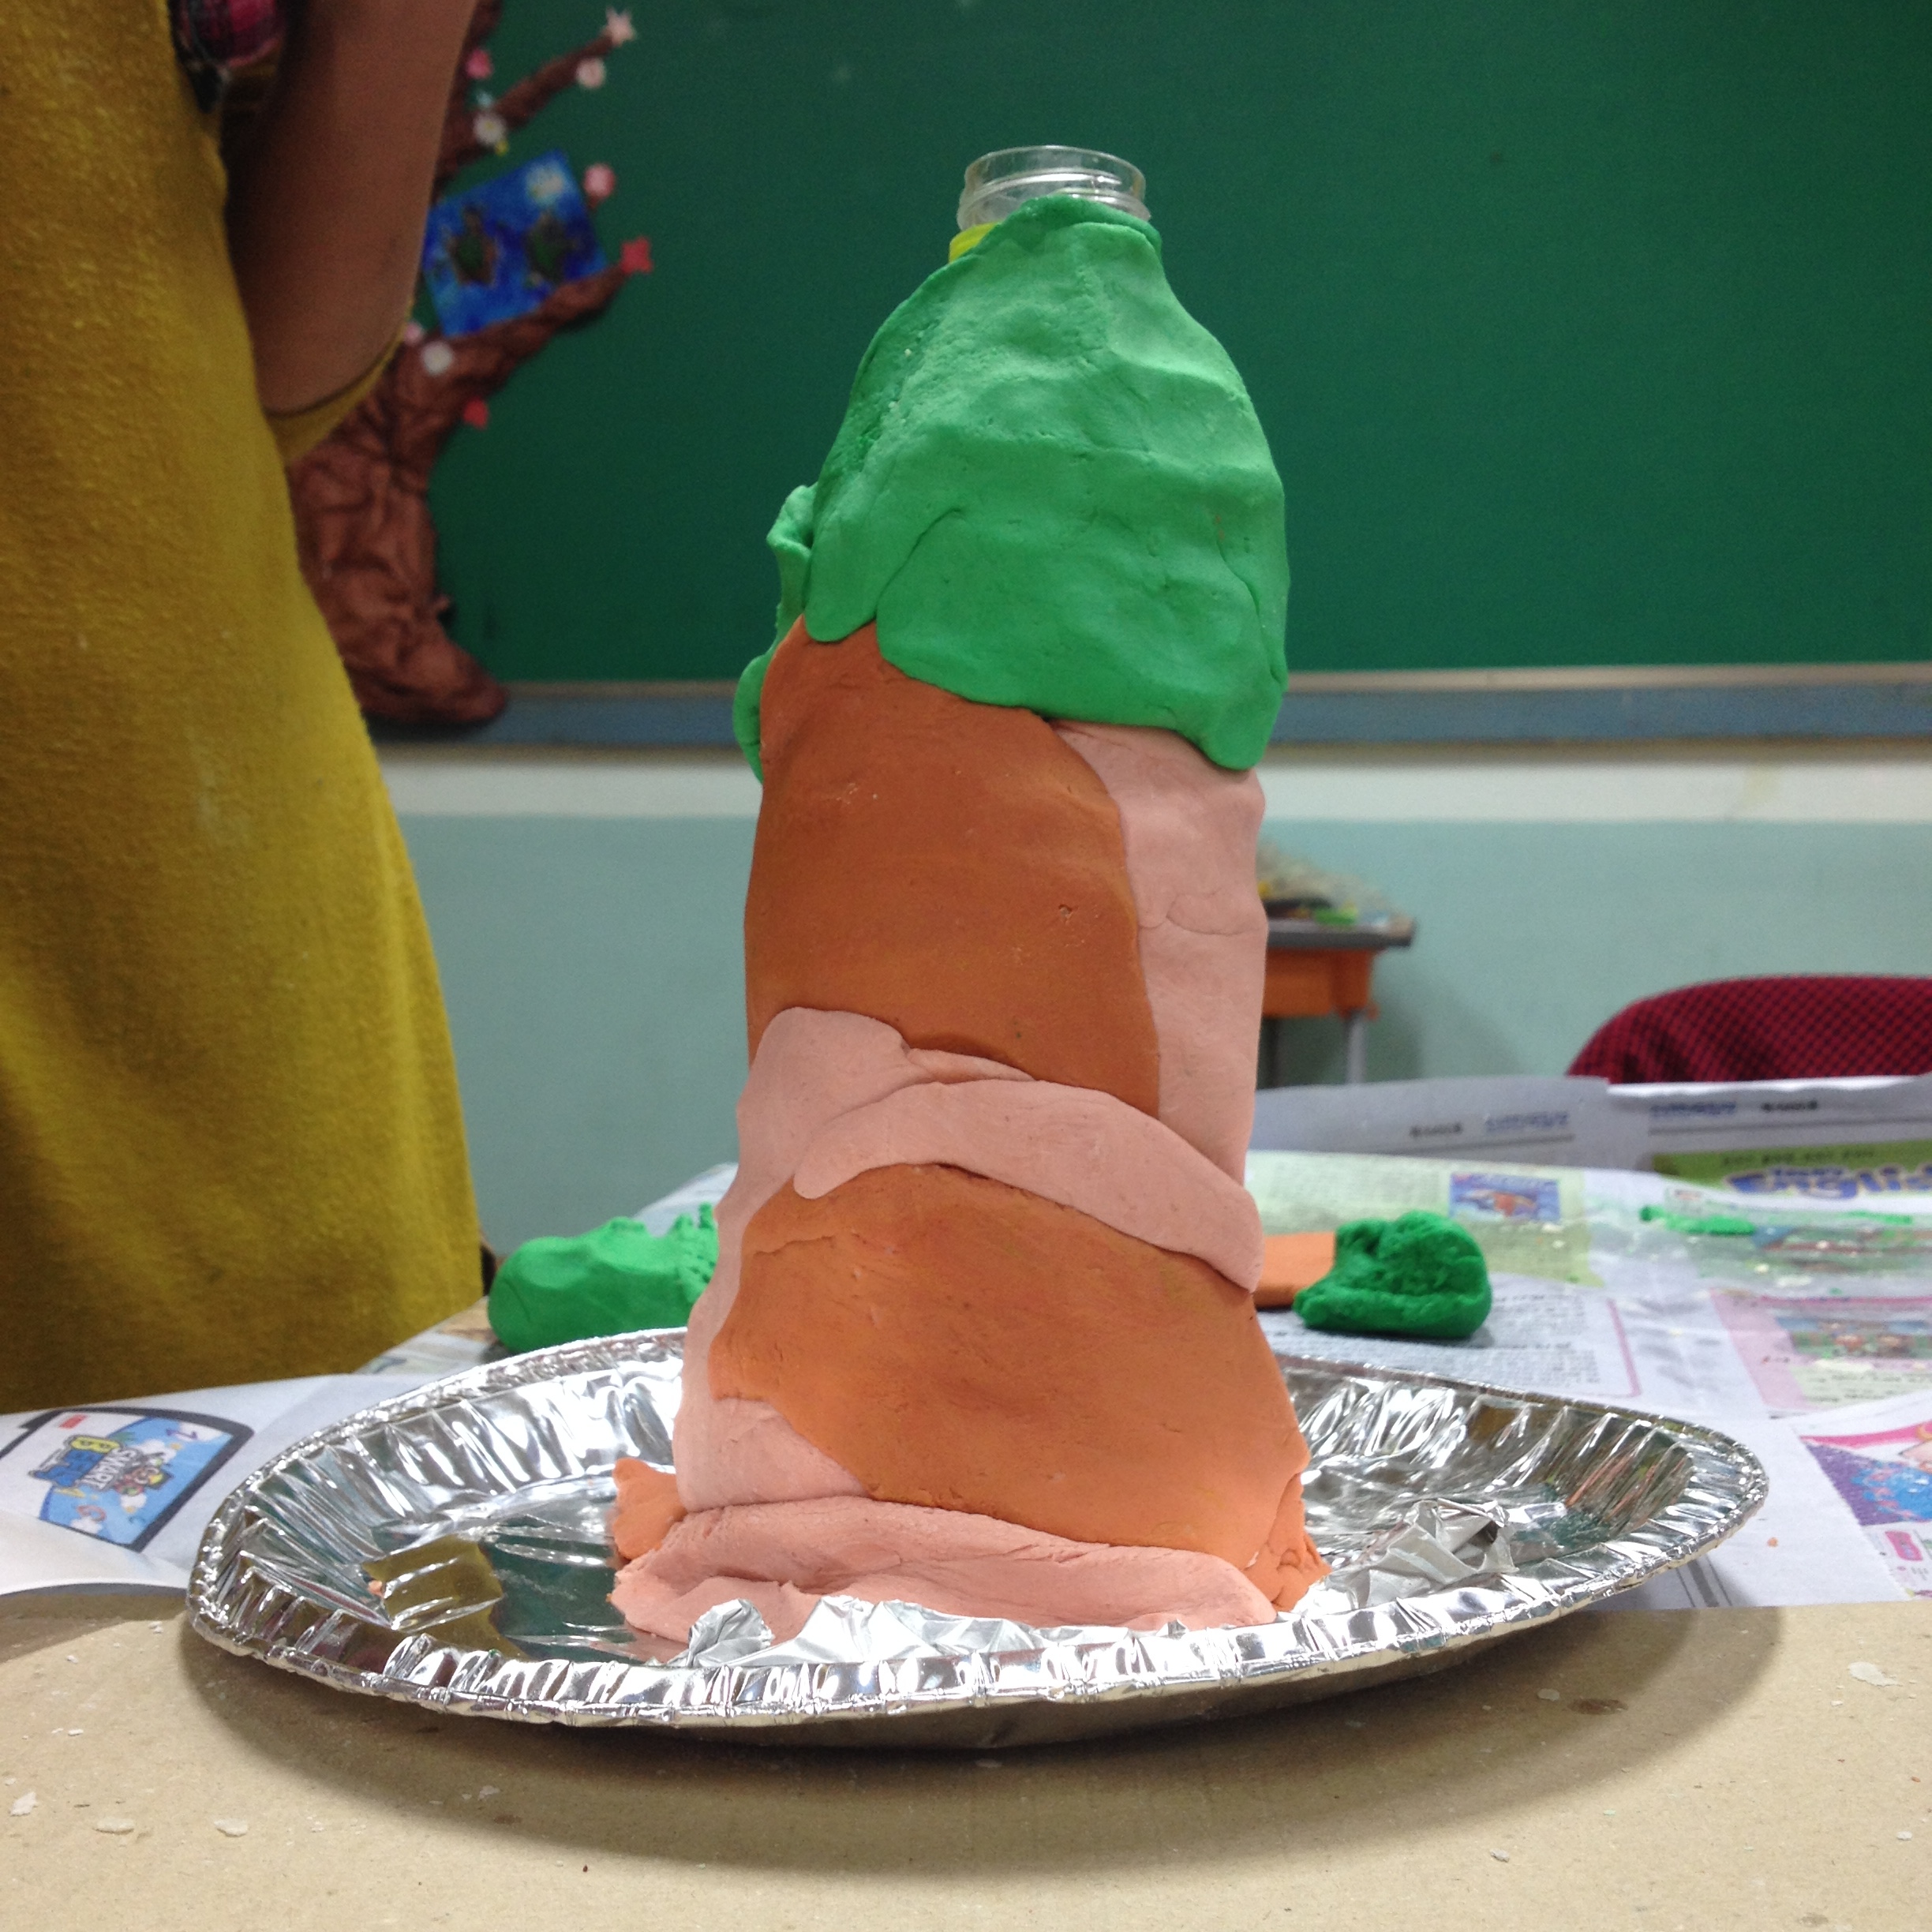
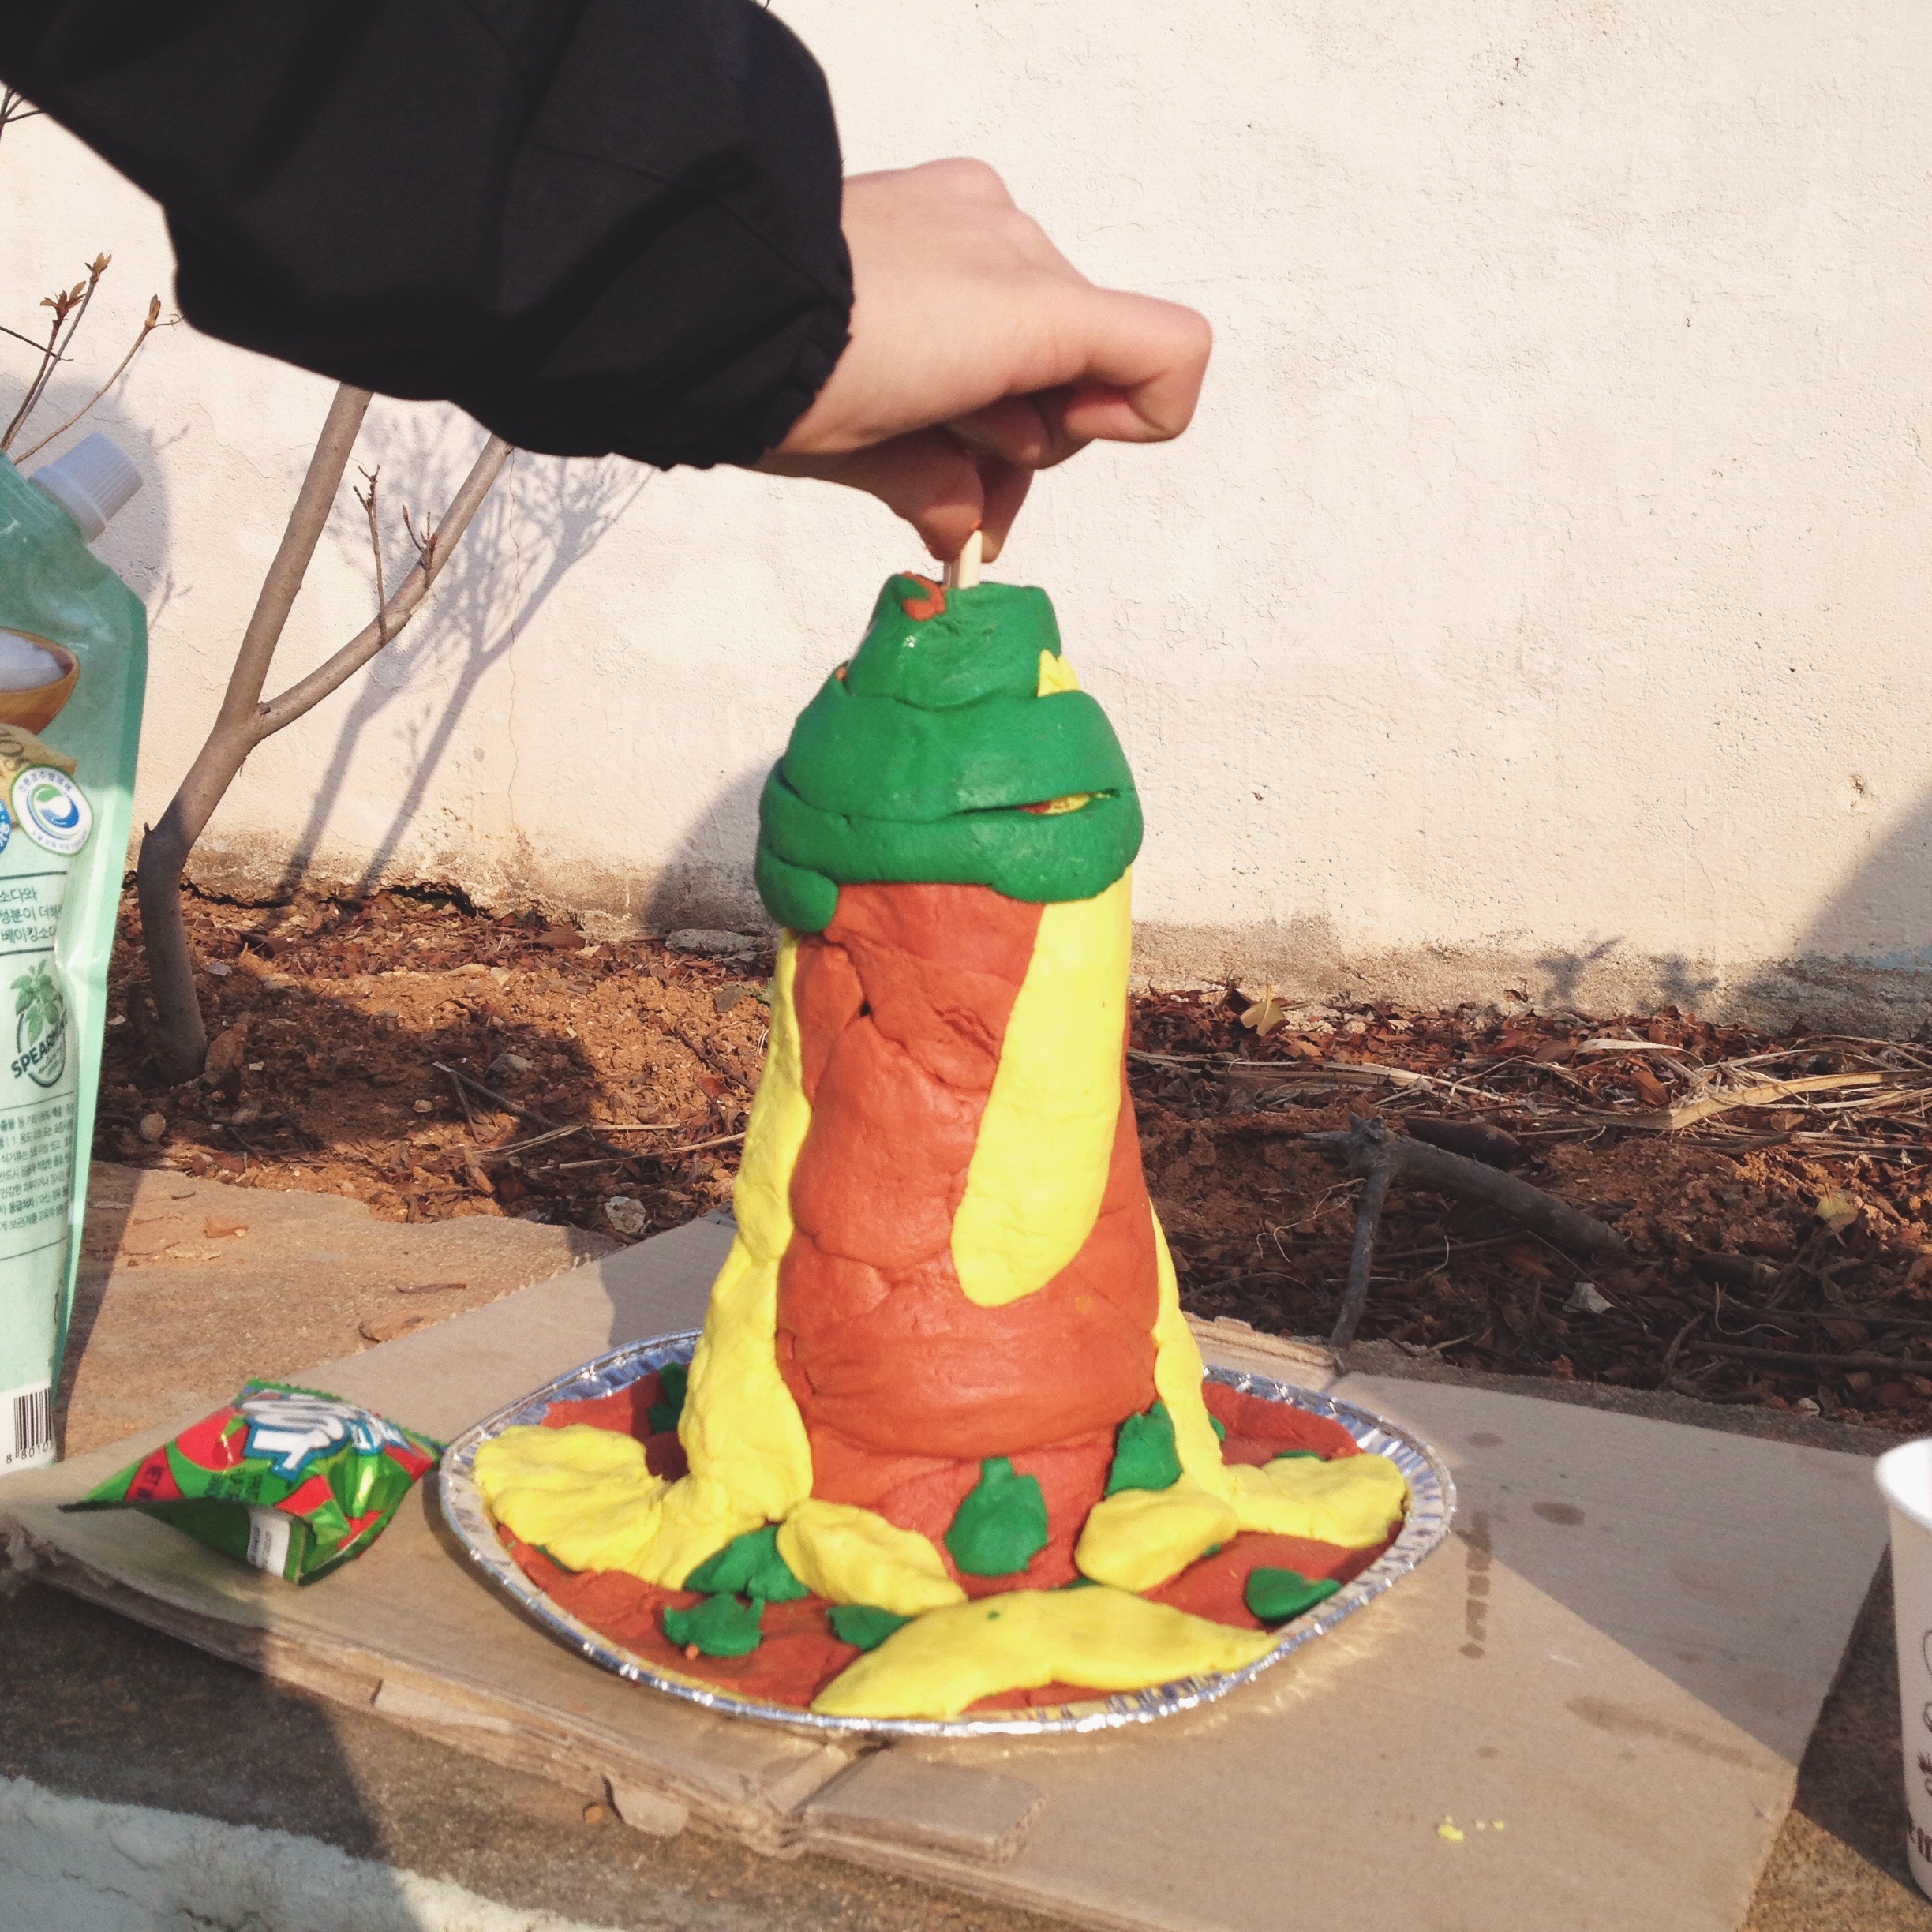
Building your Volcano

-Tape down your bottle onto a plastic plate or piece of cardboard (this is very important and the volcano will make a lot of mess when you ignite it).

-Using bits of clay, build up your volcano. Make sure to leave the top open for the volcano to explode out of.

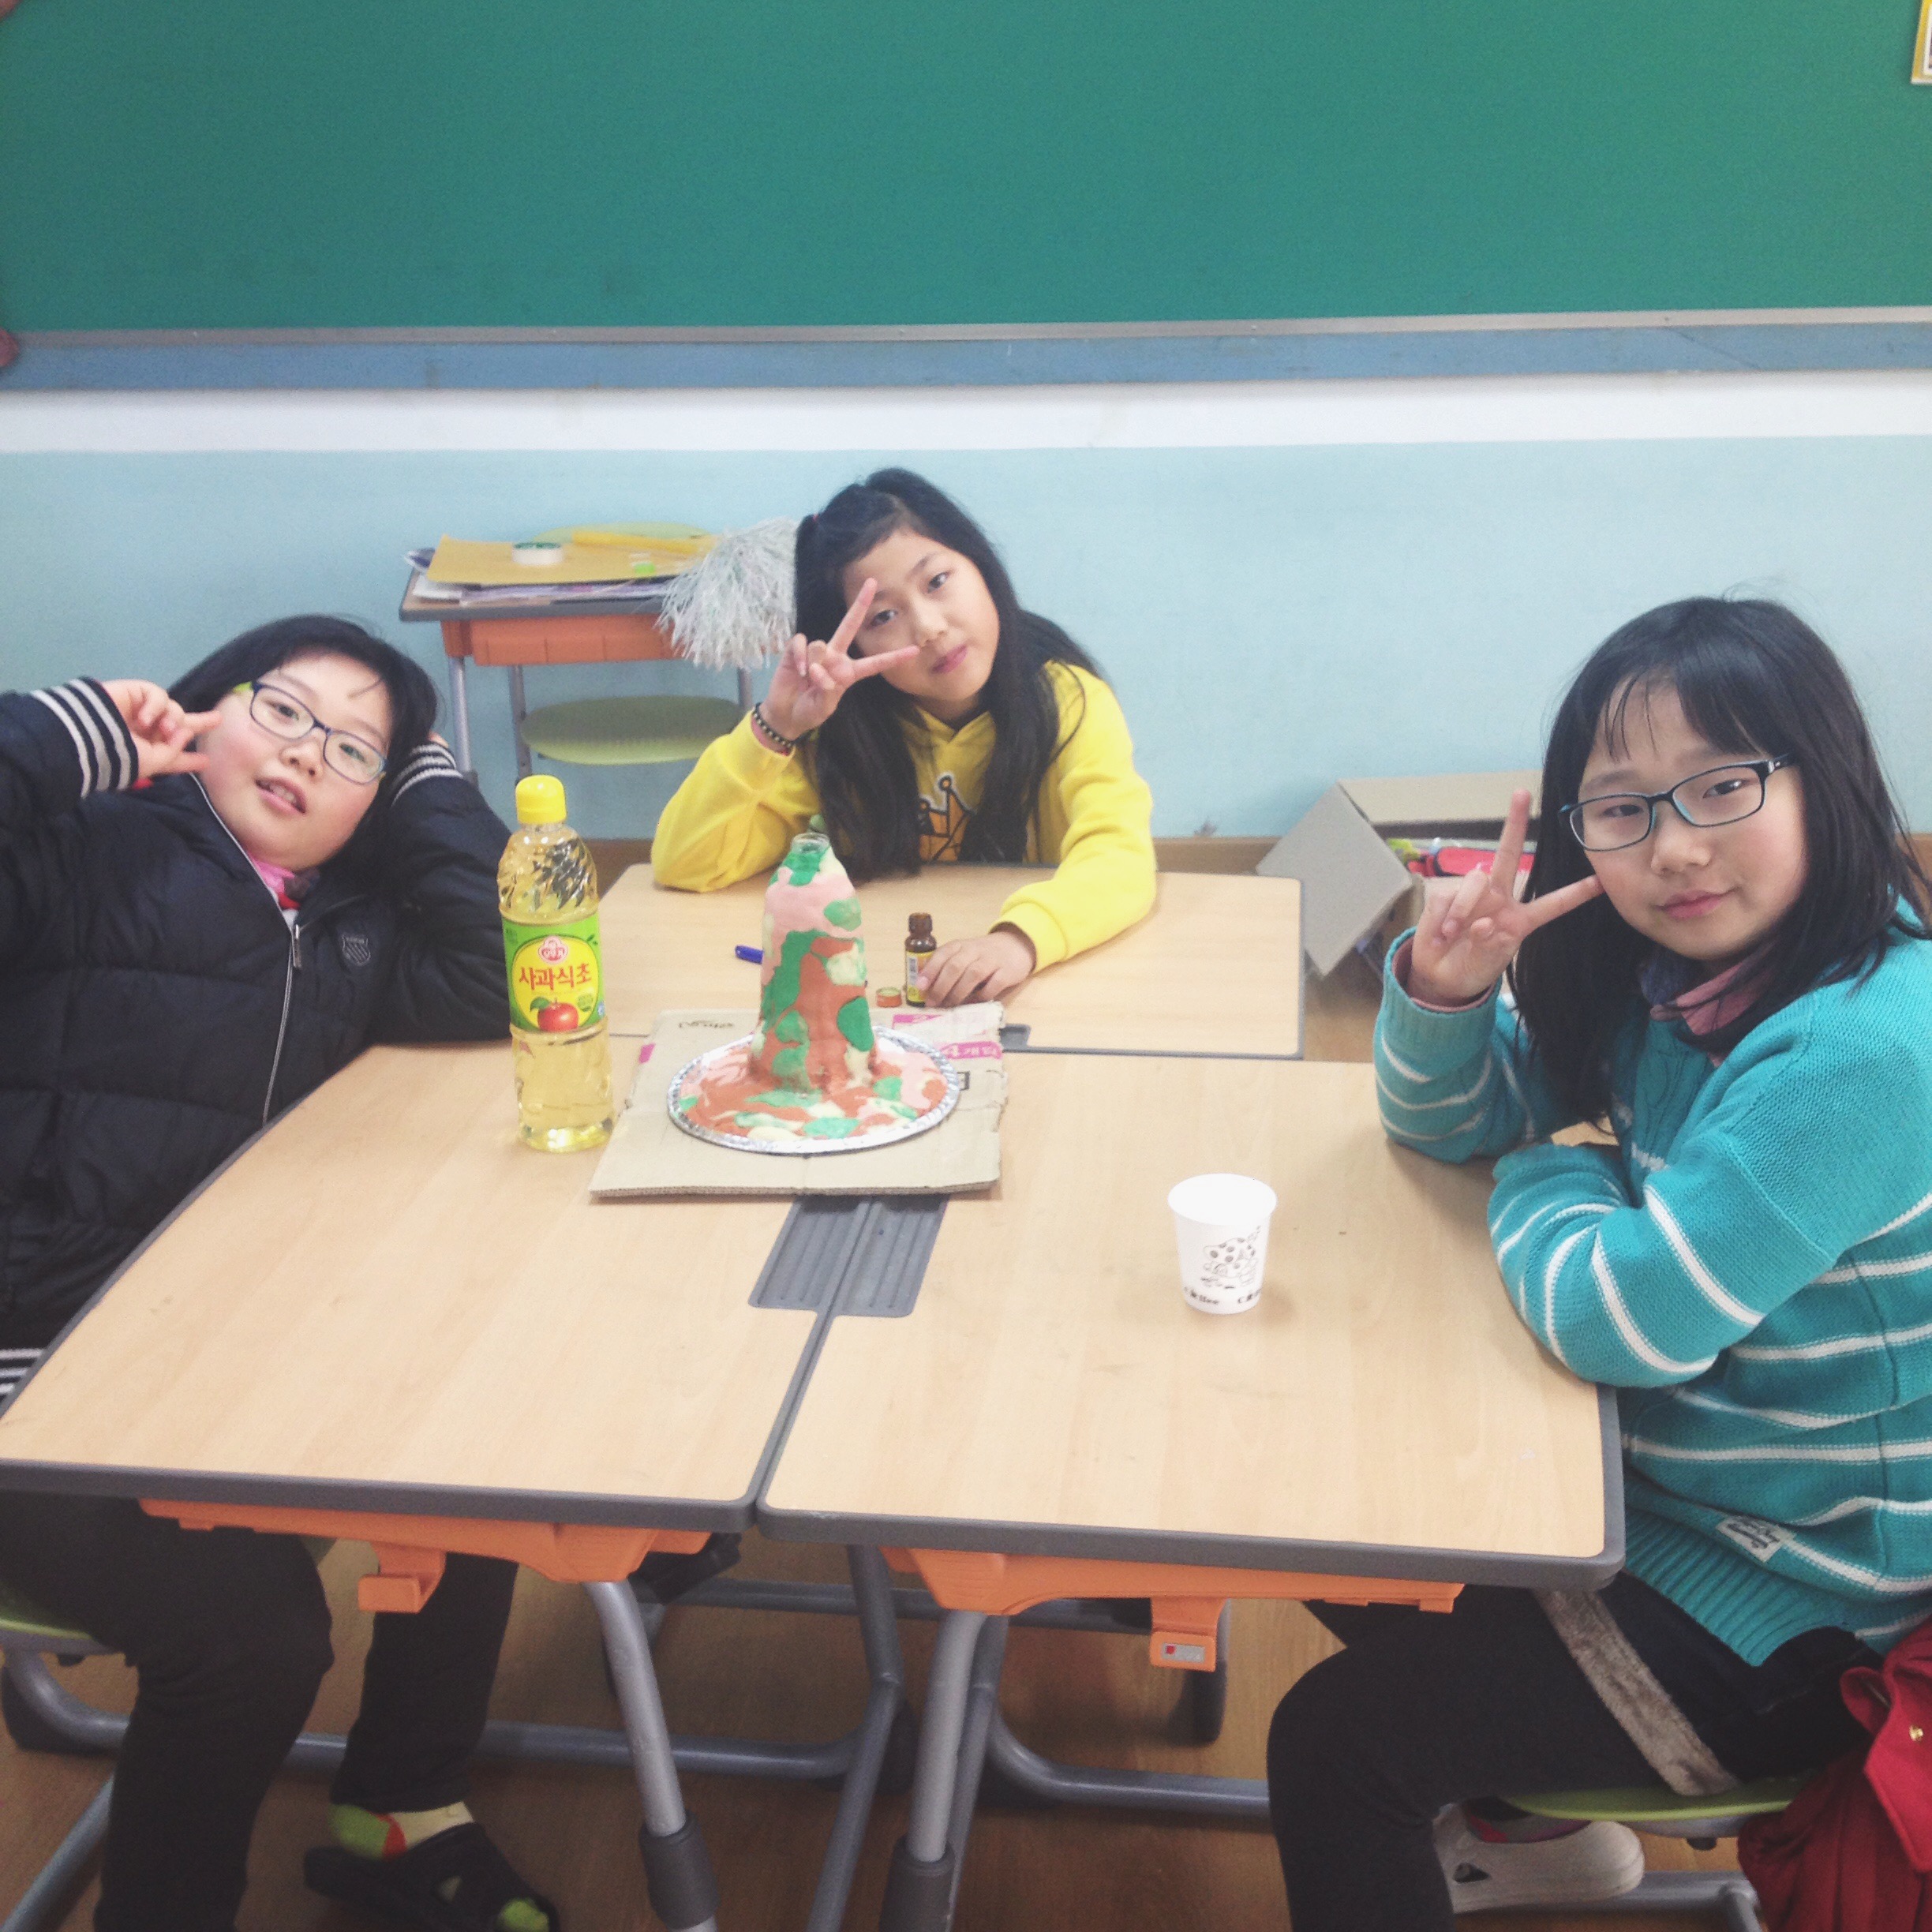
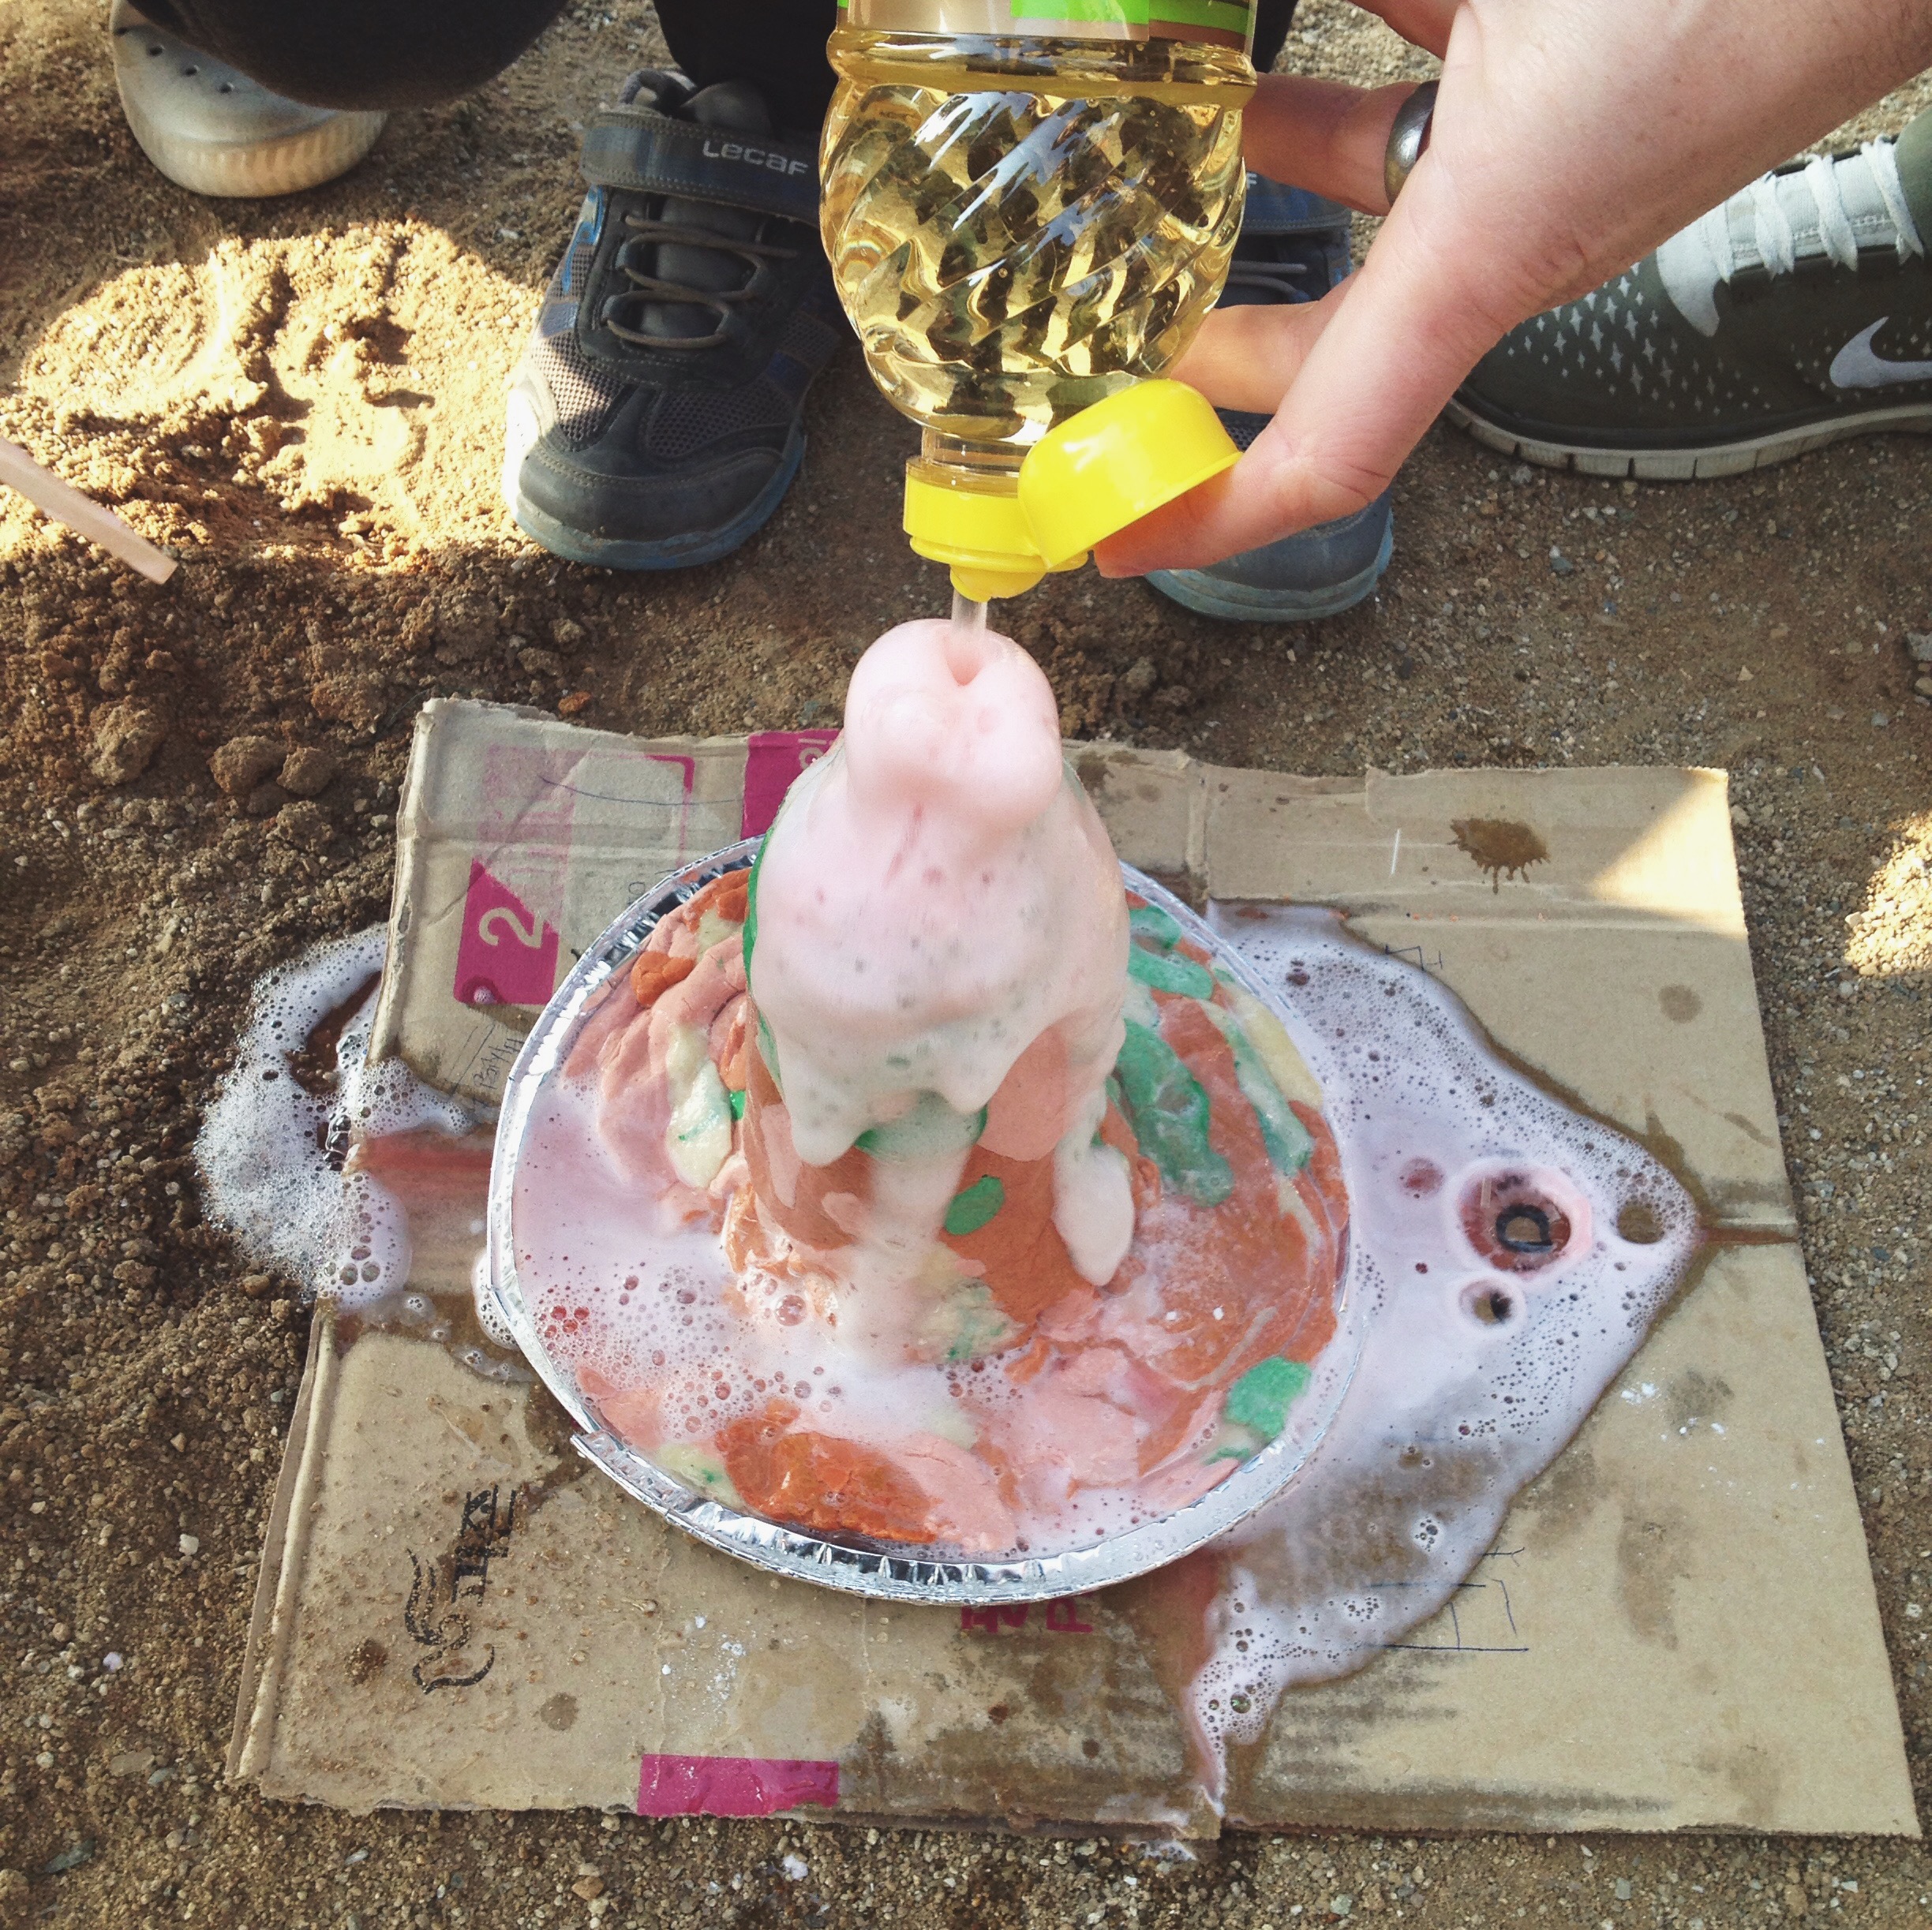
Making your Volcano Explode

-Now the fun part! Fill the bottle 3/4 full of hot water (be careful as the plastic bottle will melt if boiling water is used).

-Add 1/4 cup dish soap & 2 Tbs baking soda

-Add red paint/food colouring

-When you are ready, add 1 cup of vinegar and watch the volcano erupt!

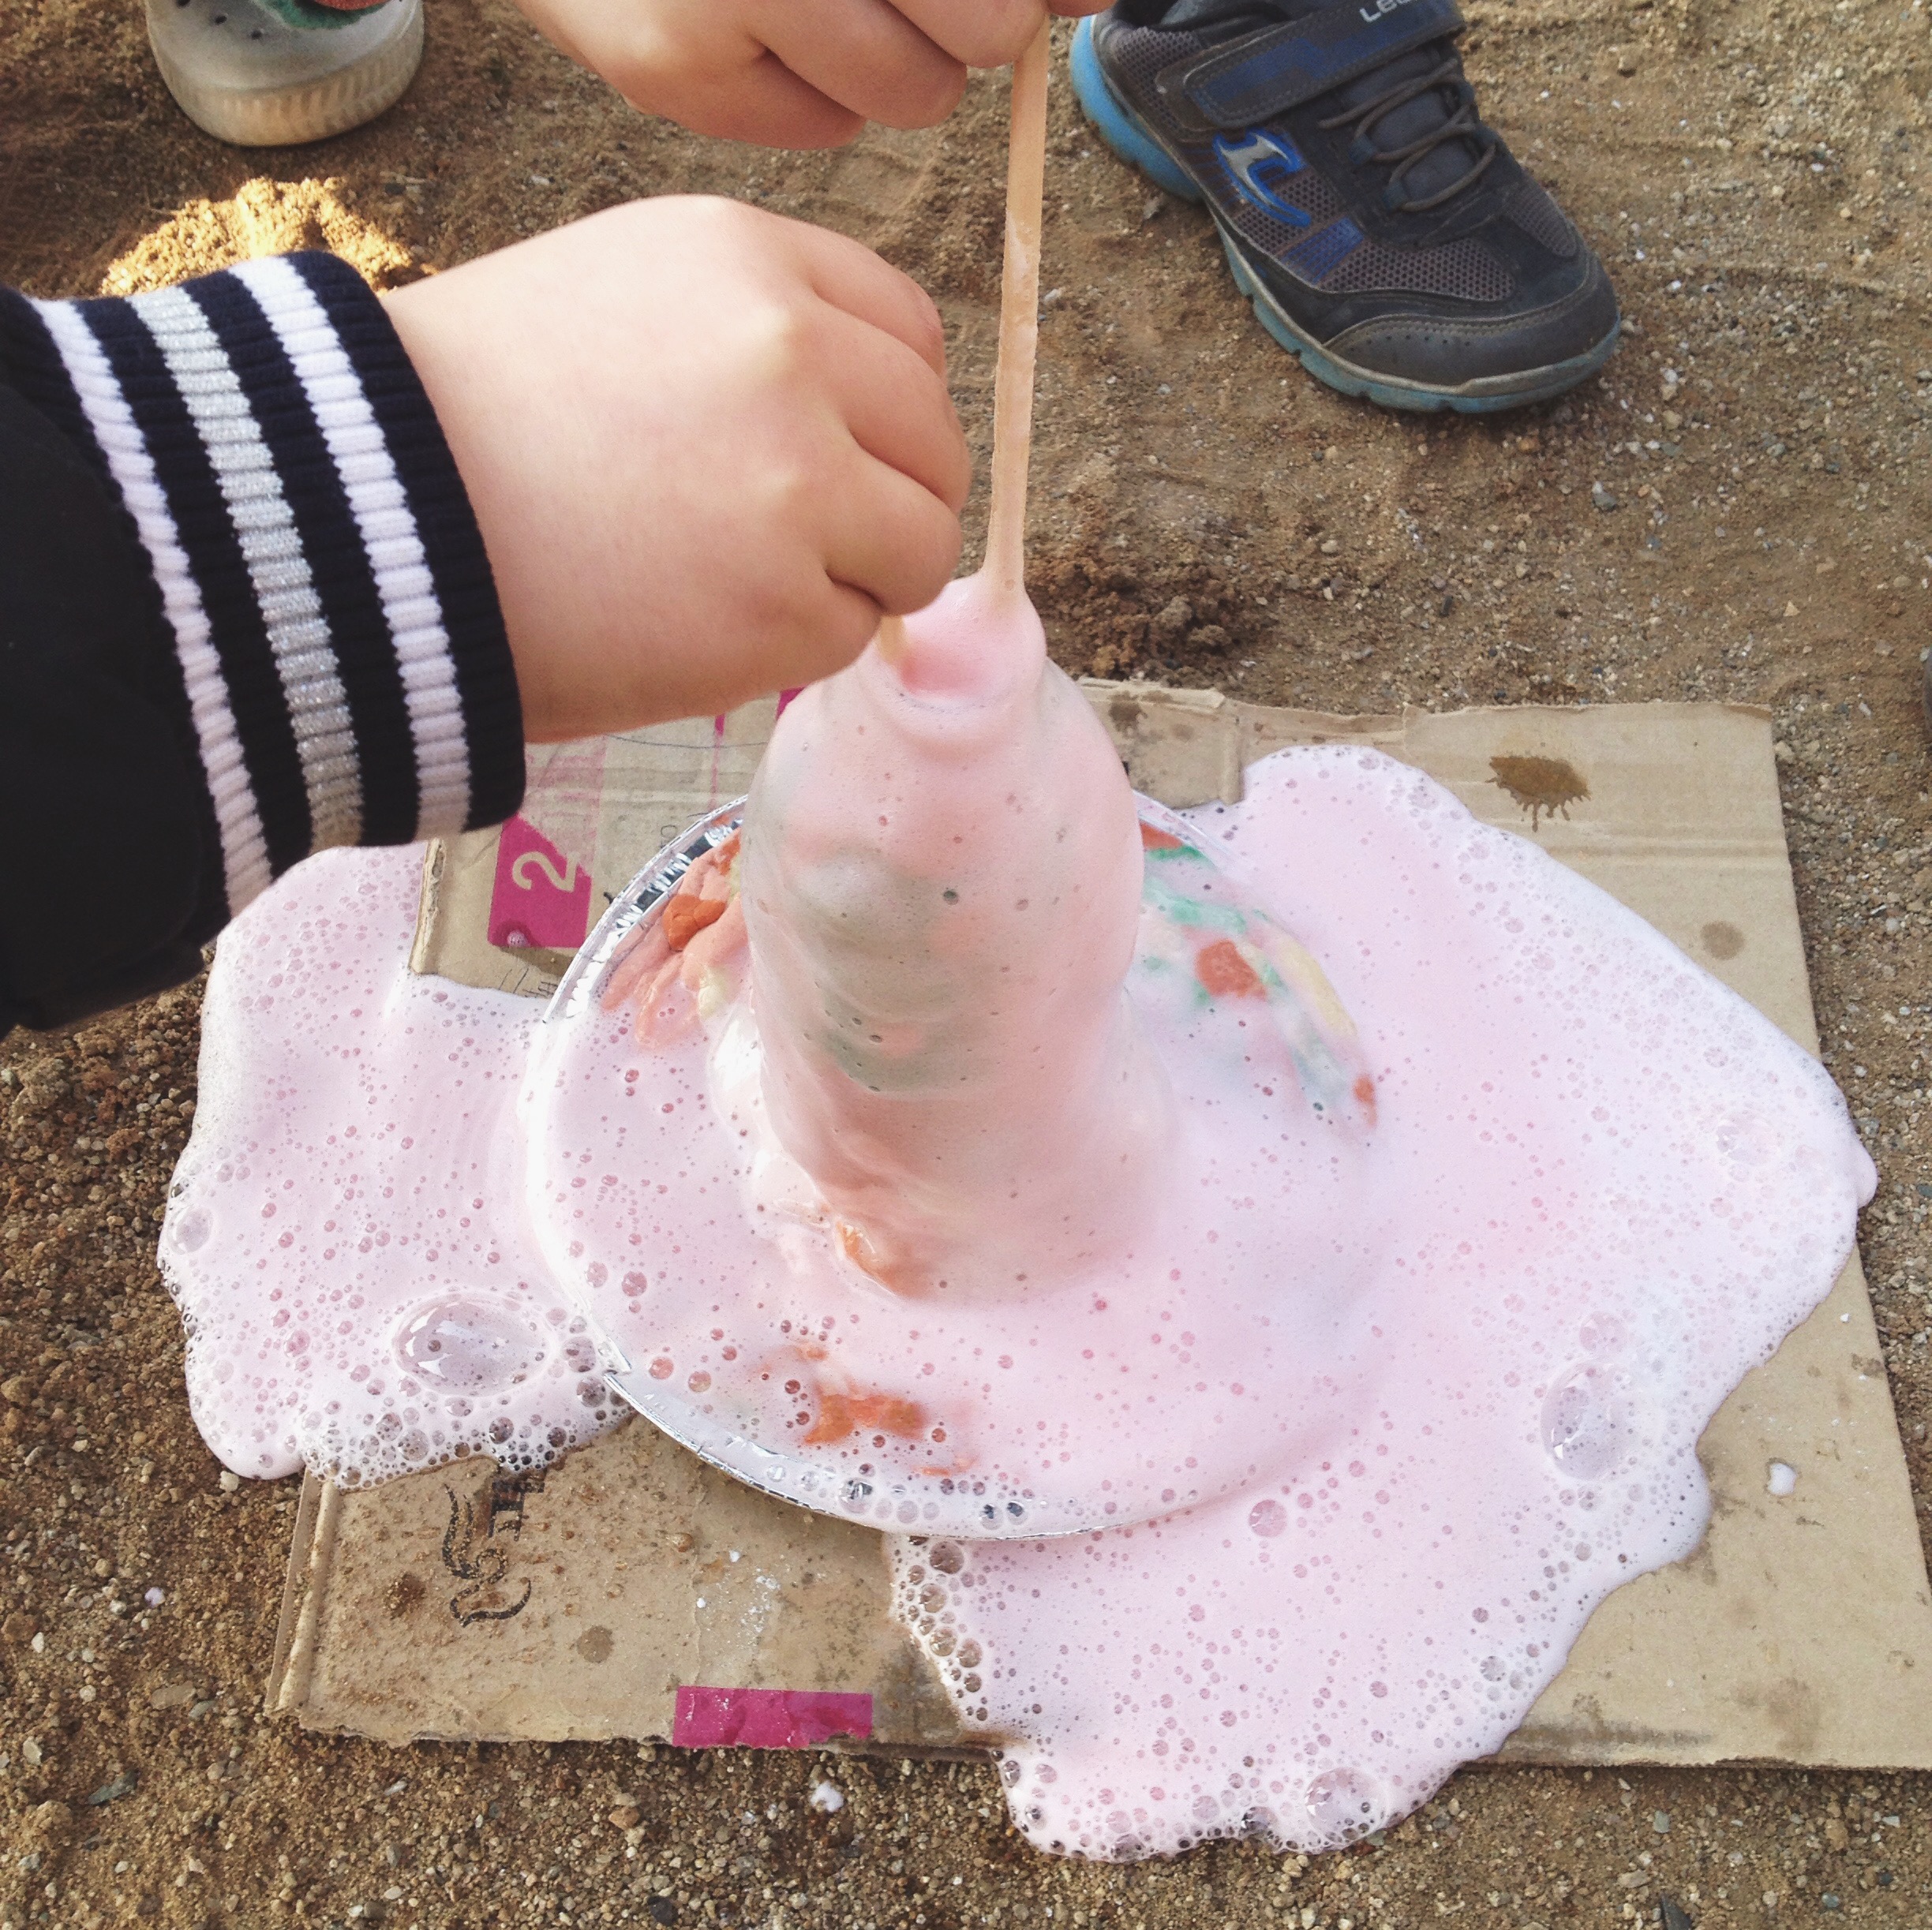
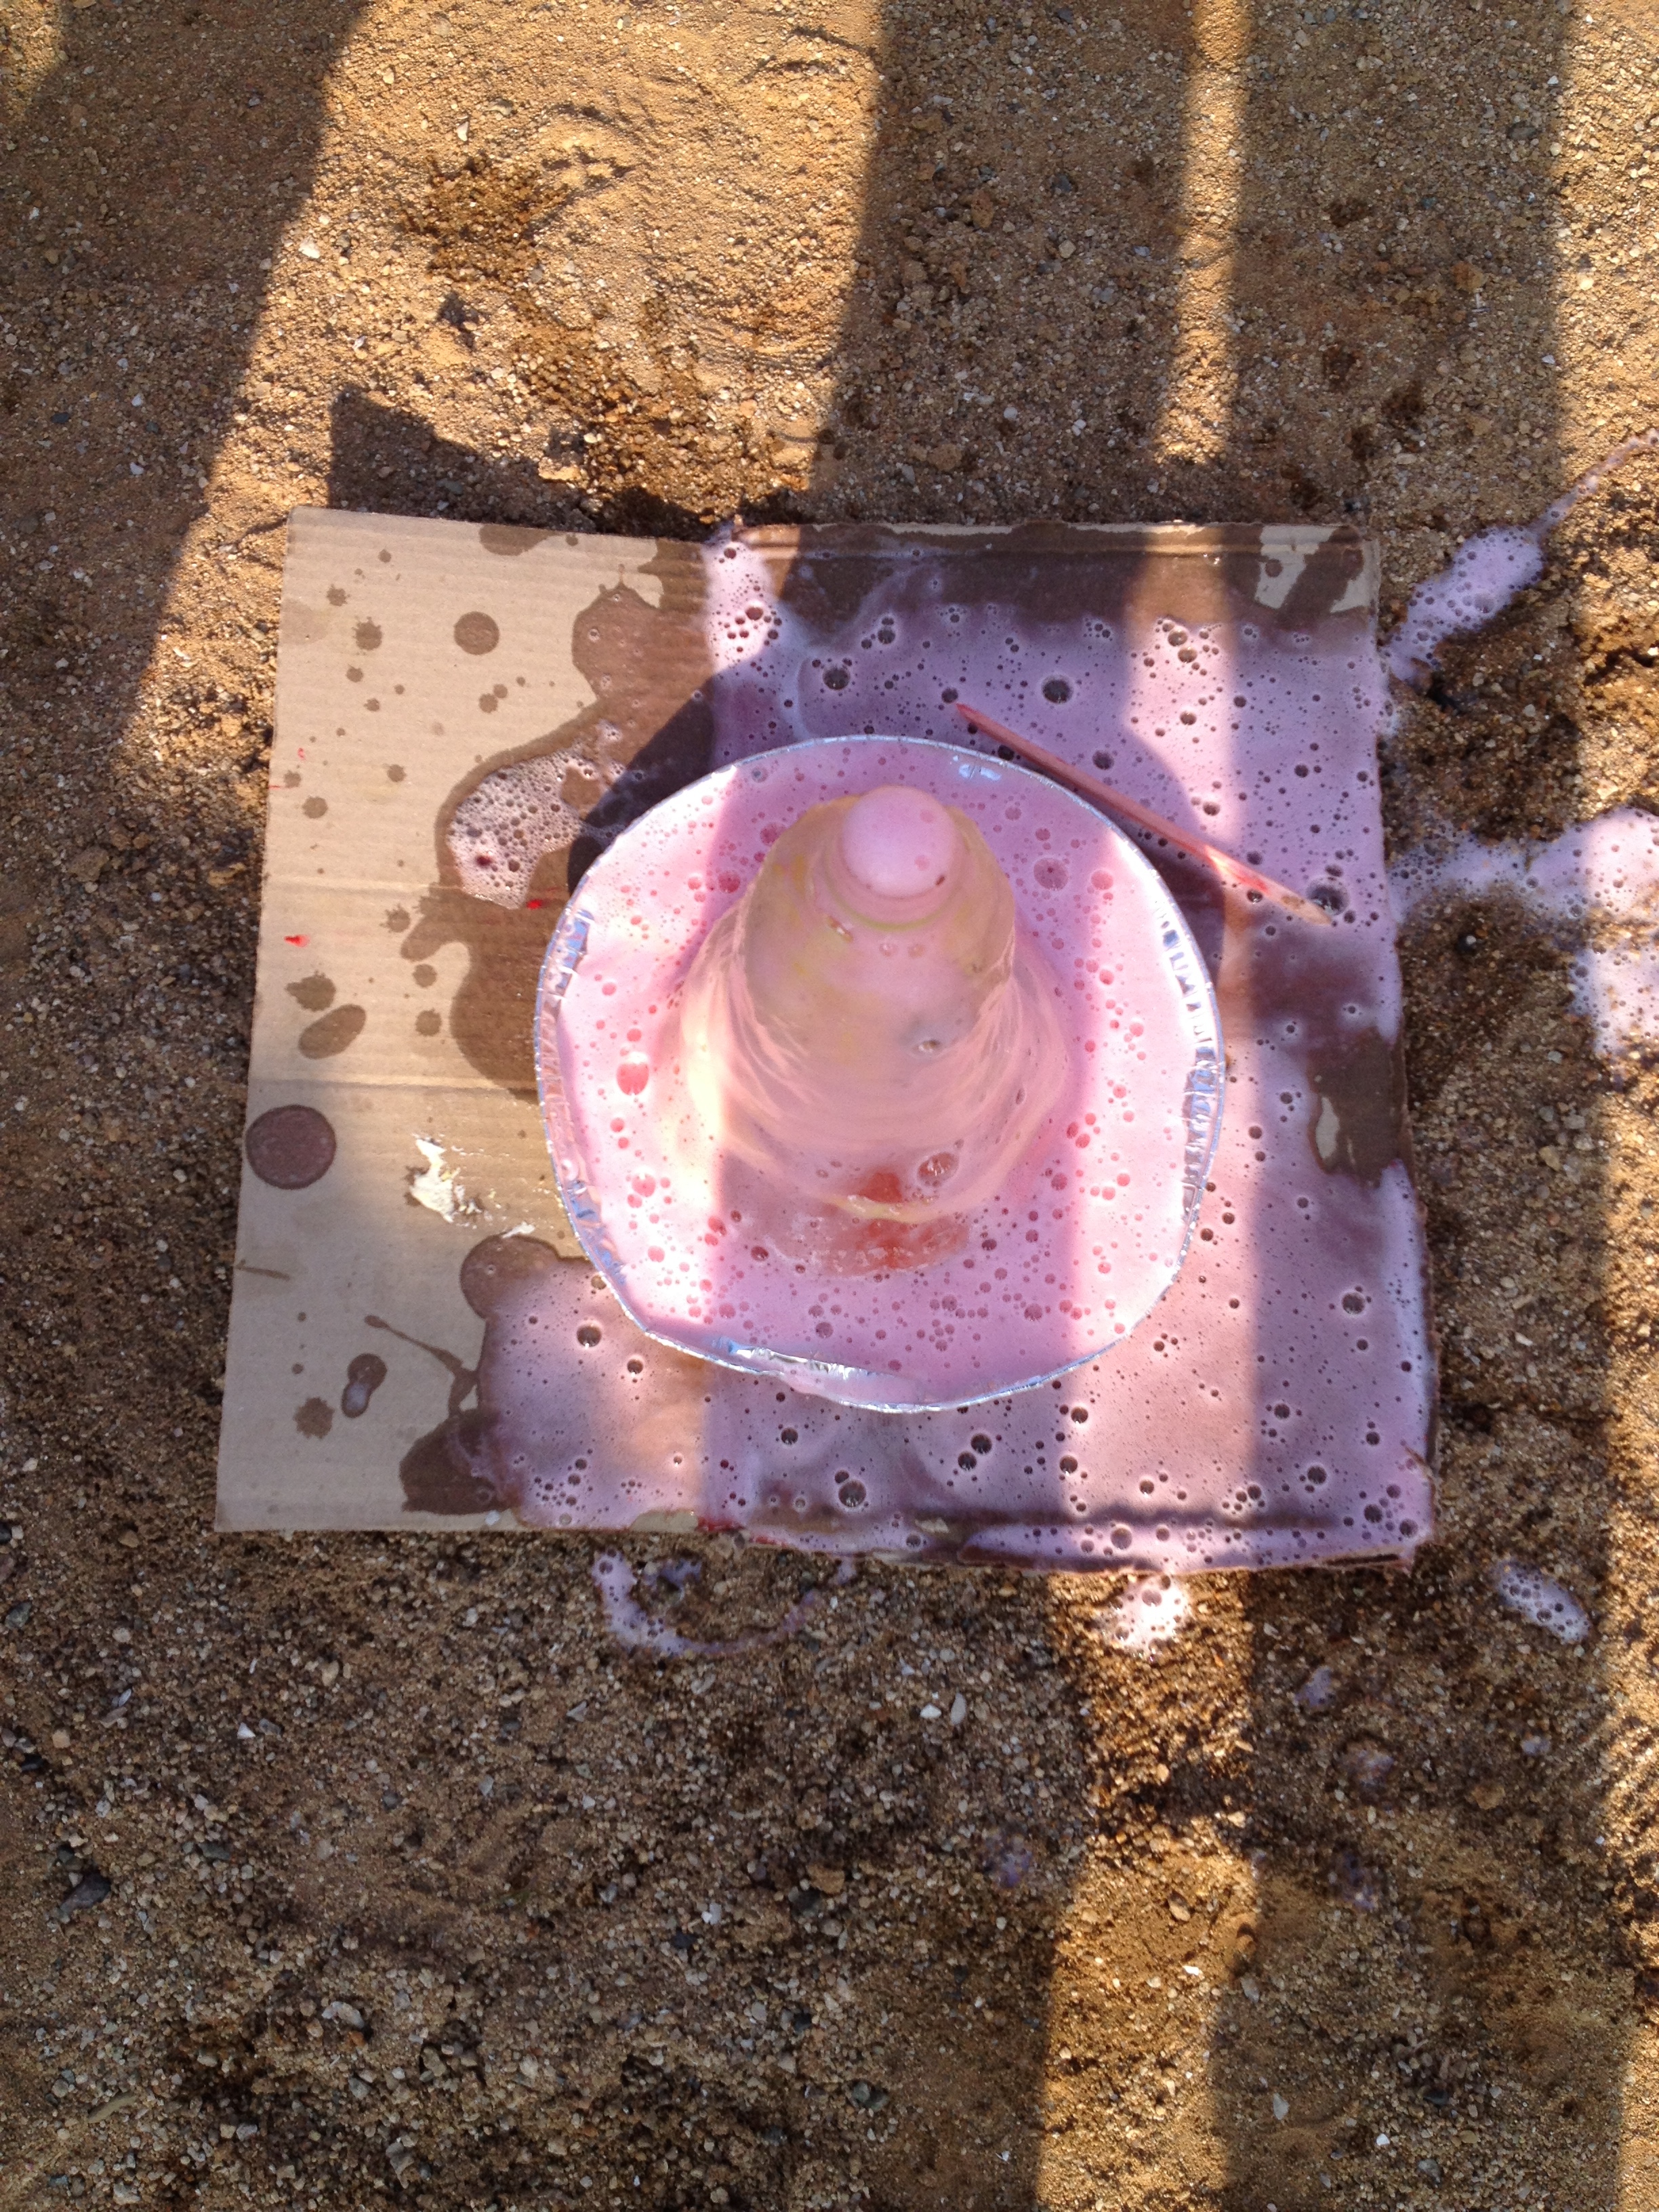
It's best to do the erupting outside as these volcanoes tend to make quite a big mess. Make sure to come back for the second part of my Science camp, The Egg Drop Experiment!

The Hunger Games English Camp - Lesson Ideas for Teaching English in Korea

The HUnger Games English Camp ideas for teaching english in korea

If you're an English Teacher here in Korea you will have (hopefully) heard or know about the English camps you are required to teach your students during the winter & summer holidays. According to your school schedule and hoe many schools you teach at you may have 1 or 2 camps (or even more) camps. We are all supposed to teach 20 hours of camp during the vacation (you may have more/less) but 20 hour is the standard. I usually break this up into 1 week of camp with 4 hours a day. My classes have always been in the morning. 

Hunger Games English Camp Plan

In my first year at my current middle school I developed a Hunger Games English camp (thanks to this  wonderful thread and the original creator 'Marbar' on Waygook!). I have successfully done this camp 3 times now with different students. They all LOVE it! I teach at an all girls school, but the lessons would suit mixed students too. I have taught this to First & Second Grade Middle School students, and then have just slightly adapted the lessons for the higher/lower level grades.

The camp is based on the first book, with lessons and fun activities surrounding a poster they will complete by the end if the camp, leading up to the final day where the students present their poster and watch the full screening of the first Hunger Games movie.

I want to share these lessons with you in the hopes that they might help you in your camp planning. I will post a Google download link to the camp below where you will be able to download the plan, lessons I created (and be able to edit them to suit your school) as well as the workbook I created for the students to fill in as we went along (I basically just inserted the powerpoint slides and made blanks for them to write down notes etc). Here is a link to download the plan, the printables, the ice breaker for the first day, the actual power point slides and the workbook:

I don't break my schedule up into hours/lessons (although this is how the plan works) but I rather teach until I can see the students need a break and then stop to give them some time to relax. I have found on some days we only stop for a short bathroom break as the students get really into the lessons and have a lot of fun. You will have to judge the timing based on how your students respond.

I always start off my camp with an ice breaker activity, and then divide my students up into their teams. I did this following the reaping ceremony in the Hunger Games whereby my students reach into a hat and pull out their team. They stay in that team for the entire camp and the activities are based upon that team. I also use their team names to keep score of points for prizes/snacks throughout the camp. (pictured aboveO. 

I wanted my students to produce a poster by the end of the camp, and so on the first day I had my students divide their poster page into 5 sections (4 sections and a centre circle for their team name/logo). I have the section 'Homework' on the camp plan above (that is more for admin purposes as some schools will want to see you at least plan to give the students homework) but I have never given them actual homework to do. There has always been time in the lessons to finish all the work.

Here are the finished posters:

One of the activities my students loved the most was designing the costumes for the Opening Cemerony. I went to my nearest Daiso and bought a whole bunch of random supplies (bubble wrap, tinsel, gloves, ribbon, string, cleaning cloths and sponges etc) an then gave the students free reign to do what they liked. This is what they came up with:

I hope you found this camp idea useful. If you use this idea or have any other great ideas for English camp themes I'd love to hear from you in the comments below.

Happy camp planning!

Makeup Lesson Ideas - Teaching English in Korea

makeup lesson idea middle school girls south korea

Its the last week before my school breaks up for the summer holidays and all my students (and the teachers) are tired and ready for the break. I teach at an all girls middle school here in Korea, and the students are under a lot of pressure right throughout the year in anticipation of their final high school exams. Instead of simply watching movies with my students in the last few days leading up the end of the semester, I have been doing a very fun (minimal prep) lesson on makeup. I thought my girls would enjoy the lesson, but I didn't realise just how much they would get into it, as each of my classes this week have requested this lesson. I had initially only planned on doing it with my oldest students, but as each class has asked to do it, I simply modified the power point with slightly easier vocabulary for the younger students.

Here are the links to download both lessons (the higher level & the lower level) as well as a PPT with the documents to print out. I was passed on this lesson by a friend, and am not the original creator but have since modified it to suit my students). Feel free to download and edit these lessons for your students:

There are 4 parts to the entire lesson and you can use it to cover 2 lessons if needed. I have only had time to cover the first 2 parts of the lesson so far as my girls have really gotten into the colouring in part.

Breakdown of the Lesson:

1. Vocabulary for the parts of the face (students can label the parts of the face with Korean translations)

2. Makeup Vocabulary: go through the names of each makeup product and the verbs used for each product (adjust for lower level students)

3. Students design their own makeup for their 'face'

4. Listening activity: print out an image of your face (or any person) and instruct he students on how to apply the makeup. This is always lots of fun seeing whether they listen to your instructions or not.

*You can swop steps 3 & 4 around as step 3 takes the longest time

I hope you find this useful! Please do let me know if you use this lesson in your class and how it goes in the comments below.

Halloween Lesson Ideas for young ESL students

Halloween lesson ideas for teaching english

We don't do much to celebrate Halloween in South Africa, and it seems it's the same here in South Korea. Many of my students haven't ever heard the word Halloween before, so it seemed like a good a time as any to have some fun with ghosts and jack o' lanterns, witches and black cats. I currently teach middle school students, but have also taught younger levels and these activities have worked for all levels.

We spent a good couple of lessons going over Autumn/Fall vocabulary with these great songs (each one is linked below) and then the activities we did are pictured and explained below too:

HalloweenLessonIdeasSouthKoreaEsl

HalloweenLessonIdeasKoreaEslKindergartedn

Scarecrow Project:

You Need: 

-glue

-scissors

-pencil

-coloured paper

-white paper to stick your scarecrow onto

The Scarecrow Song (great for teaching parts of the body)

The Shapes Song (a great song for calming down students if the lessons starts to get too out of hand, the kids really do love this song and I have been playing it for over a year intermittently)

We made scarecrows out of shapes for this activity.  I started off having the students draw the shapes I would call out. I called out the shapes that could make up a scarecrow but didn't tell them where to draw the shapes. For example '1 big square....2 small circles...1 big triangle). It was fun to see what sort of creatures the students made with their shapes. At the end of this activity I showed them that I had used those shapes to create a scarecrow. This then sets the theme for the lesson and helps for the students to grasp the next activity. They loved looking at each others weird and wonderful creations.

I then gave each student a stack of coloured paper, glue and scissors and called out each shape and colour that I wanted them to cut out. I made sure each student was keeping up and not falling behind as the sequence is quite important. Here is what the students ended up with:

HalloweenLessonIdeasKoreaEslKindergarten

HalloweenLessonIdeasKoreaEslKindergartedn

Halloween Masks

You need:

-mask printables (downloaded from MrPrintables click here)

-thick card

-straws (I used string the last time but the masks were too flimsy and kept tearing apart so this time we made hand held masks)

-tape

-craft knife (to cut out the eyes)

-coloured pens and pencils

Trick or Treat Song (can be a little too scary for younger students so make sure to play it with the lights on first)

Spooky Spooky (this is a firm favourite with all my students, even my middle school girls!)

The halloween masks activity was super simple to do. I introduced the above Halloween songs, we practised the vocabulary by having the students some up to the board and draw what they saw in the song. Then I showed them an example of the mask from the MrPrintables site and bombs away. Use a craft knife to cut out the eye holes, tape the straw to the back of the mask an let havoc ensue!


Halloween Cookies

For our last Halloween lesson I got some chocolate decorating pens from CNA (one of the local stationery stores here in Korea), a bunch of different biscuits and cookies, and then let the kids go crazy decorating. Some of them were so creative that I was blown away. My favourite is the last cookie...my youngest student made do with the cookie given to her...

How to make 'no-cook' play dough in Korea

MakingPlayDoughinKorea.jpg

And it's edible too for little hands that like to eat everything!

I used this activity to teach my students shapes and colours in a more hands on and fun way. It was during an English camp and so we had a whole afternoon for the activity (it takes at least 1 hour for them to actually make the dough and play with it a little so keep that in mind when planning your lesson).

You can buy all sorts of fancy clay in the stores here...but it's nowhere near as fun as actually making it yourself. This recipe is easy, and the kids all did it themselves (no need for boiling water or any fancy ingredients). A lot of edible dough recipes call for Kool-Aid to make your dough smell and taste good, but this is pretty much impossible to get hold of here in Korea. To colour the dough I had ordered a set of food colouring on Gmarket  but they didn't arrive in time, so we used the next best thing, water based paint (although eating the dough with the paint would not be a very good idea so keep an eye on your kids).

This dough will keep for 2 - 3 weeks when kept in a sealed container/ziplock bag. If it starts hardening, simply add more oil and knead until soft.

Here is a photograph of most of the ingredients with their Korean branding (except salt which my teachers found in the Science calssroom).

Here is a photograph of most of the ingredients with their Korean branding (except salt which my teachers found in the Science calssroom).

Ingredients

cold water (1/4 cup per batch/child)

flour (1 cup per batch/child)

oil (1 tablespoon per batch/child)

salt (1 tablespoon per batch/child...use ground salt instead of course salt. The salt is used to help preserve the dough)

a few drops of colour (food colouring or a water based paint)

*make sure to have big enough bowls for each student too!

photo 5.JPG

Method

1. Combine flour and salt.

2. Add water & oil. Mix until combined (knead well, you might need to help little hands as they will get tired quickly).

3. Add food colouring/paint and knead well until combined.

If mixture is too wet, add more flour. If mixture is too dry, add more oil

photo 1.JPG
photo 2.JPG

I then called out a shape and the students had to 'create' it with their dough. You will be suprised at just how creative the can be. 

Happy playing!

x

Our Apartment in South Korea

image.jpg

A lot of family and friends have asked us about our apartment here in South Korea so I thought I'd post the pictures here for those of you who might be interested to see how we live here in Asia. This apartment is what is known as a 2 room apartment (one bedroom and one living room). Most teachers are placed in studio apartments which are one room, and that one room houses the bedroom, kitchen and living room. There isn't much space in Korea and nearly everyone here lives in apartments. We felt rather ungrateful asking for a bigger apartment this year, as there are families of three or four living in apartments the same size as ours. Luckily for us, a friend of ours is leaving soon (he was randomly placed in a huge three bedroom apartment in our town) and we are very fortunate to be moving in there next week It's much older that this place, and needs a lot of work done, but I'll take scrubbing for weeks on end for three bedrooms any day. These photographs were all taken with my phone, so they are a little on the blurry side but they do give you a good idea of where we have been living for the past year.

image.jpg

The picture above was taken from our front door. As you walk in the bathroom is directly ahead, and the door on the left houses the washing machine and boiler for our hot water and underfloor heating system or Ondol as it's called here. The picturebelow left is what is inside the washing room looks like (as you can see it's impossible to buy toilet paper in anything less than packs of 36...#toiletpaperforyears). And the photograph above right is of the front door. The white cupboard is a show cupboard. We have gone all Korean and don't wear our shoes in the house at all. It keeps things a lot cleaner too.

image.jpg
image.jpg

Below is our kitchen area. All of us teachers are given the basics in our apartment (microwave, one or two plate stove, bed, wardrobe, table, fridge and TV) the rest of the appliances we have to purchase ourselves. It's a pretty good deal considering we don't pay rent at all! We bought the little stove online (it works like  bomb) and found the milk crates outside. As our space is very limited, everything is very compact (you can se where my exercise equipment lives too!)

image.jpg
image.jpg
image.jpg

From the kitchen we have a sliding door which leads to the bedroom. We do have quite a lot of space in our bedroom, and  lovely big window which lets in plenty of light. Apart from our small kitchen window the bedroom window is the only other natural light source in our house, which isn't so great in winter time.

image.jpg
image.jpg
image.jpg
image.jpg
image.jpg
image.jpg
image.jpg

As you can see we make use of every inch of space for storage. We found the most amazing vacuum sealing bags that shrink mountains of clothes and bedding into small, manageable bags (as pictured above my wardrobe). And yes, those are aeroplanes planes you can see hiding behind the TV and on top of Farmboys cupboard (there were five, but I managed to convince him he only really needs two at the moment). They are actually really amazing little machines that Farmboy built himself and flies all over our town. You can see some of them in action here

image.jpg

And finally the bathroom (or wet room as they are called here as the space is completely with no actual 'shower area'. We are lucky that our shower is in the corner of the bathroom. Most apartments have the shower placed above the toilet, so when you shower, the entire room gets soaked (including the toilet paper!). And I've included a sneaky pic of my bathroom cupboard too (hubby thinks I own far too many products, what do you think? And yes, the top right hand corner is just for him, how much more space does he need really?)

image.jpg

So there you have it. Our two bedroom apartment in Buan, South Korea. It actually looks pretty spacious from these pictures, but I took them on a day when there was no laundry hanging out to dry, when we didn't have guests staying over and the blow up mattress was out, or when I was baking. It's been a lovely little home for the past year, but we are VERY ready to move into out bigger place next week...yippee! You can see our old apartments in South Korea back in 2010 by clicking here (they were studio apartments and much smaller than the one we are in now).

Teaching English in Korea...

Here are a few photographs of what I do all day here in Korea. It's not always this much fun, or this messy though. My main job is teaching middle school girls (click here to see more of that), but Farmboy and I both help out at an elementary school too. He mainly teaches the older students, and I get to to sing and play with the smaller ones.

Often they make me want to tear my hair out, or scream at the top of my lungs or just laugh out loud at the absurdness of certain situations. But on other days, they win me over with kisses and hugs and smiles that go on for days. And besides, I get to sing and dance to my hearts content, and they love it! It's a good way to get rid of the crazies, with sweet little souls who join right in.

This is what happened when we learnt about colours and shapes, with flour and water and a whole lot of paint...recipe to follow soon!

{sorry that the pictures are a little blurry…busy hands don't like to keep still for more than one second}

A story for all Teachers

                                                            {source}

                                                            {source}

Here in South Korea its wet, cold and very gloomy. Last week was a very busy one for me, prepping for lessons for my middle schools girls. Armed with a bag full of cups, I cycled to school in the rain, ready and excited to teach "The Cup Song" to my girls (if you're not sure what Cup Song is, click here). Sitting at my desk, going through my lessons for the day in my only free for the day, and I get a tap on my shoulder. "Roxy Teacher, this week you have to teach lesson 12 to the third graders. I'm sorry, I was confused last week". So no fun cup song this week, no tap tapping along to a catchy song and singing along to cheesy lyrics, instead my girls will be doing what could quite possibly be the most boring lesson of the year. Oh, and I have 30 minutes to plan the lesson for them. 

So on that note, how is your monday going?

Then I read the story below, and I smiled, and I realised the world is not going to end, my girls might not have the most fun lesson this week, but I get to spend 45 minutes with them today, and I have 45 minutes to make them smile at least once. 

Happy Monday everyone!

x

"On the 6th day, God created men and women. On the 7th day, he rested. Not so much to recuperate, but rather to prepare himself for the work he was going to do on the next day. For it was on that day - the 8th day - that God created the FIRST TEACHER.

This TEACHER, though taken from among men and women, had several significant modifications. In general, God made the TEACHER more durable than other men and women. The TEACHER was made to arise at a very early hour and to go to bed no earlier than 11:30 PM with no rest in between.

The TEACHER had to be able to withstand being locked up in an air-tight classroom for six hours with thirty-five "monsters" on a rainy Monday. And the TEACHER had to be fit to correct 103 papers over Easter vacation. Yes, God made the TEACHER tough... but gentle, too. The TEACHER was equipped with soft hands to wipe away the tears of the neglected and lonely student... those of the sixteen-year old girl who was not asked to the prom.

And into the TEACHER God poured a generous amount of patience. Patience when a student asks to repeat the directions the TEACHER has just repeated for someone else. Patience when the kids forget their lunch money for the fourth day in a row. Patience when one-third of the class fails the test. Patience when the text books haven't arrived yet, and the semester starts tomorrow.

And God gave the TEACHER a heart slightly bigger than the average human heart. For the Teacher's heart had to be big enough to love the kid who screams, "I hate this class - it's boring!" and to love the kid who runs out of the classroom at the end of the period without so much as a "goodbye," let alone a "thank you."

And lastly, God gave the TEACHER an abundant supply of HOPE. For God knew that the TEACHER would always be hoping. Hoping that the kids would someday learn how to spell... hoping not to have lunchroom duty... hoping that Friday would come... hoping for a free day... hoping for deliverance.

When God finished creating the TEACHER, he stepped back and admired the work of His hands. And God saw that the TEACHER was good. Very Good! And God smiled, for when he looked at the TEACHER, he saw into the future.

He knew that the future is in the hands of the TEACHERS. And because God loves TEACHERS so much... on the 9th day God created... SNOW DAYS!"

From Inspire21

{for my South African readers, snow days are days when its too cold to go to school, or when there is too much snow blocking the roads and no one can get to school...I'm looking forward to a few this winter here in Korea!}

My Girls Middle School {Sports Day}

A little glimpse into my life here in South Korea, teaching English at an all girls middle school. Middle School is the in between stages of Elementary & High School (we don't have such a thing in South Africa, we just have Primary & High School). I am officially qualified as a Foundation Phase Teacher, and so am equipped to deal with the ages of five to nine years. Not sixteen year old girls! But, my girls are just so lovely, and I so enjoy the time I have with them. I think I have been very lucky with my school placement, had I been put into a mixed school, with sixteen year old boys, I think I would have a very different outlook on life.

So here you go, some jump rope, tug of war and volleyball, throw in a healthy mix of peace signs and you have your typical South Korean school...


CityGirlSearchingMiddleSchoolSouthKorea_0010.jpg
CityGirlSearchingMiddleSchoolSouthKorea_0019.jpg
CityGirlSearchingMiddleSchoolSouthKorea_0011.jpg
CityGirlSearchingMiddleSchoolSouthKorea_0012.jpg
CityGirlSearchingMiddleSchoolSouthKorea_0013.jpg
CityGirlSearchingMiddleSchoolSouthKorea_0015.jpg
CityGirlSearchingMiddleSchoolSouthKorea_0014.jpg
CityGirlSearchingMiddleSchoolSouthKorea_0017.jpg
CityGirlSearchingMiddleSchoolSouthKorea_0018.jpg
CityGirlSearchingMiddleSchoolSouthKorea_0016.jpg

{Nail Art} class with my school girls

Farmboy and I are teaching English in South Korea. We up and left our cosy little lives in Pietermaritzburg in June 2013, and headed back to Asia to make our millions and of course travel the world! 

Farmboy teaches at five schools, two of which are on an island...Crazy stuff! But, every day is different and exciting. He teaches at both elementary and middle schools. I am at one school, an all girls middle school. At first I was really nervous to start teaching the girls, I am after all, foundation phase trained and loved teaching my little kiddies. But after my first day I am convinced God has put us in these different situations for his gain. All our schools suit our different personalities and talents in just the right way.

Besides, now I get to teach English classes like this one:

Teachers Workshop {South Korea}

Last week the eight of us English Teachers here in Buan, South Korea headed to the city of Jeonju for a workshop/day out. We were taken to a studio where we got to decorate our own tradition Korean fans, taken on a tour of the old portraits of the Kings, toured a gorgeous vintage camera museum and finally out for a lovely dinner. It was a wonderful way to spend the afternoon.

Here are a few snaps of the day (don't you love Farmboy's caterpillar fan?)