DIY Magnetic Pen Holder for the Fridge

DIY magnetic pen holder for the fridge

After spending countless hours searching for pens around the house when I need to jot down notes in the kitchen, I finally sat down and made my own magnetic pen holder for the fridge!

And you know what...it was SO EASY!

The only thing you might not have on hand is the magnets, but apart from those (they are sort of the main element for this DIY though) you probably have everything else lying around at home.

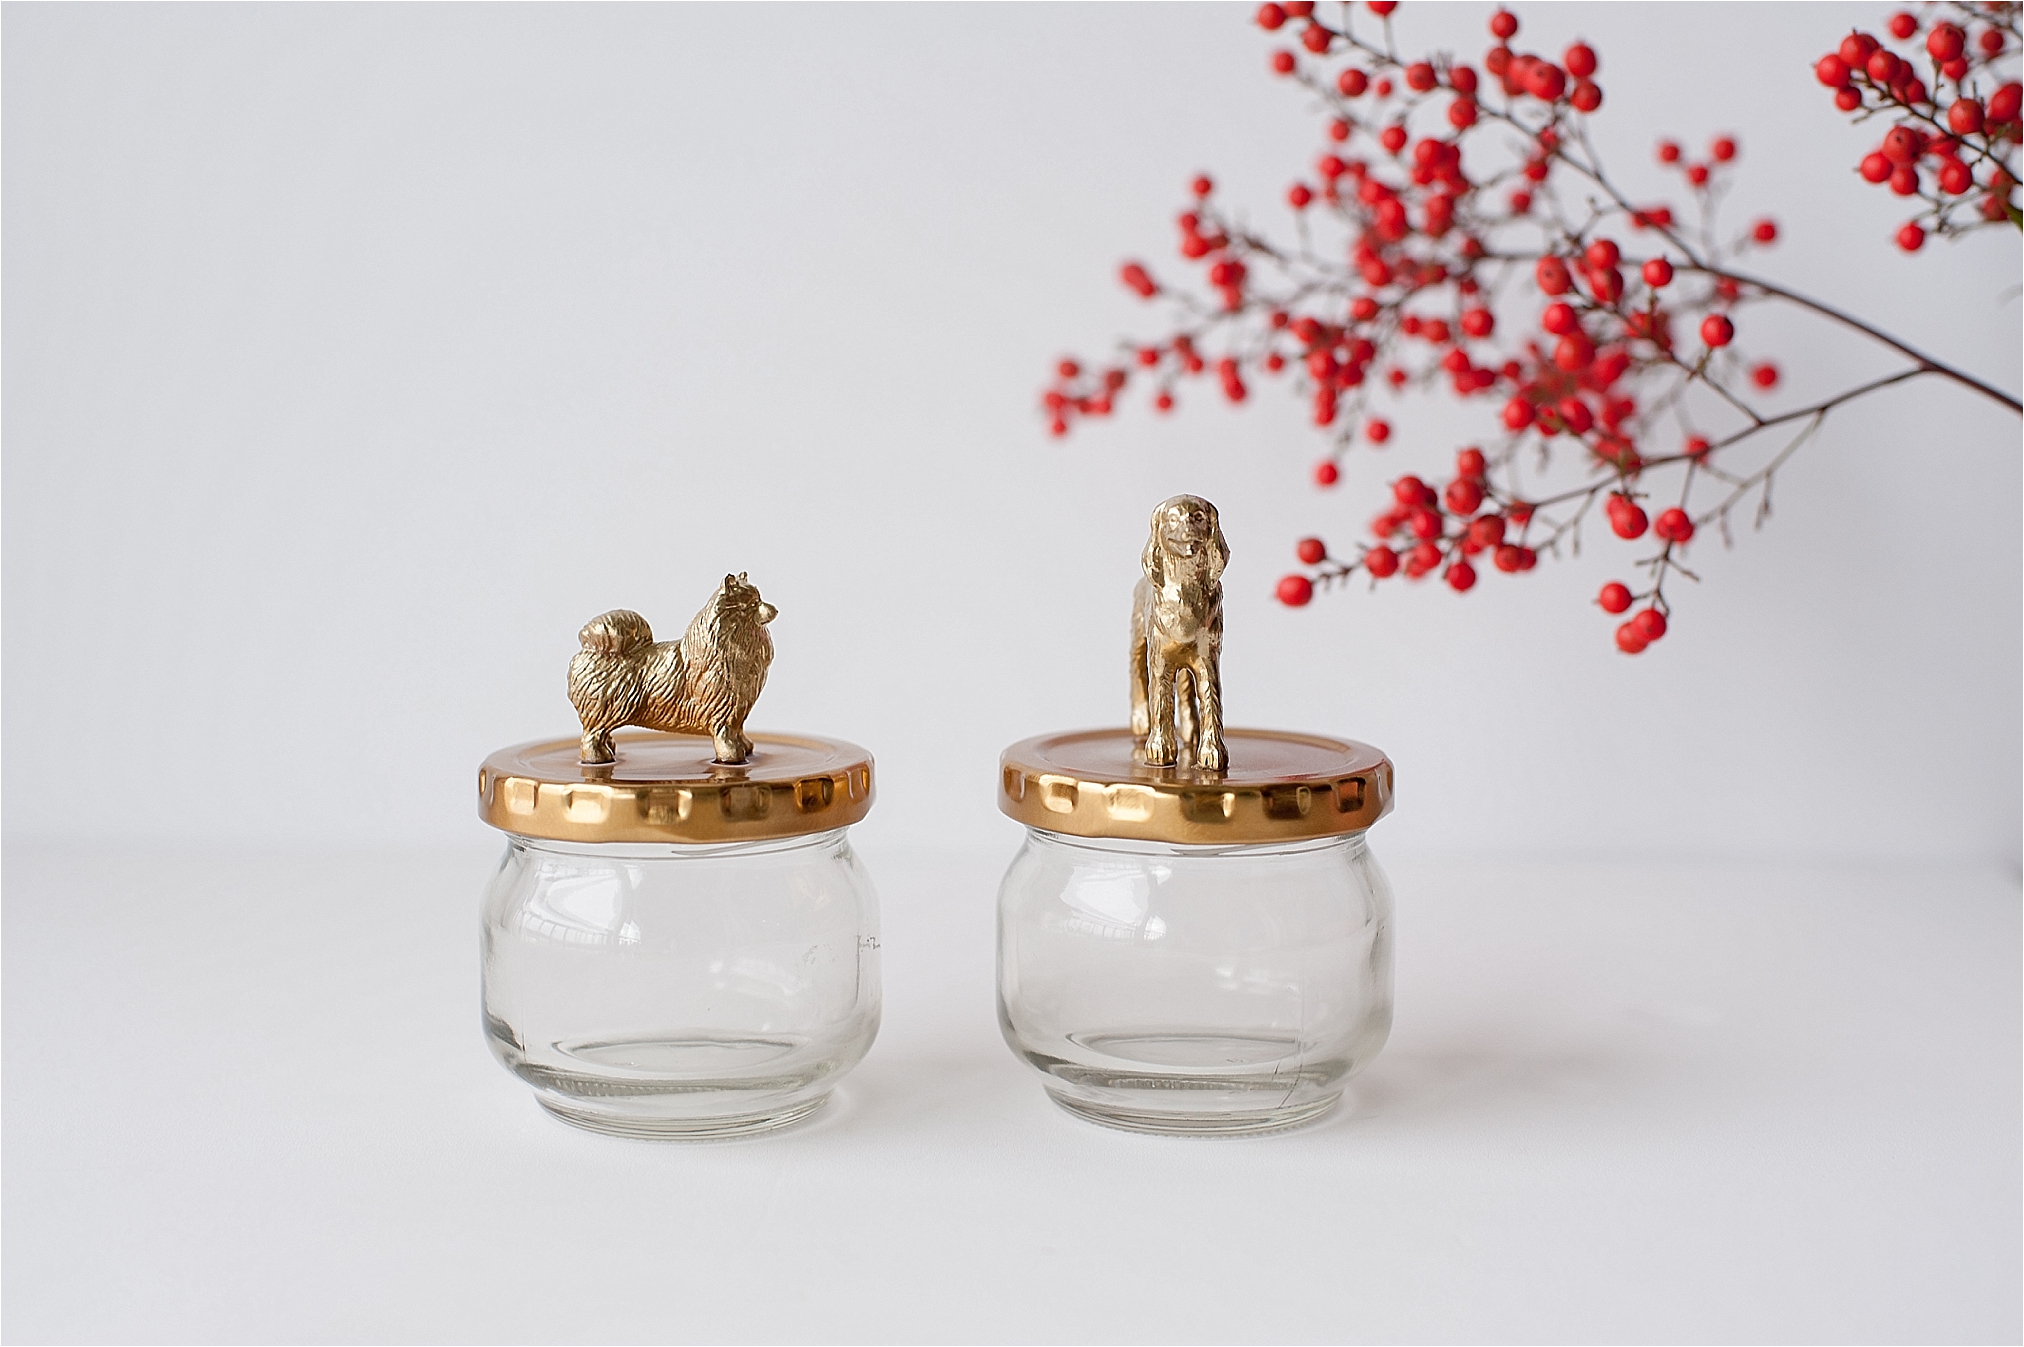
I found these strong little round magnets at a hobby shop a few years ago, and used them for making my own button magnets for Christmas presents a while ago. I always keep some of them around because they are incredibly useful for all sorts of fun DIY crafts.

If you do end up making one of these yourself, I'd love to see it! Share a photo over on Facebook or Instagram and tag me in it (@CGScreative) so I can see.


DIY Magnetic Pen Holder for the Fridge

DIY magnetic pen holder for the fridge
 

What you need:

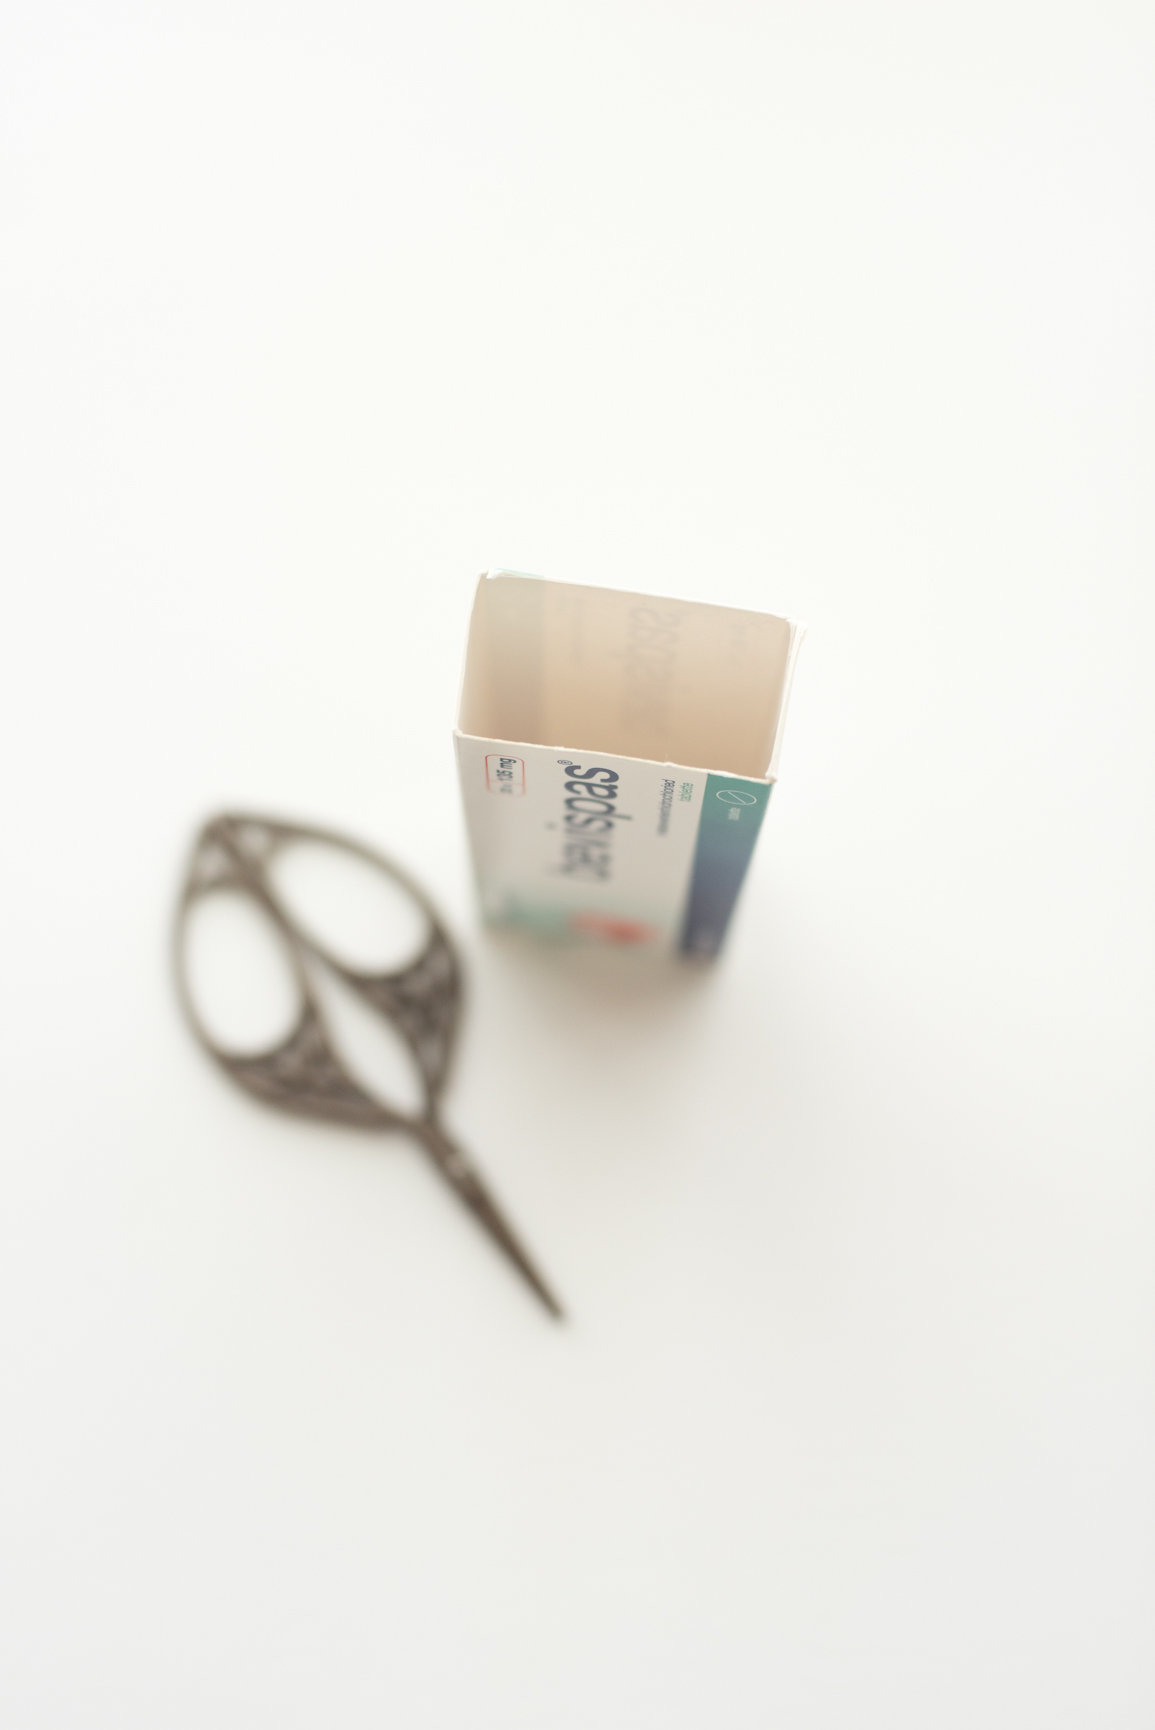
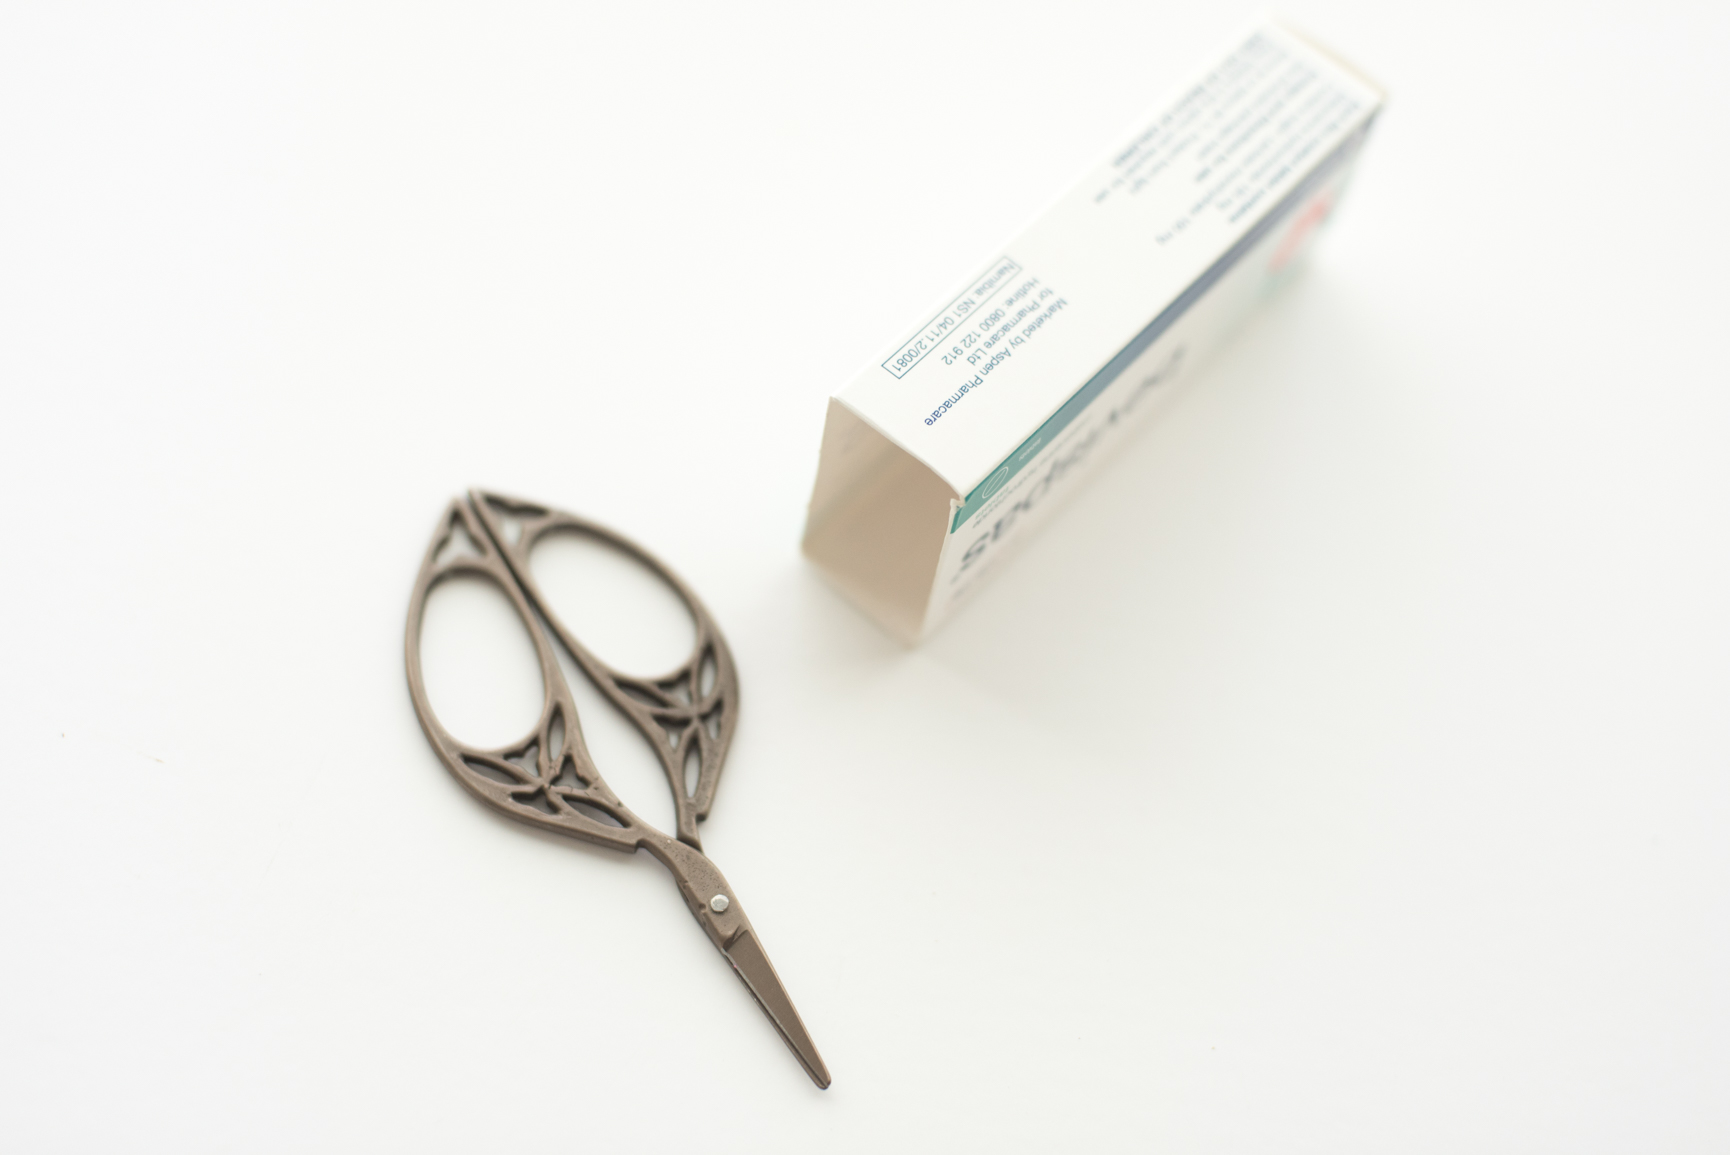
  • small box (I used an old medicine box that was long enough to hold a pen)
  • super glue
  • strong magnets (I used 3 little ones)
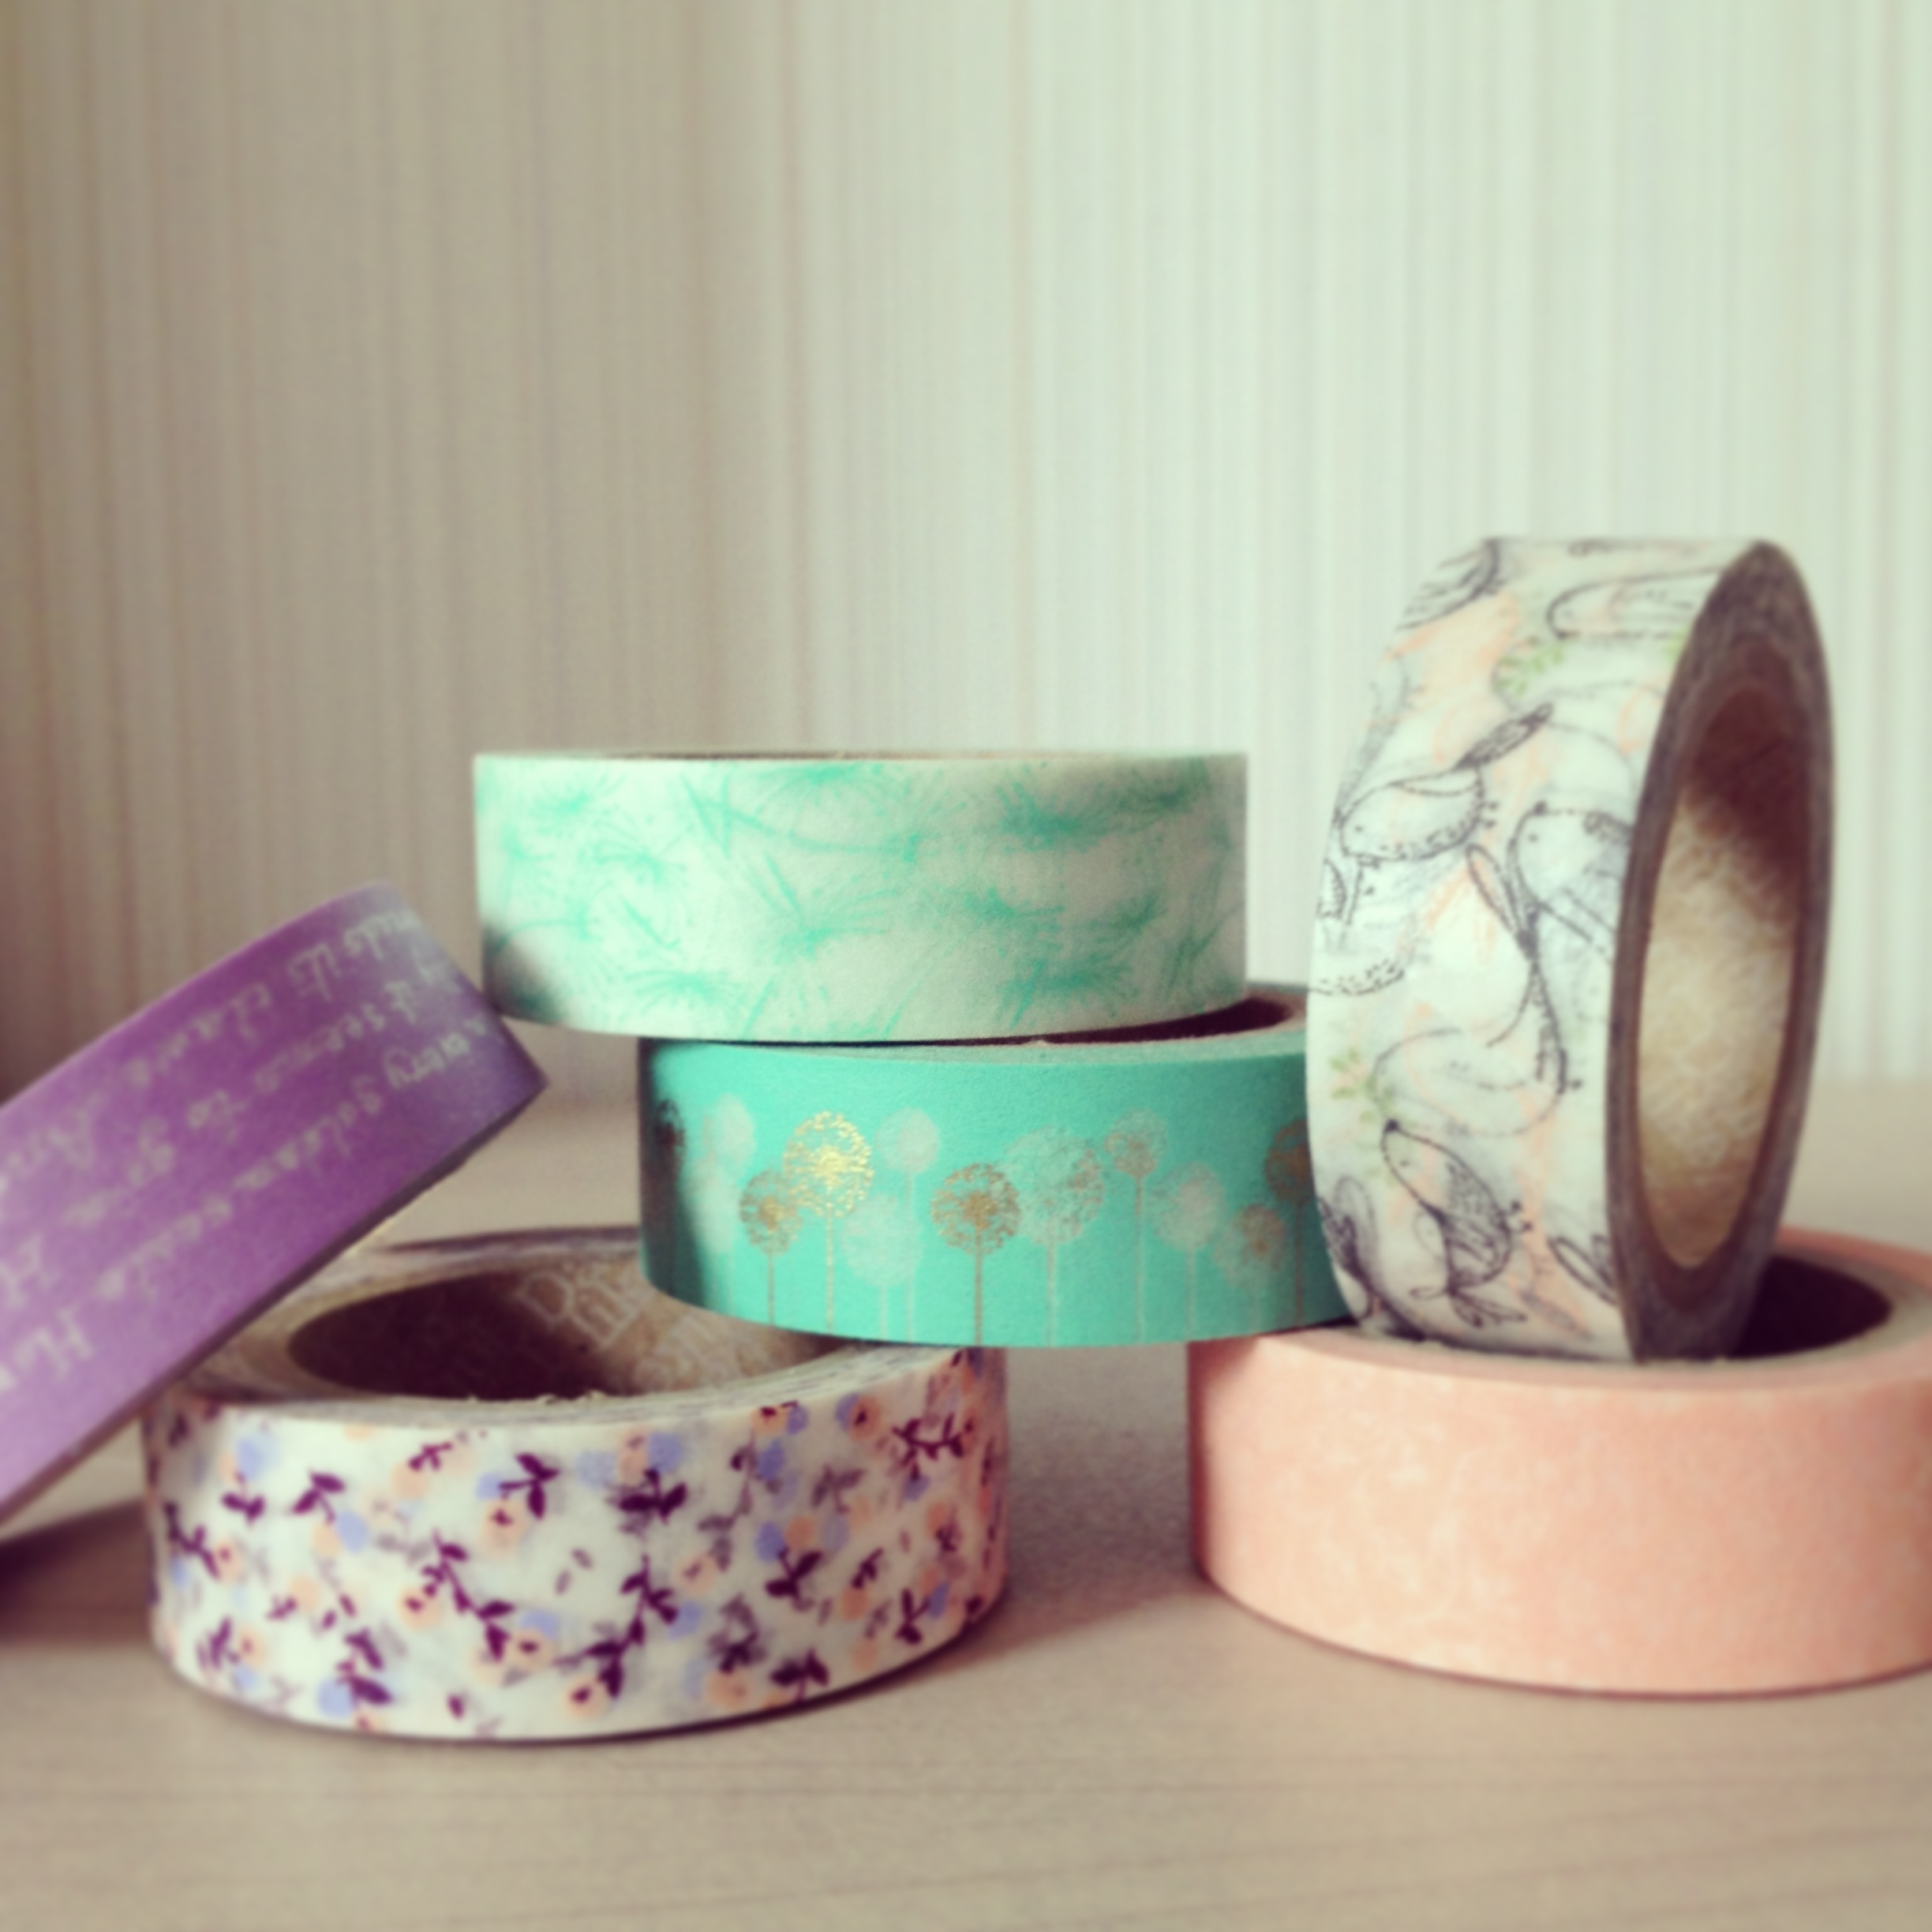
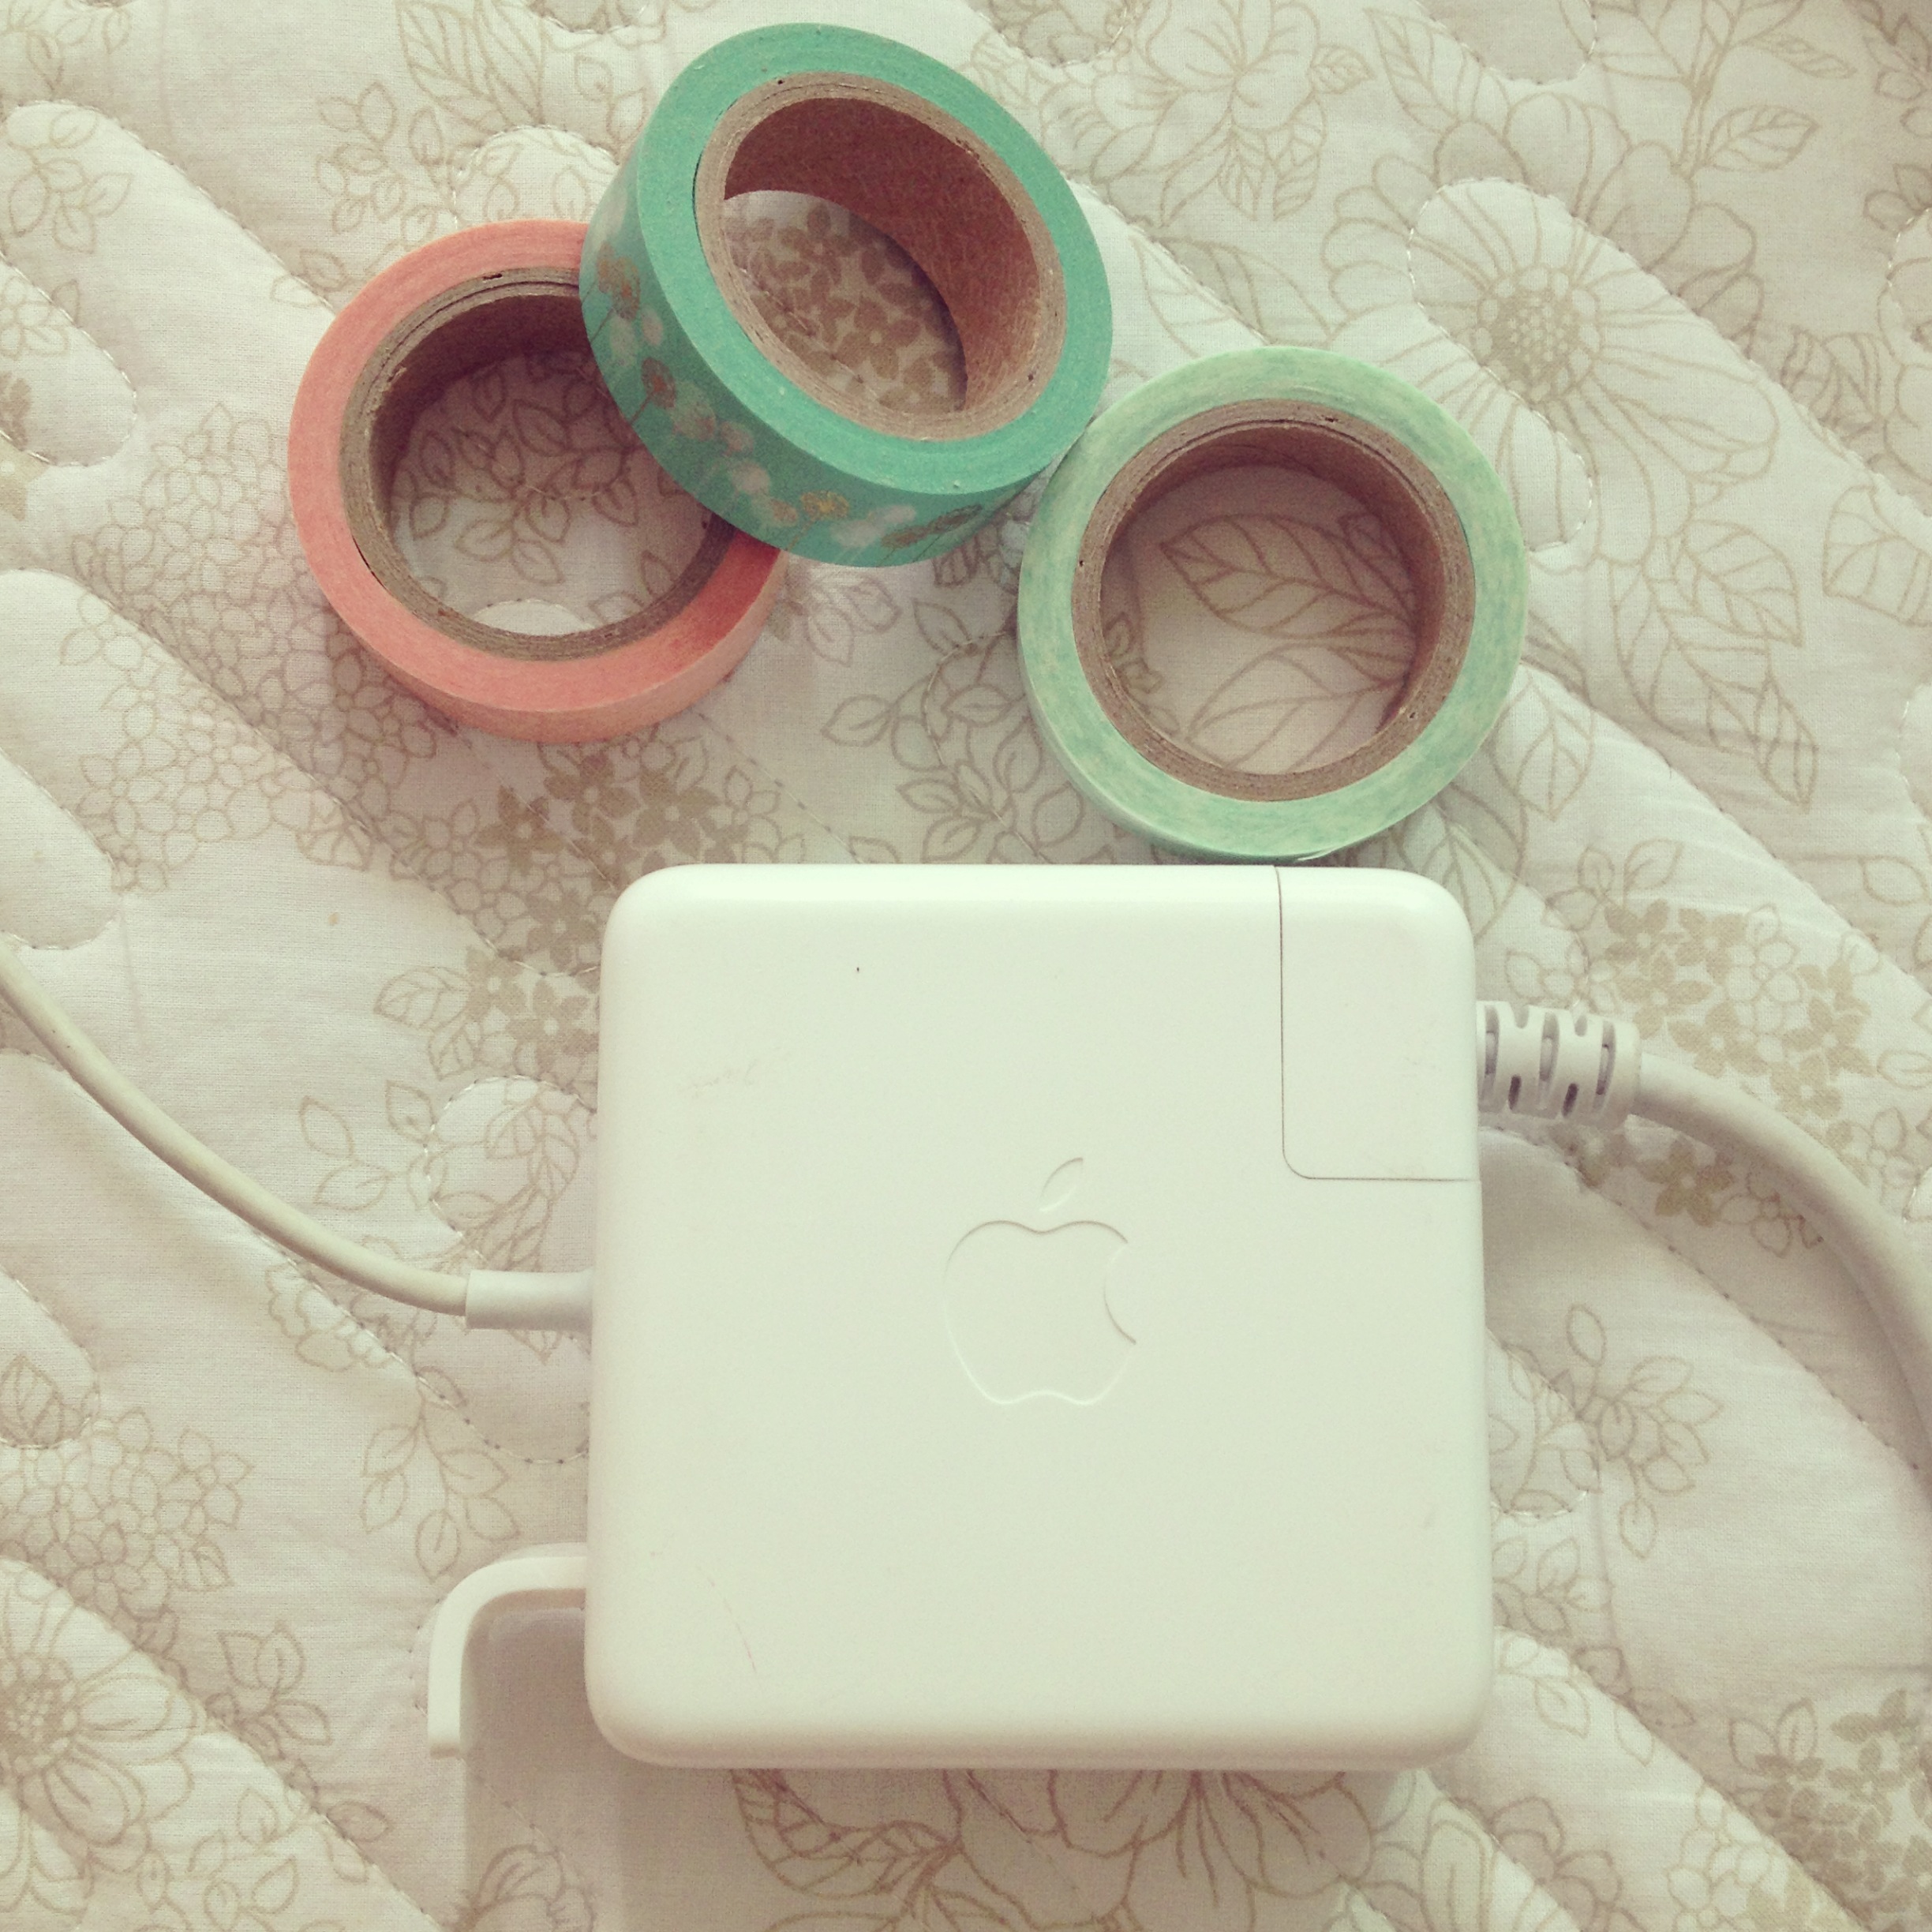
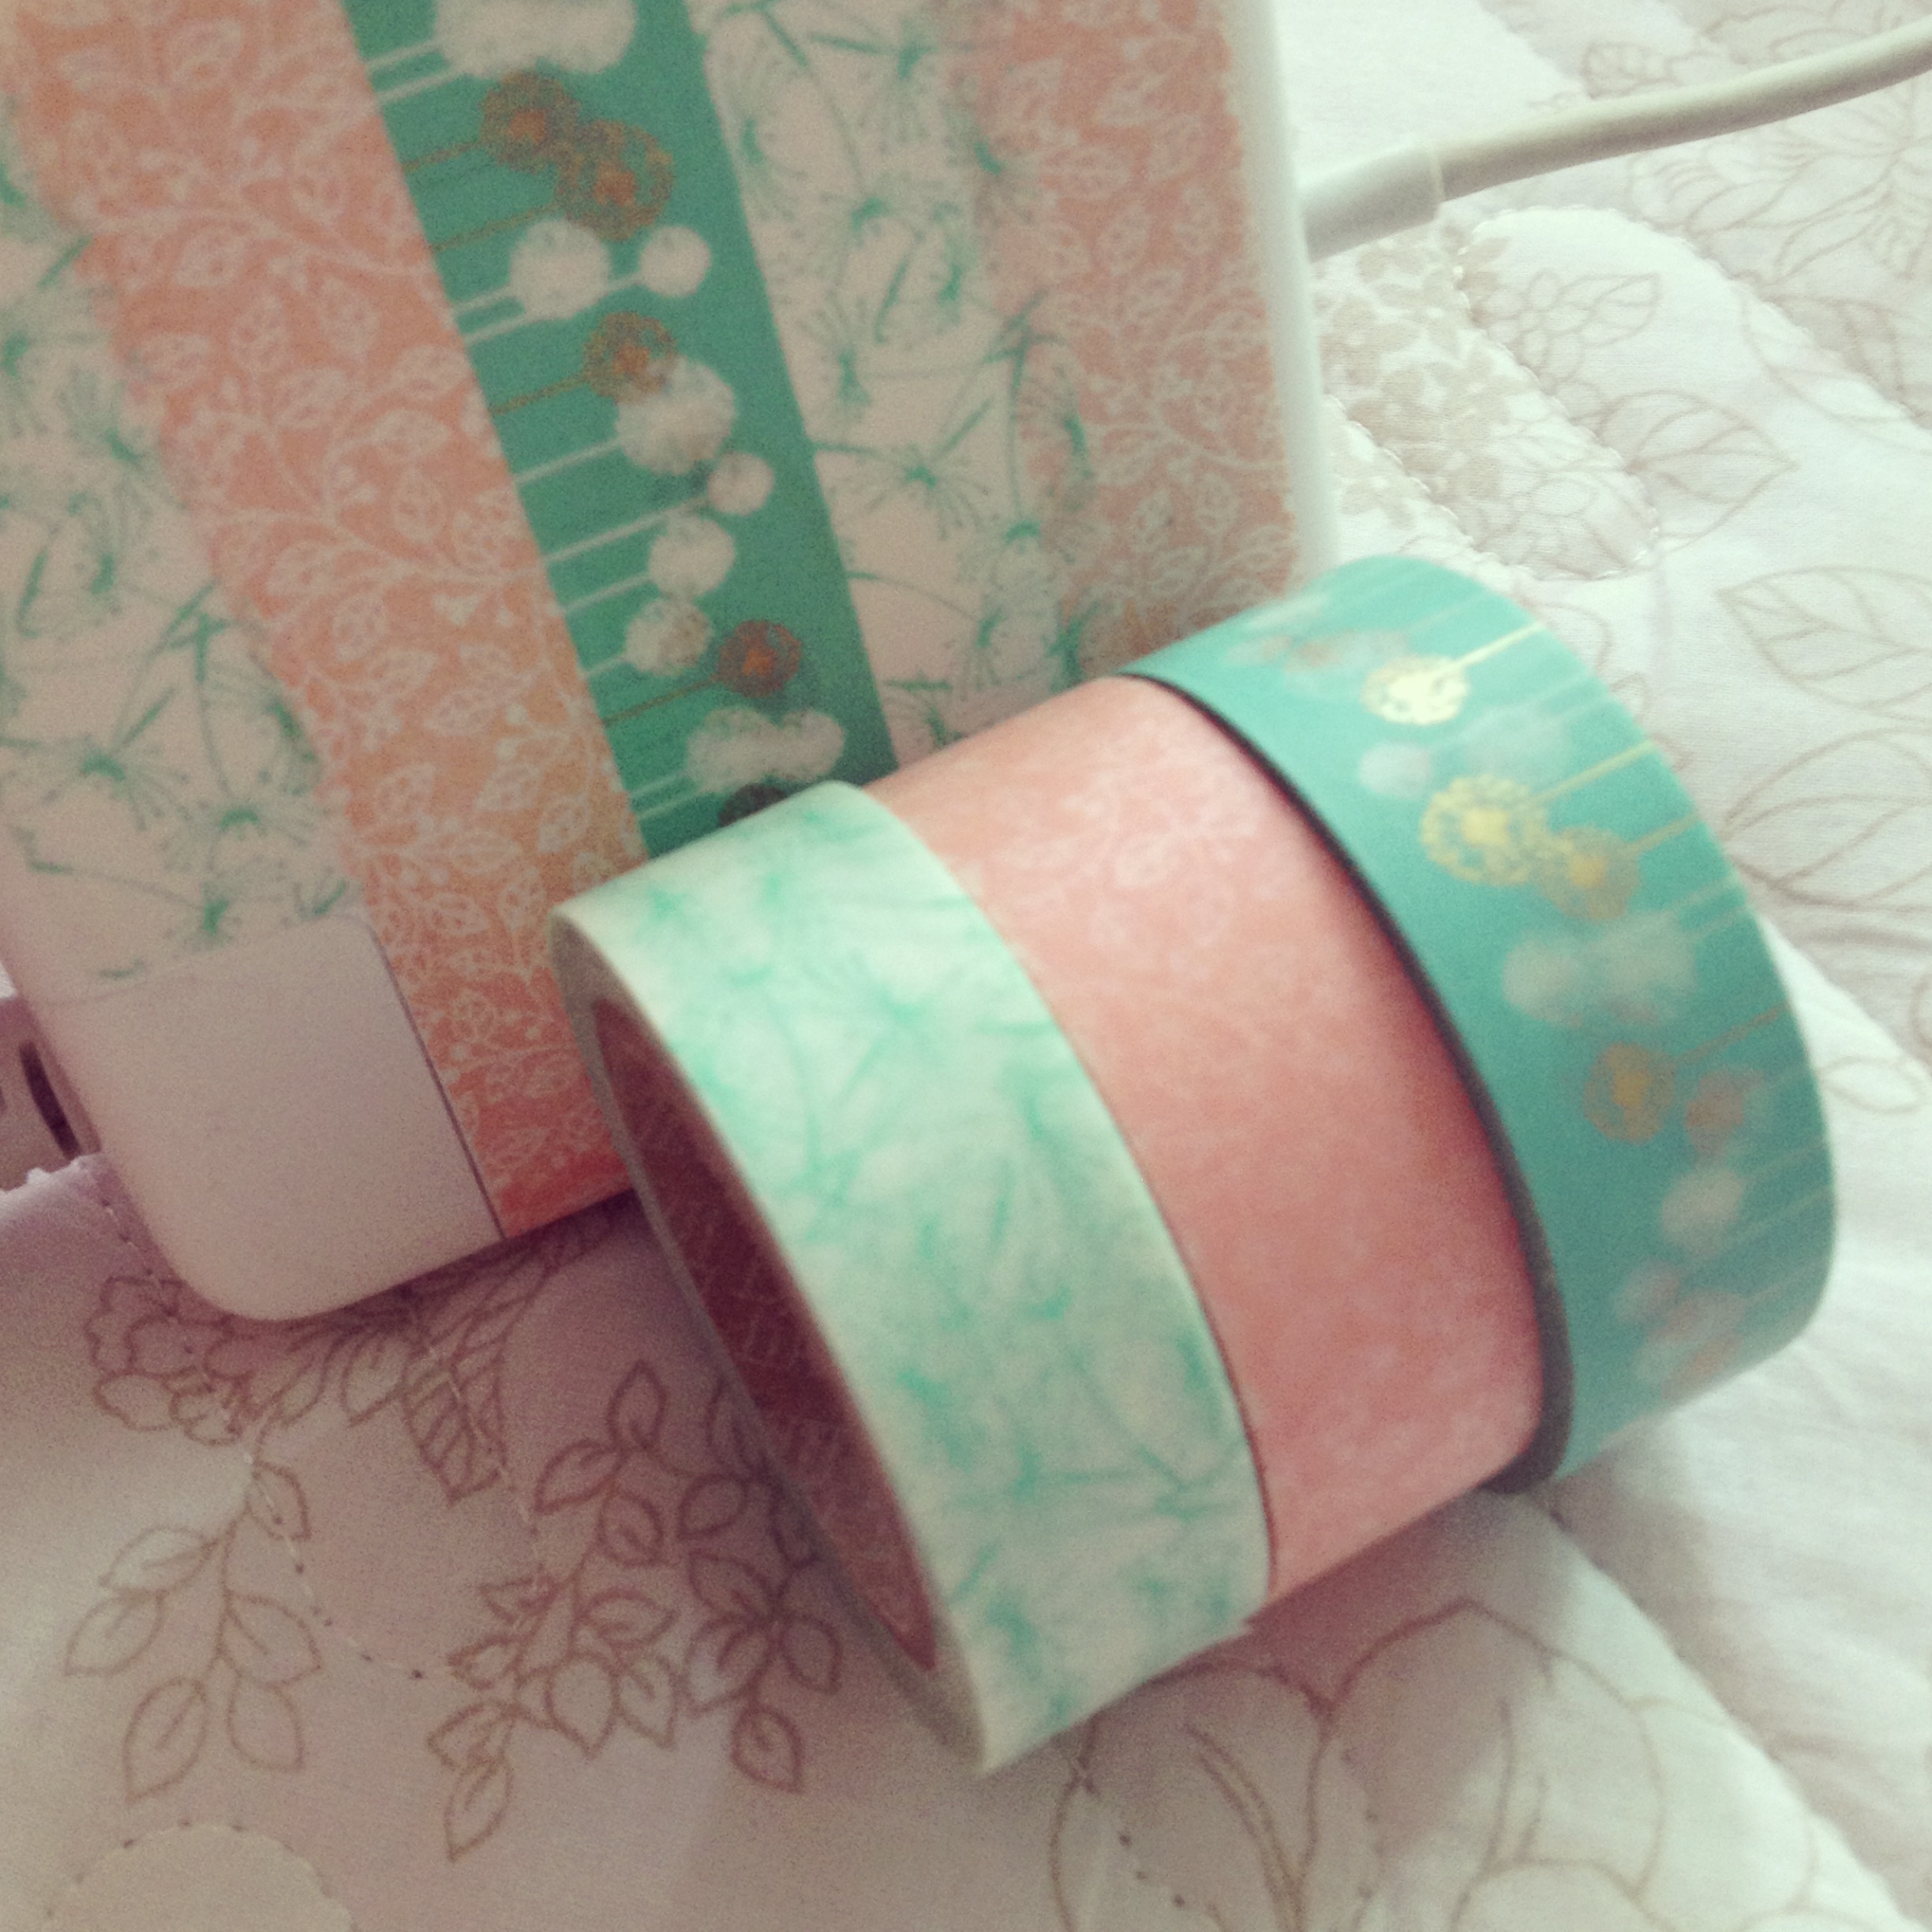
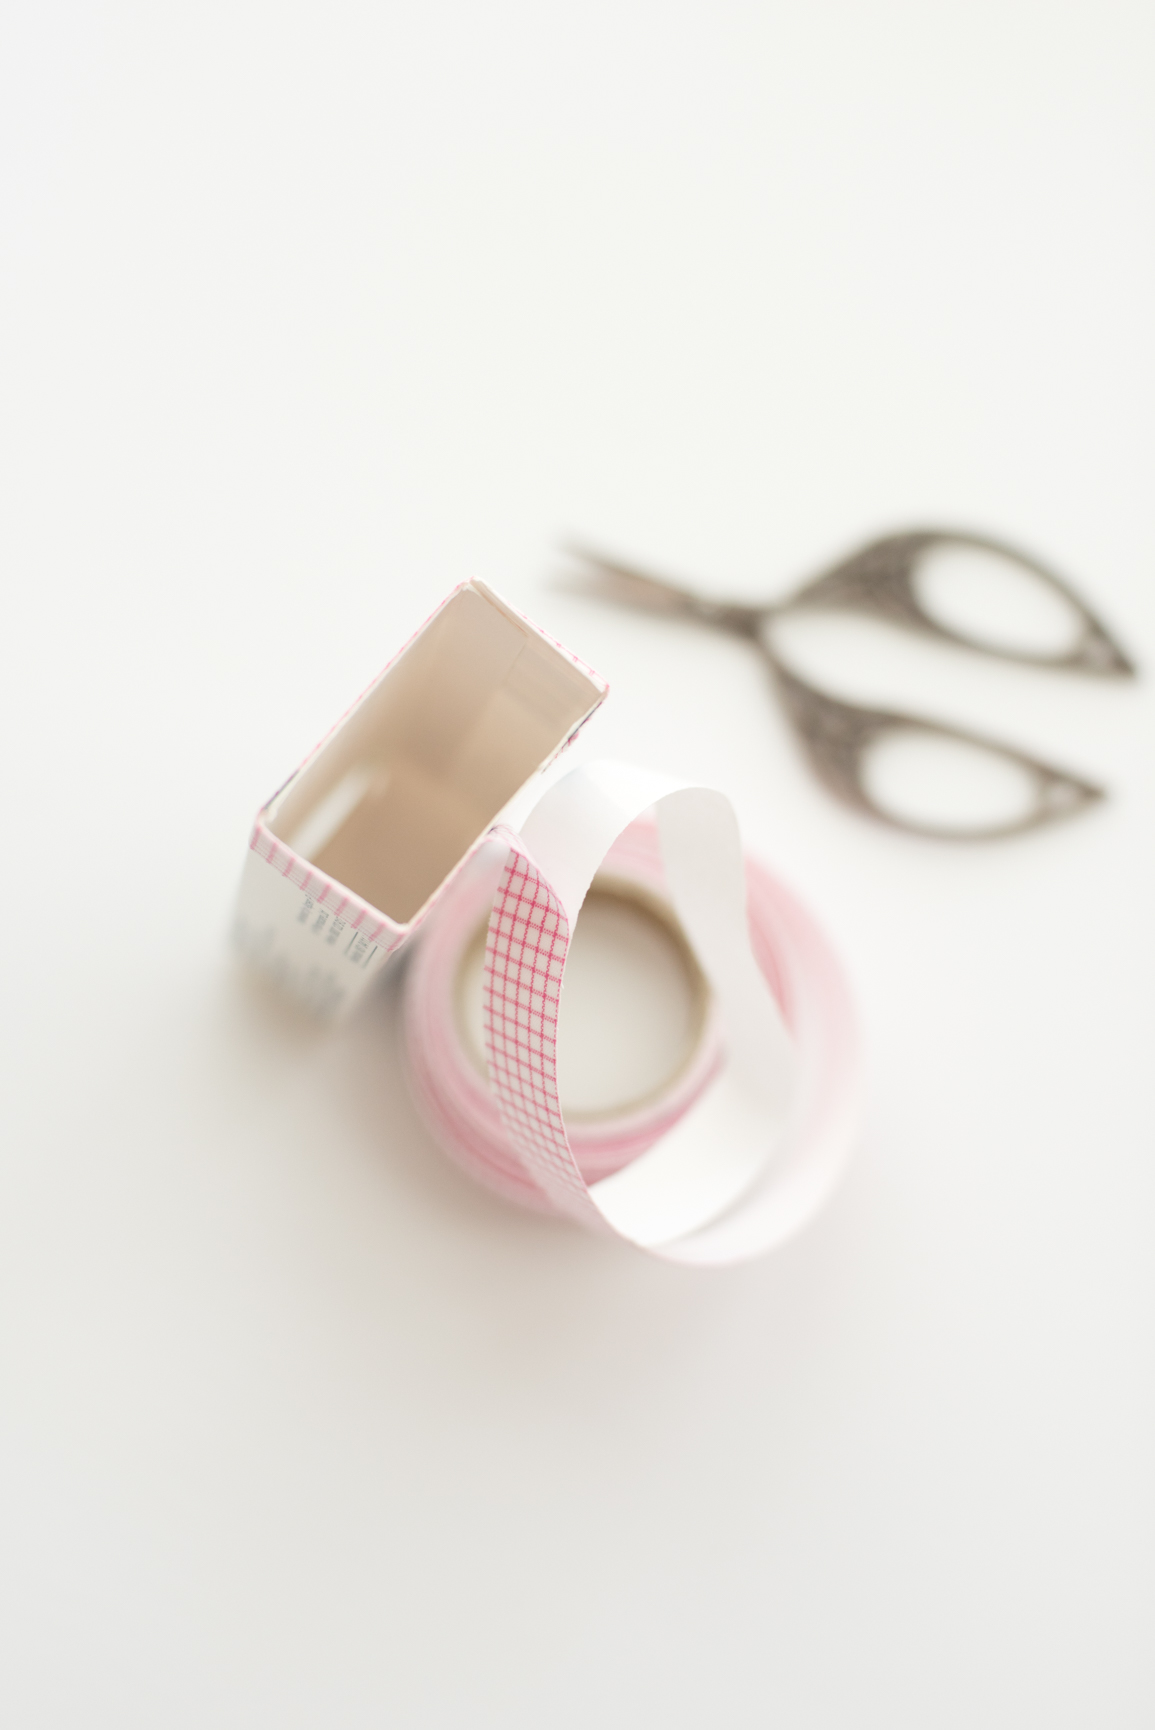
  • various bits of fabric tape/washi tape
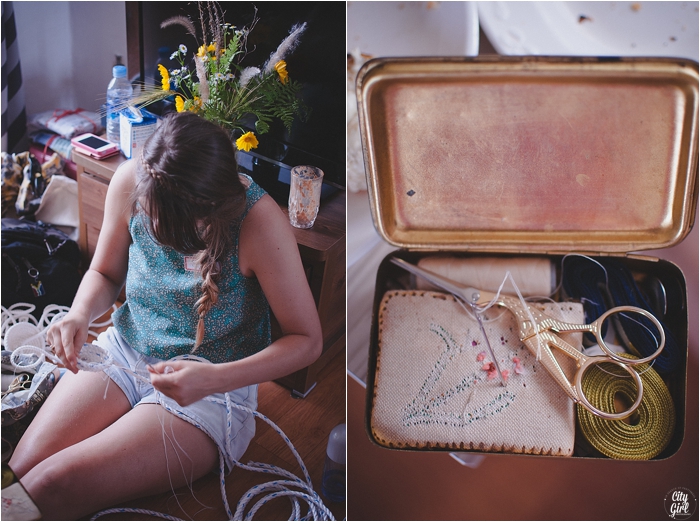
  • scissors
  • lace/ribbon to decorate
 
how to make your own DIY magnetic pen holder for the fridge

Directions:

1. Cut the end off of your box. Make sure to keen the other end intact, otherwise you're going to loose your pens!

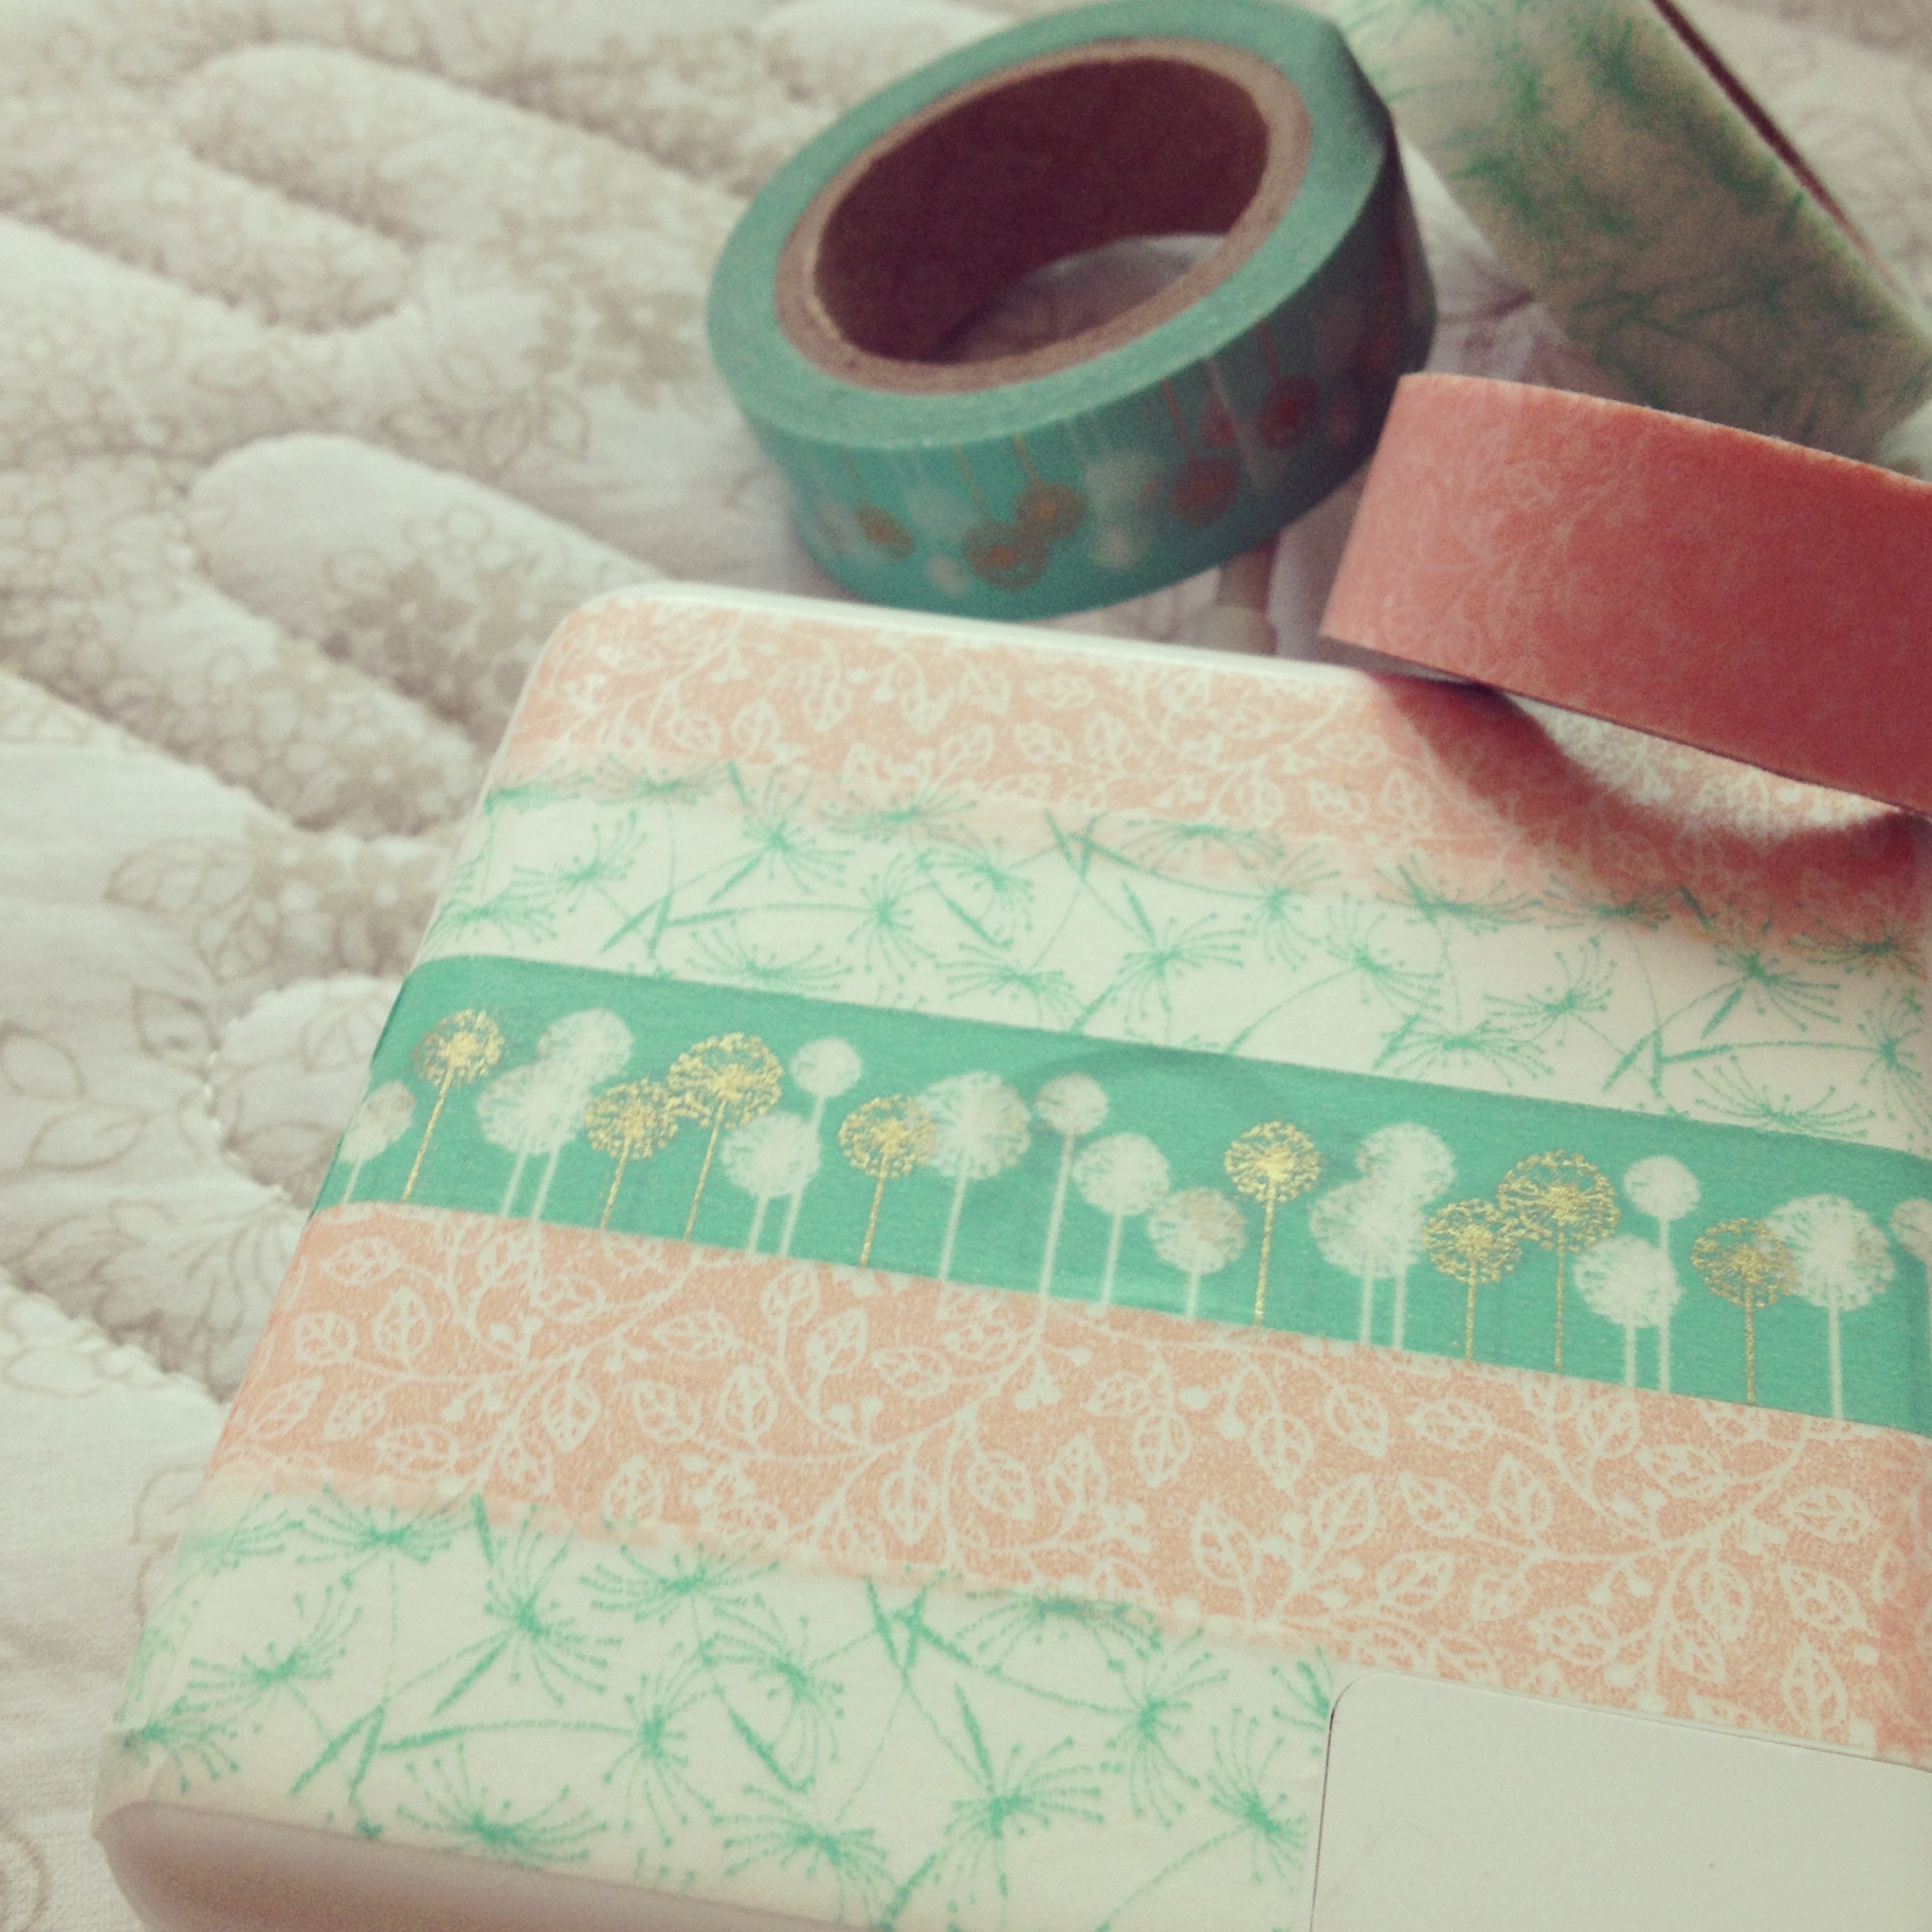
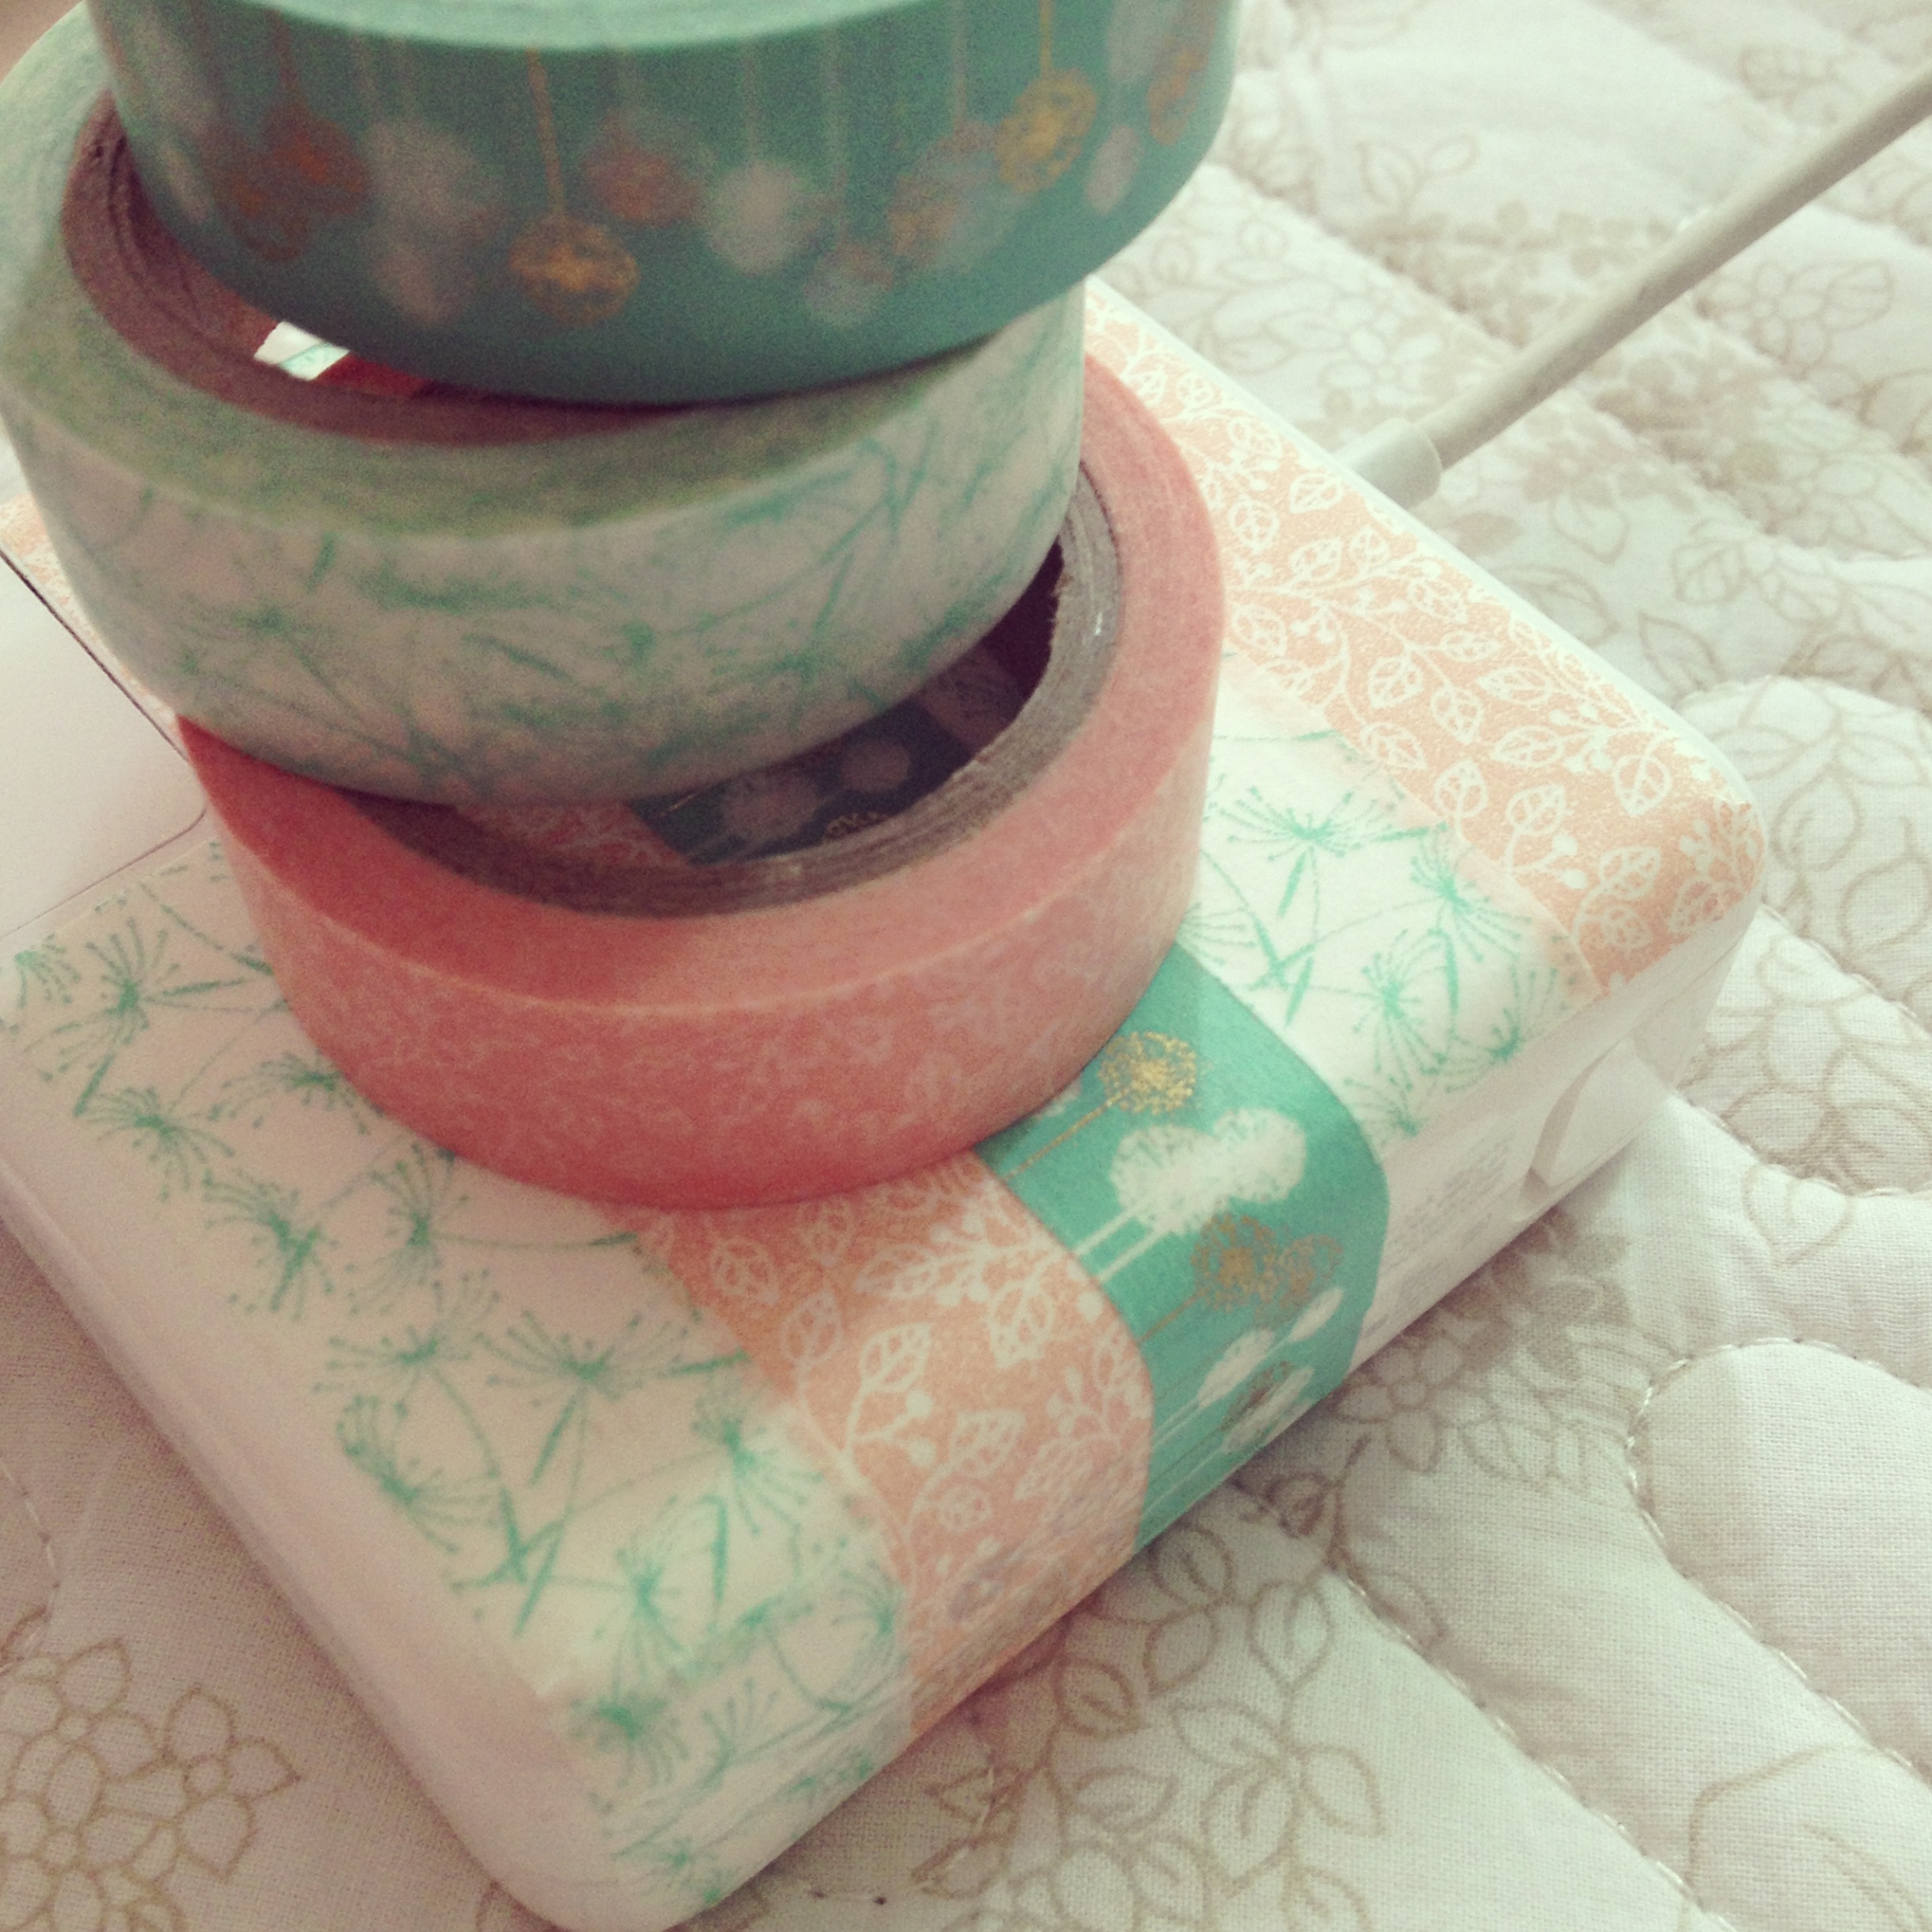
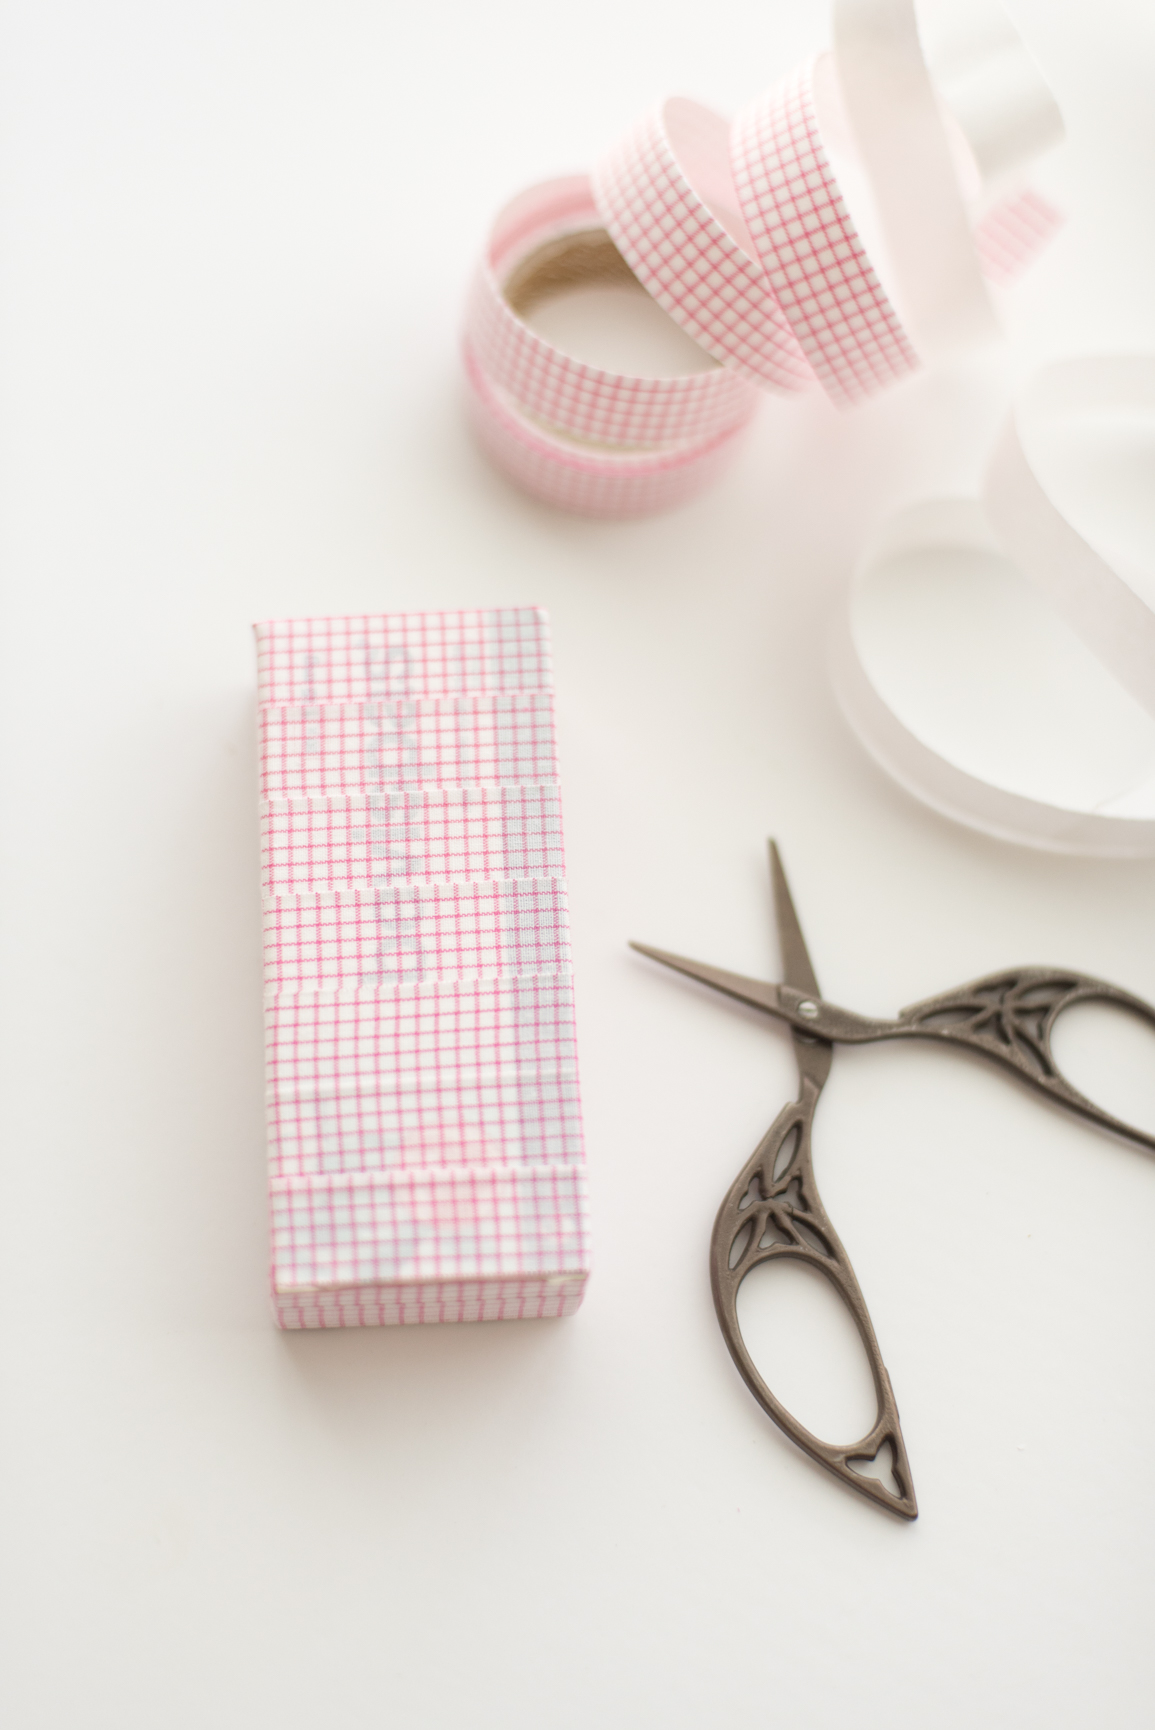
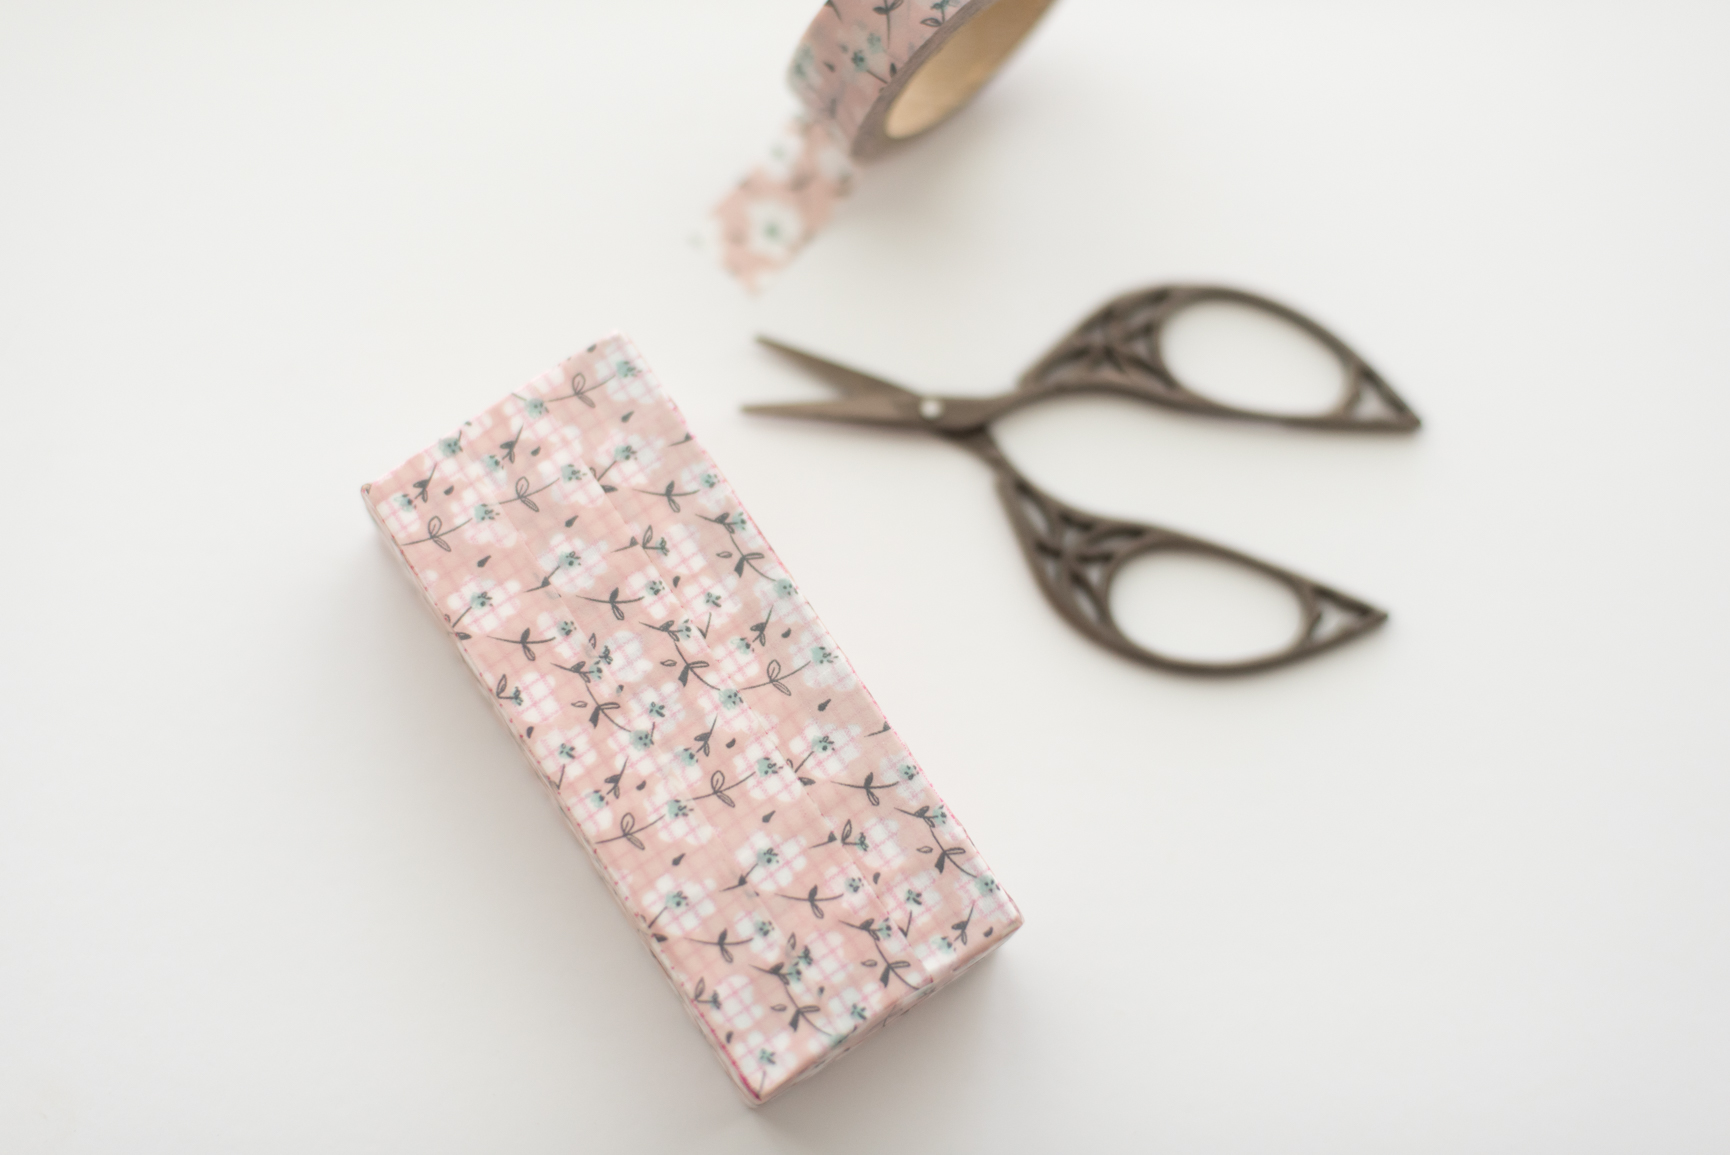
2. Wrap your box in washi tape (or fabric tape or whatever fabric you have on hand). I used a sticky backed fabric tape to cover most of the box as my washi tape wasn't thick enough to cover the writing. Once the first layer of fabric tape was done, I used a pretty floral washi tape to complete my box.

Don't worry about going all the way around the box with your tape. I didn't want to waste washi tape on the back as it's never going to be seen and will face the fridge anyway.

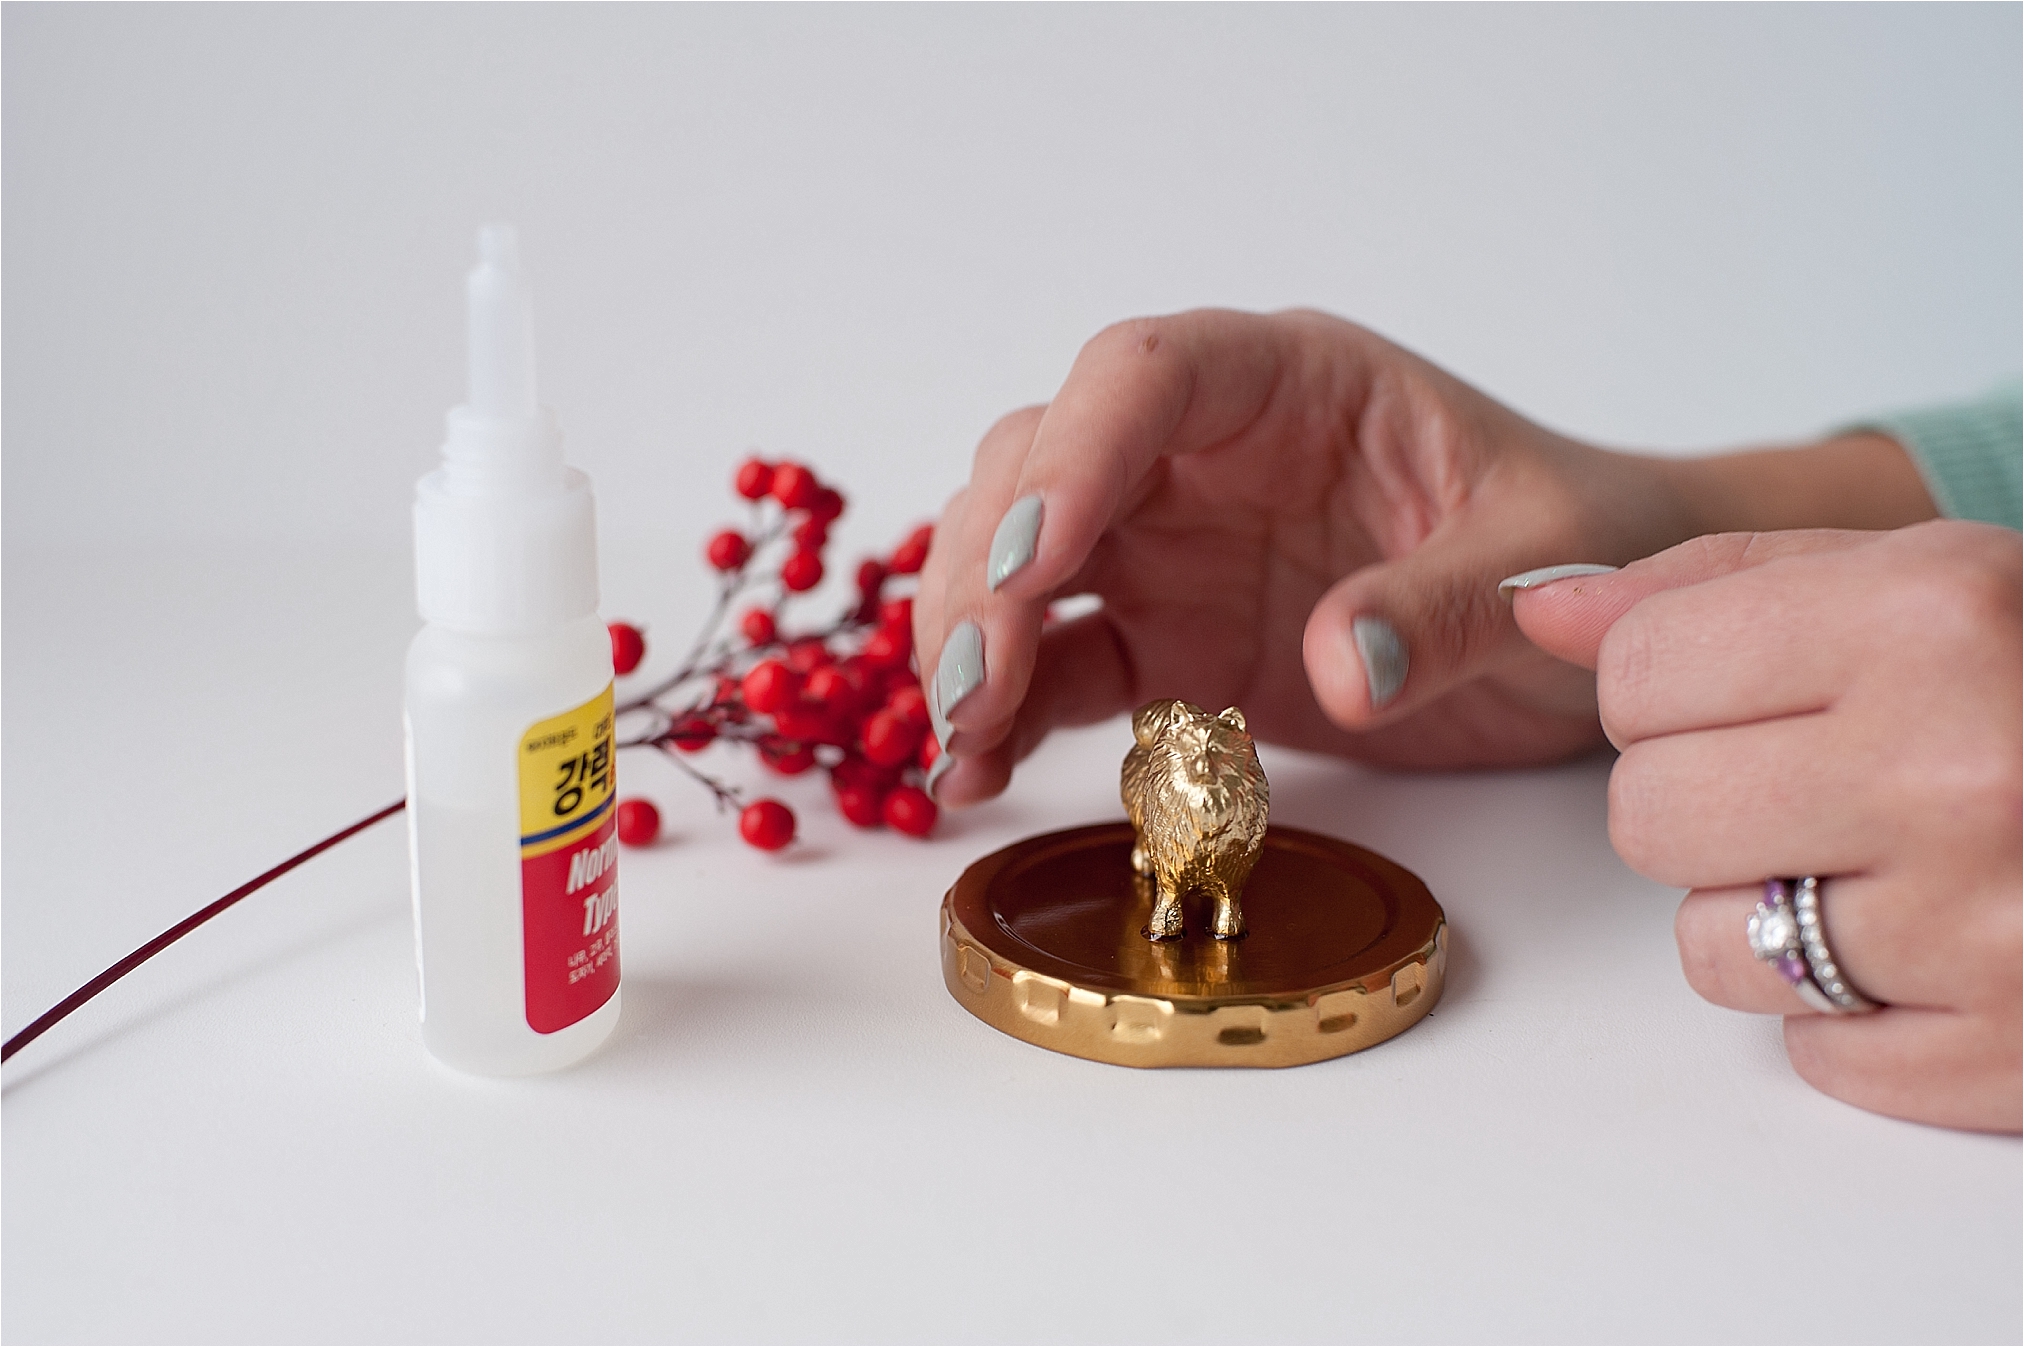
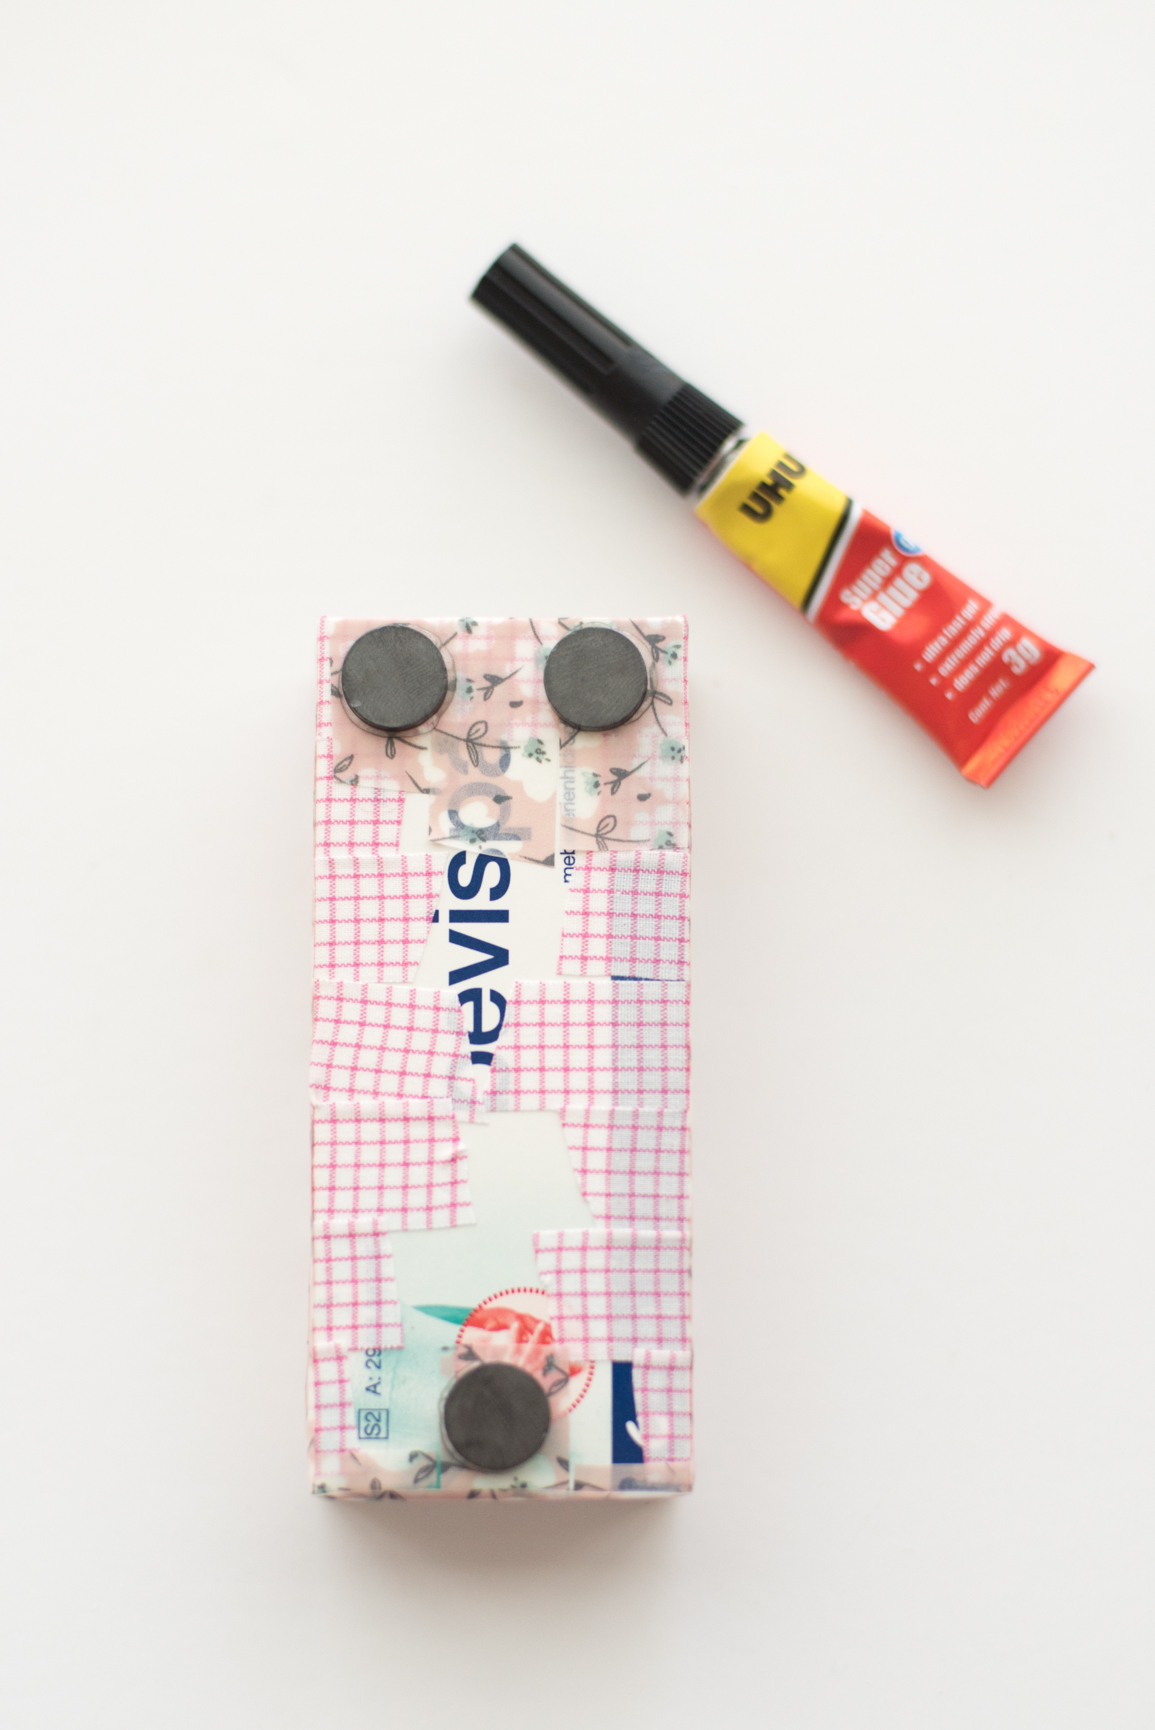
4. Using super glue, place glue on the centre of your magnets, and then place the magnets on the back of your box.

Be careful not to stick your fingers together (I've done this plenty of times...not fun!).

5. The fun part...decorating! I used a piece of white lace to make a pretty bow and tied it around my box.

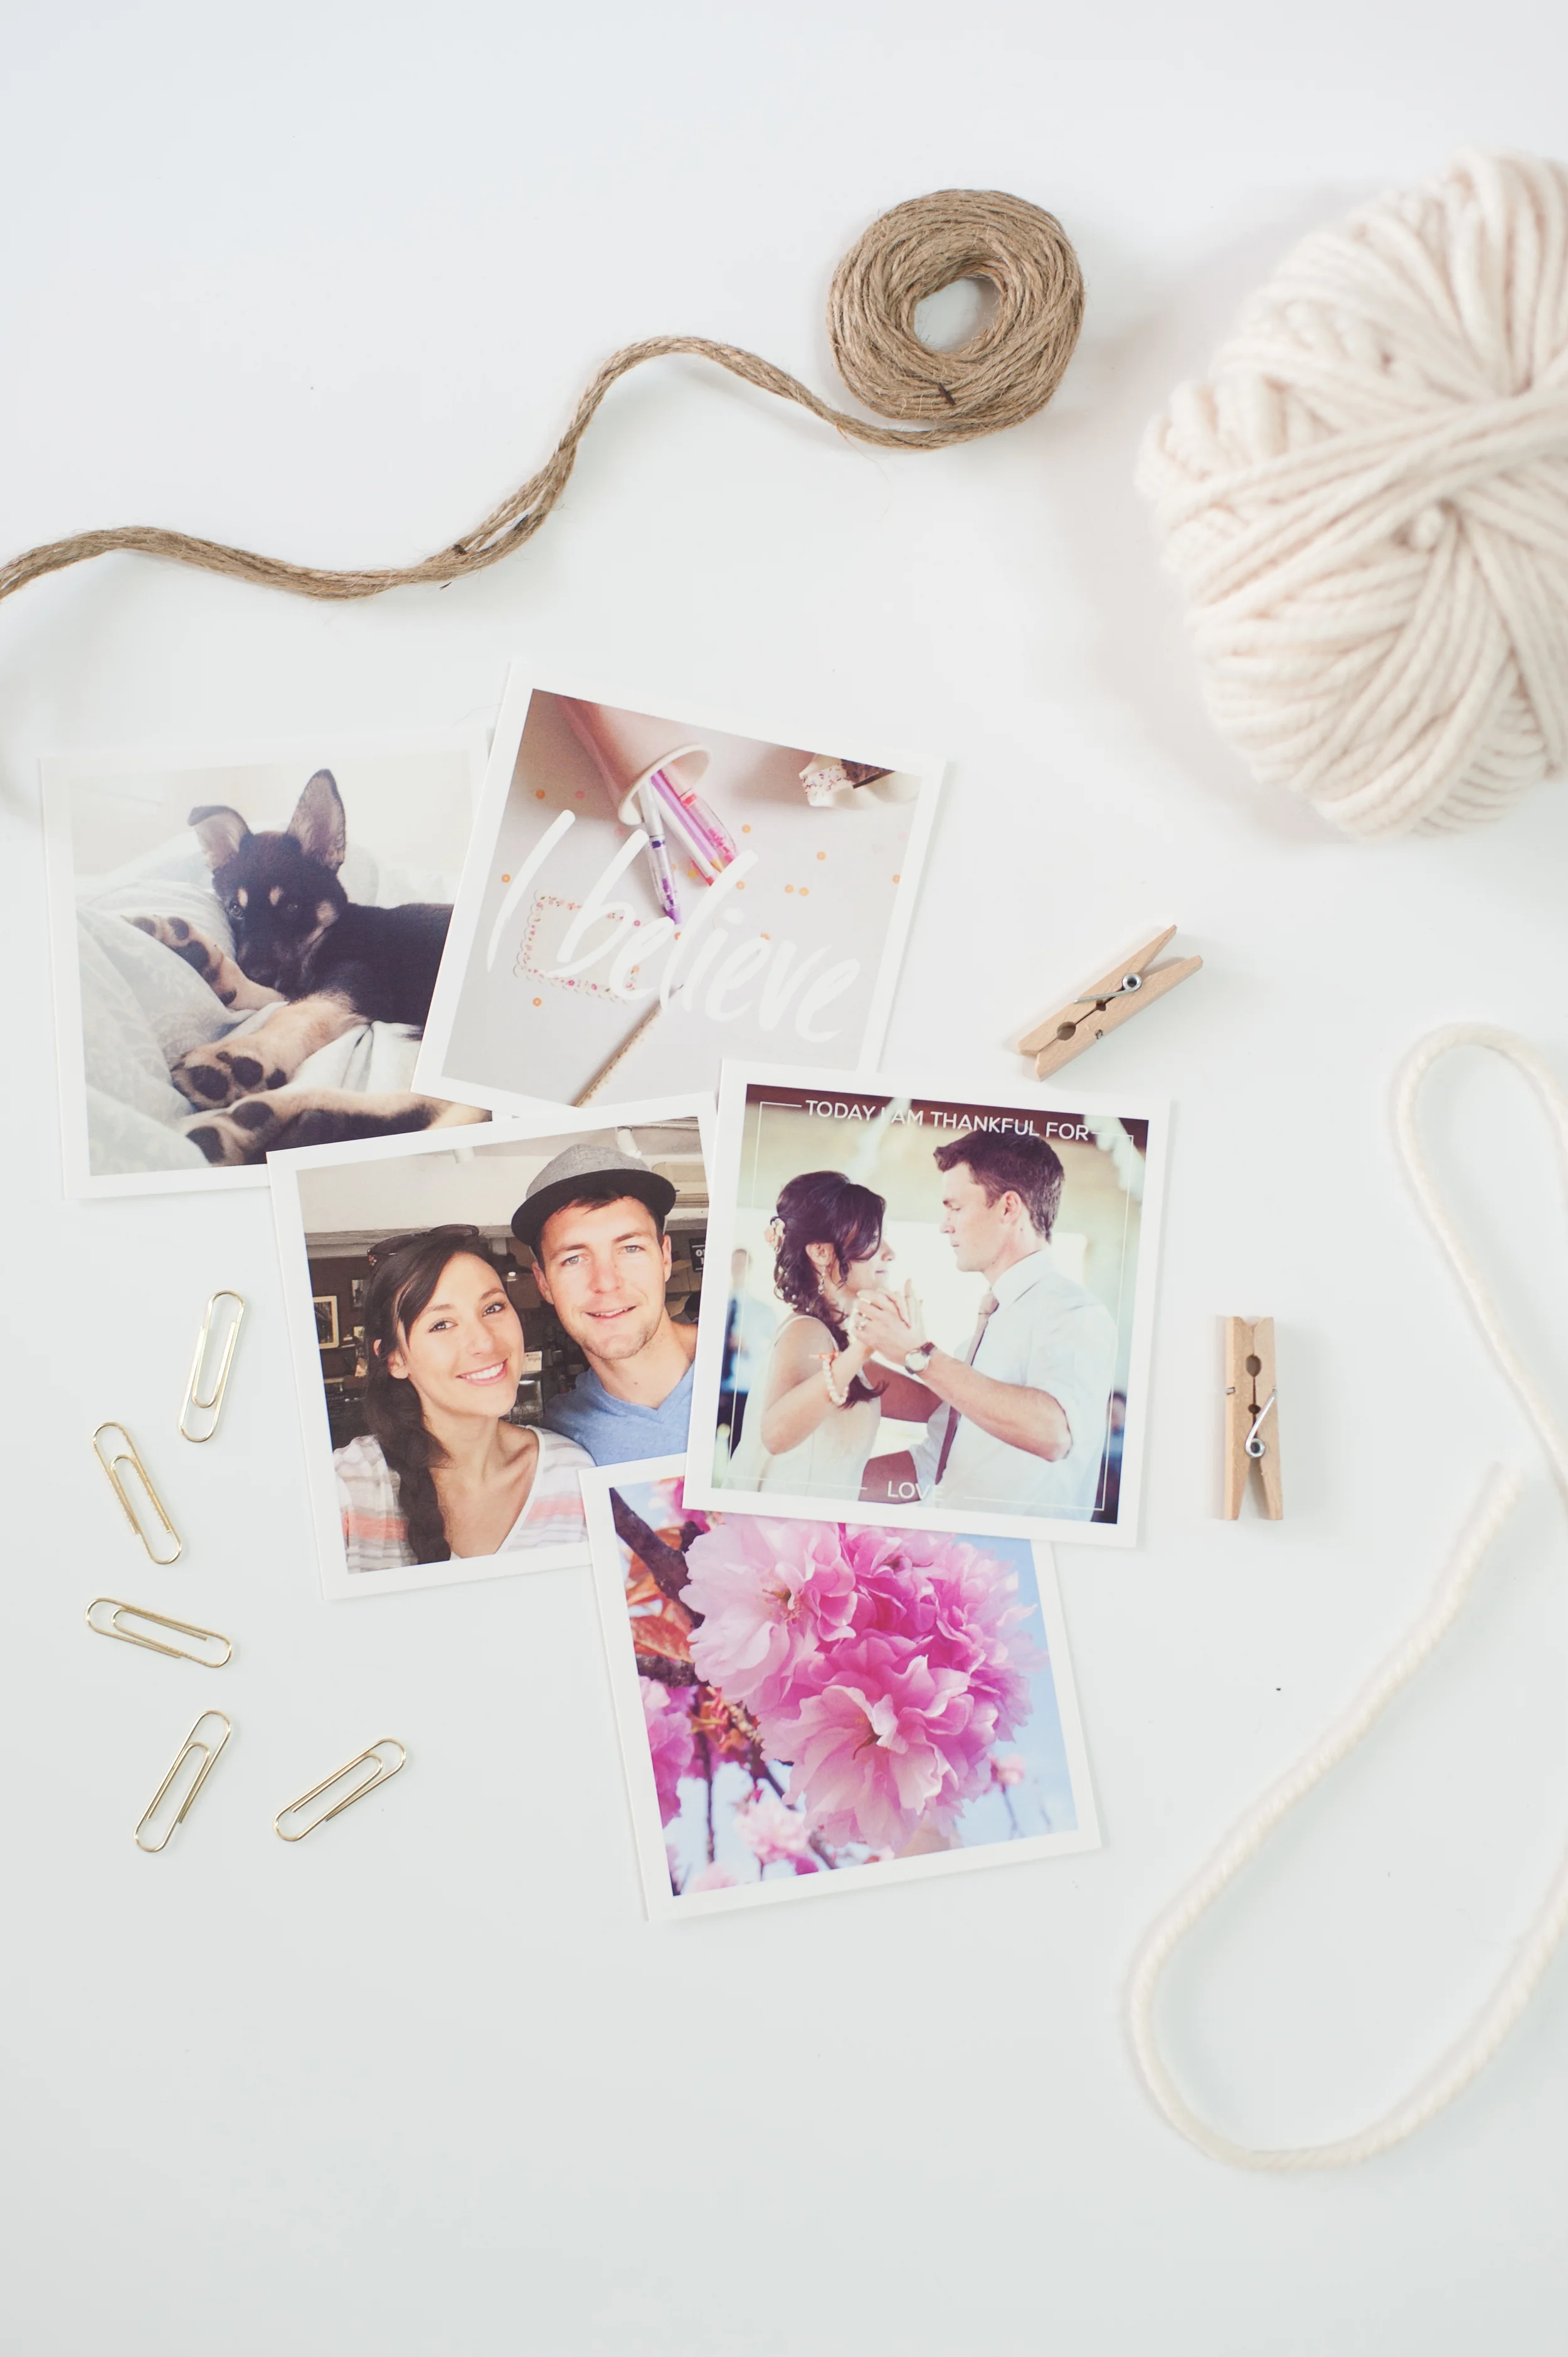
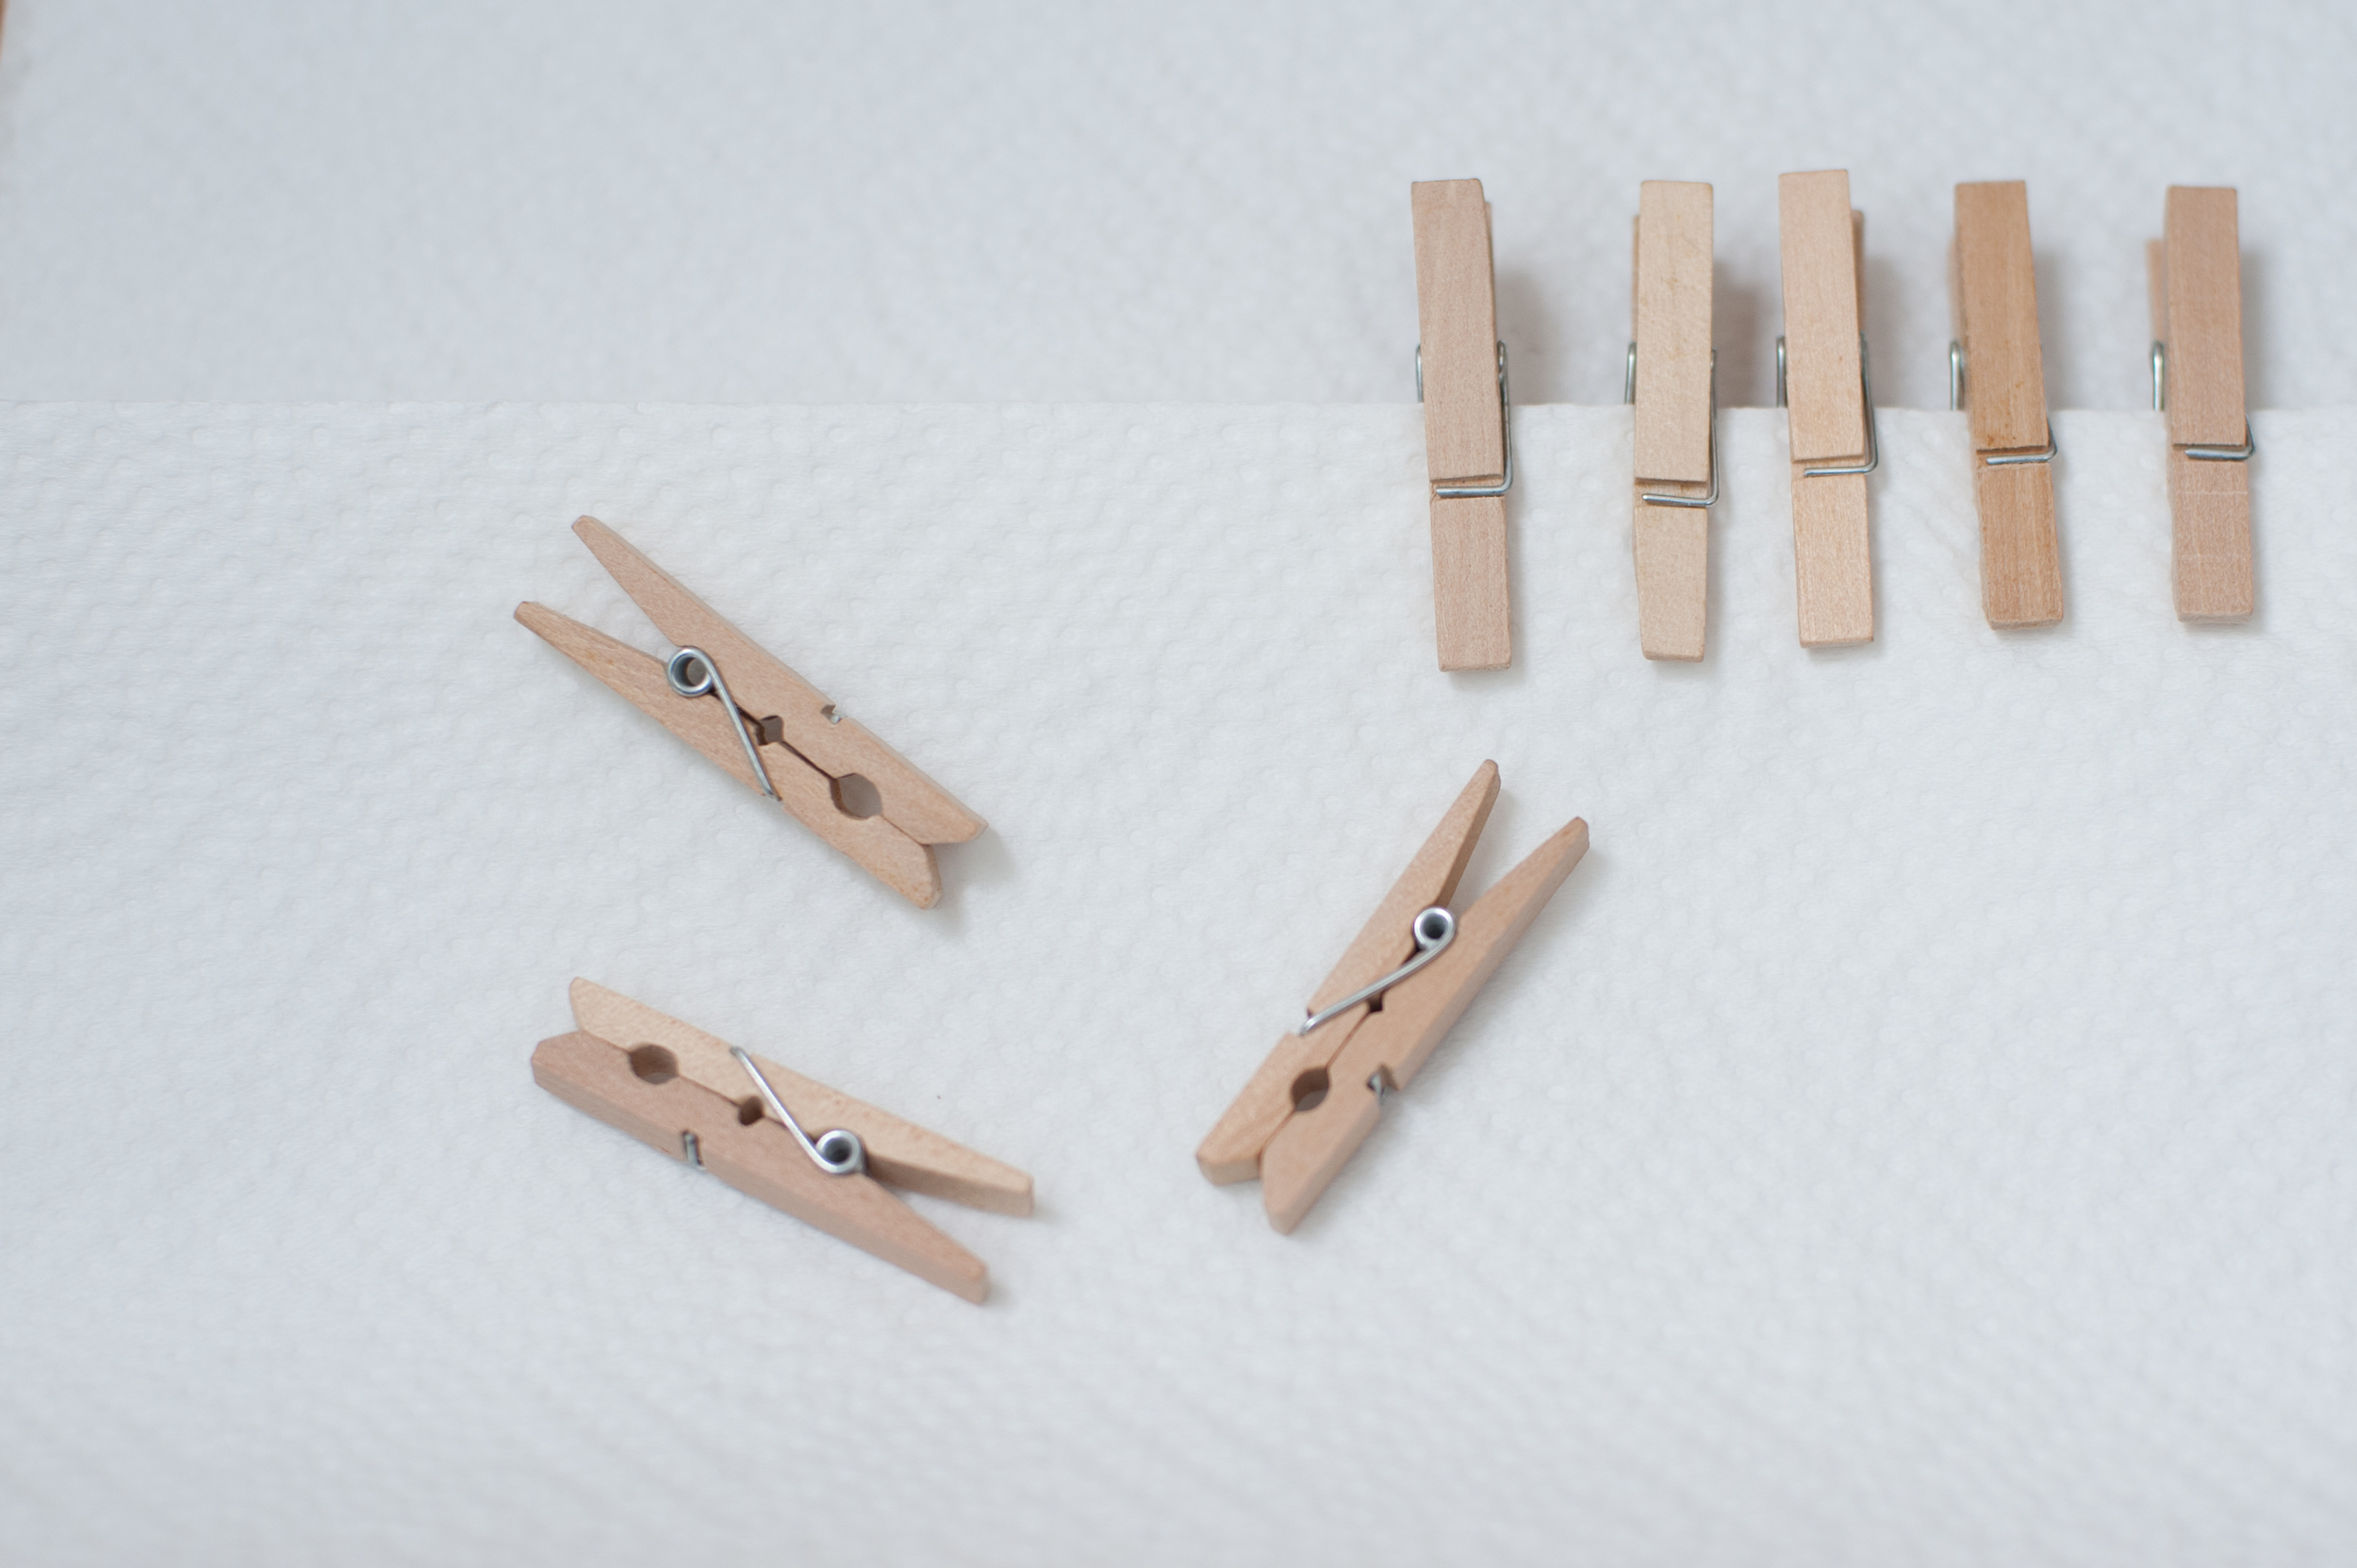
You can really go crazy with this, using string, pegs, washi tape and all sorts of other fun elements.

And voila!

No more searching your home for pens when you need to write your shopping list!

These pen holders also make great gifts too!

how to make a magnetic pen holder for your fridge

If you do try this easy & fun DIY, share a photo on Instagram or Facebook...I'd love to see what you create. 

Happy crafting!

x


DIY Hanging Photo Display using Square prints from Sticky9 & a GIVEAWAY!!!

Welcome to the next instalment in my #DIYDaysInKorea series. These posts are about making beautiful things for your home, whether that home is in South Korea, South Africa, or any where else in the world. This post follows on from the Gold Animal Fridge Magnets and these jars are what I used to store the Fig jam I blogged about last year.

If you are based here in Korea and would like to join one of my DIY days (click here to see what went on at the previous get togethers we've had) you can pop on over to the Facebook group for more information.  It's a wonderful place to meet new friends and spend an afternoon.

I hope you enjoy this series and that you leave feeling inspired.

x


DIY Hanging Photo Display Using Square Prints from Sticky9

I recently ordered a pack of square prints from Stick9 made up from my Instagram photographs (Stick9 offers a whole bunch of products that are made up from your Instagram photographs...if you use my code FRIEND2JNT you'll get 15% off your first order!) and had been brainstorming uses for them for weeks. When the world map we had stuck up above our TV fell down one day, I decided that their square prints would fill the space perfectly. 

Farmboy and I live in South Korea in an apartment rented out to us by the Education Office, so we are unable to go about knocking new holes or nails into the walls. I made use of the existing nails (hence the very non-conforming shape that ensued this DIY) when I strung up my photographs.

This DIY is super easy, quick and completely customizeable! You can hang your photographs in any shape or form you wish! The options are endless and only limited by the number of nails you have available!

You Will Need

  • plain wooden pegs (I bought these at my local CNA stationery store here in Korea for W500 for a pack of 5)
  • newspaper/kitchen towel
  • gold spray paint (I bought this at my local DC mart, you can also find spray paint at Daiso but their colour options are limited)
  • string/wool (I had planned to use wool, but soon realised it wouldn't show up very well against my white wall)

Step 1

Order your Sticky9 prints by clicking here. Free delivery worldwide! My prints arrived in South Korea about 10 days after I placed my order.

Step 2

Cover your workspace with kitchen towel or newspaper to protect your floor. You can see clearly that I missed this step in my last DIY by the evidence in the below photograph...oops!

Step 3

Fold over the paper towel before you place your pegs to allow for even coating. Spray your wooden pegs with the gold spray paint, ensuring you keep an even distance with your spray paint to make sure the paint dries evenly. 

Step 4

Get hanging! There really is no exact science behind this, and as you can see, it doesn't really matter if you ignore all the rules of shapes and symmetry and go wild. 

Step 5

Snap a pic of your hanging photo's & and share them with me on the CityGirlSearching Facebook page so I can see them!

Win sticky9 prints with citygirlsearching

And now for the fun part! I have teamed up with Sticky9 and have 2 sets of square prints to giveaway to two lucky winners! All you have to do to enter follow the steps in the widget below.

The two winners will be chosen on Friday 27th November and will be notified via my Facebook page (click here).

Good Luck!

#DiyDaysInKorea {Picnic Meet-Up)

DiyDaysInKorea

This past weekend I organised the #DIYDaysInKorea ladies a picnic meet-up in a little park in Jeongeup. Our usual get togethers usually involve doing some form of DIY (and chatting...there's always lots of that...oh and food...there's always so much good food!). These meet-ups are a way for us crafty (and in my case, definitely UNCRAFTY) ladies here in South Korea to spend quality time together. We even have a Pinterest board for us to share ideas and inspire one another, we're cool like that. 

It was such a nice opportunity to get together, without spending a whole lot of money, and while still having fun. 

If you're here in Korea and you'd like to join in the next time we get together, join our Facebook group (click here), we'd love to have you!

Here are some photographs from our afternoon together.

Enjoy!

x

Everyone brought such amazing food (most of it home made...like those milk tarts and the bread). I even tried making a Banting bread (top photograph above) which came out quite well, although I will admit to eating a slice or two (or three) of Alysha's loaf. 

We even had three pups join us which provided us all with a lot of entertainment. My pup, Shadow (the big black one) and the white one are both Korean Jindos (of the mixed variety hehe) and all three dogs were rescue pups found here in Korea.

Thank you so much to Marilize who got hold of my camera and snapped the lovely photographs below. It's so nice to be on the other side of the lens for a change.

We would love for you to join us next time, simply pop on over to our Facebook group to join in.

I hope to meet you soon!

x

DIY How to Make Gold Animal Glass Jars

How To Make Gold Animal Glass Jars

Welcome to the next instalment in my #DIYDaysInKorea series. These posts are about making beautiful things for your home, whether that home is in South Korea, South Africa, or any where else in the world. This post follows on from the Gold Animal Fridge Magnets and these jars are what I used to store the Fig jam I blogged about last year.

If you are based here in Korea and would like to join one of my DIY days (click here to see what went on at the previous get togethers we've had) you can pop on over to the Facebook group for more information.  It's a wonderful place to meet new friends and spend an afternoon.

I hope you enjoy this series and that you leave feeling inspired.

x


DIY Gold Animal Glass Jars

#DIYDaysInKoreaGoldAnimalGlassJars

You Will Need

-plastic animals (I found these at my local Daiso here in Korea)

-can of spray paint (I found this gold one at my local DC Mart)

-glue

-your choice of glass jars/bottles

Directions

Spray your animals with the spray paint. Make sure to place some newspaper down or use a piece of cardboard to prevent your work surface from being covered in paint.

Make sure to hold your can of paint at an equal distance from the animals while spraying to ensure the are covered in an even layer of spray paint. This also stops the pint from dripping. 

Once your animals are dry, you can start gluing them onto the lid of your jars. Try not to use too much glue when sticking them down so the glue doesn't run and form puddles around the animal.

Leave to dry and repeat! Now you have beautiful jars to store all kinds of things in your home. Use your jars to store nuts and seeds, bugger jars and bottles for storing makeup and nail polishes, or use them to store home made jams like this Fig Jam. The options are endless!

I'd love to see your jars if you make them, please share your creations with me on Facebook, Twitter or Instagram using the following hashtag #citygirlsearching.

Happy DIYing!

DIY Gold Animal Fridge Magnets #DiyDaysinKorea

DIYGoldAnimalFridgeMagents

Welcome to the next instalment in my #DIYDaysInKorea series. These posts are about making beautiful things for your home (whether that home is in South Korea or South Africa, or any where else in the world).

If you are based here in Korea and would like to join one of my DIY days (we are having our second meetup this weekend...click here to see what went on at the last we had in June) you can pop on over to the Facebook group for more information.  It's a wonderful place to meet new friends and spend an afternoon.

I hope you enjoy this series and that you leave feeling inspired.

x


DIY Gold Animal Fridge Magnets

DIYGoldAnimalFridgeMagnets

What you need

-plastic animals (I found these at my local Daiso here in Korea)

-can of spray paint (I found this gold one at my local DC Mart)

-saw/sharp knife to cut your animals in half

-heavy duty magnets (I found these small round ones at a local stationery store here in Korea)

-super glue

-drill to bore holes in the plastic (we bought our drill online through Gmarket...click here for the link))

DIYGoldAnimalFridgeMagnets

Directions

Using your saw or sharp knife, cut your animals in half. Try to keep cutting as straight as possible to ensure your magnet will be flush against the fridge when you're done.

Use a drill bit that is the same or a similar size to your magents. This is where I would suggest round magnets as then inserting the magnets is much easier if the hole is the same shape.

Then spray paint your animals in your desired colour. I found gold spray paint the the local DC Mart here in my small town in Korea. Leave to dry overnight.

DIYGoldAnimalFridgeMagnets

Finally super glue your magnets into the back of your animals and leave to dry.

DIYGoldAnimalFridgeMagnets

Here are some photographs of my magnets on the fridge. They are the perfect thing for holding up snail mail packges from friends (like this one from Nadia) and of course my favourite free monthly printable calendar from HappinessIs.

#DIYDaysInKorea {first meet-up}

#DiyDaysInKorea

A few weekends ago I organised a little get together for some of us crafty ladies here in South Korea. We even have a Pinterest board for us to share ideas and inspire one another, we're cool like that. 

It was such a nice opportunity for us to spend time together, without spending a whole lot of money, and while still having fun.  There was good food, lots of spray paint fumes, laughs and a whole lot of DIYing (not too much from my end, thank goodness I had hubby nearby to help me cut some animals in half with a saw, for the most part I was too busy taking photographs).

If you're here in Korea and you'd like to join in the next time we get together, join our Facebook group (click here), we'd love to have you!

How to make 'no-cook' play dough in Korea

MakingPlayDoughinKorea.jpg

And it's edible too for little hands that like to eat everything!

I used this activity to teach my students shapes and colours in a more hands on and fun way. It was during an English camp and so we had a whole afternoon for the activity (it takes at least 1 hour for them to actually make the dough and play with it a little so keep that in mind when planning your lesson).

You can buy all sorts of fancy clay in the stores here...but it's nowhere near as fun as actually making it yourself. This recipe is easy, and the kids all did it themselves (no need for boiling water or any fancy ingredients). A lot of edible dough recipes call for Kool-Aid to make your dough smell and taste good, but this is pretty much impossible to get hold of here in Korea. To colour the dough I had ordered a set of food colouring on Gmarket  but they didn't arrive in time, so we used the next best thing, water based paint (although eating the dough with the paint would not be a very good idea so keep an eye on your kids).

This dough will keep for 2 - 3 weeks when kept in a sealed container/ziplock bag. If it starts hardening, simply add more oil and knead until soft.

Here is a photograph of most of the ingredients with their Korean branding (except salt which my teachers found in the Science calssroom).

Here is a photograph of most of the ingredients with their Korean branding (except salt which my teachers found in the Science calssroom).

Ingredients

cold water (1/4 cup per batch/child)

flour (1 cup per batch/child)

oil (1 tablespoon per batch/child)

salt (1 tablespoon per batch/child...use ground salt instead of course salt. The salt is used to help preserve the dough)

a few drops of colour (food colouring or a water based paint)

*make sure to have big enough bowls for each student too!

photo 5.JPG

Method

1. Combine flour and salt.

2. Add water & oil. Mix until combined (knead well, you might need to help little hands as they will get tired quickly).

3. Add food colouring/paint and knead well until combined.

If mixture is too wet, add more flour. If mixture is too dry, add more oil

photo 1.JPG
photo 2.JPG

I then called out a shape and the students had to 'create' it with their dough. You will be suprised at just how creative the can be. 

Happy playing!

x

{DIY} Washi Tape your computer cord

DIY Washi Tape Your Laptop Charger and Cables CityGirlSearching

I'm feeling rather inspired with my latest washi tape collection, and after reading this lovely post by Design Love Fest I thought I'd try something similar with the power supply part of my computer cable. 

The white parts of the MAC cables look really spiffy, but being white in colour they aren't very practical. The washi tape should keep the power house clean now.

It was really easy, and took literally 3 minutes to do. Let me know if you try something similar, or better yet, upload a picture to the blog Facebook page  to share with all my readers. 

Have a lovely Sunday everyone.

x