Our Ana White inspired Greenhouse
/
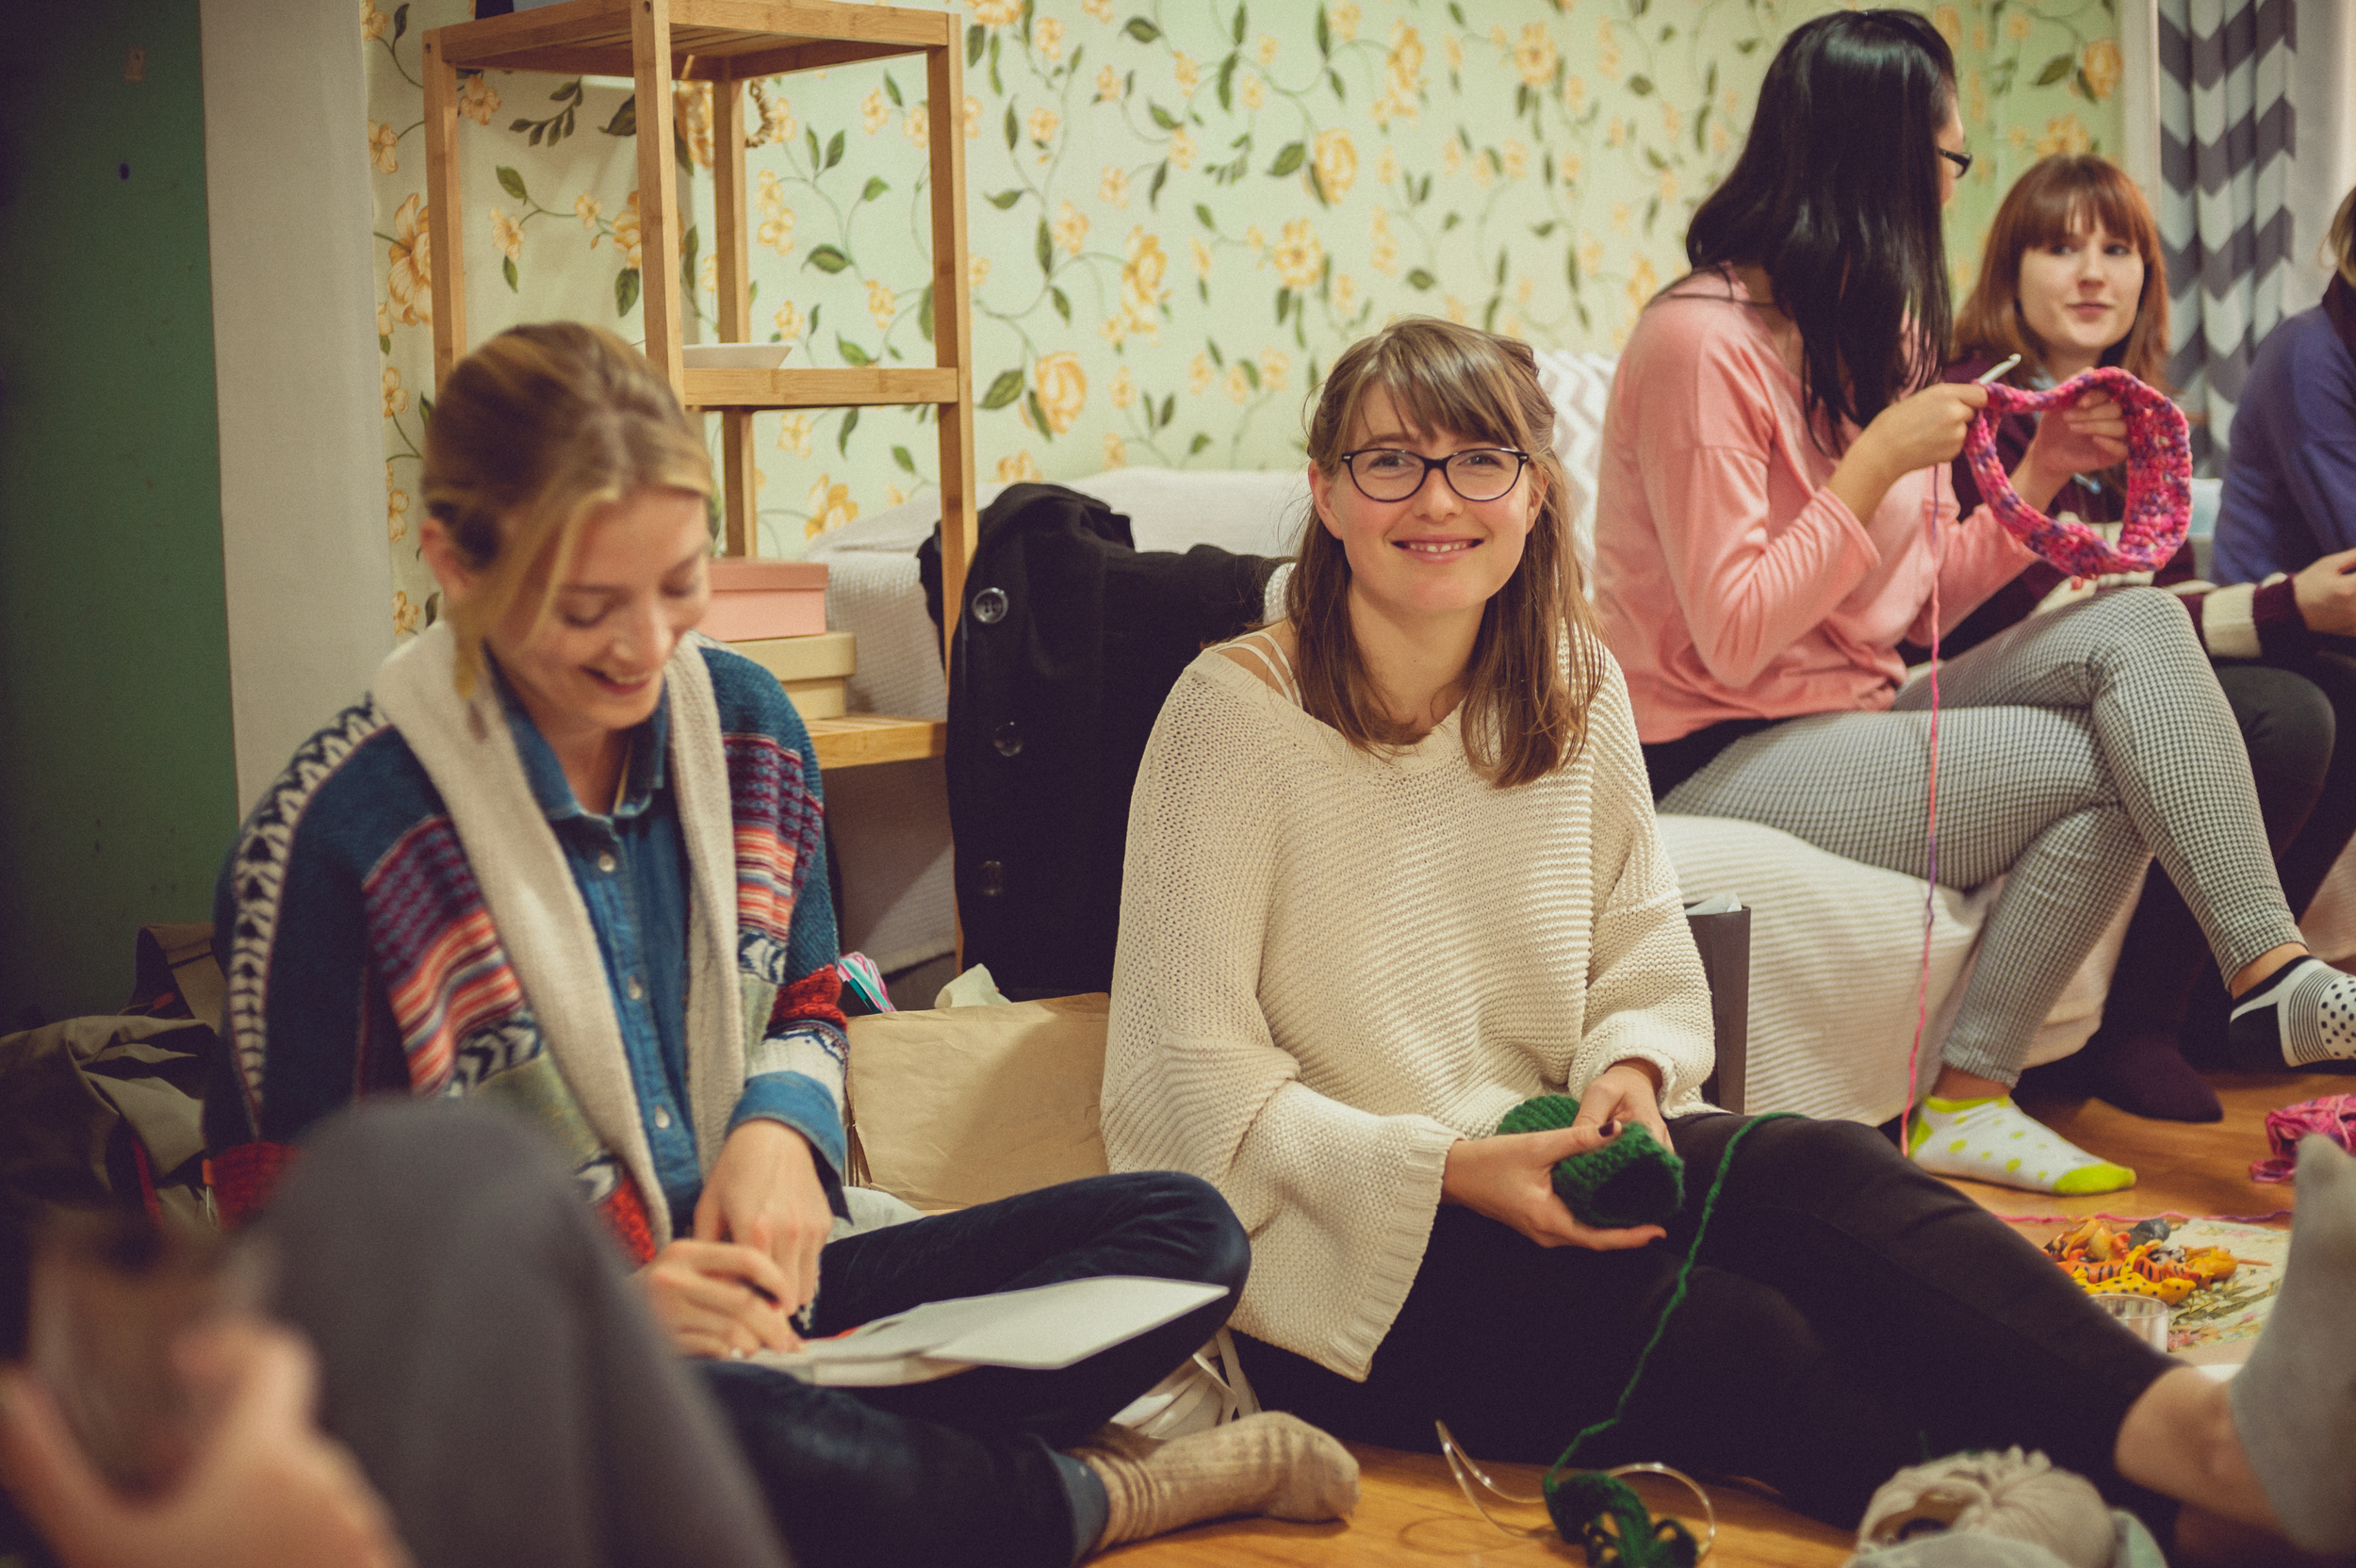
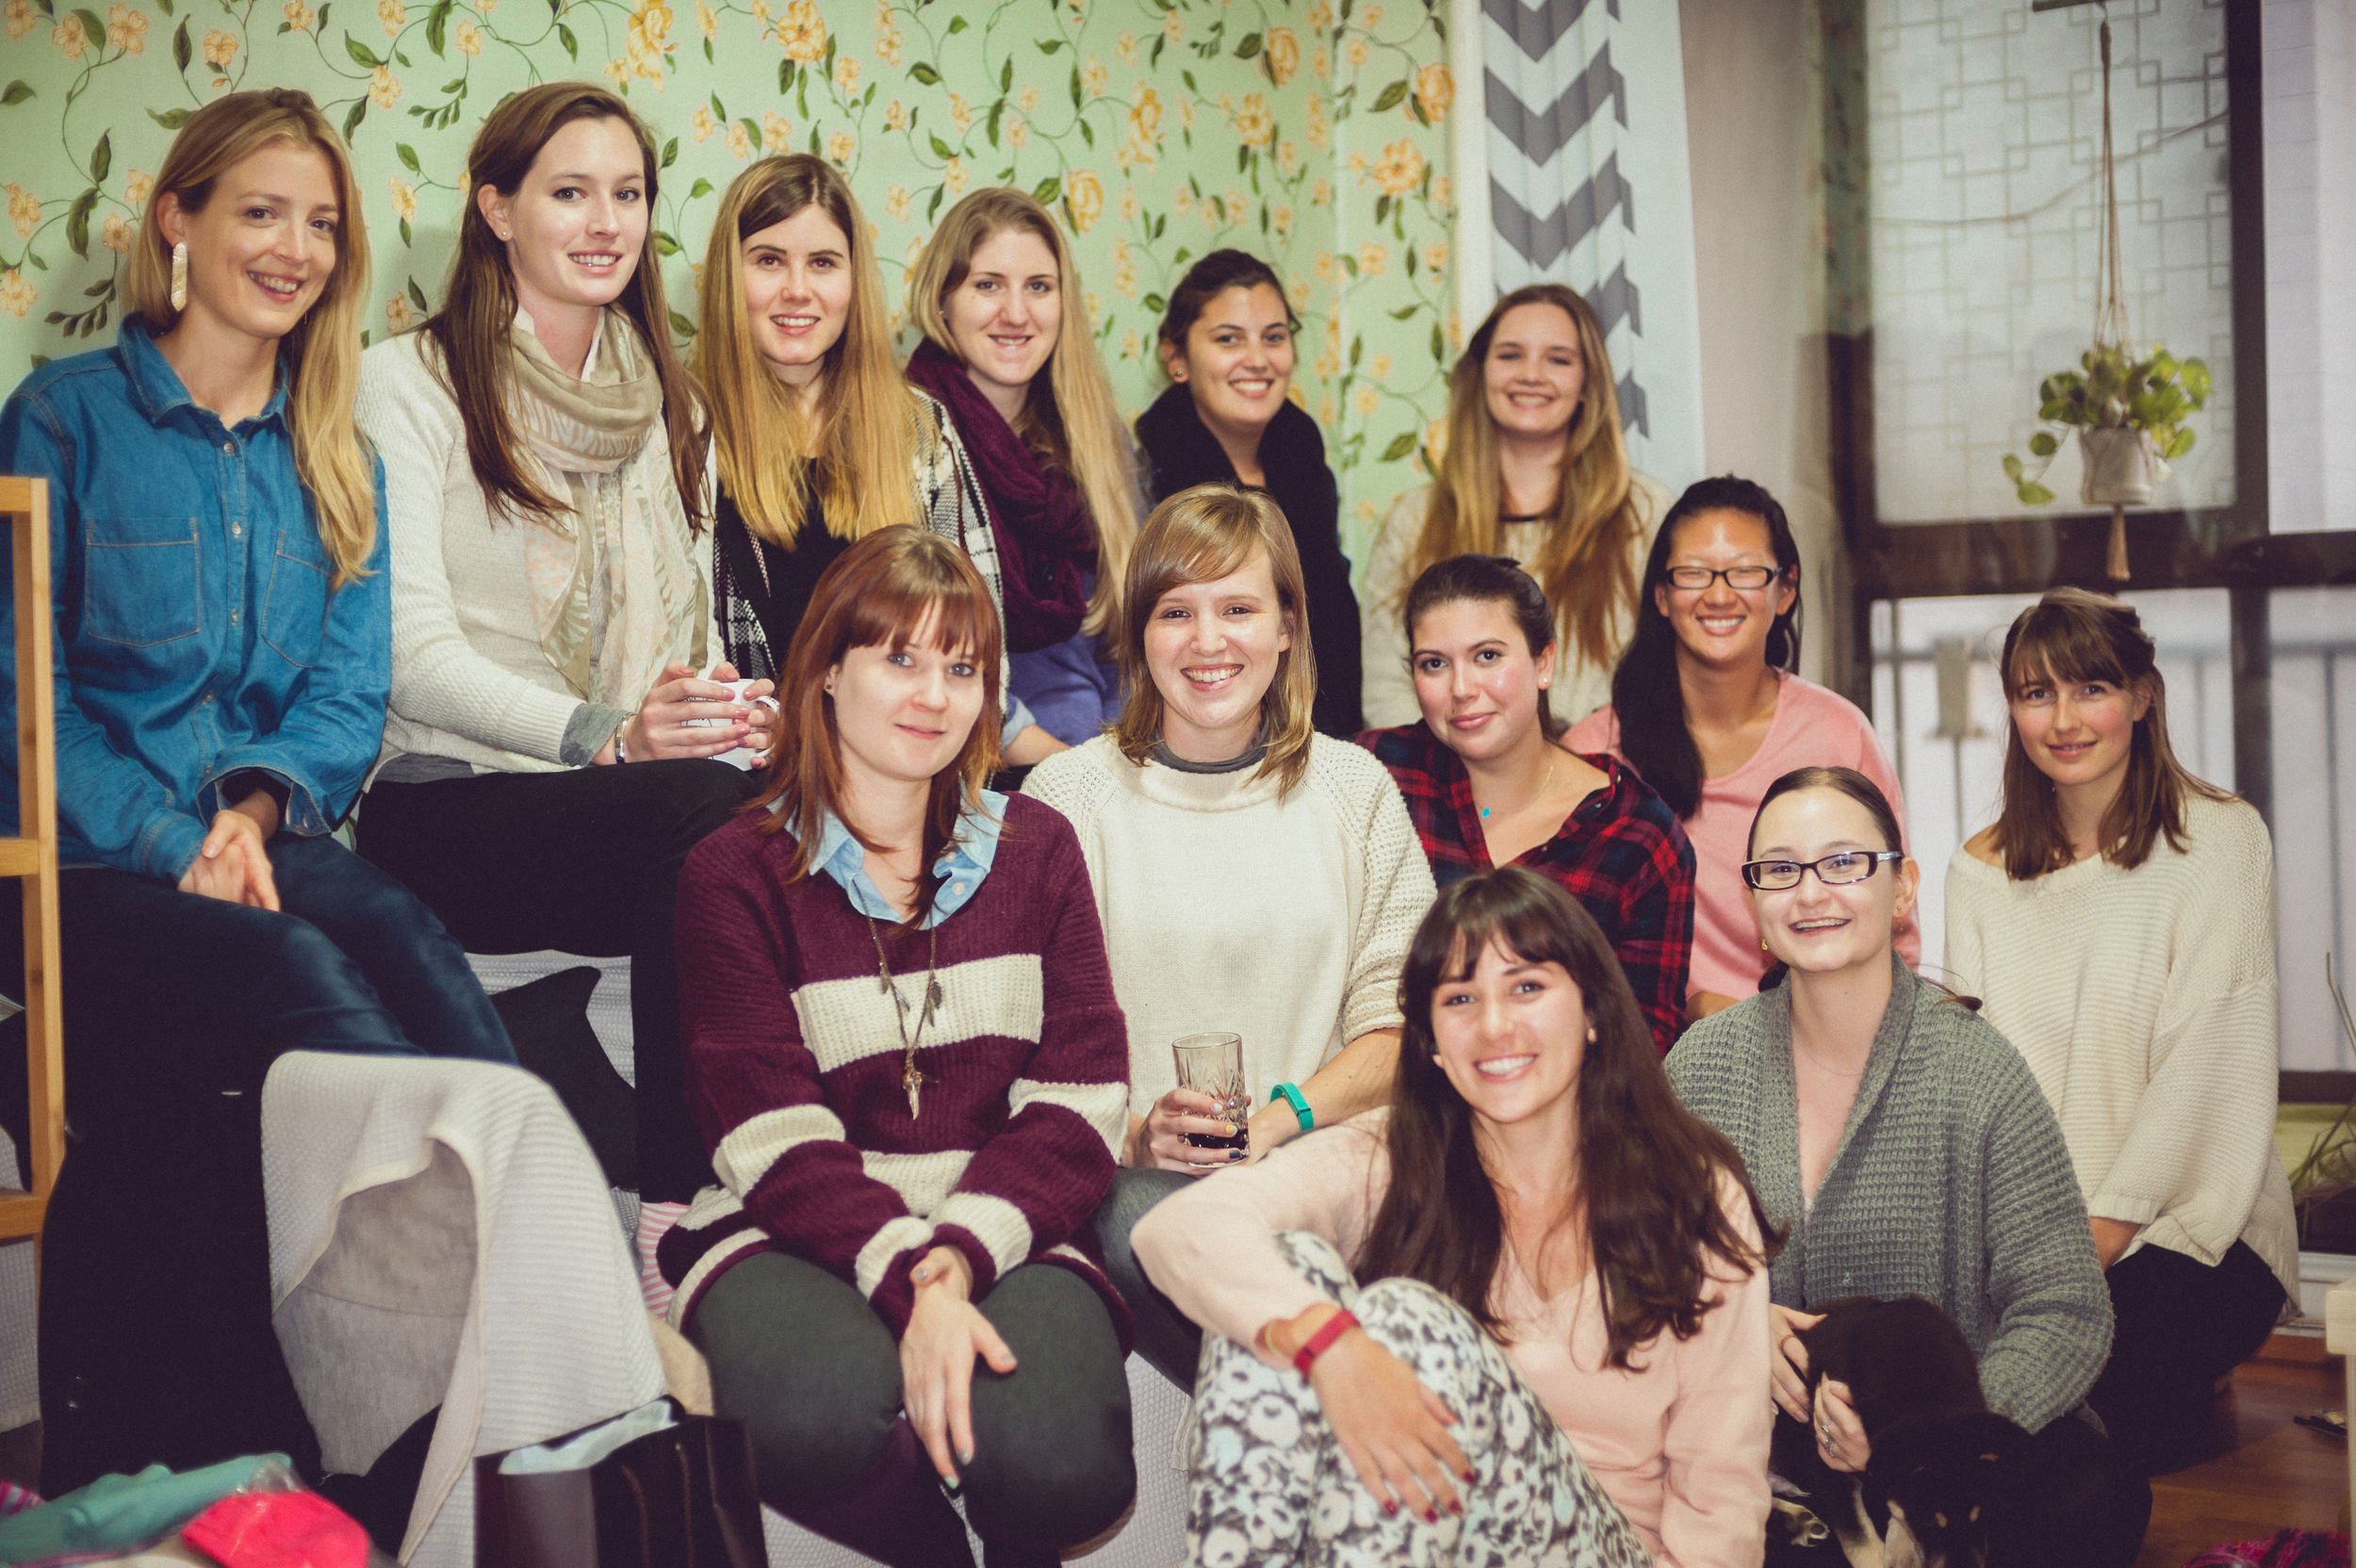
I’m finally getting around to sharing the build of our Ana White inspired greenhouse! When I first approached Hubby with the idea of a greenhouse (would I really be able to call myself a gardener if I didn’t have one, right?) he wasn’t exactly enthusiastic. I also knew I needed his buy in to make it happen, and we also knew we both wanted it to look good as well as be functional. So he set out researching, plotting & planning. And even though the construction panned a sum total of almost 2 years (because, as I am often reminded…he has a full time job being a dairy farmer) I mustered up all my patience and grace, and we have finally ended up with a most wonderful (often magical) space. We realised very early on, that the only time we would be able to actually have plants & seedlings in there is in the middle of winter, as it’s just TOO hot in there for most of the year. The few seedling trays I have tried to in there have burnt to a crips within a day or so, but we soon discovered that, mostly during the cooler months of the year, that it is the perfect spot for a cup of coffee, or a get together with friends. We’ve hosted an engagement party’s in it, a very low key bachelorette, a romantic Valentine’s dinner of sushi & wine, a BookClub and a few lady’s only evenings (it’s referred to as the SheShack for those). Overall, it’s become a wonderfully cosy ‘extra room’ to spend time in. It needs a good clean out every couple of months, especially when the chickens, ducks and children have had their way with the space and I find all sorts of potted seeds and freshly picked flowers planted and then left abandoned.
Here is a link to the actual Greenhouse plans if you’d like to try your hand at building your own one…just click the button below. And keep reading to hear what we used and where we bought our materials:


We dug down & then cemented in the wall foundation…leaving the main floor as bare ground. The timber we bought from our local Buildit. The corrugated sides were left over from some of the older farm structures we had. The most expensive part of the construction was the clear roof sheeting. This we purchased from Macdonald Steel in Pietermaritzburg and had delivered here to our farm. It has held up really well, and has stayed surprisingly clean over the past few years. We did make sure to factor in trees/dropping leaves when deciding on the location of our greenhouse. We also wanted to have it close enough to the house that we could pop in and out of it easily (at first this was to be able to check on plants/seedlings etc but seeing as that didn’t last long we are grateful it’s close enough to run an extension cord to as we often run fairy lights in it for evening times).


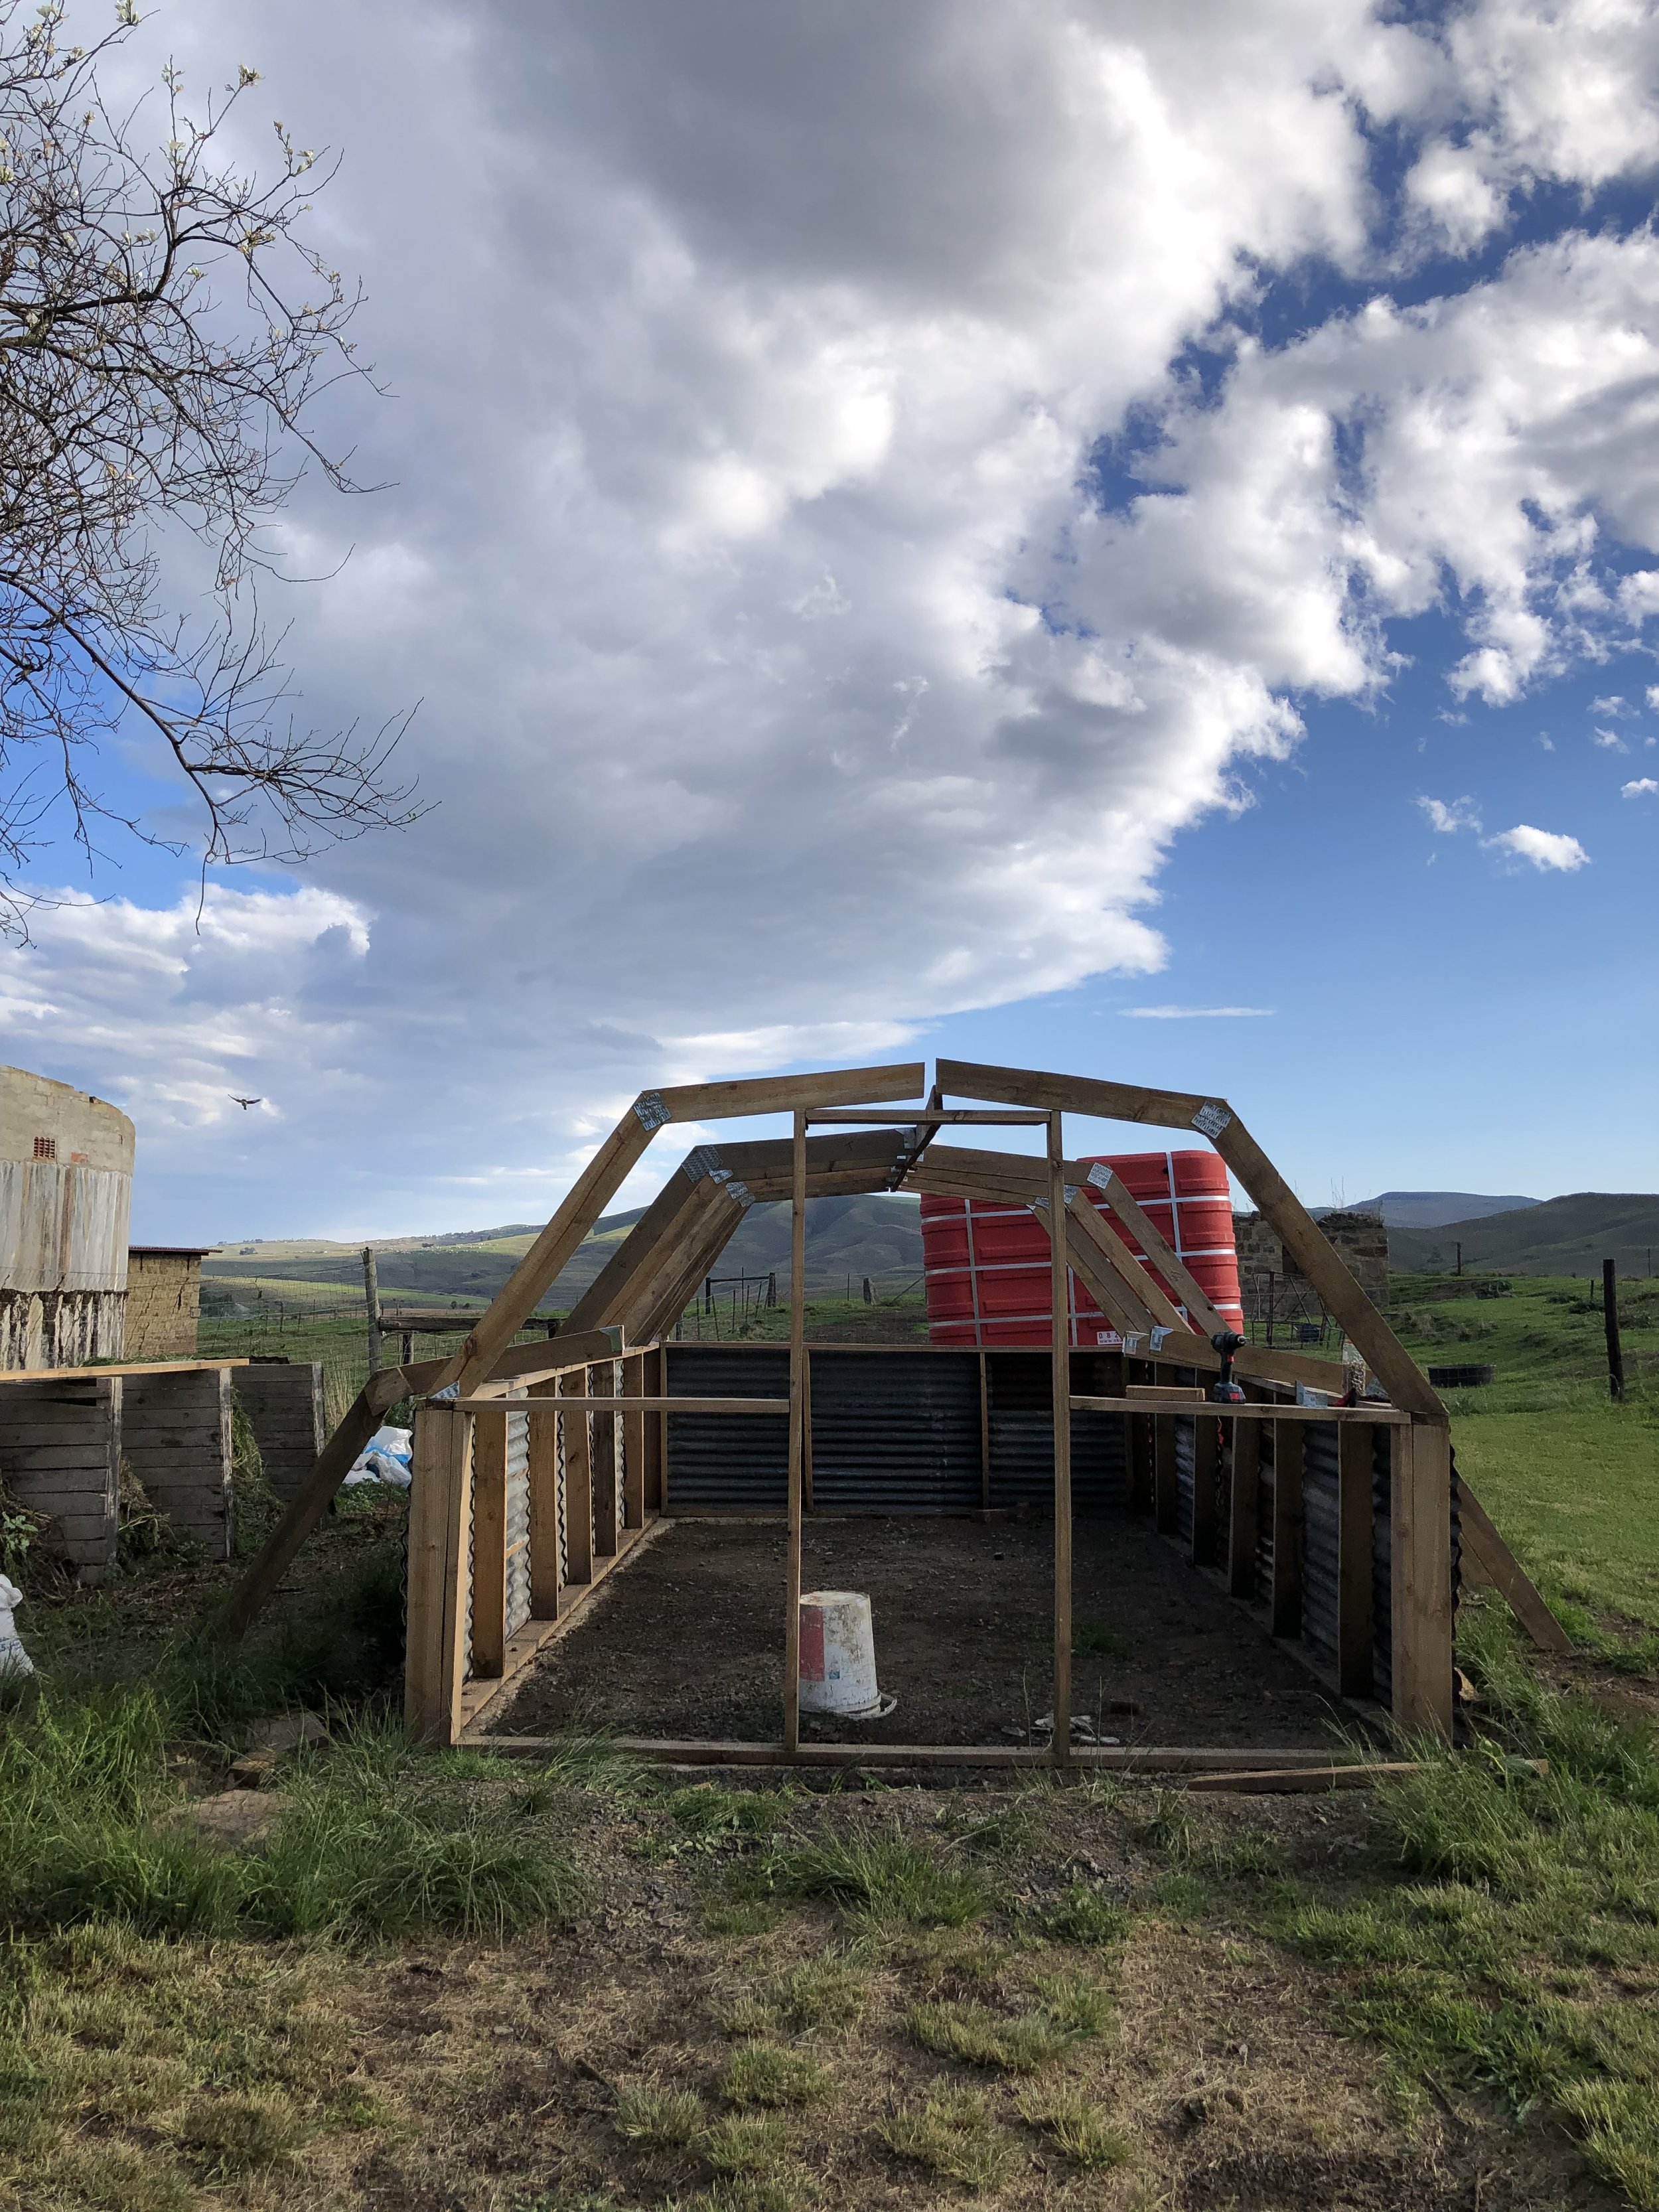
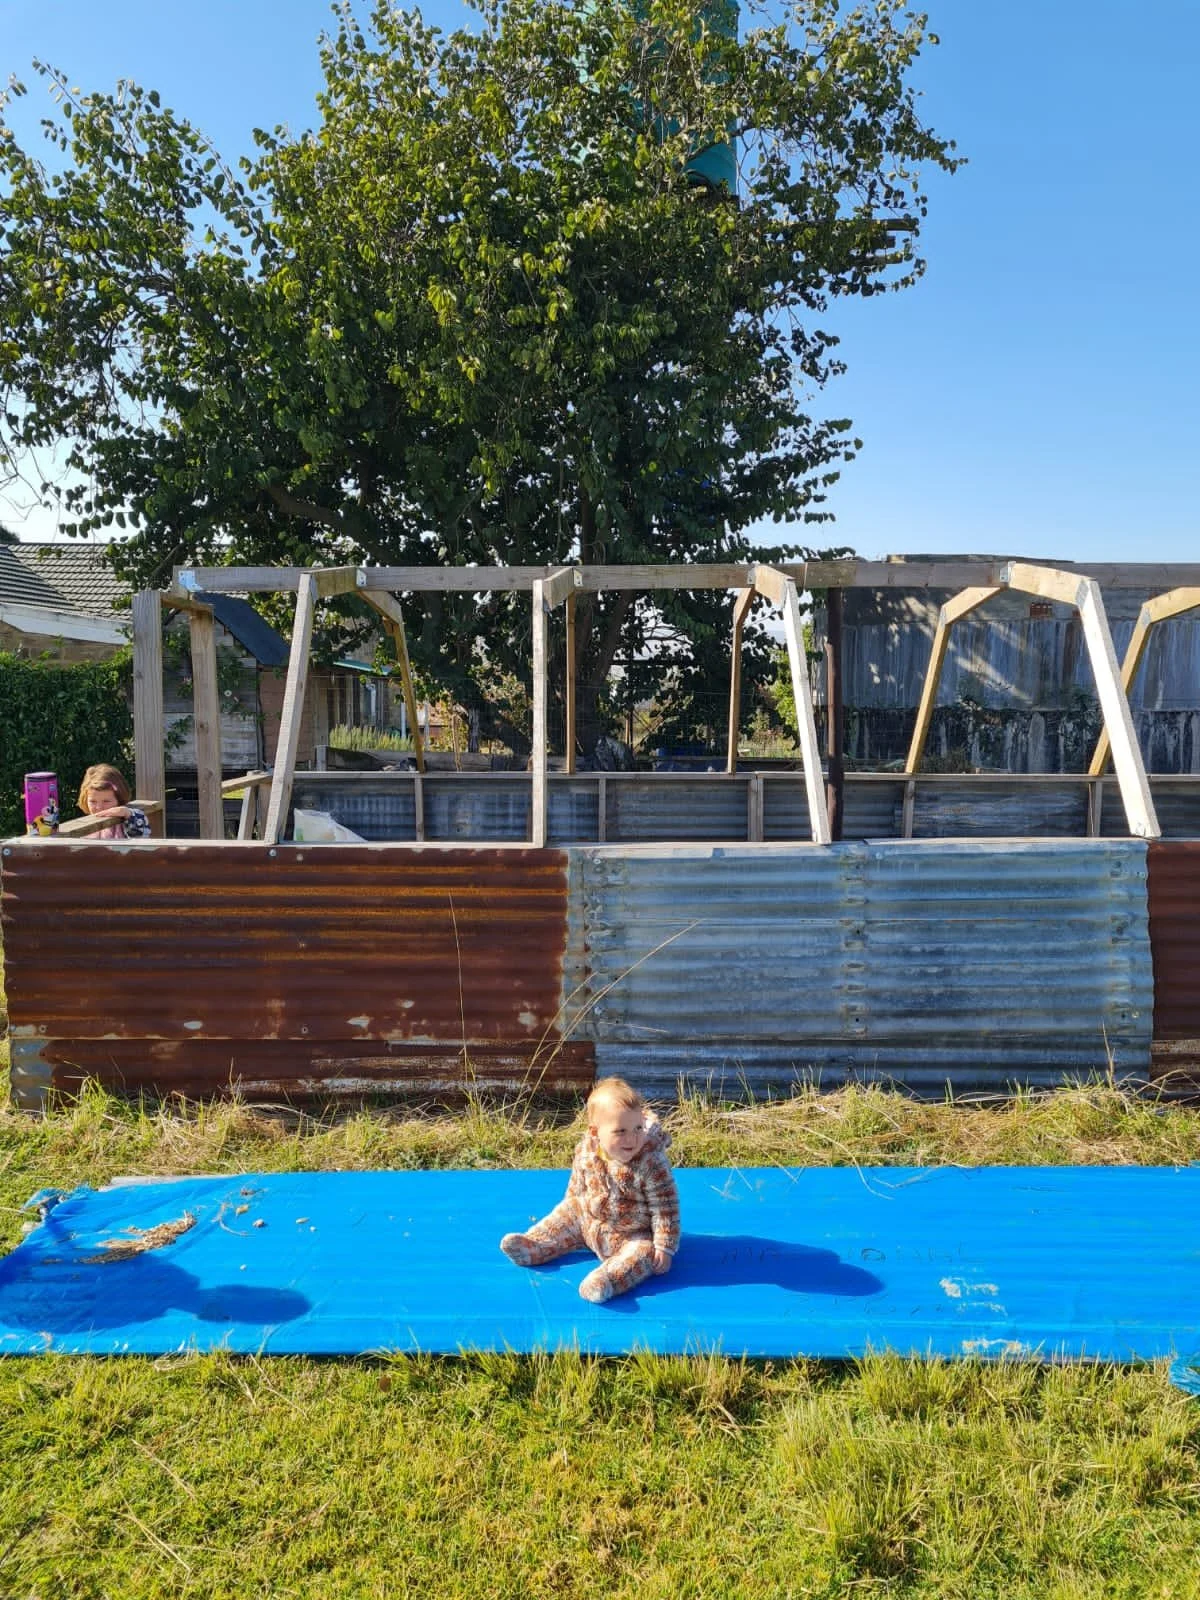


We did find we needed a central pole structure in there to keep the roof from caving in, and unfortunately this has made it a bit harder to bring in a big table to host dinners for more than 4 people at a time, but we work around this by just having everyone eat off their laps.
We put plastic sheeting down and covered that with a few bags of gravel which has prevented weeds/grass from popping up in the floor. It isn’t the most comfortable thing for bare feet to walk on, but we all manage well enough. And it hasn’t stopped my kiddies from playing in there without shoes on.
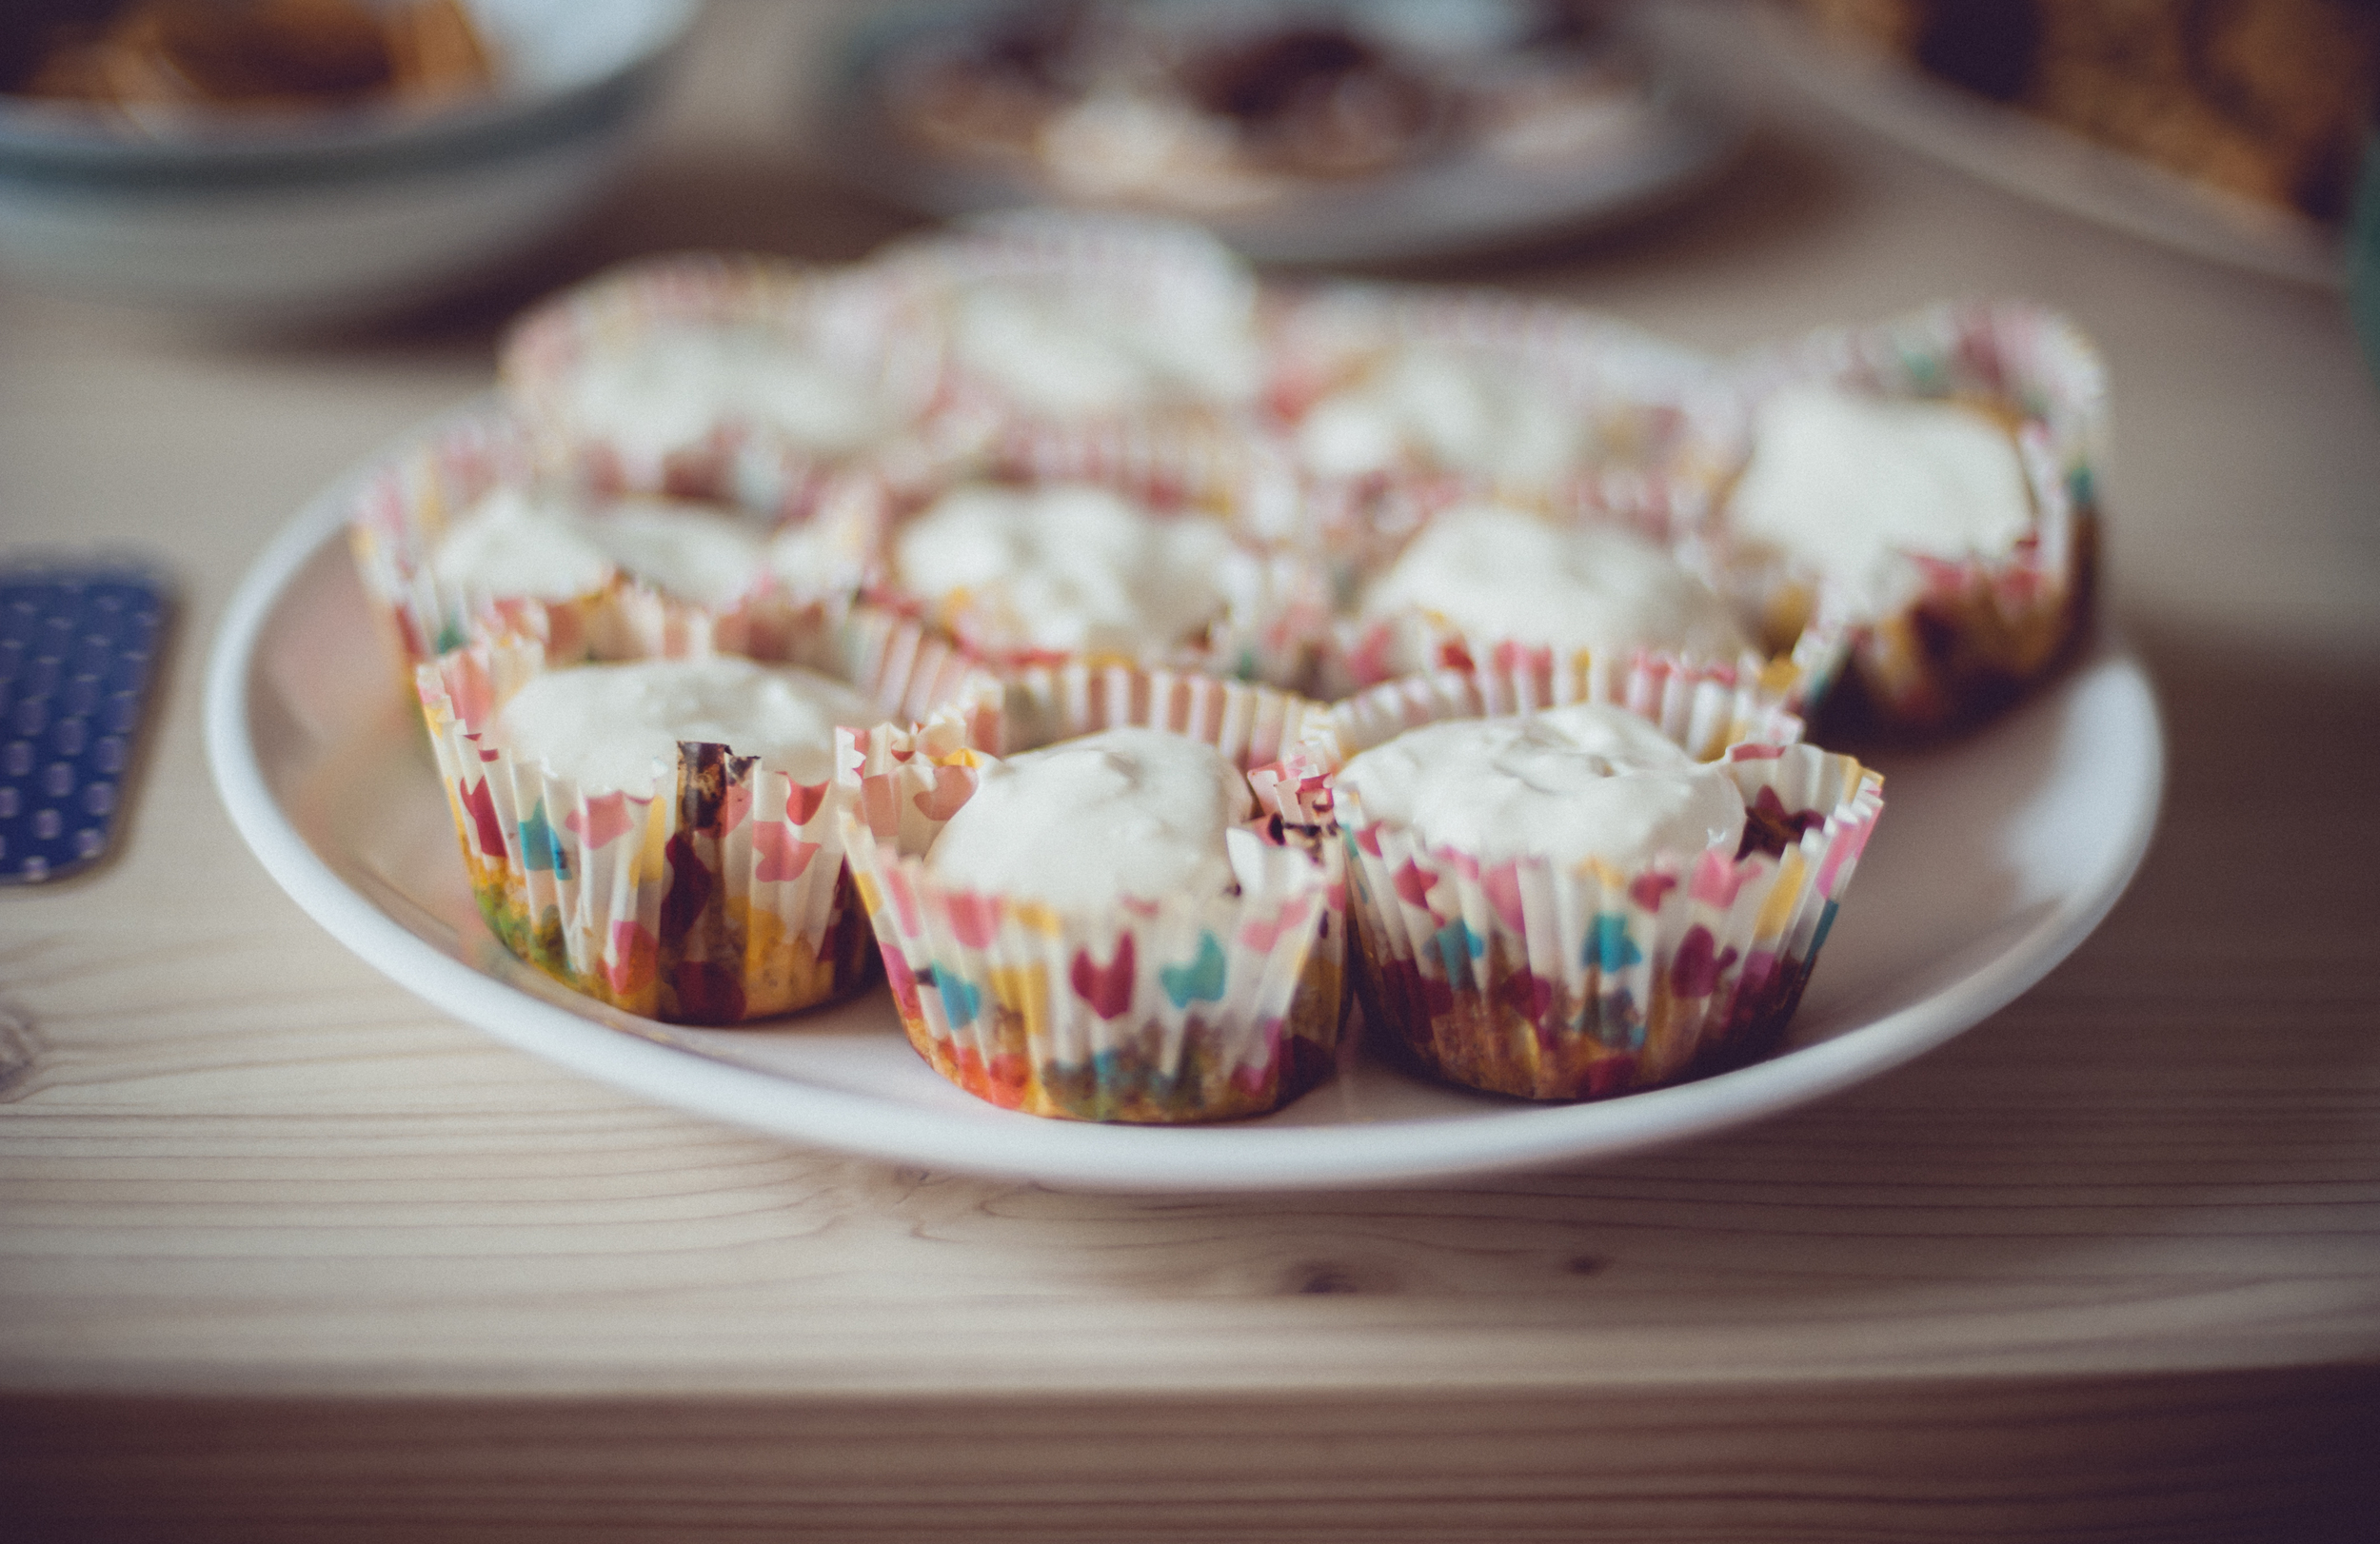
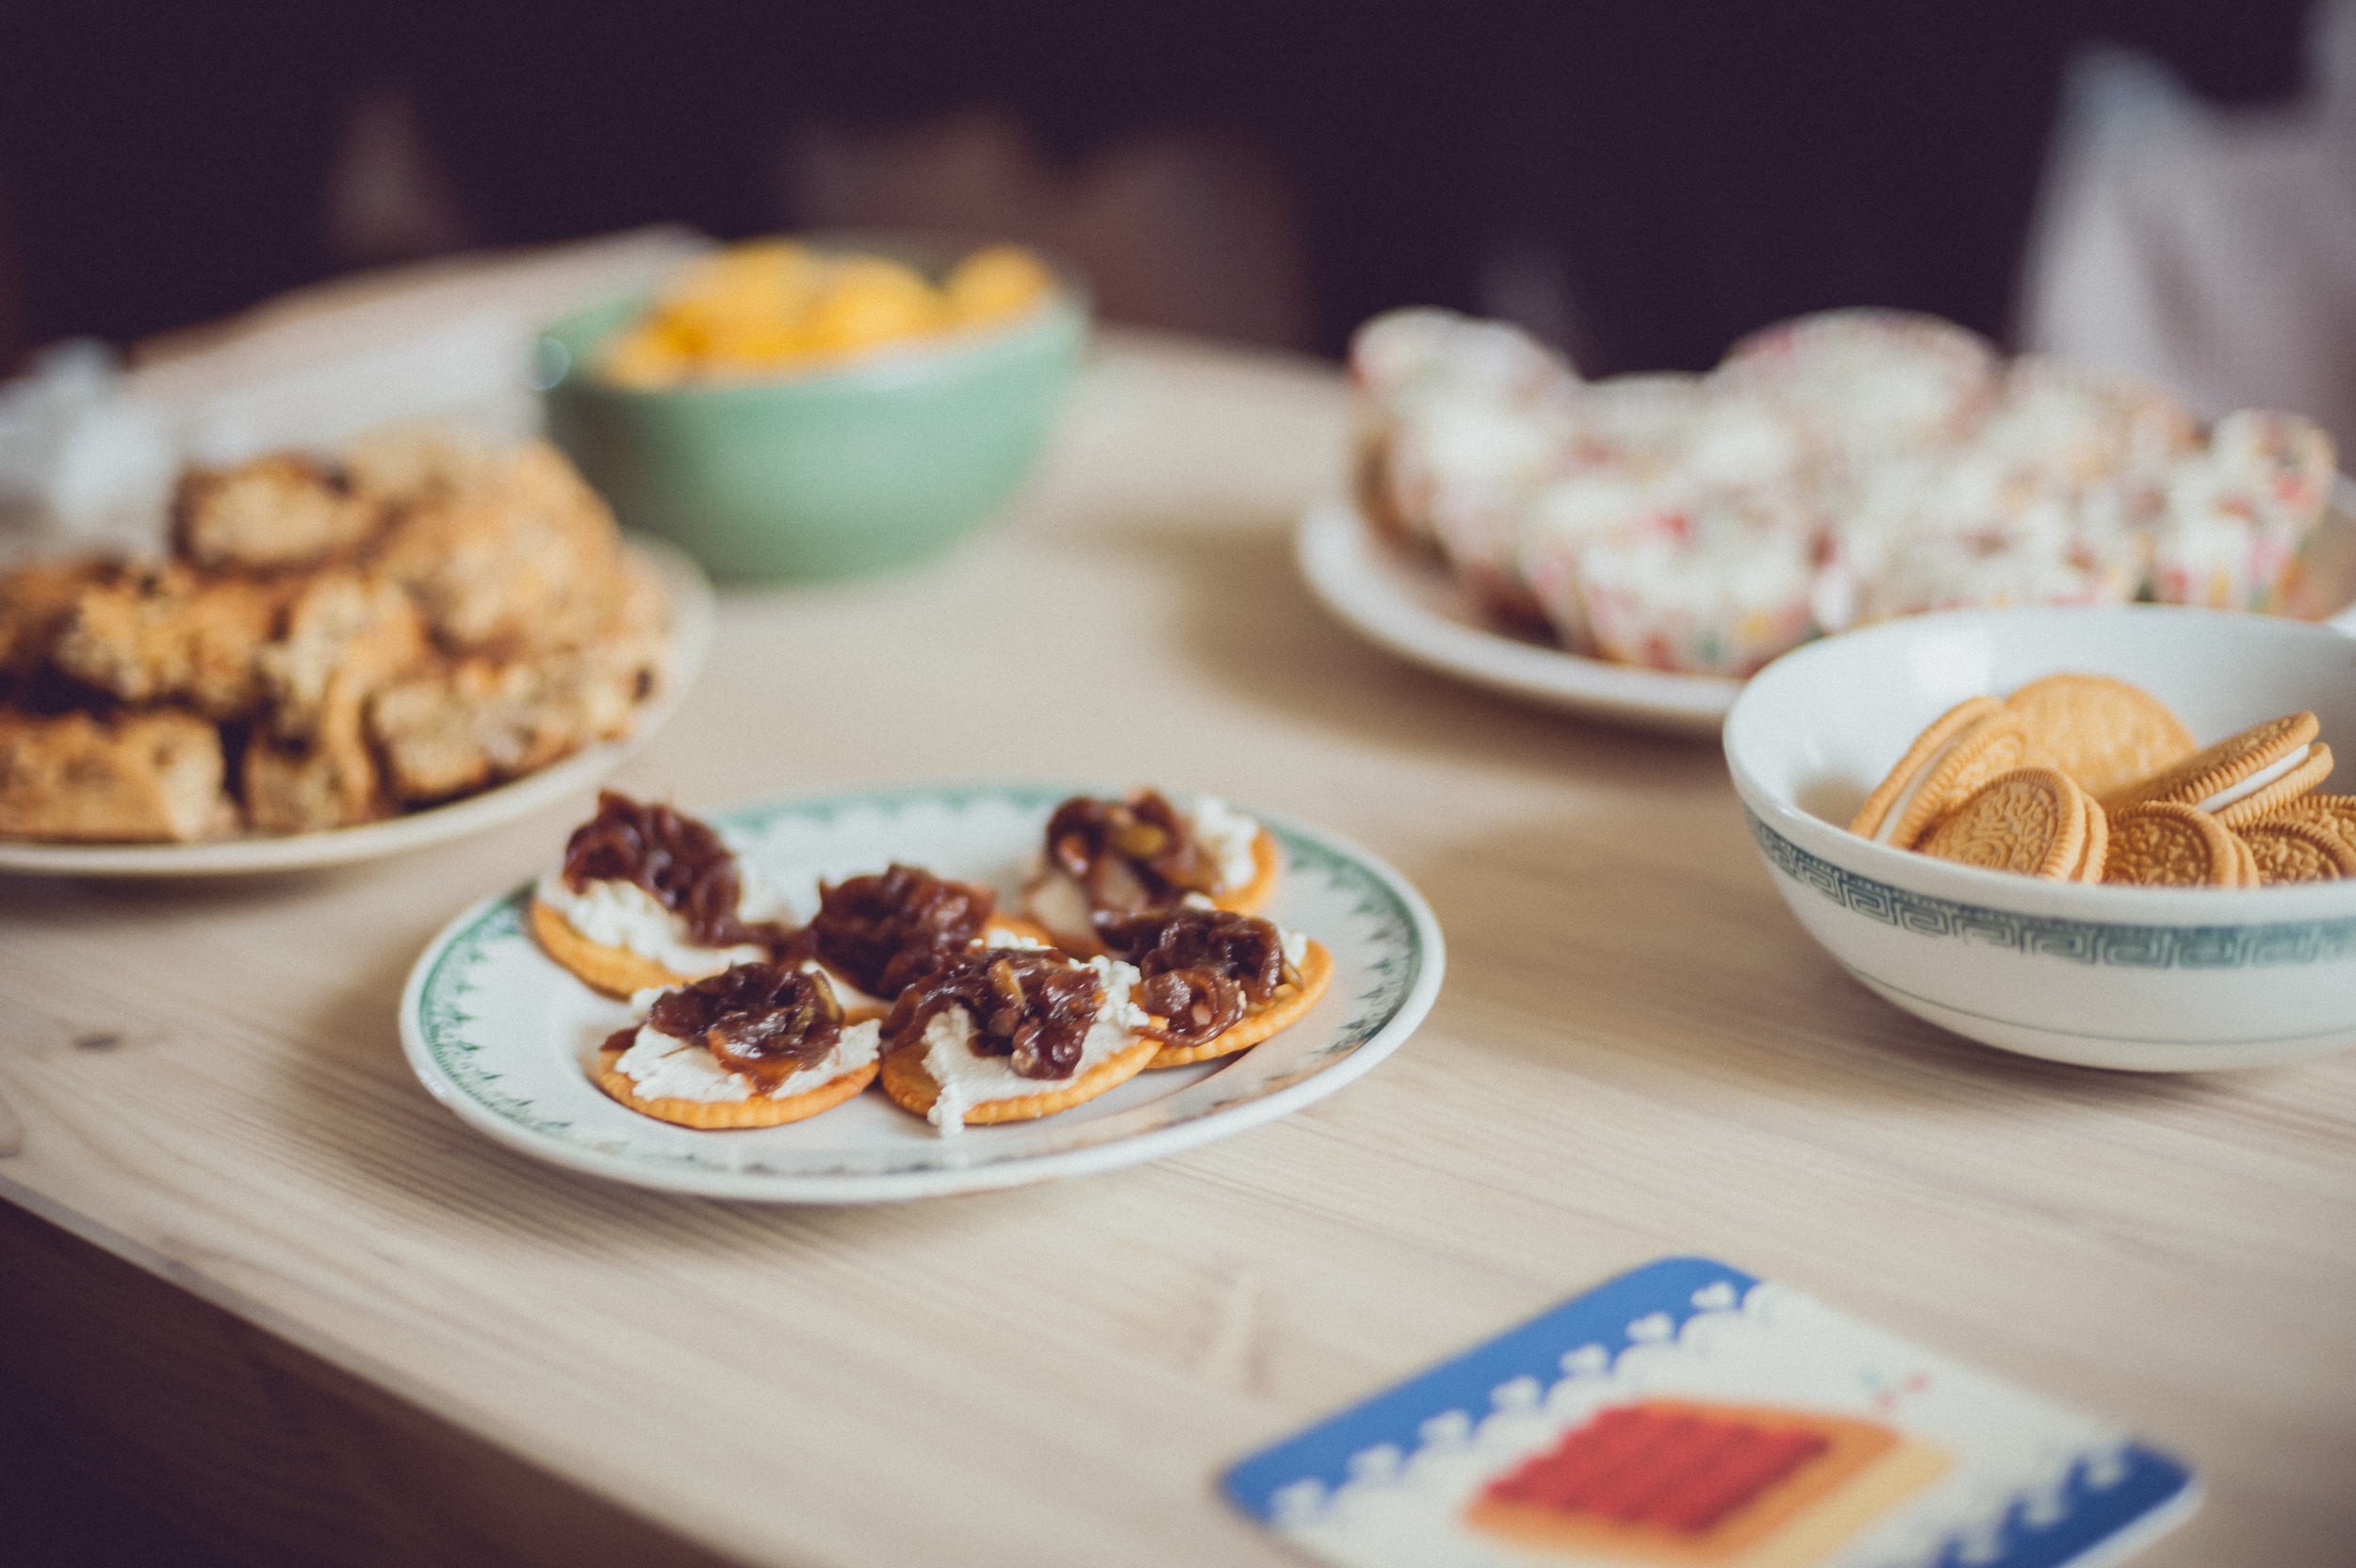
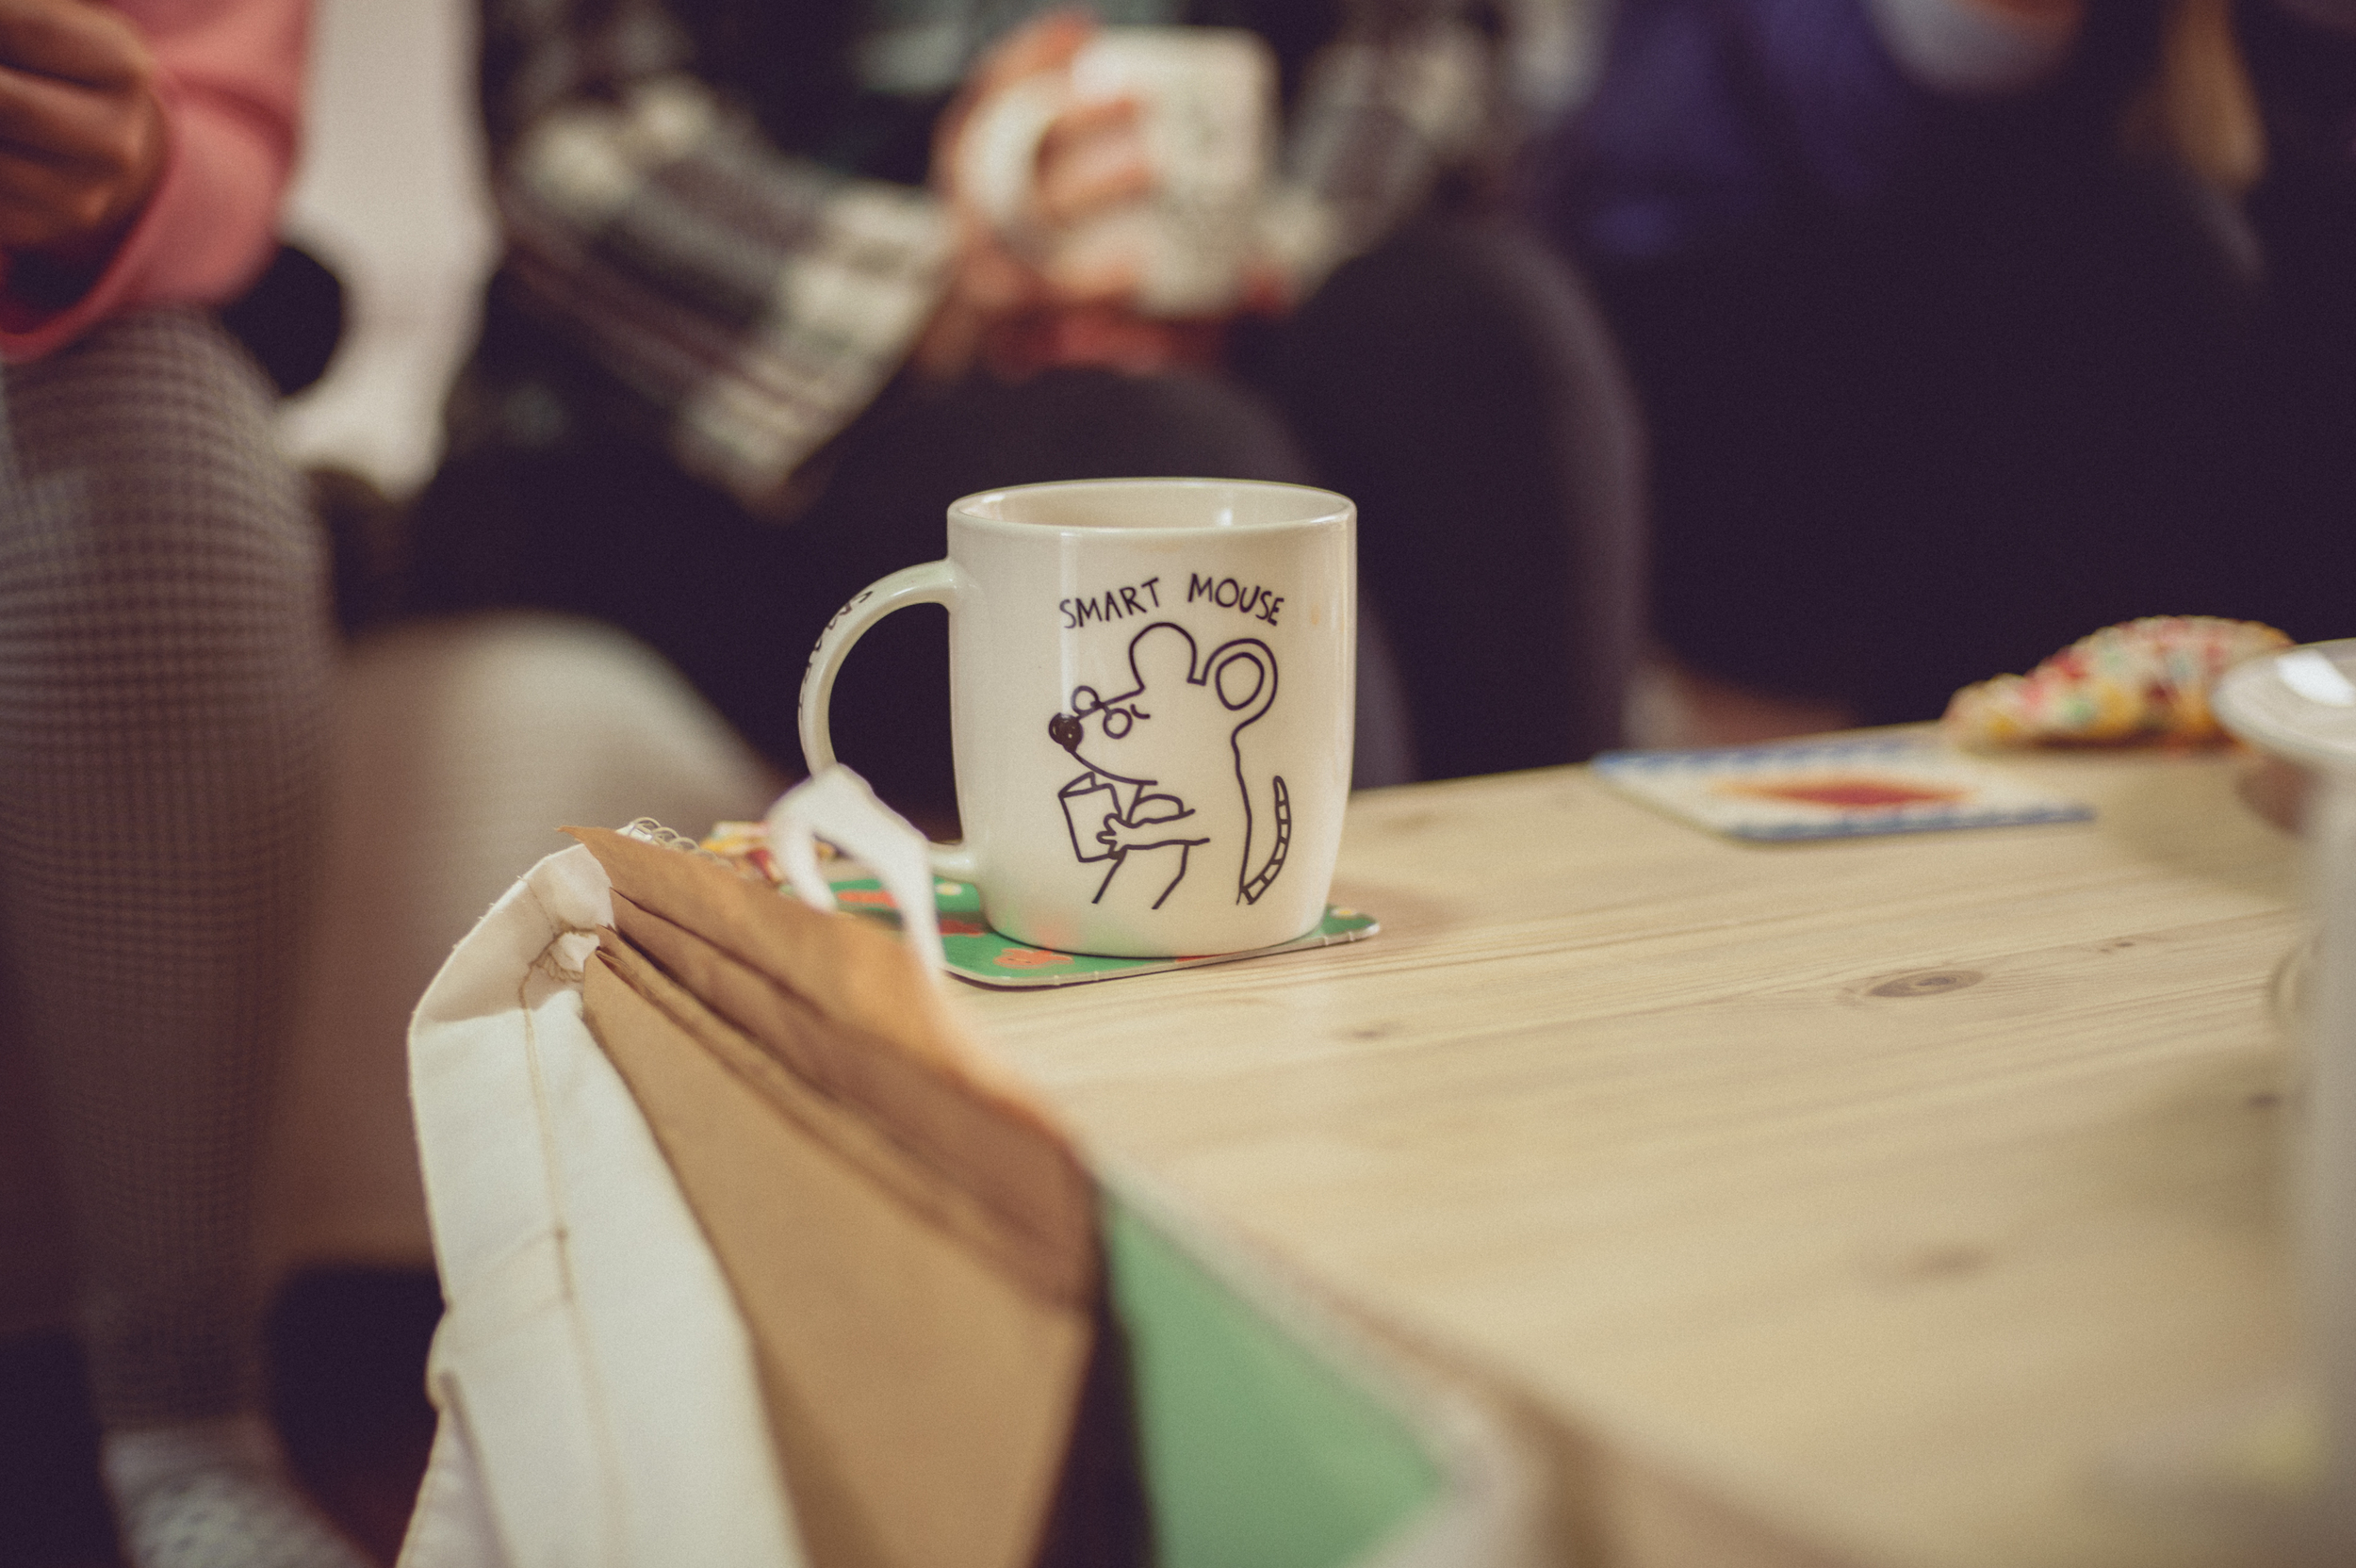
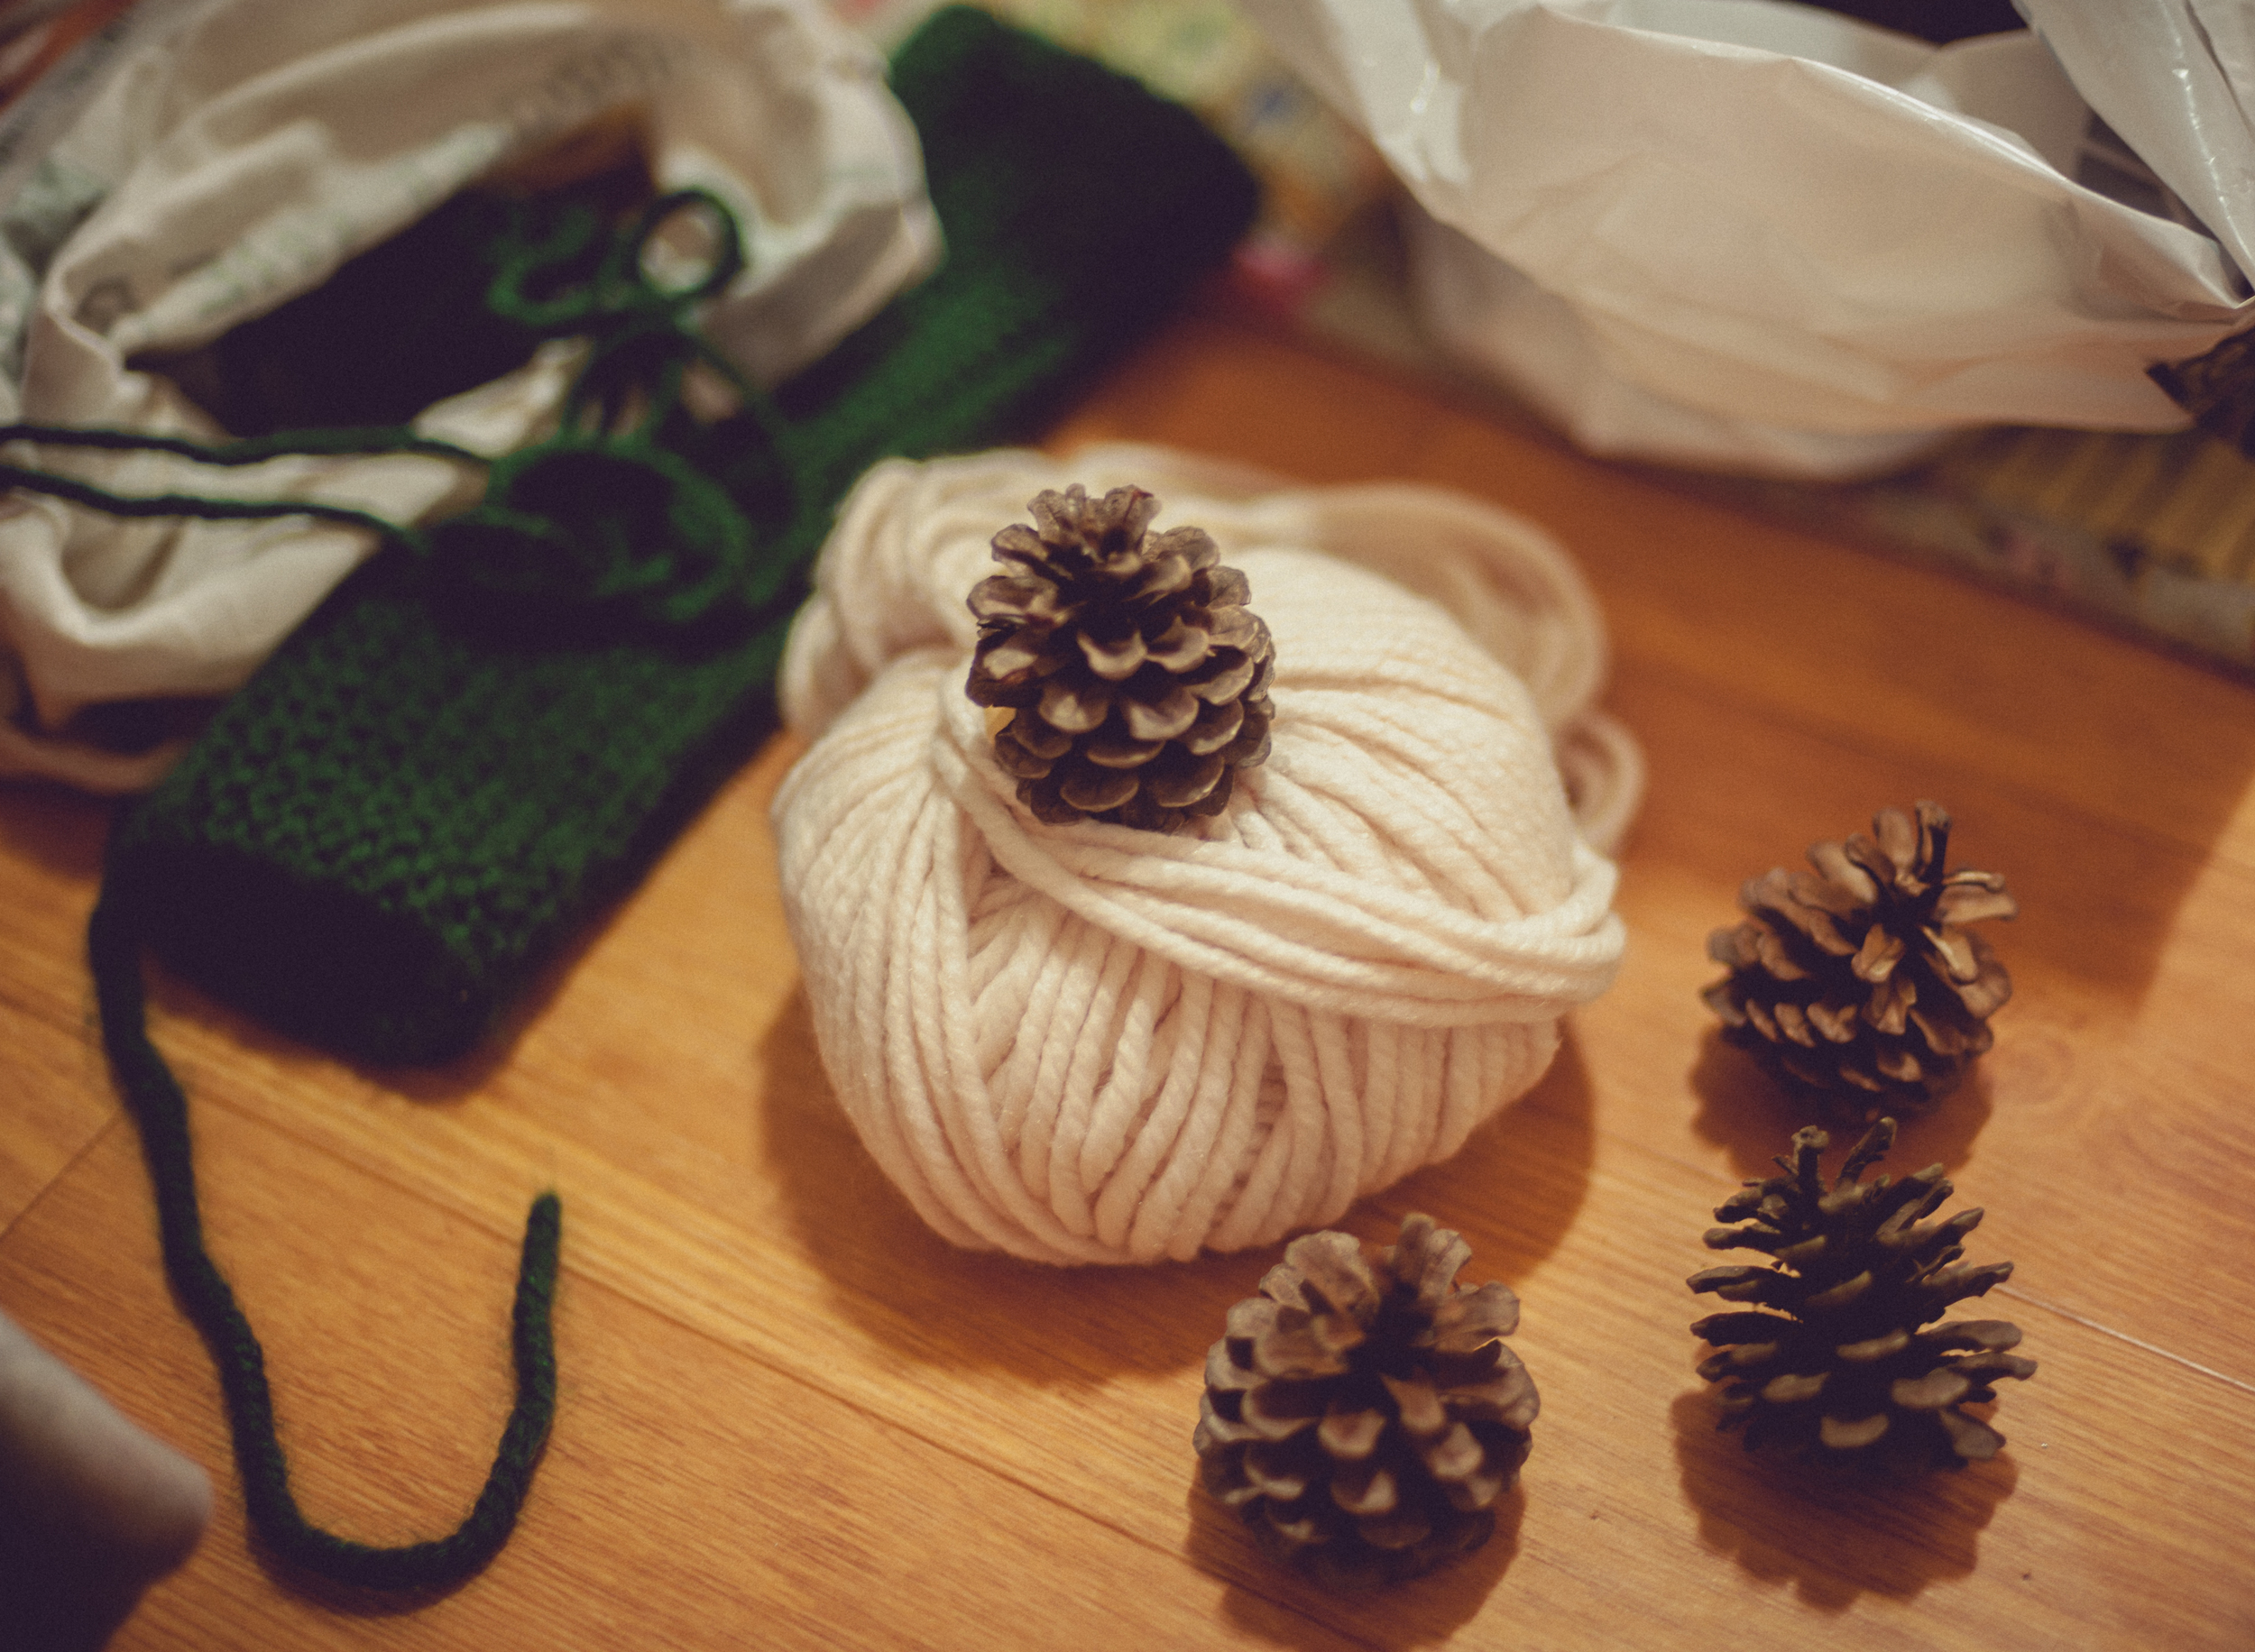
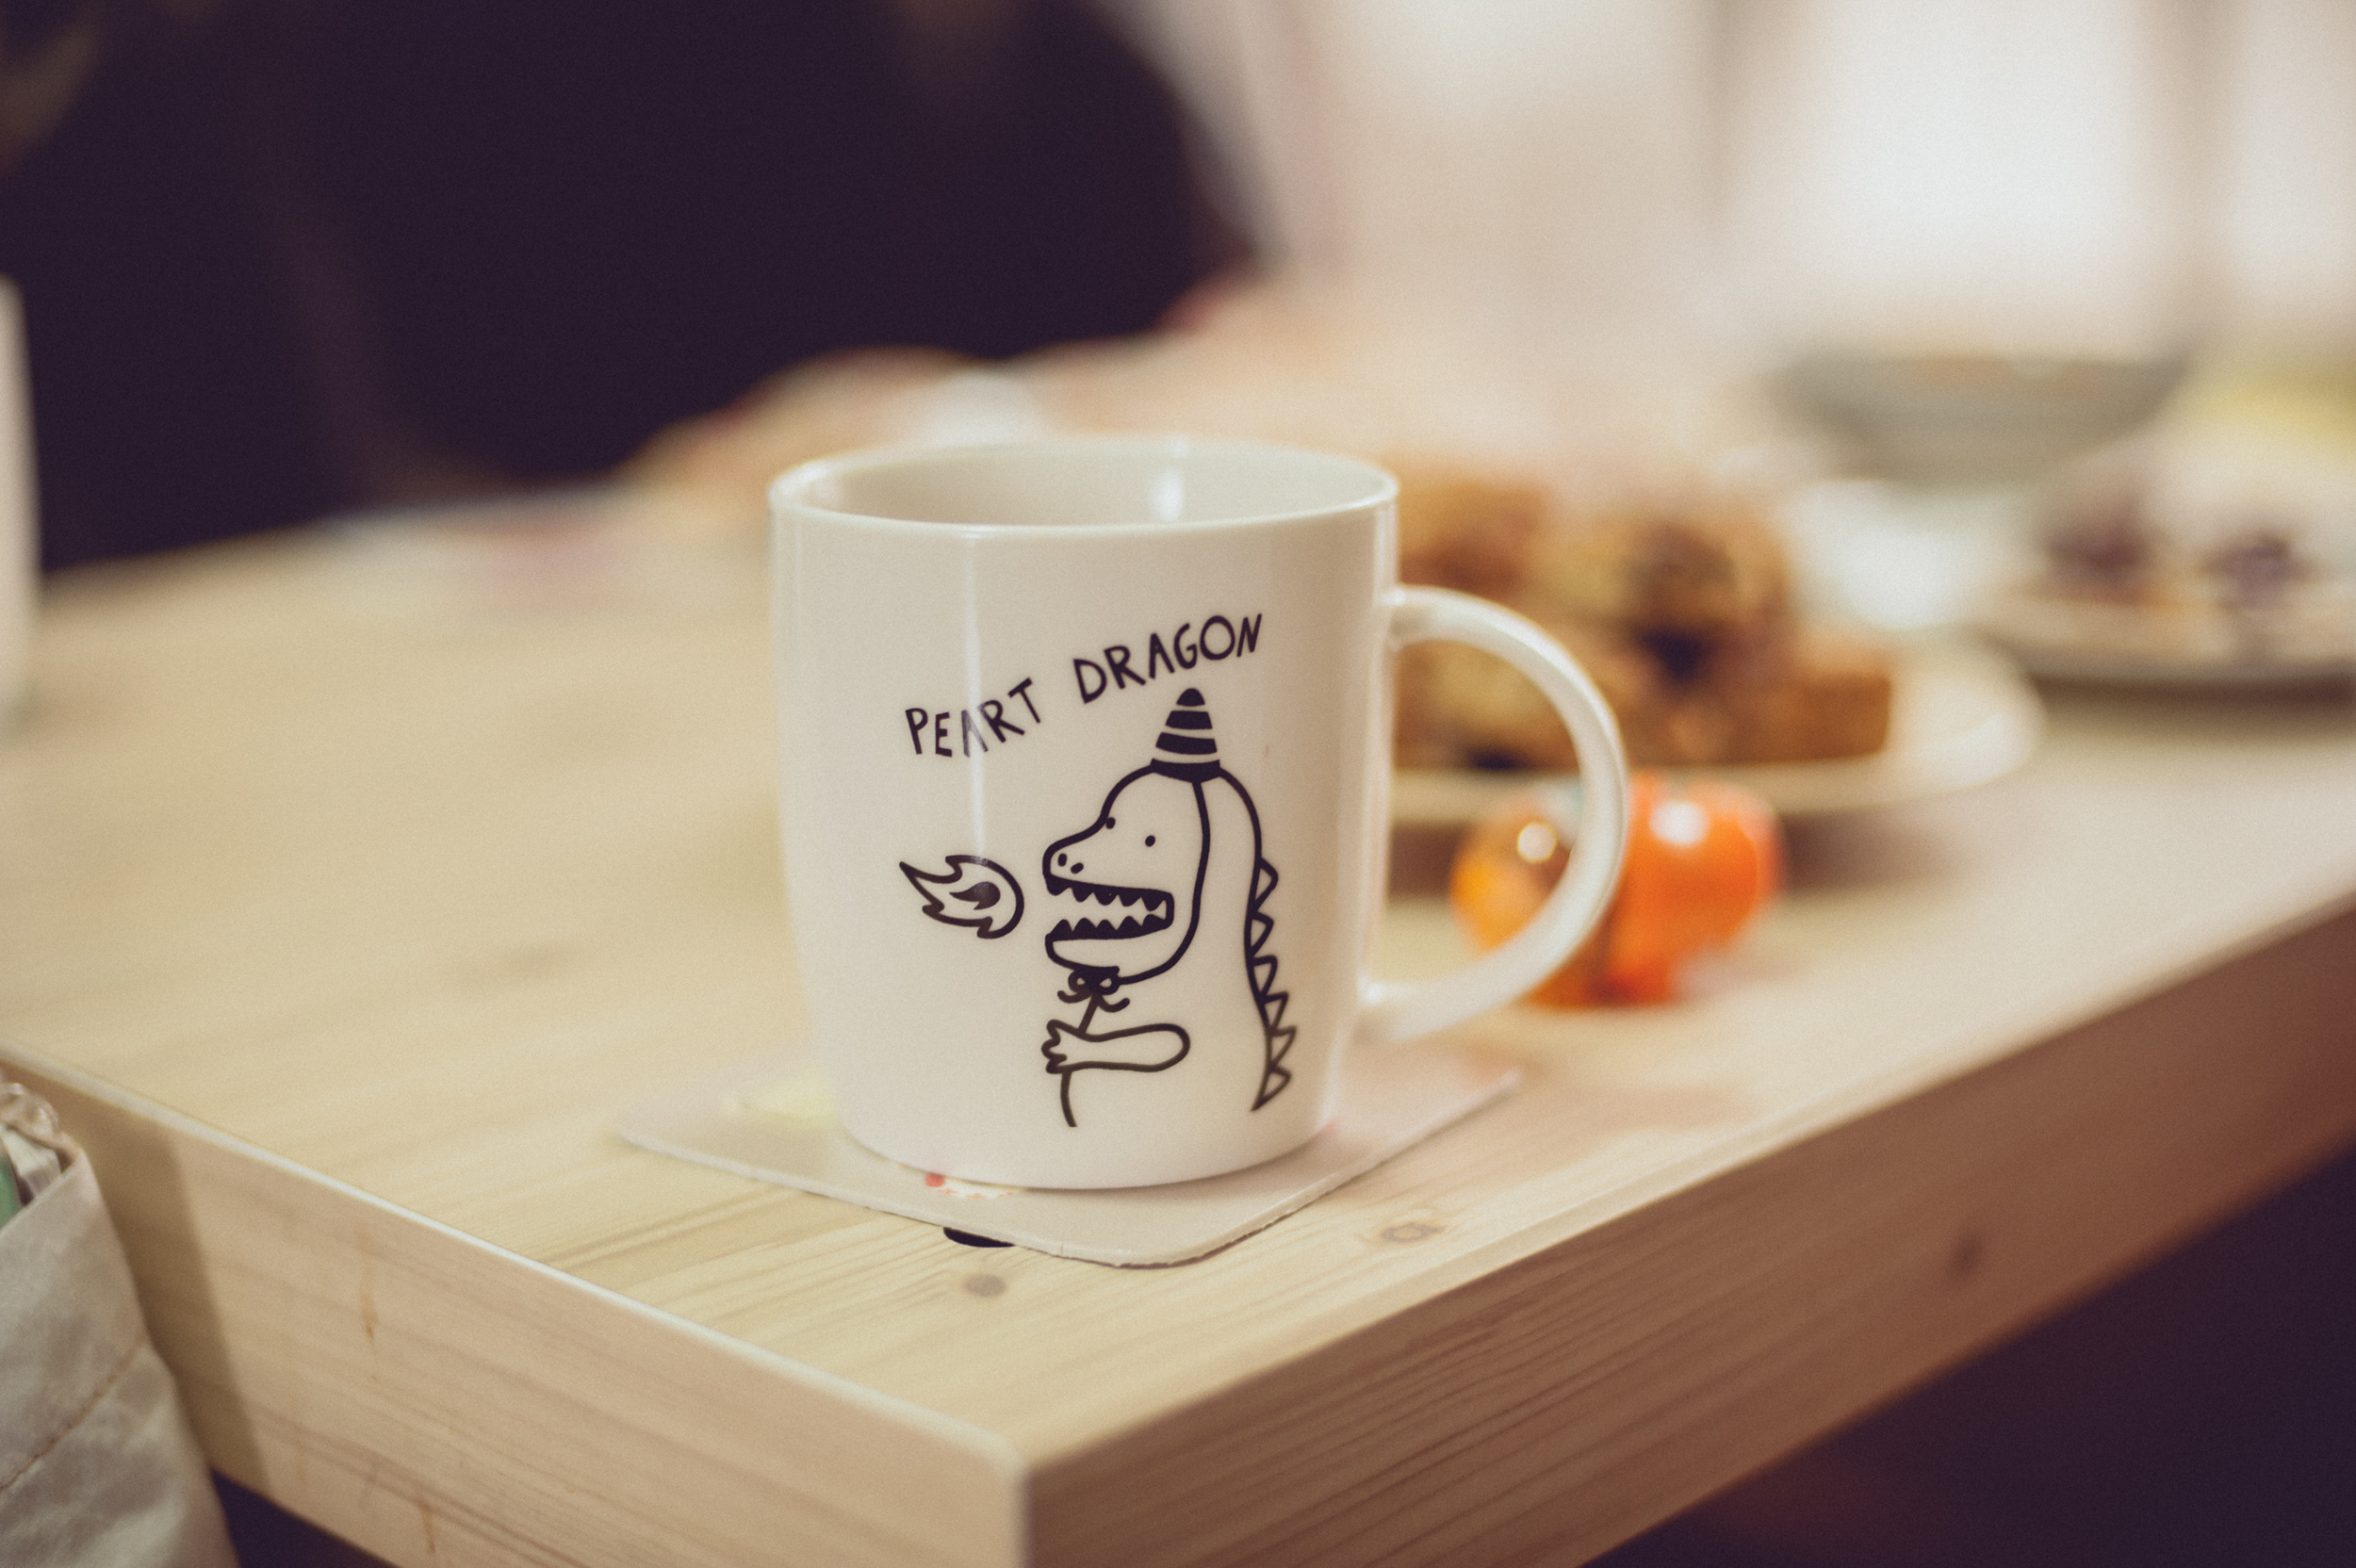
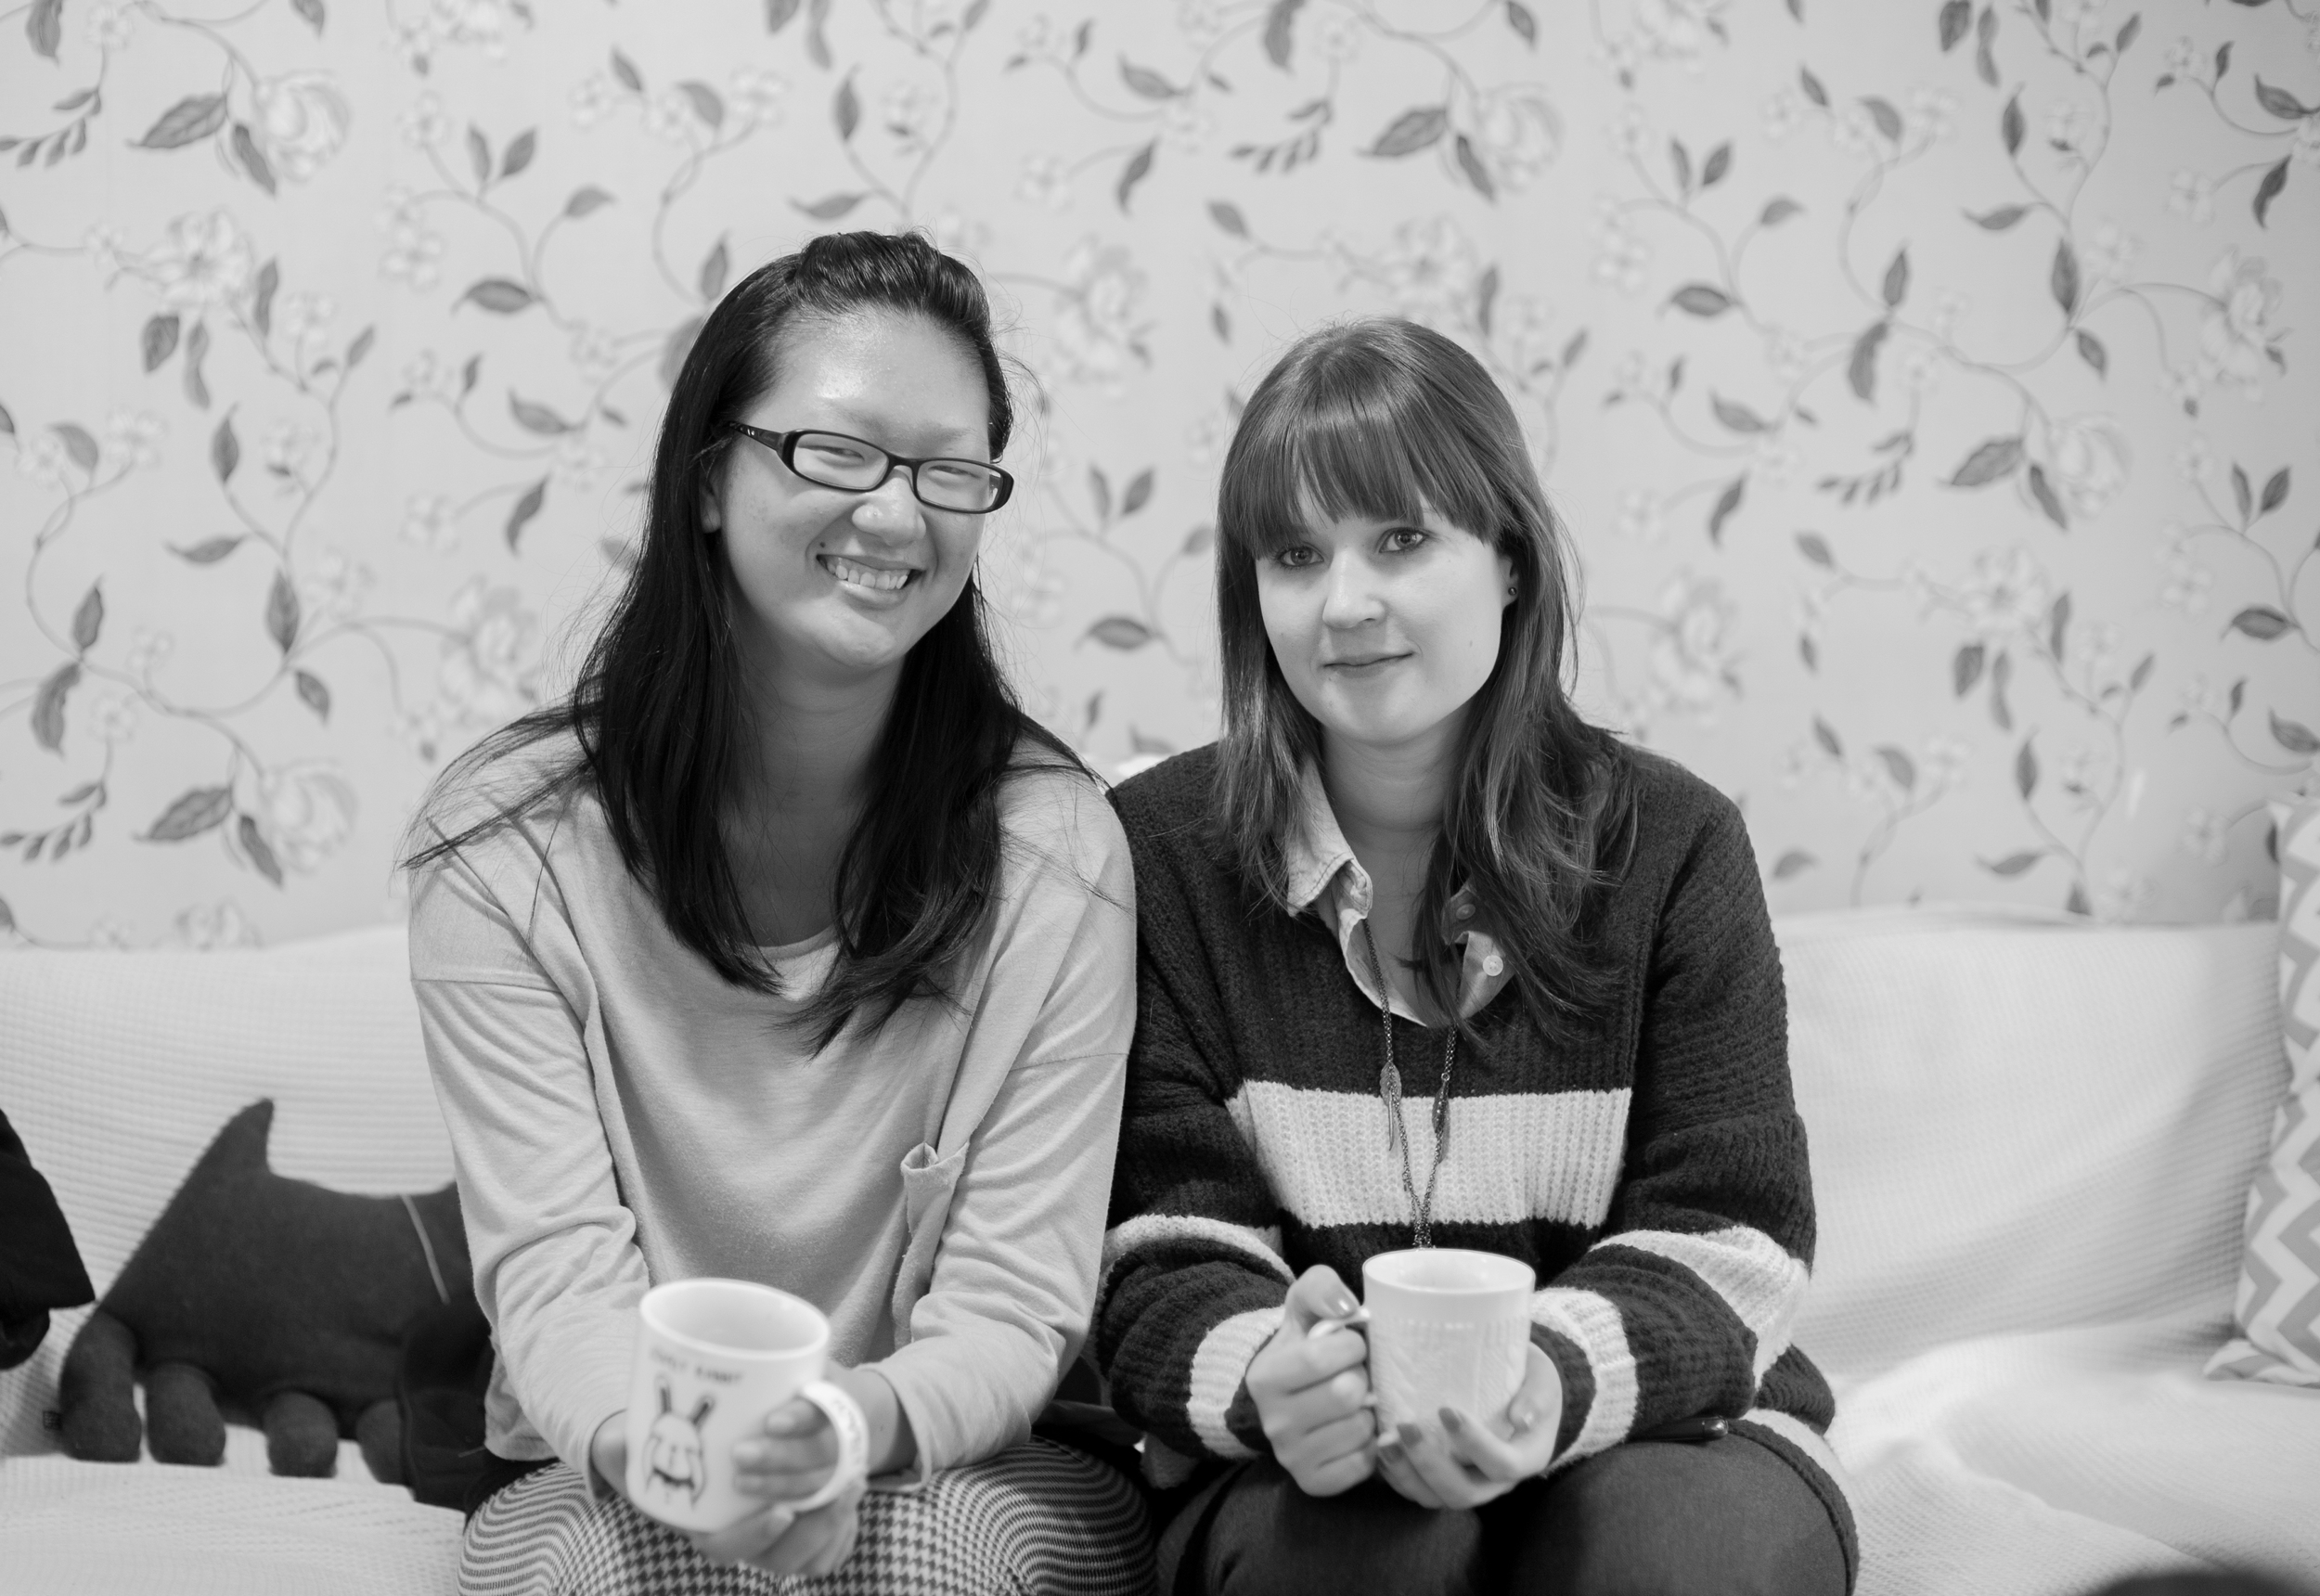
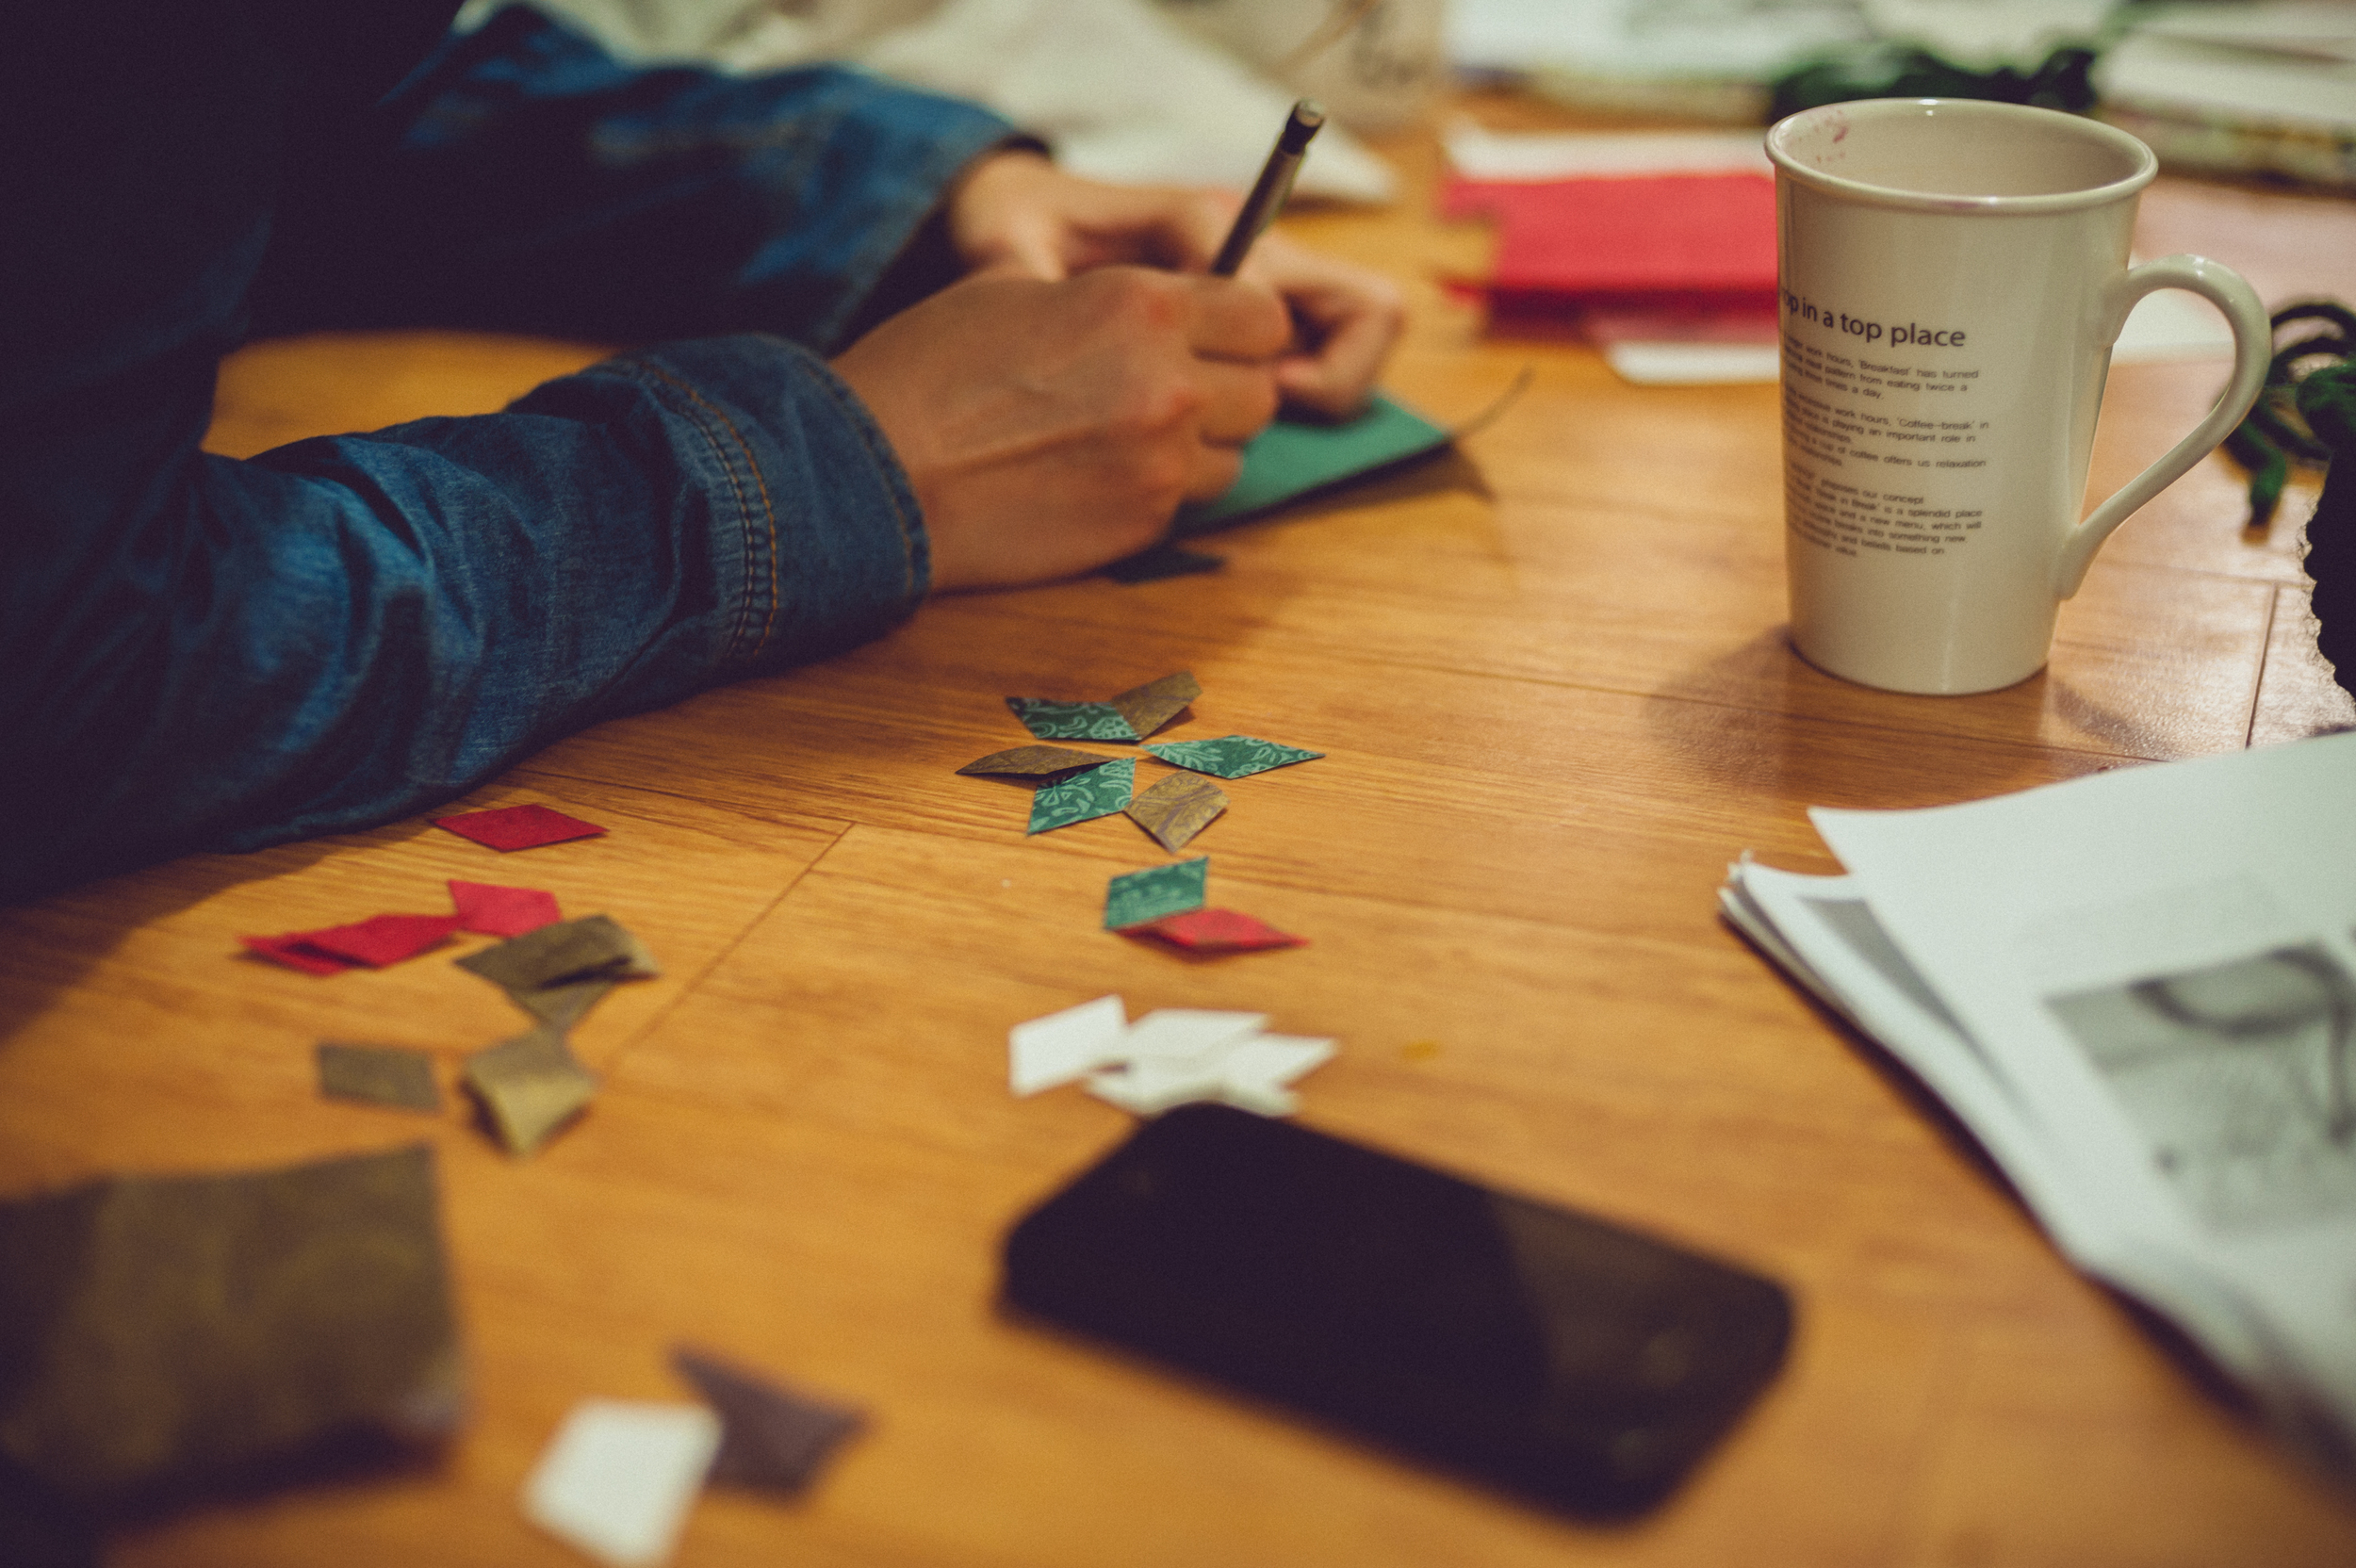
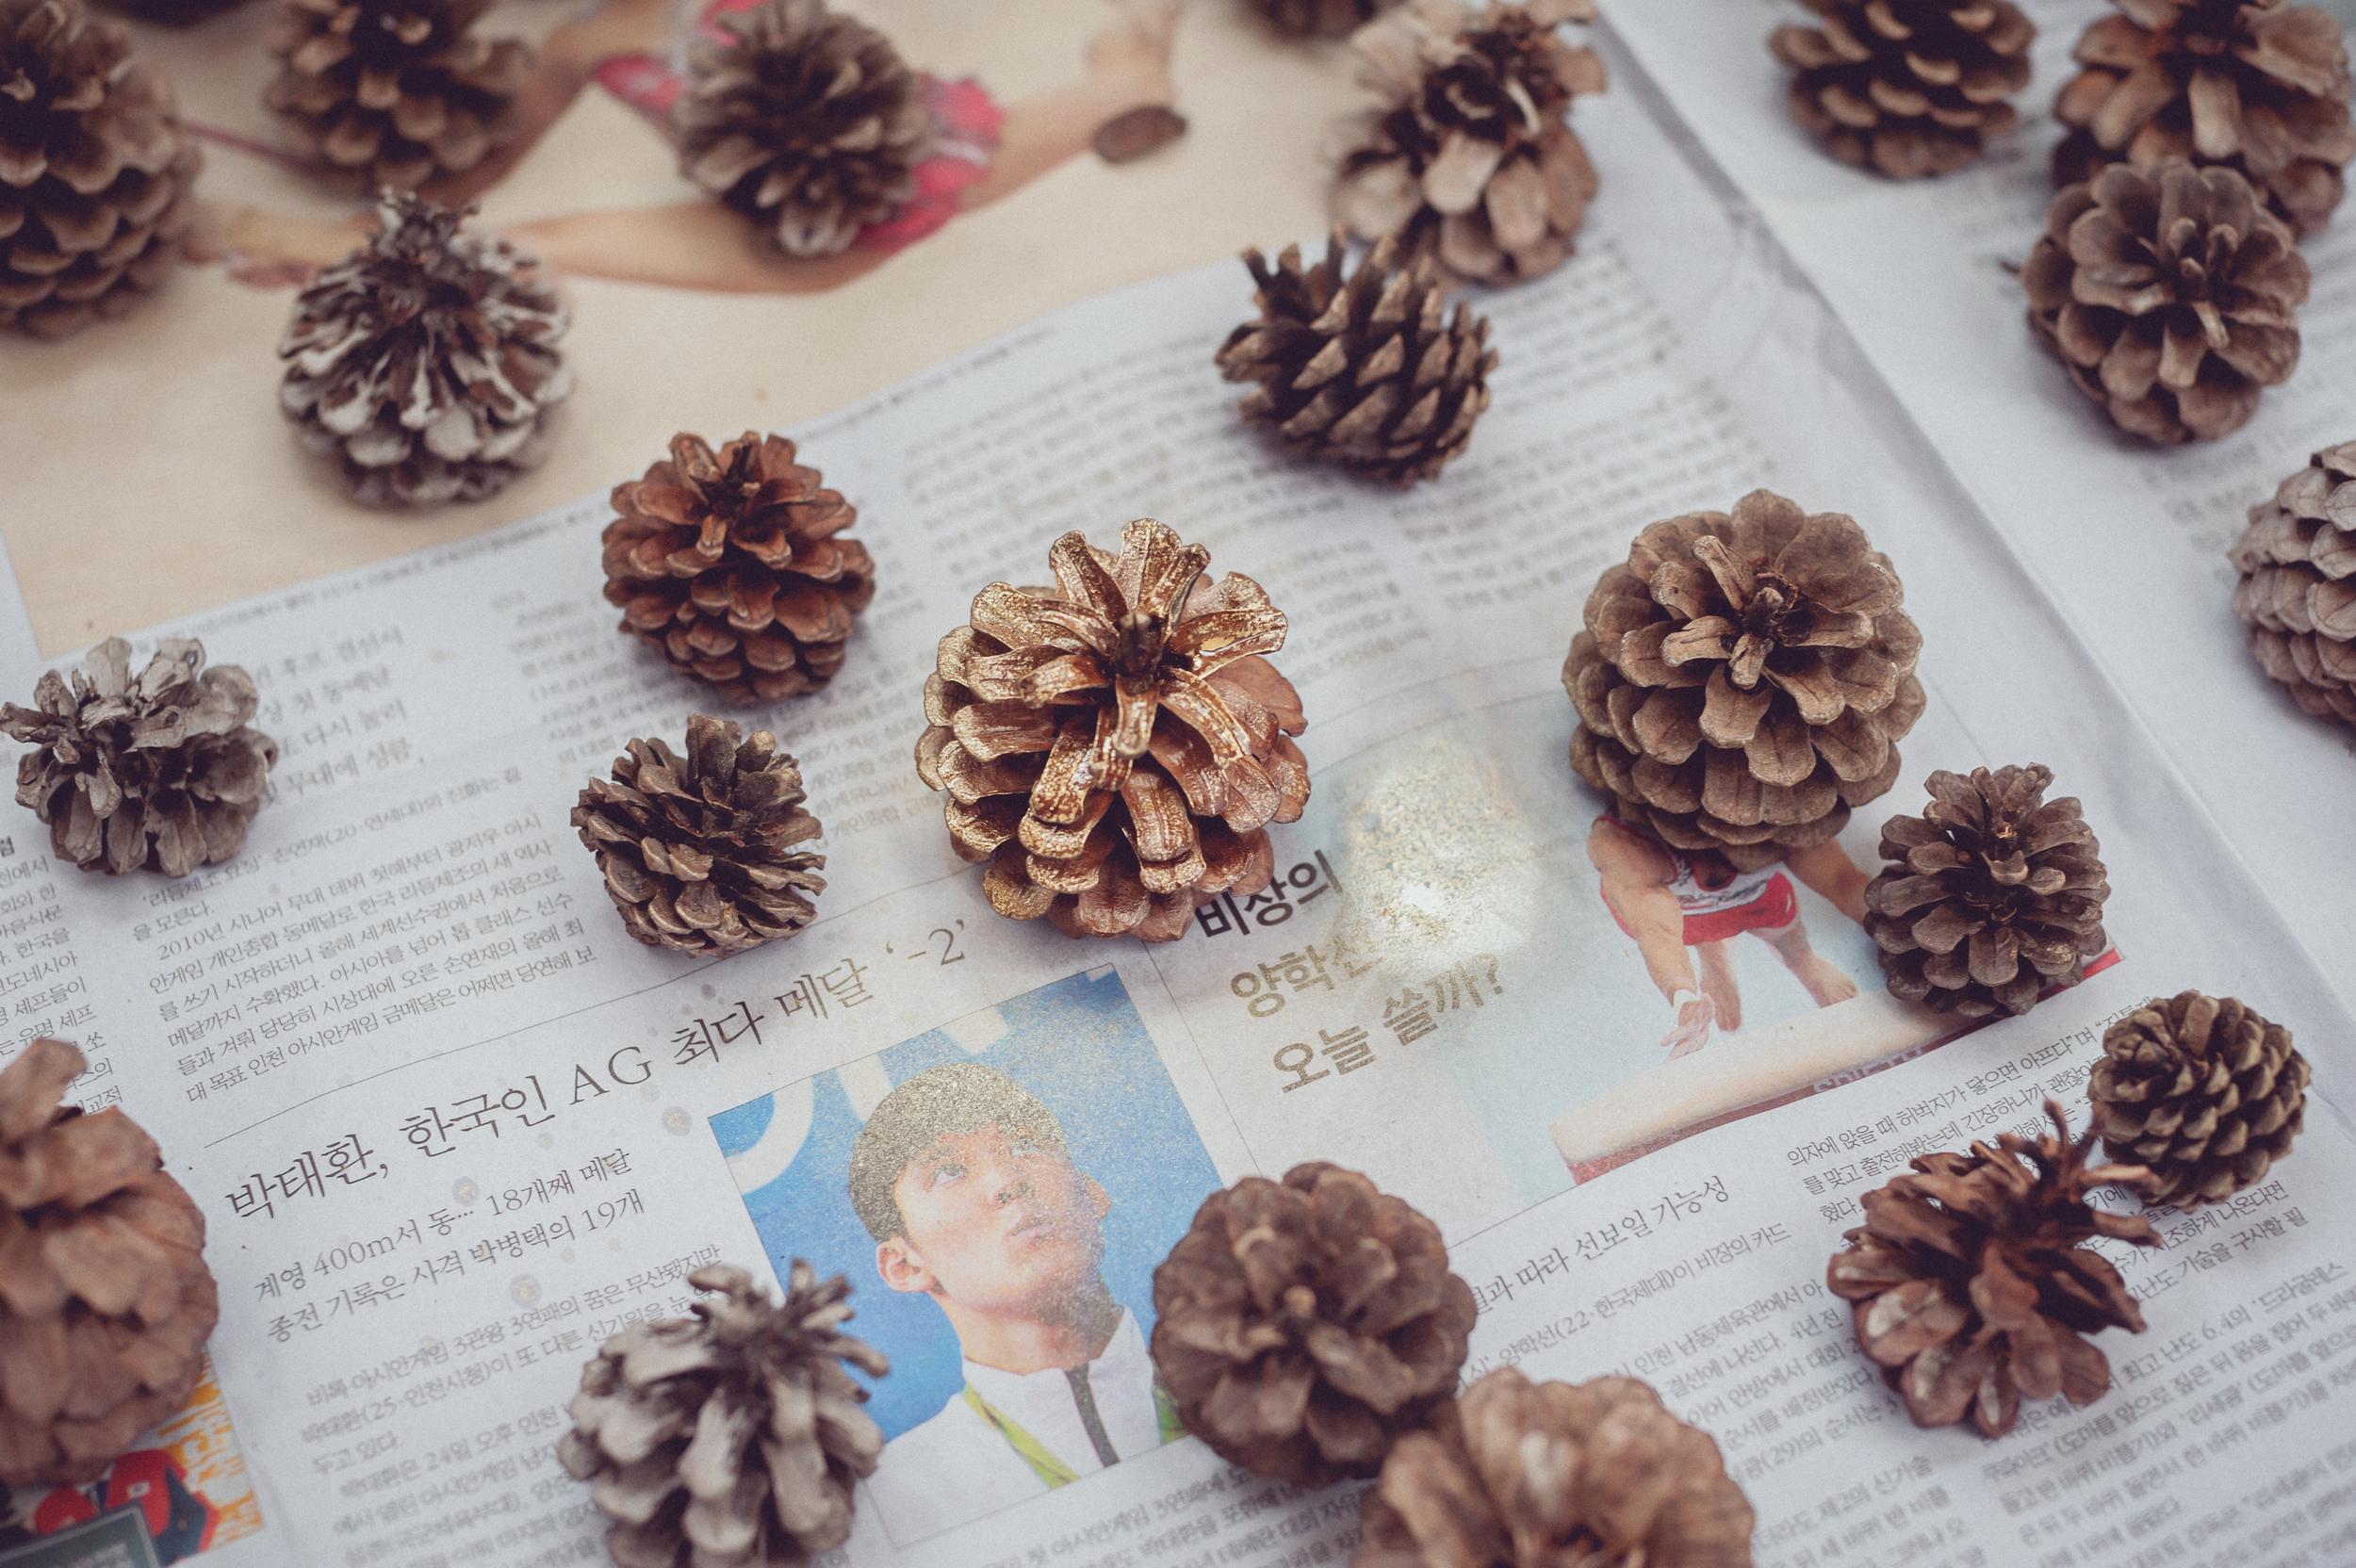
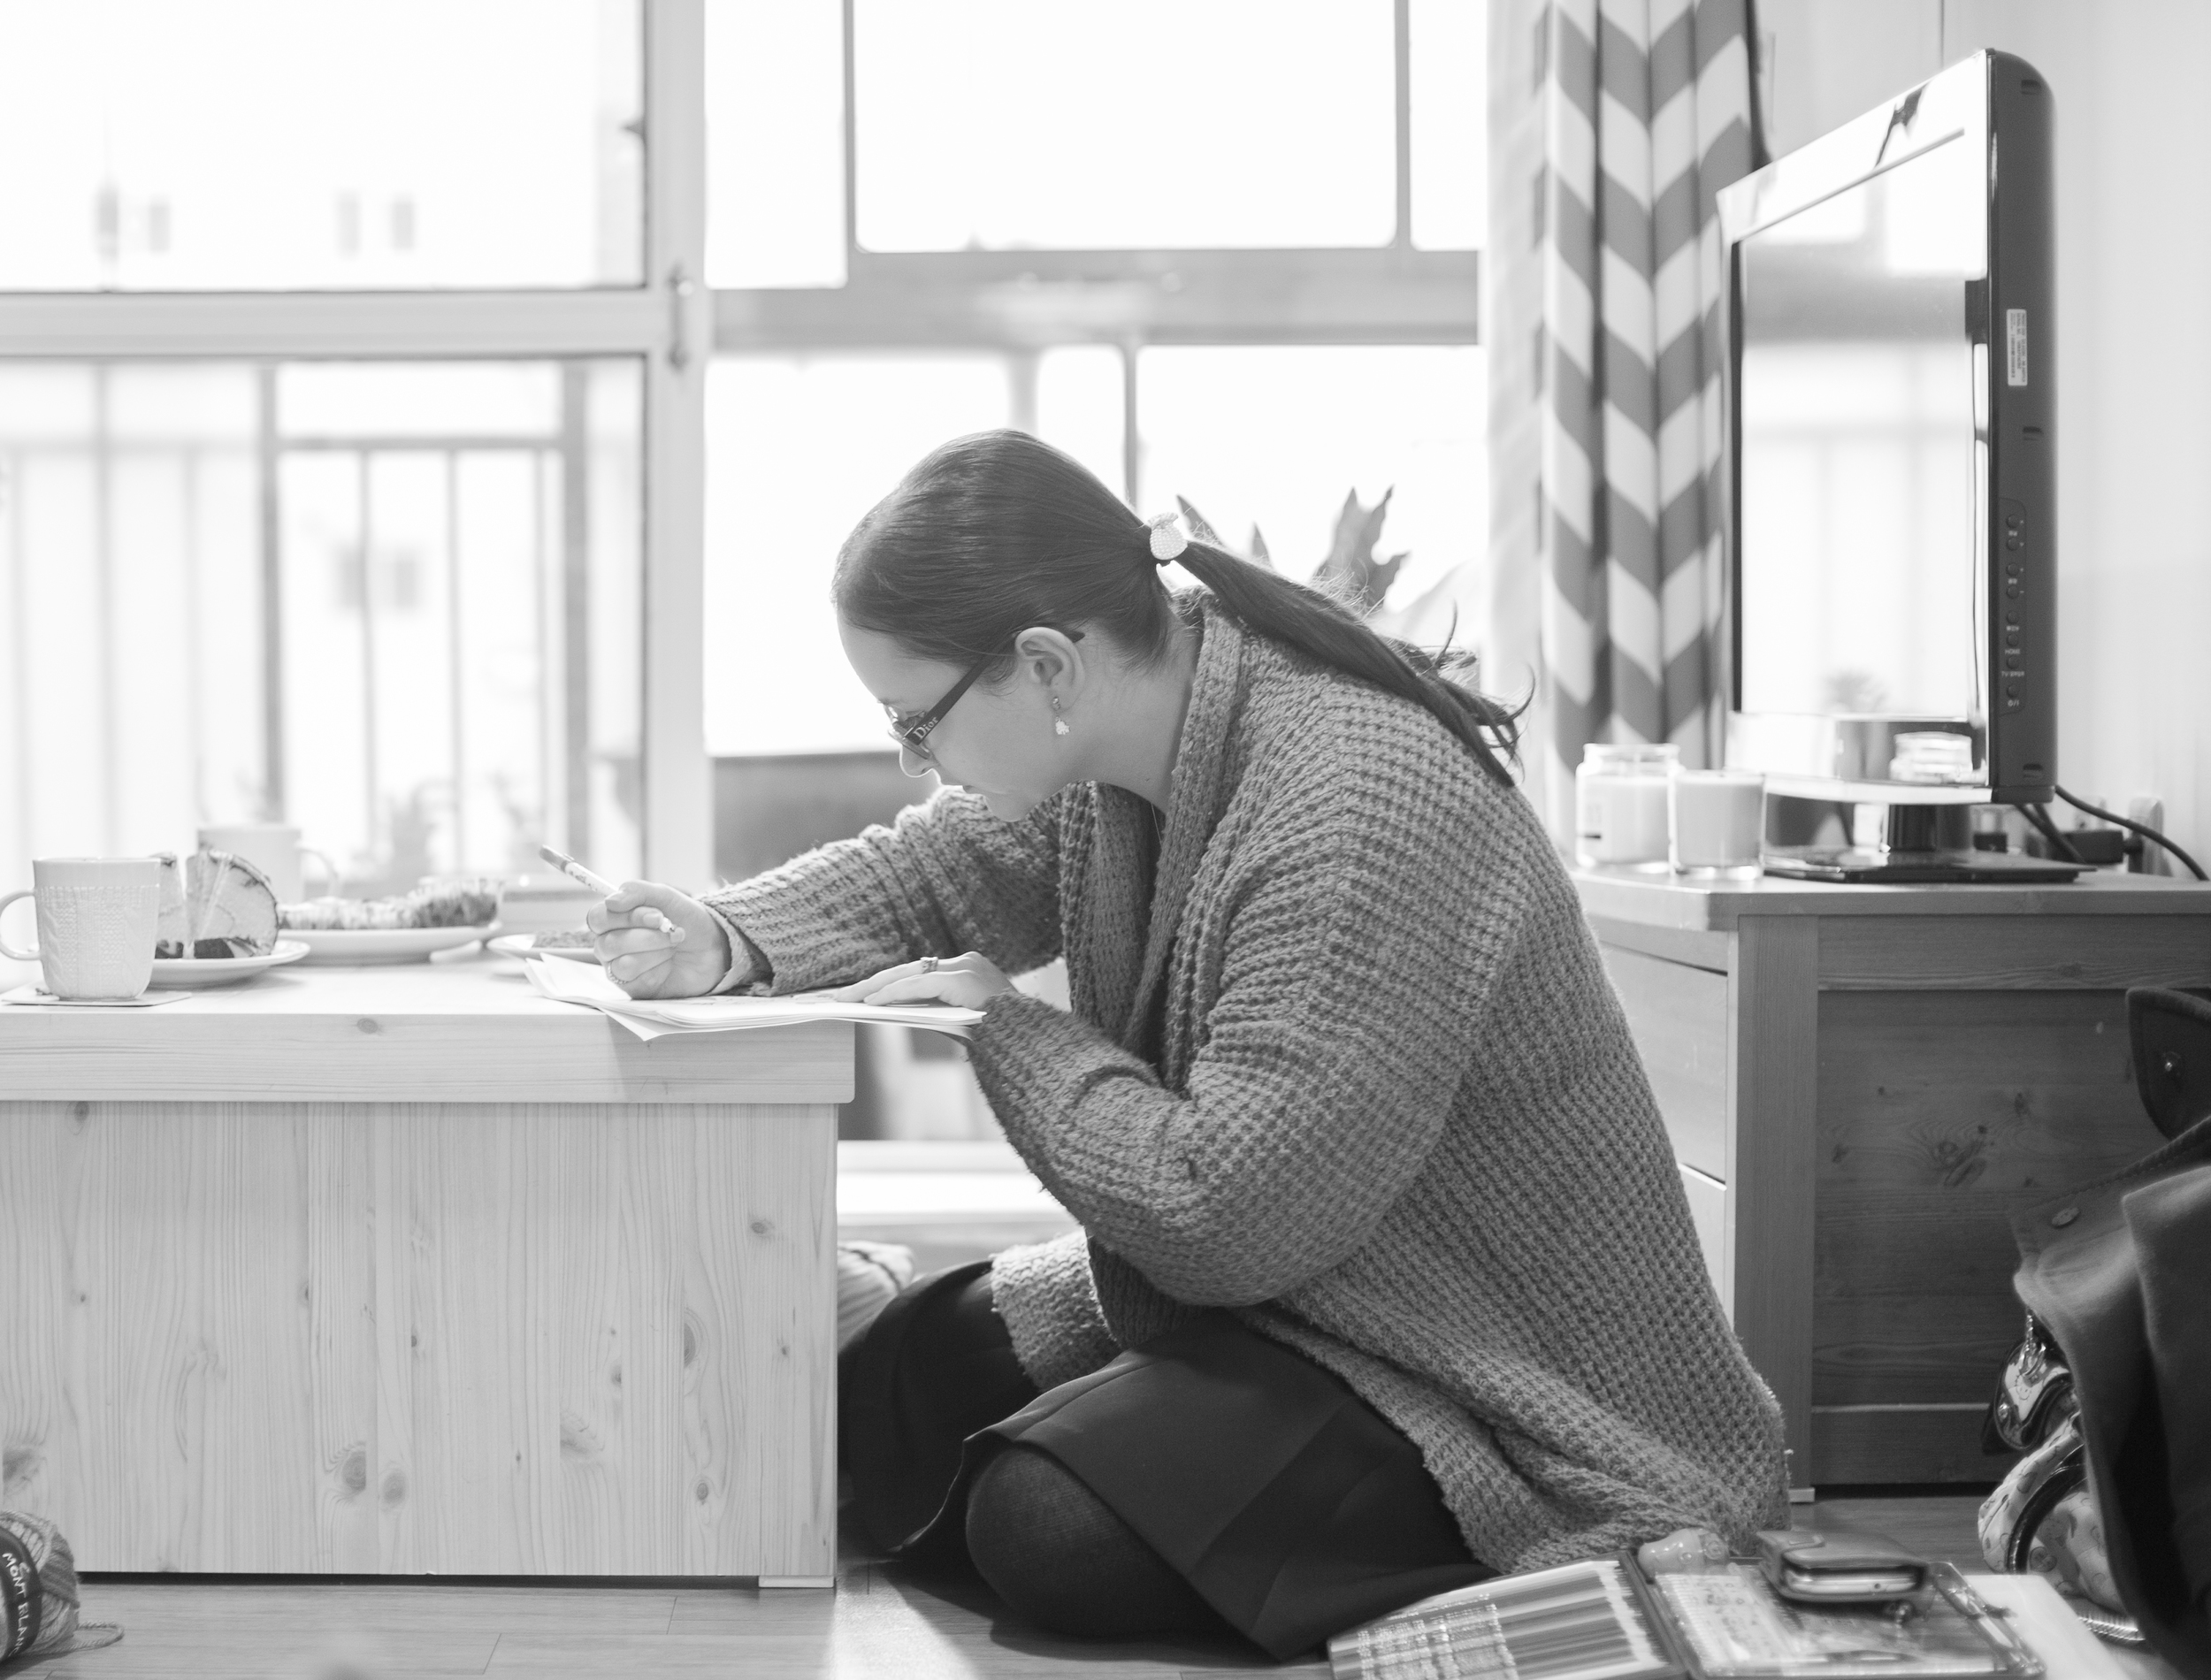
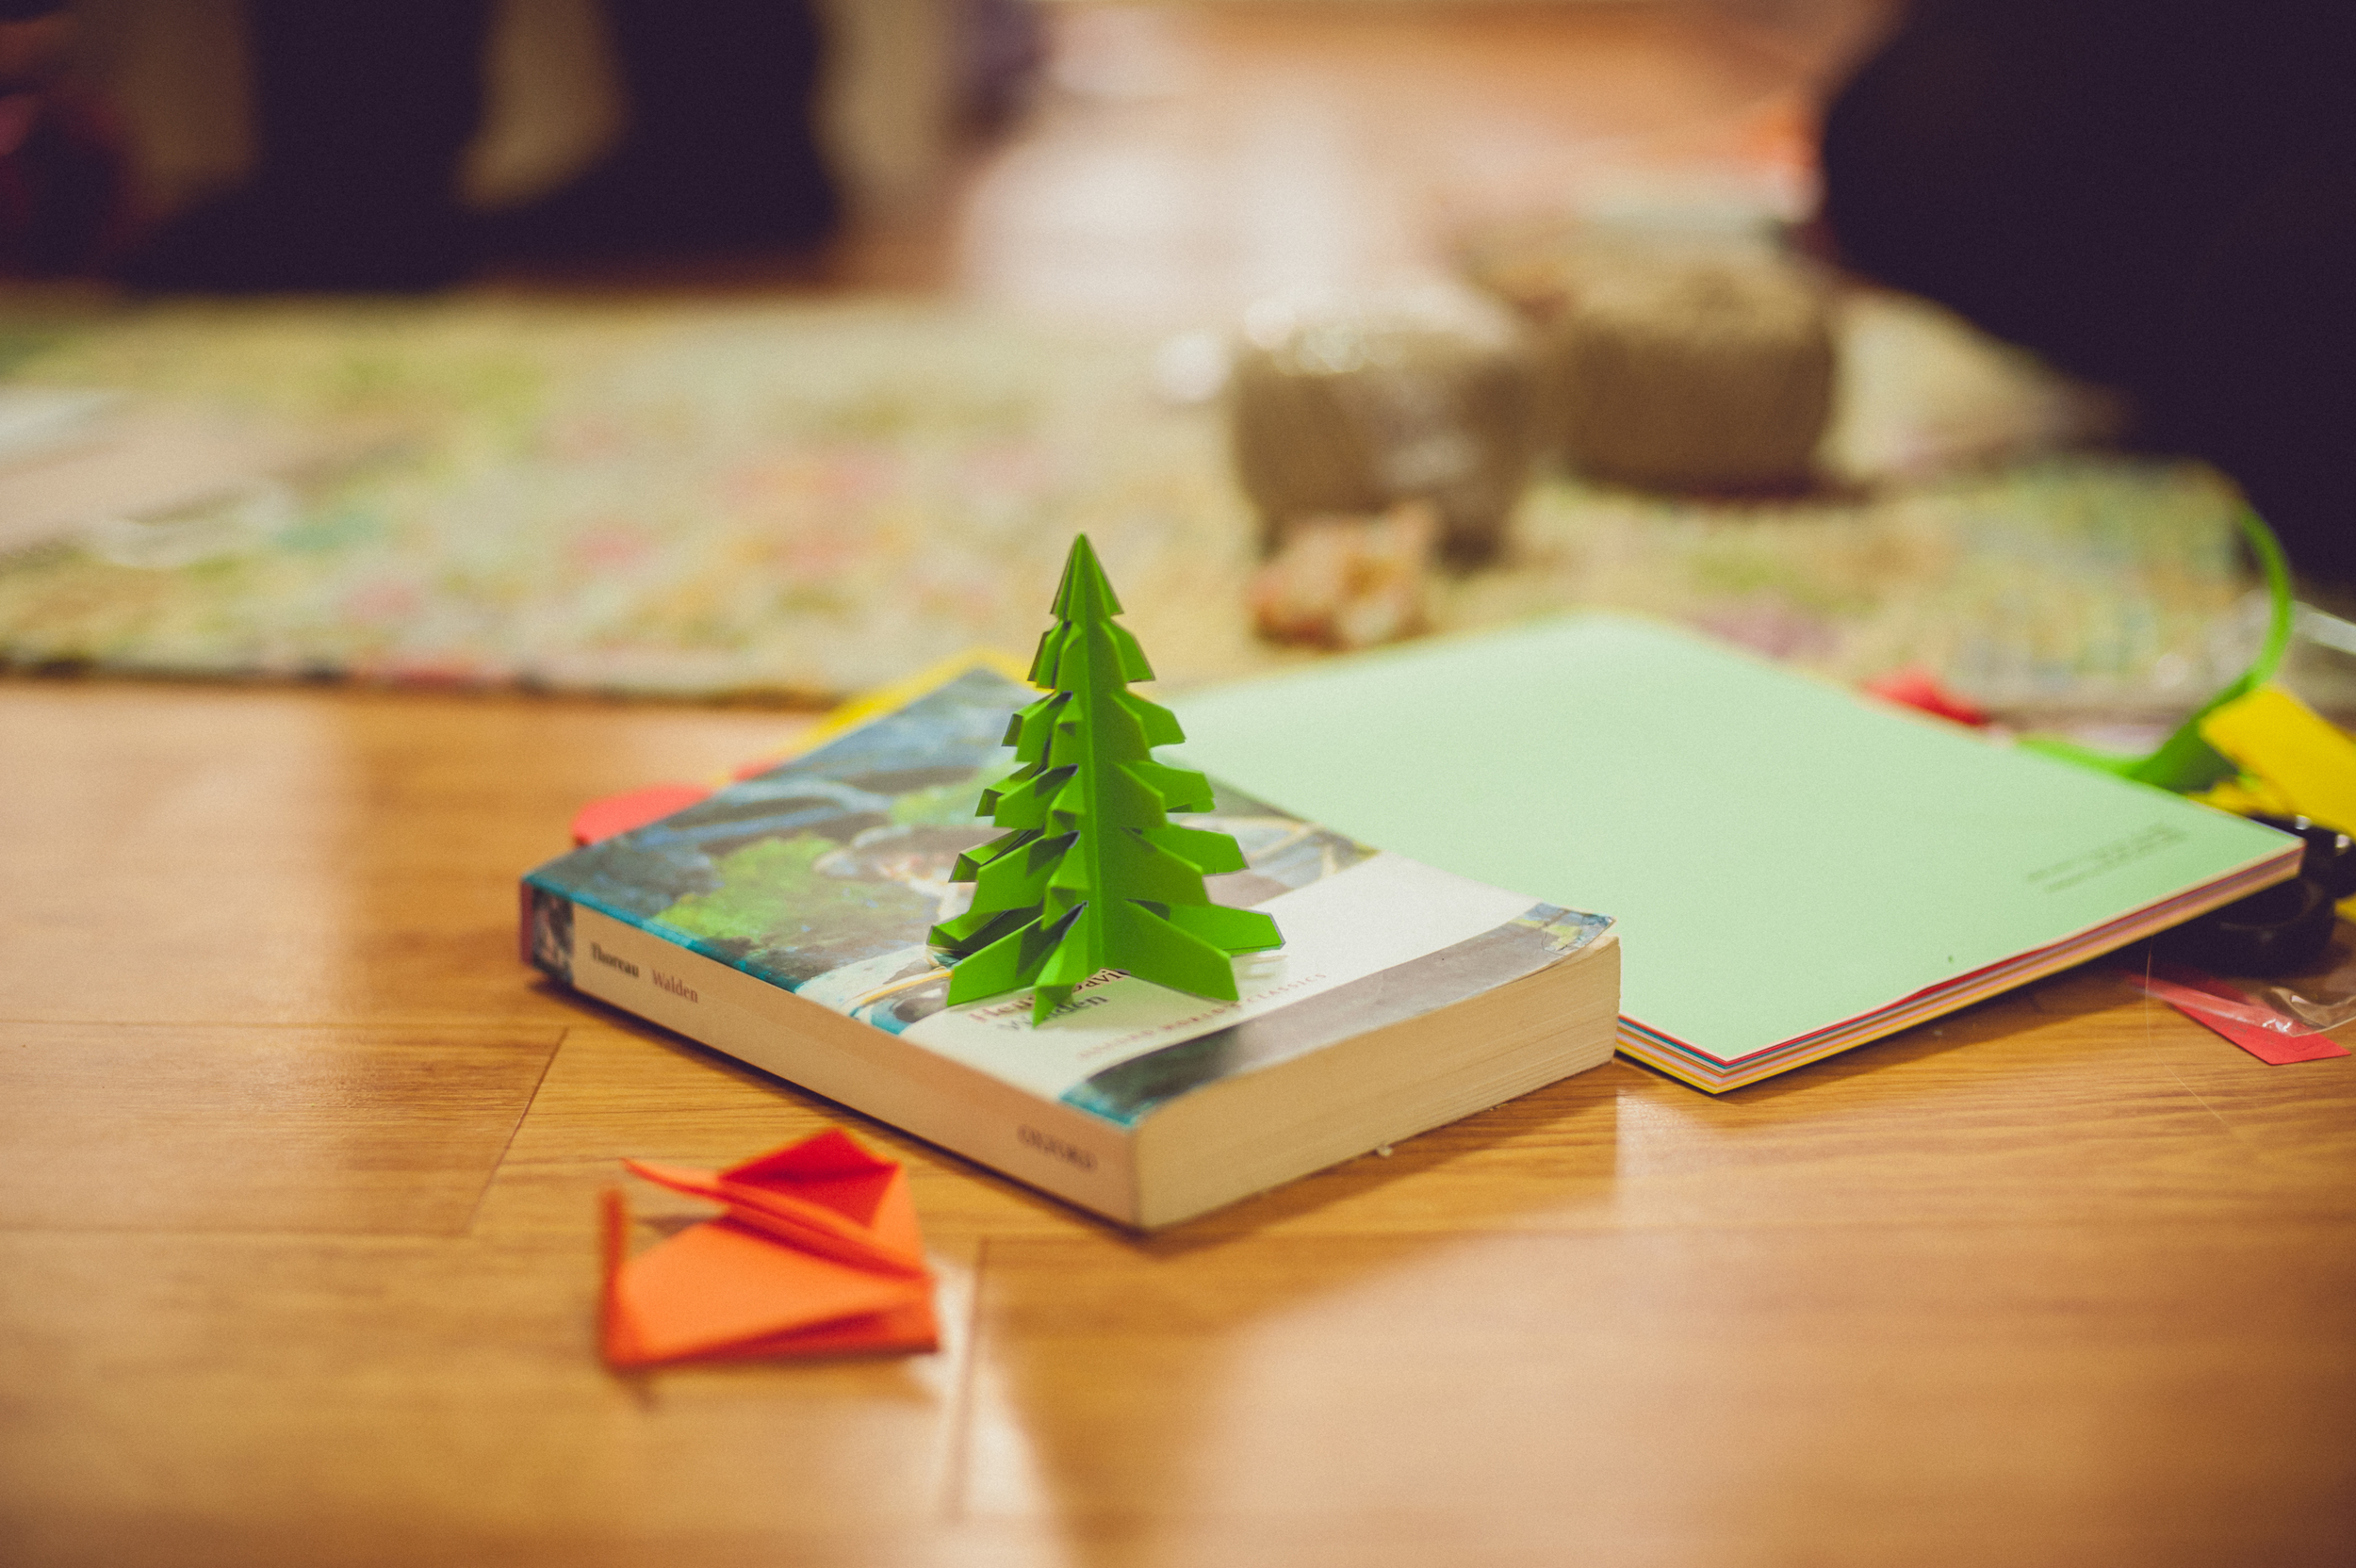
Here are photos from Hubby’s surprise Valentine’s dinner (all decor done by my, then 5 year old daughter…the Unicorns and granadilla’s were a highlight for me).


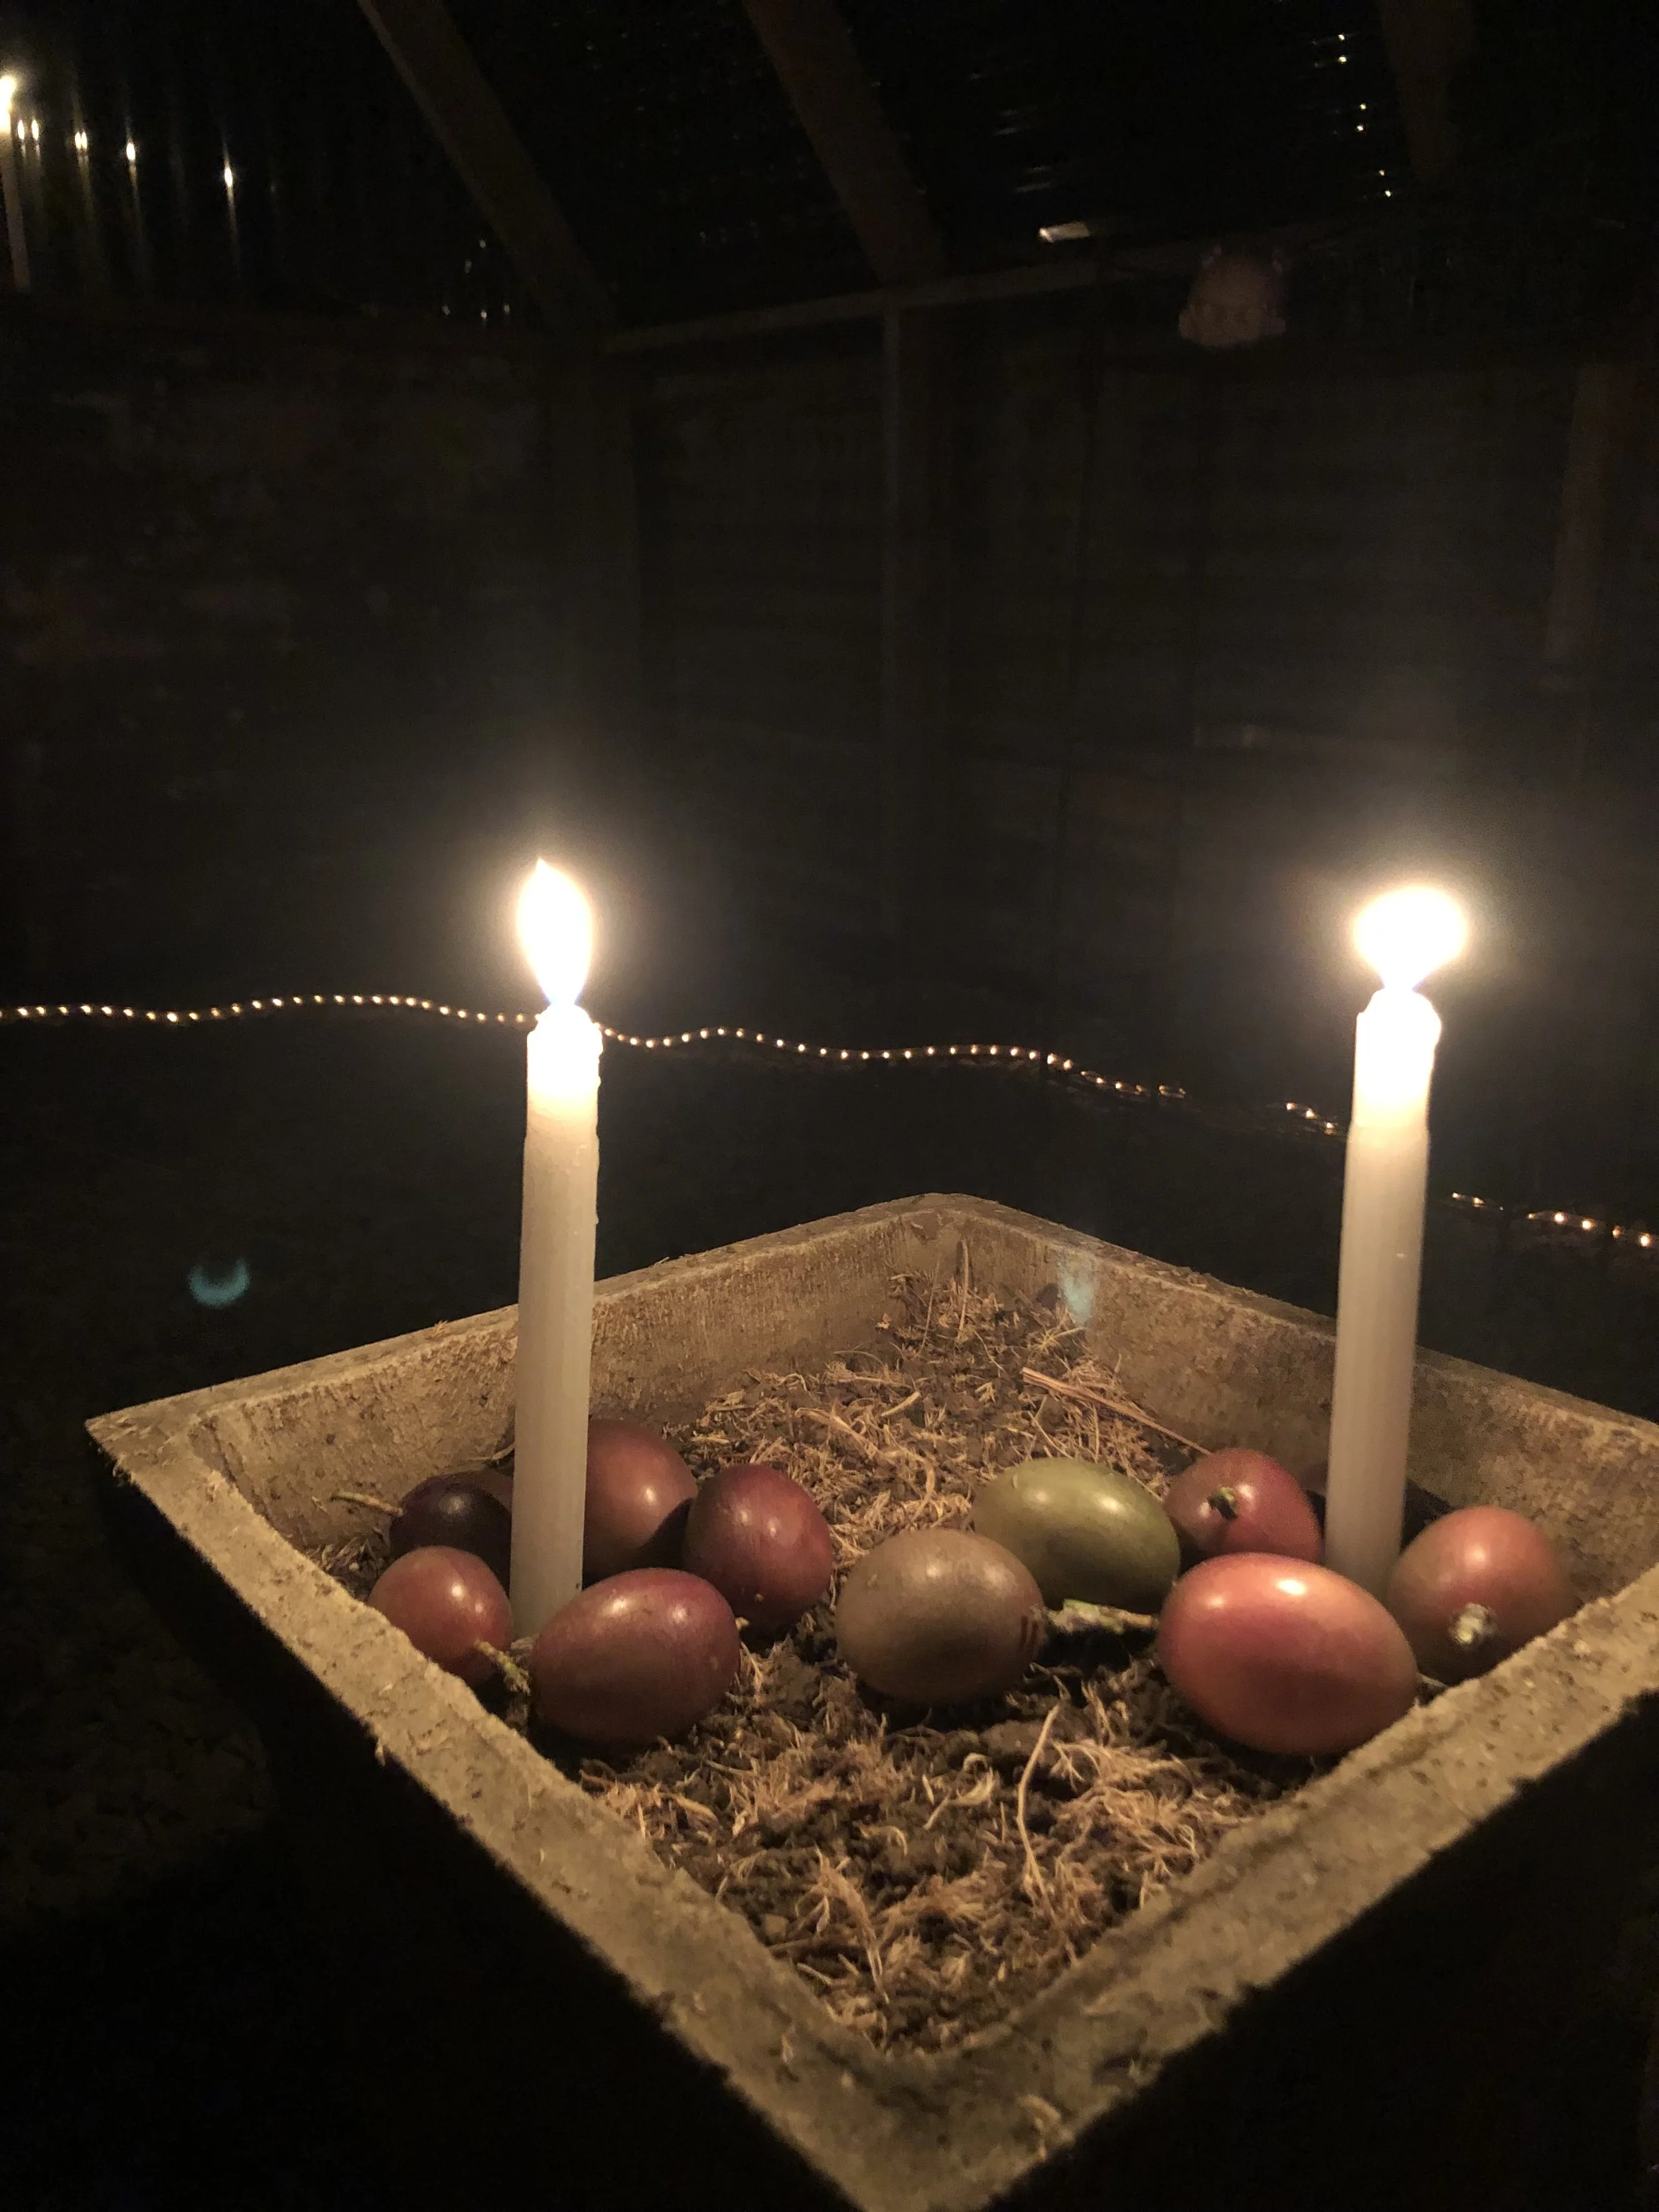

Sometimes I hang sprigs of Rosemary and lavender from the roof, which is lovely especially after a few days of drying out. The space smells so lovely. We have had to be careful with leaving things like candles in there at night, as by midday they have usually melted and made a mess.


So far the timber has held up pretty well in the rain, the odd hail storm, the wind and the general every day elements. Next up on our list for the Food Forest is a natural pool and a stone sauna. Stay tuned for more updates on that.