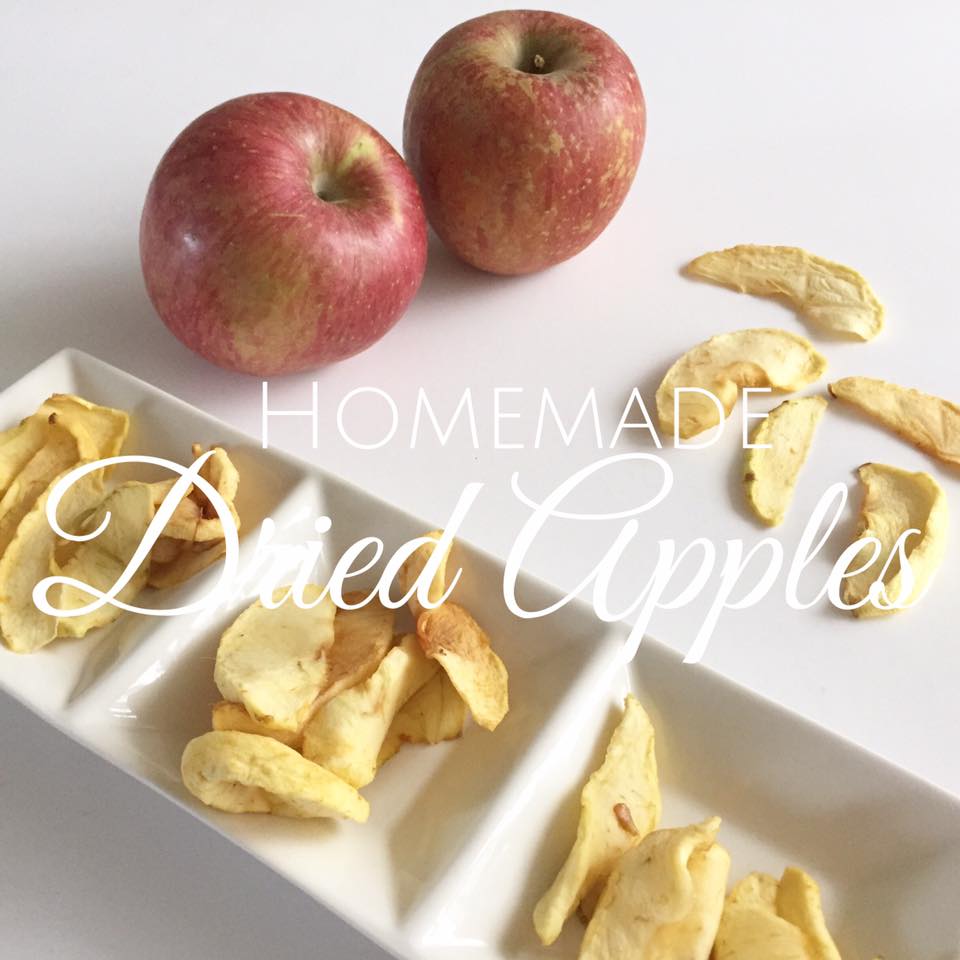
How to Make your own Dried Apples

How to make dried apples

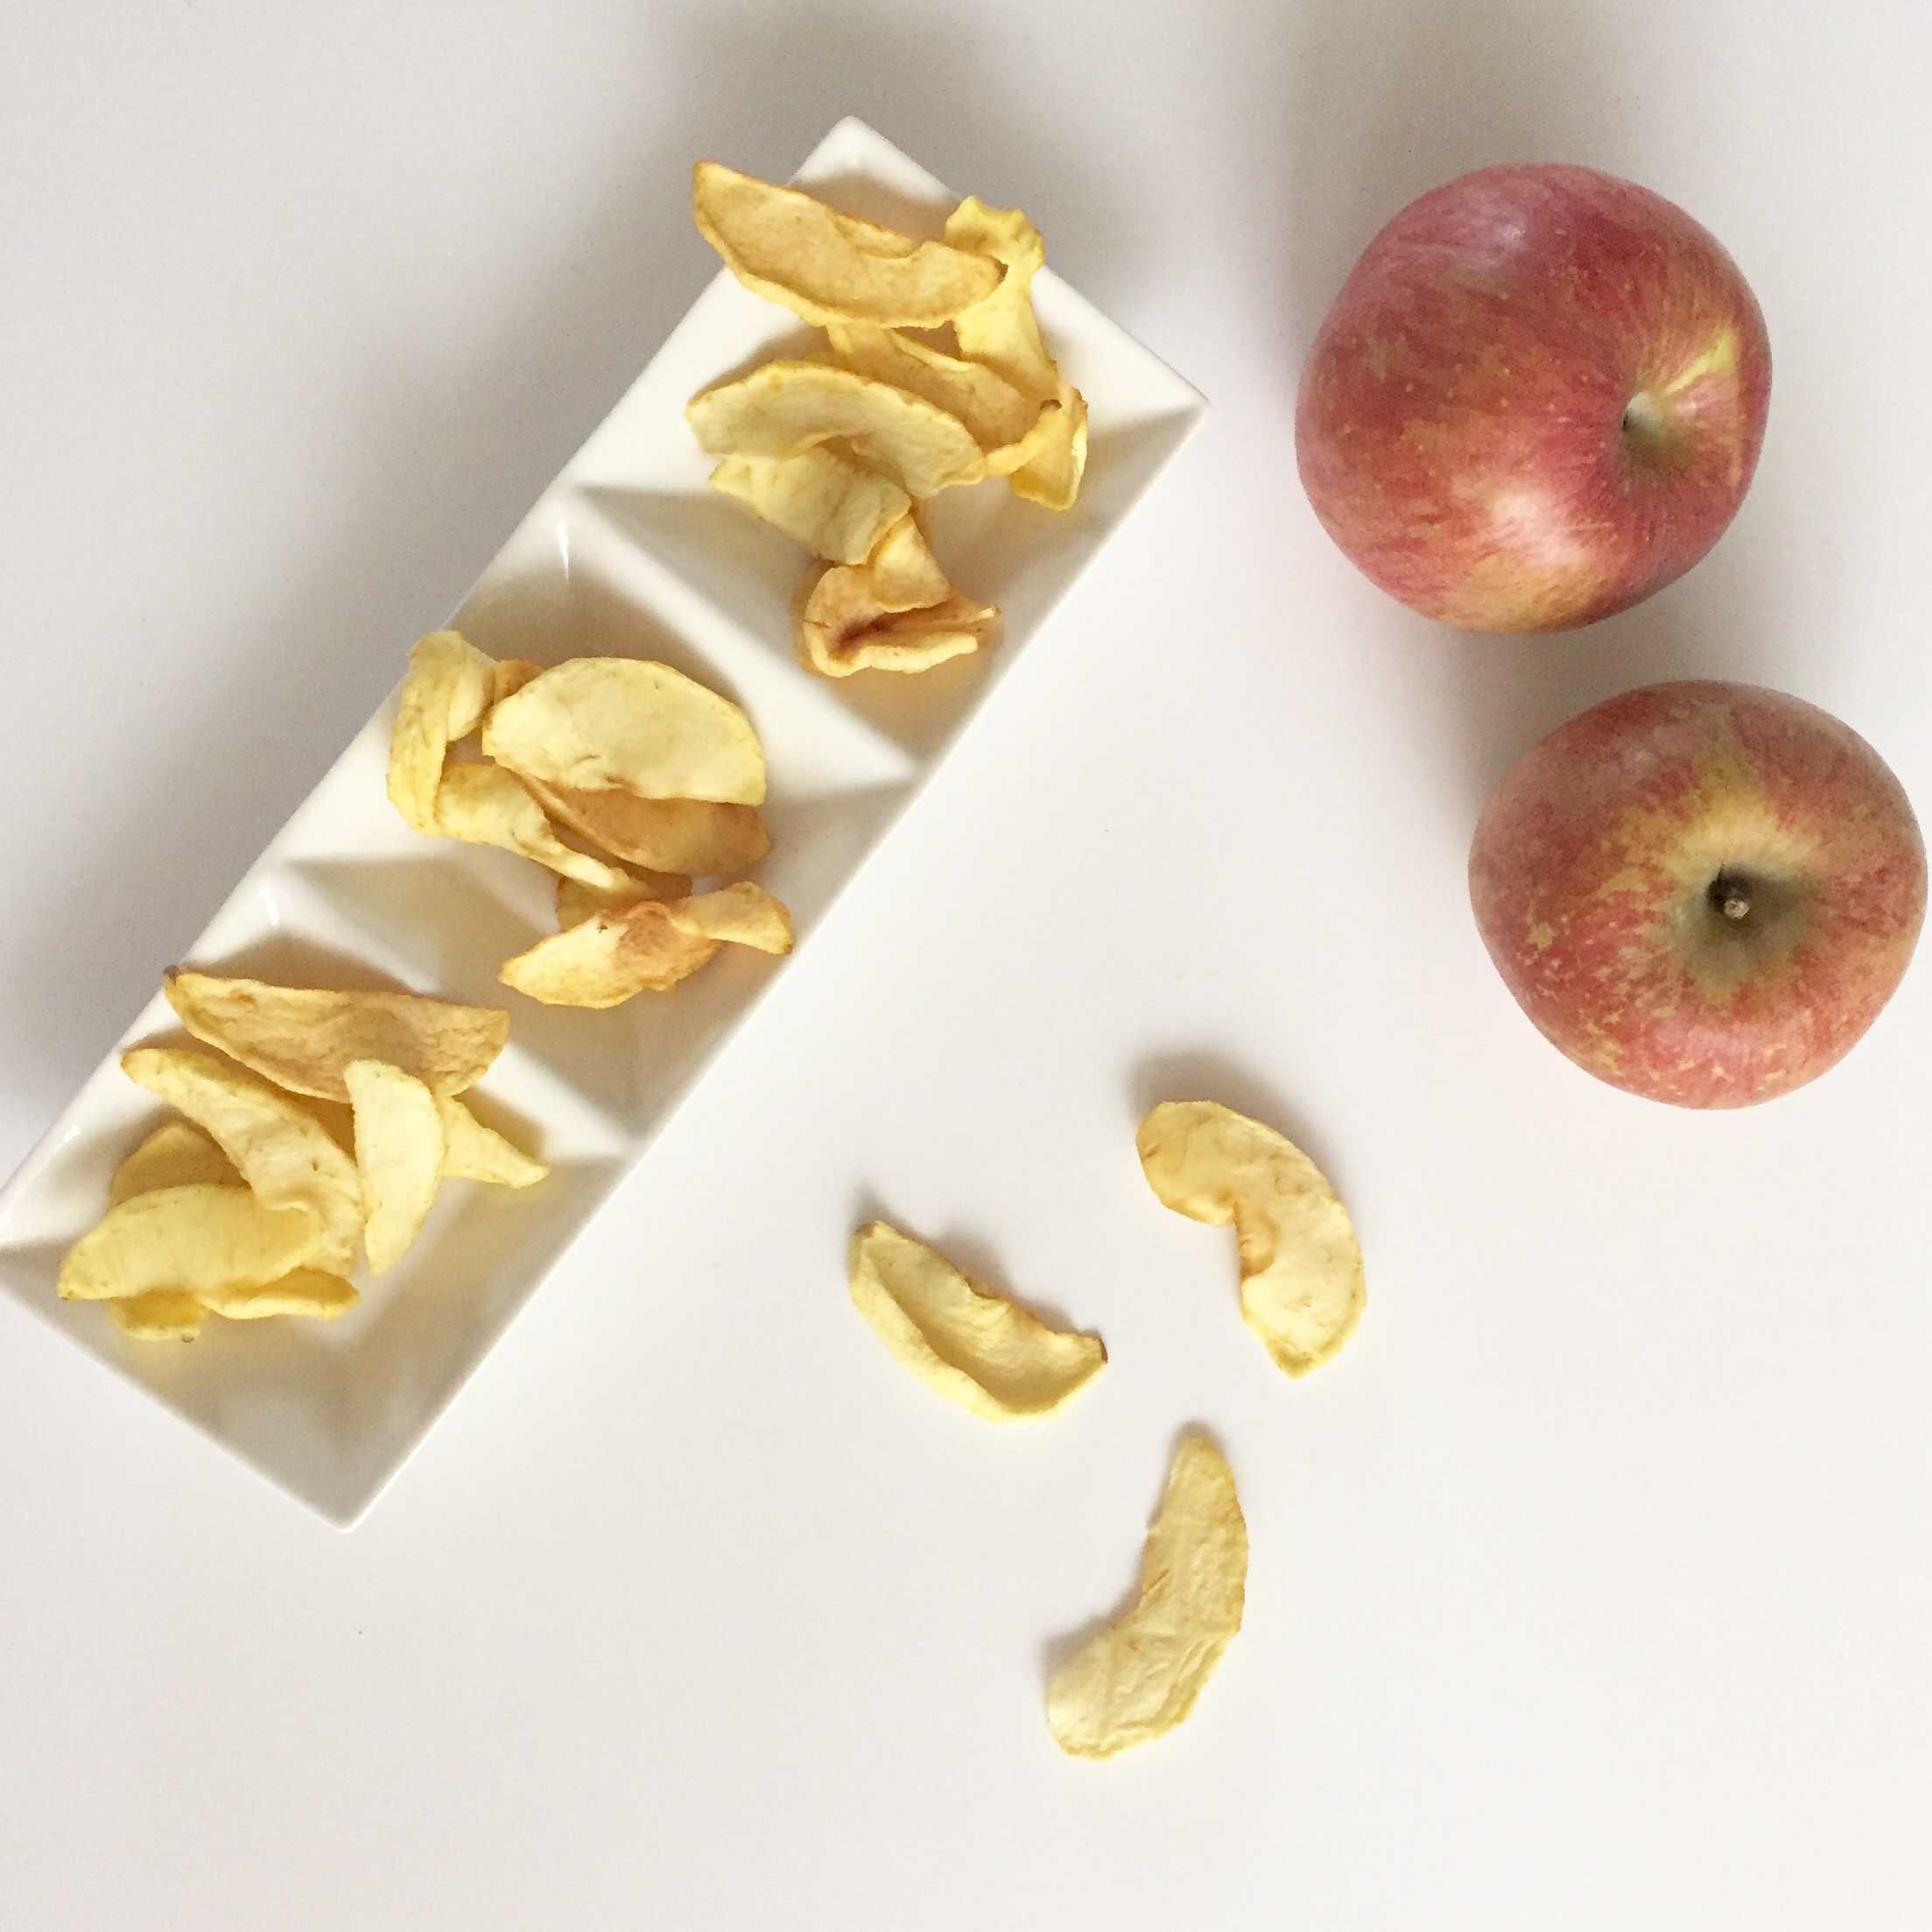
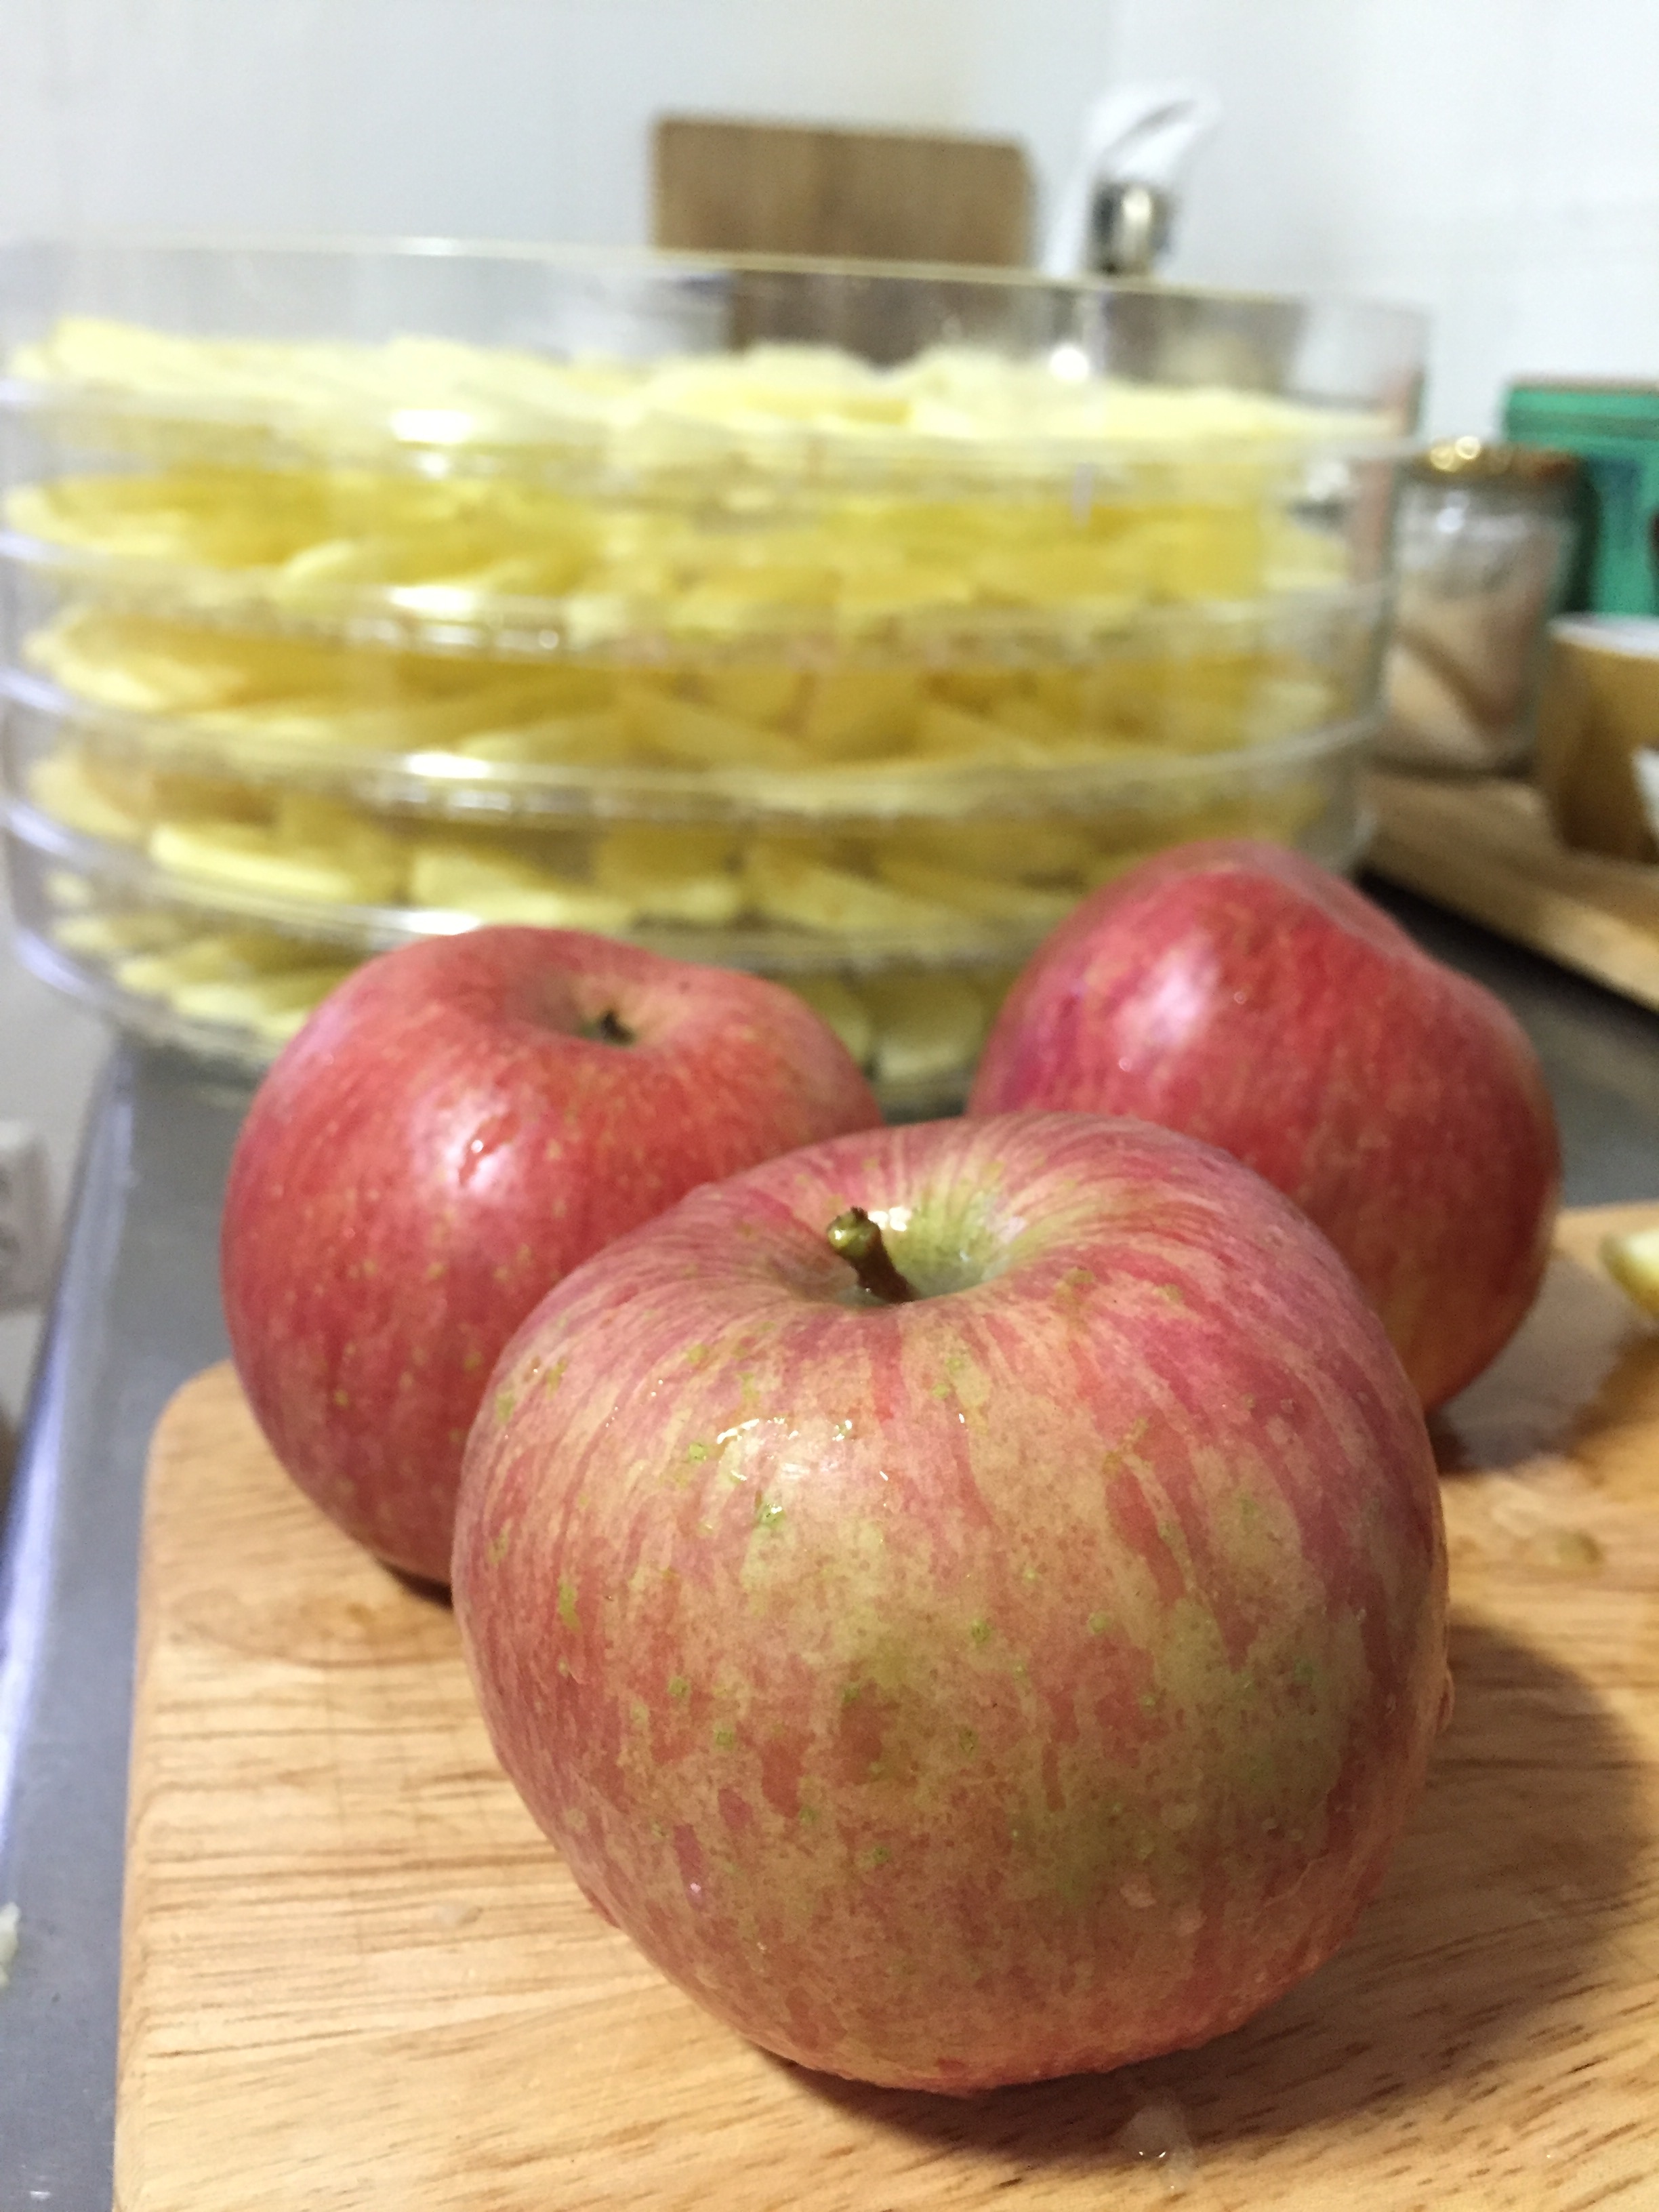
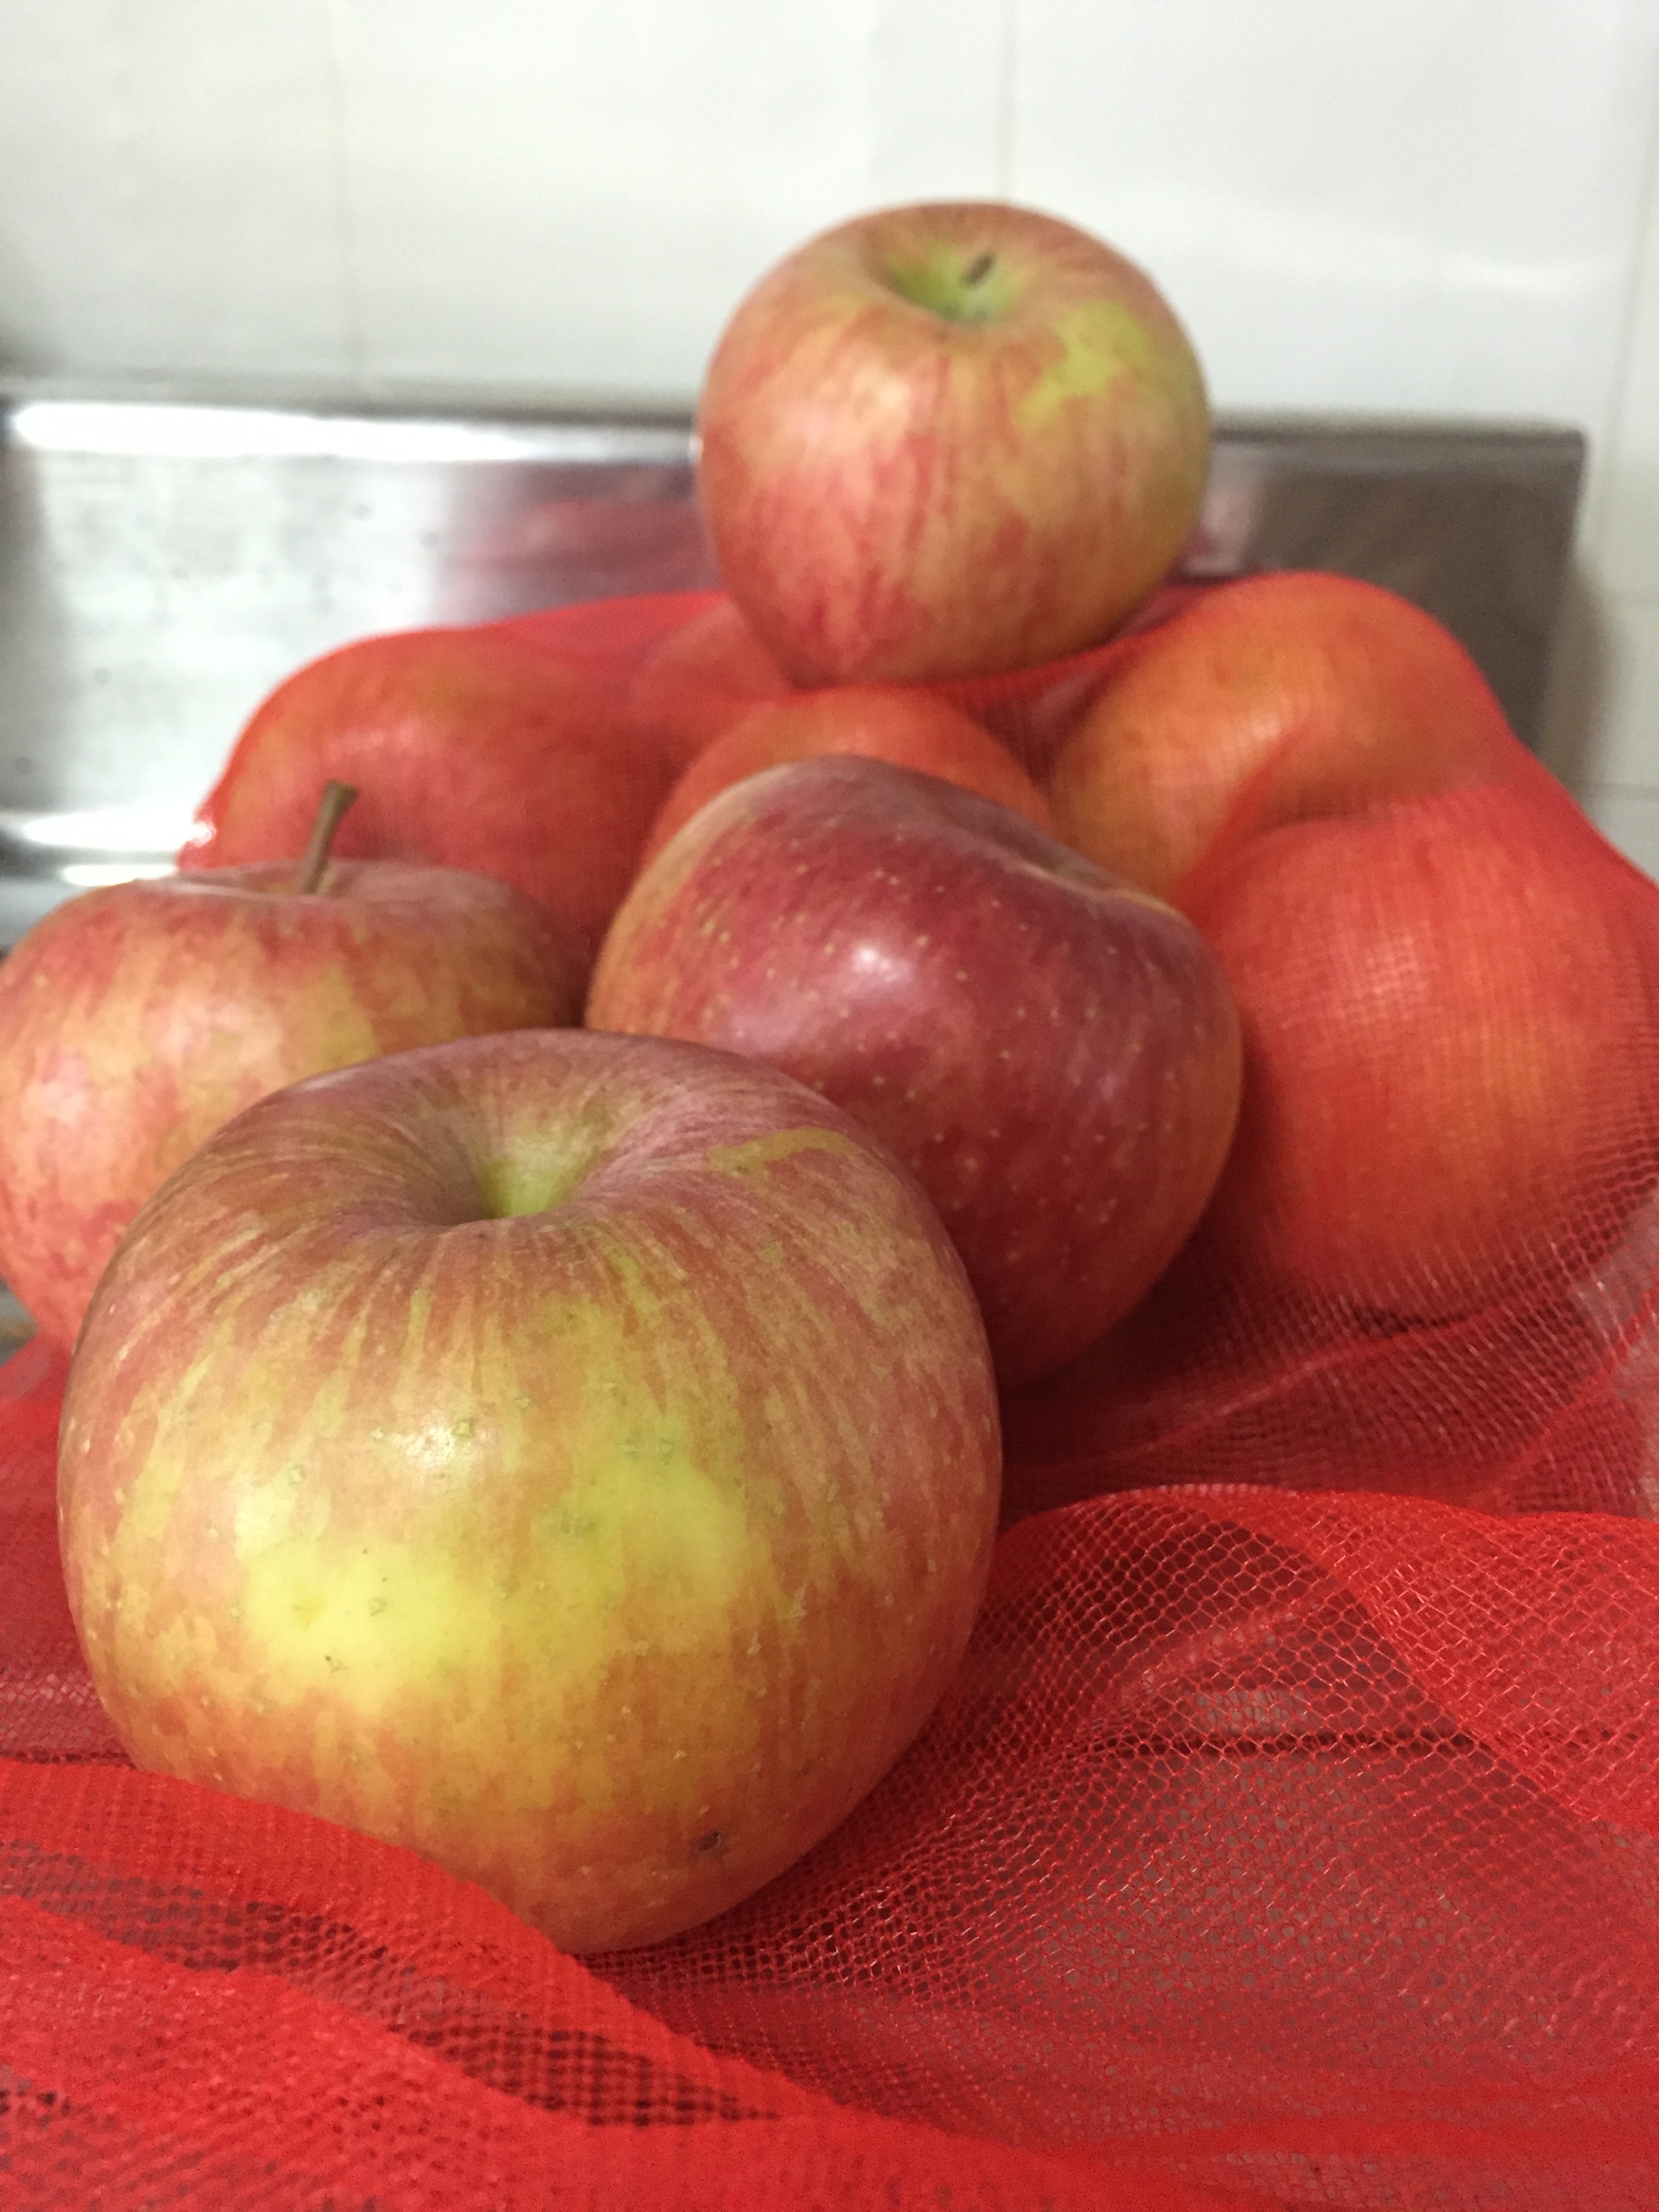
Apples are currently in season here in Korea, which means we are able to buy them without the usual $10 a pop price tag that that comes with them at any other time of the year. The apples used in this blog post were bought from a little farm stall near Naejangsan National Park.  

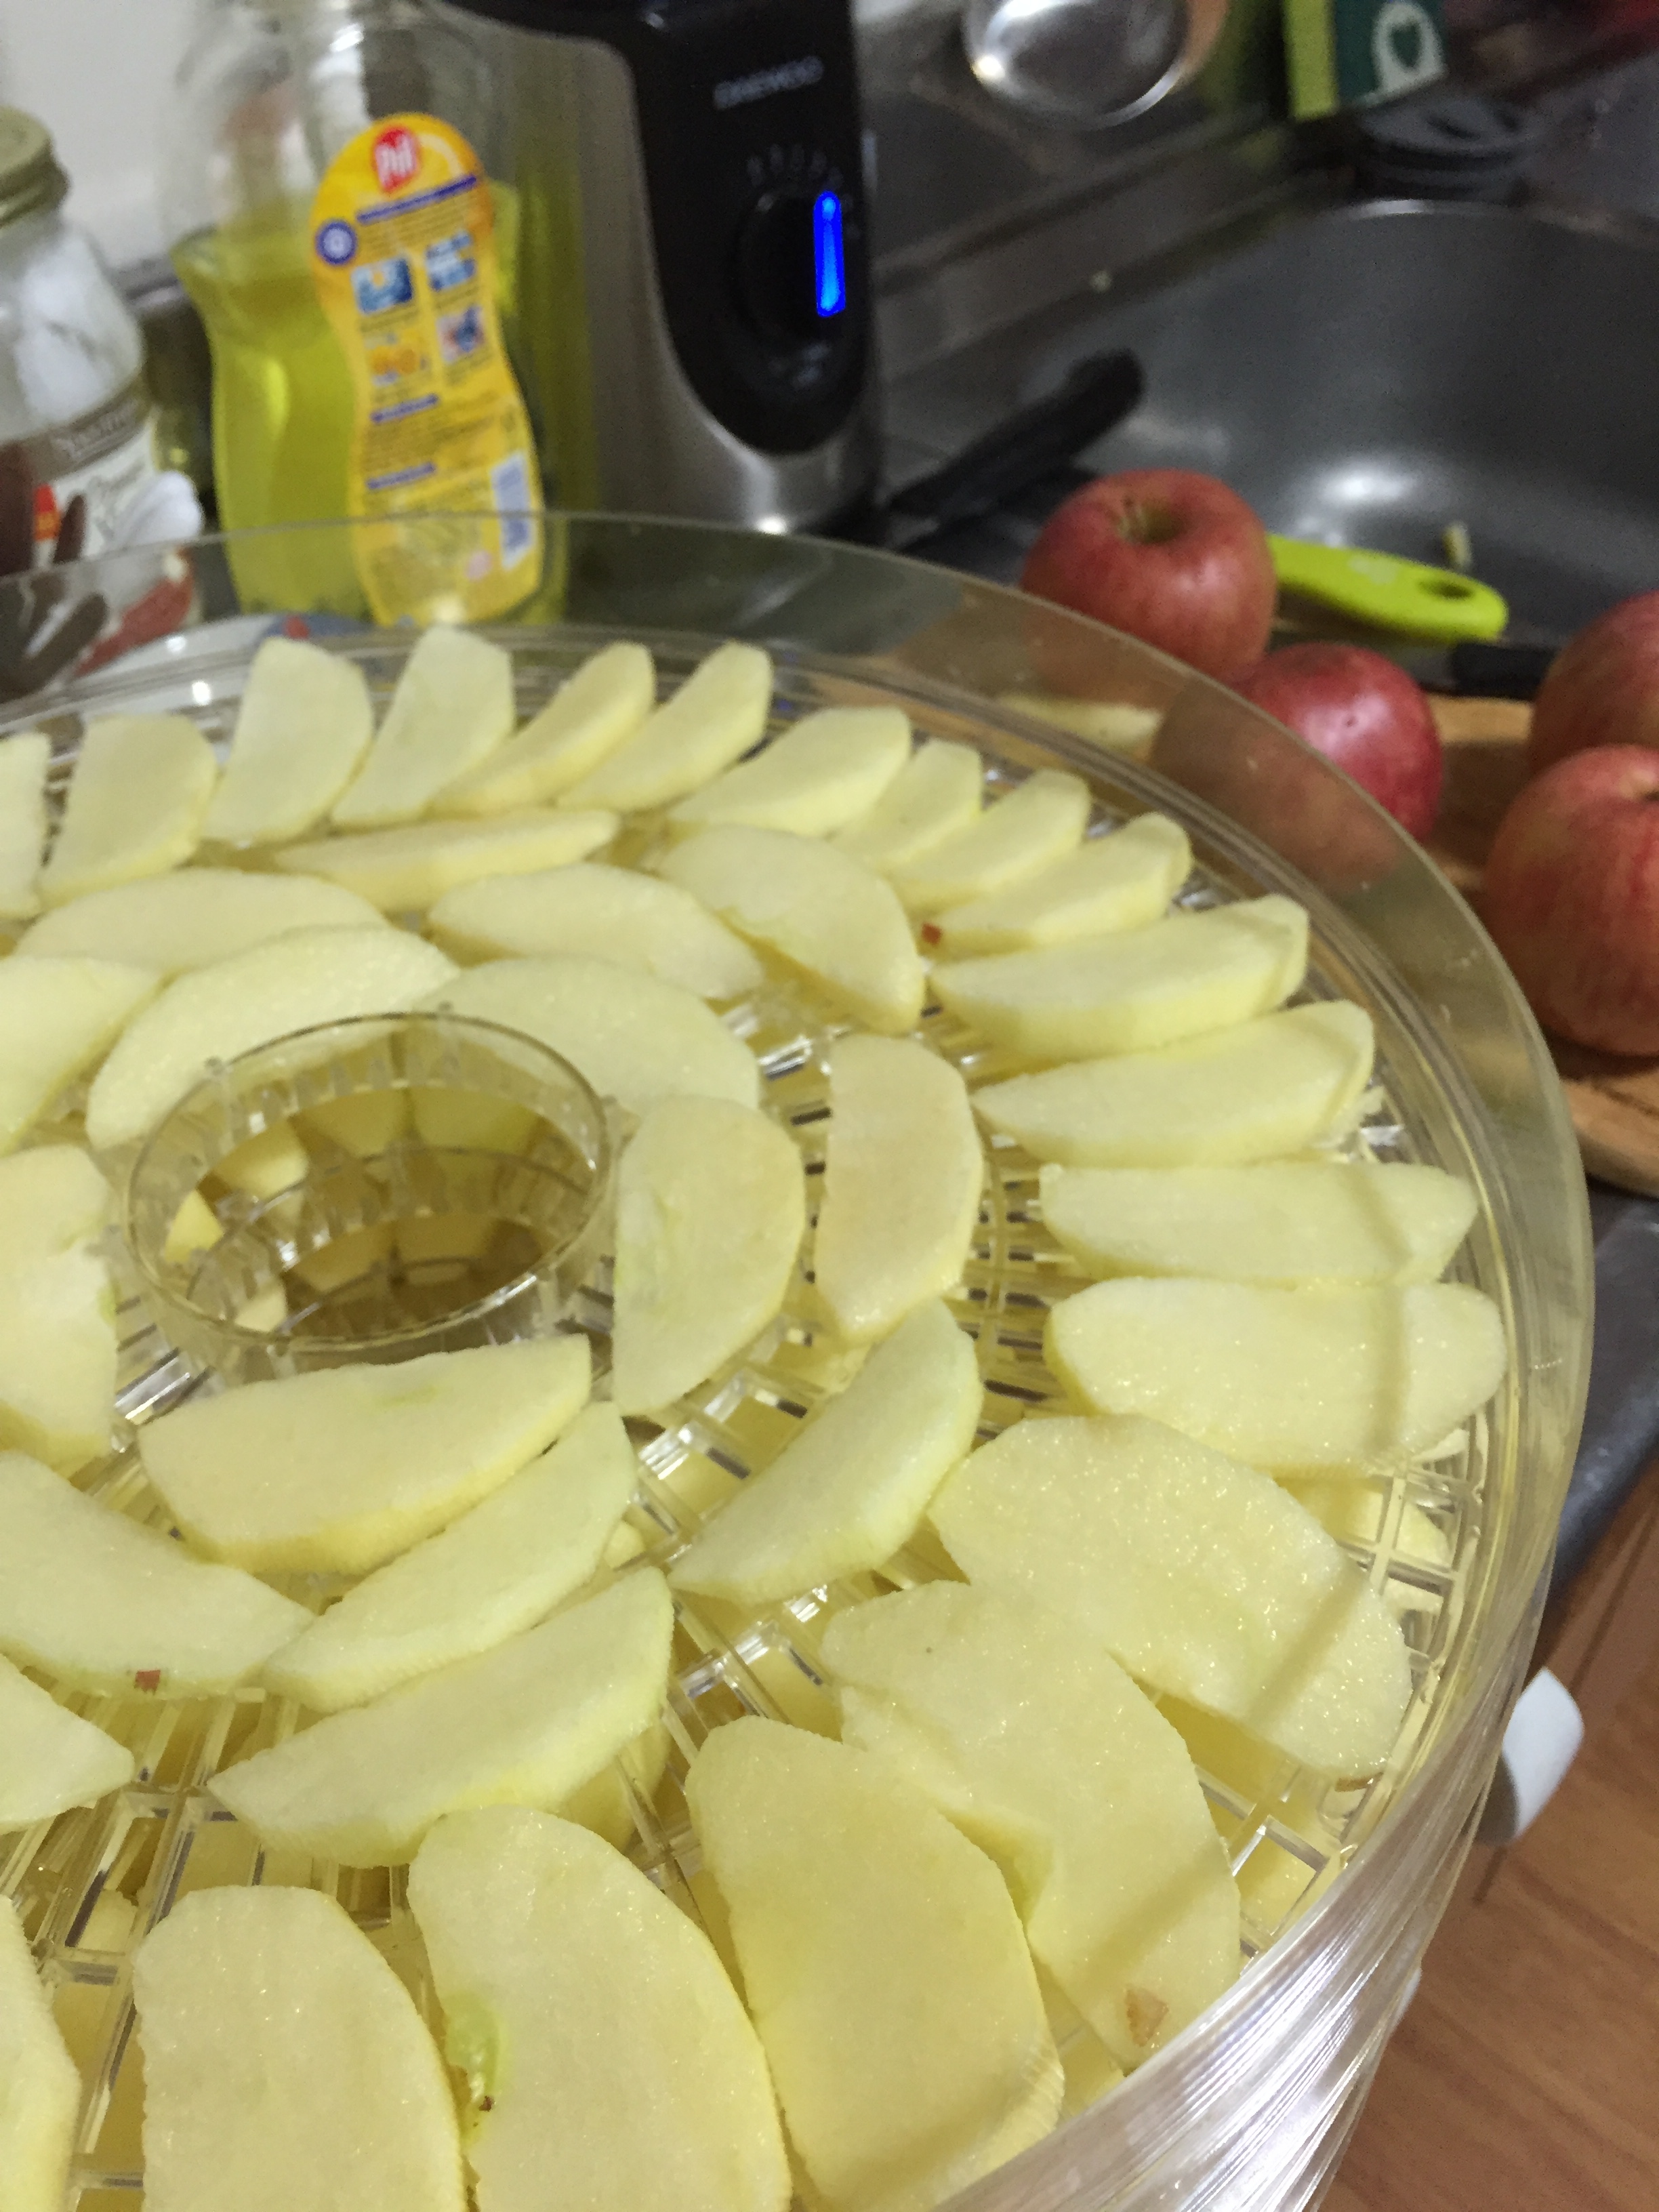
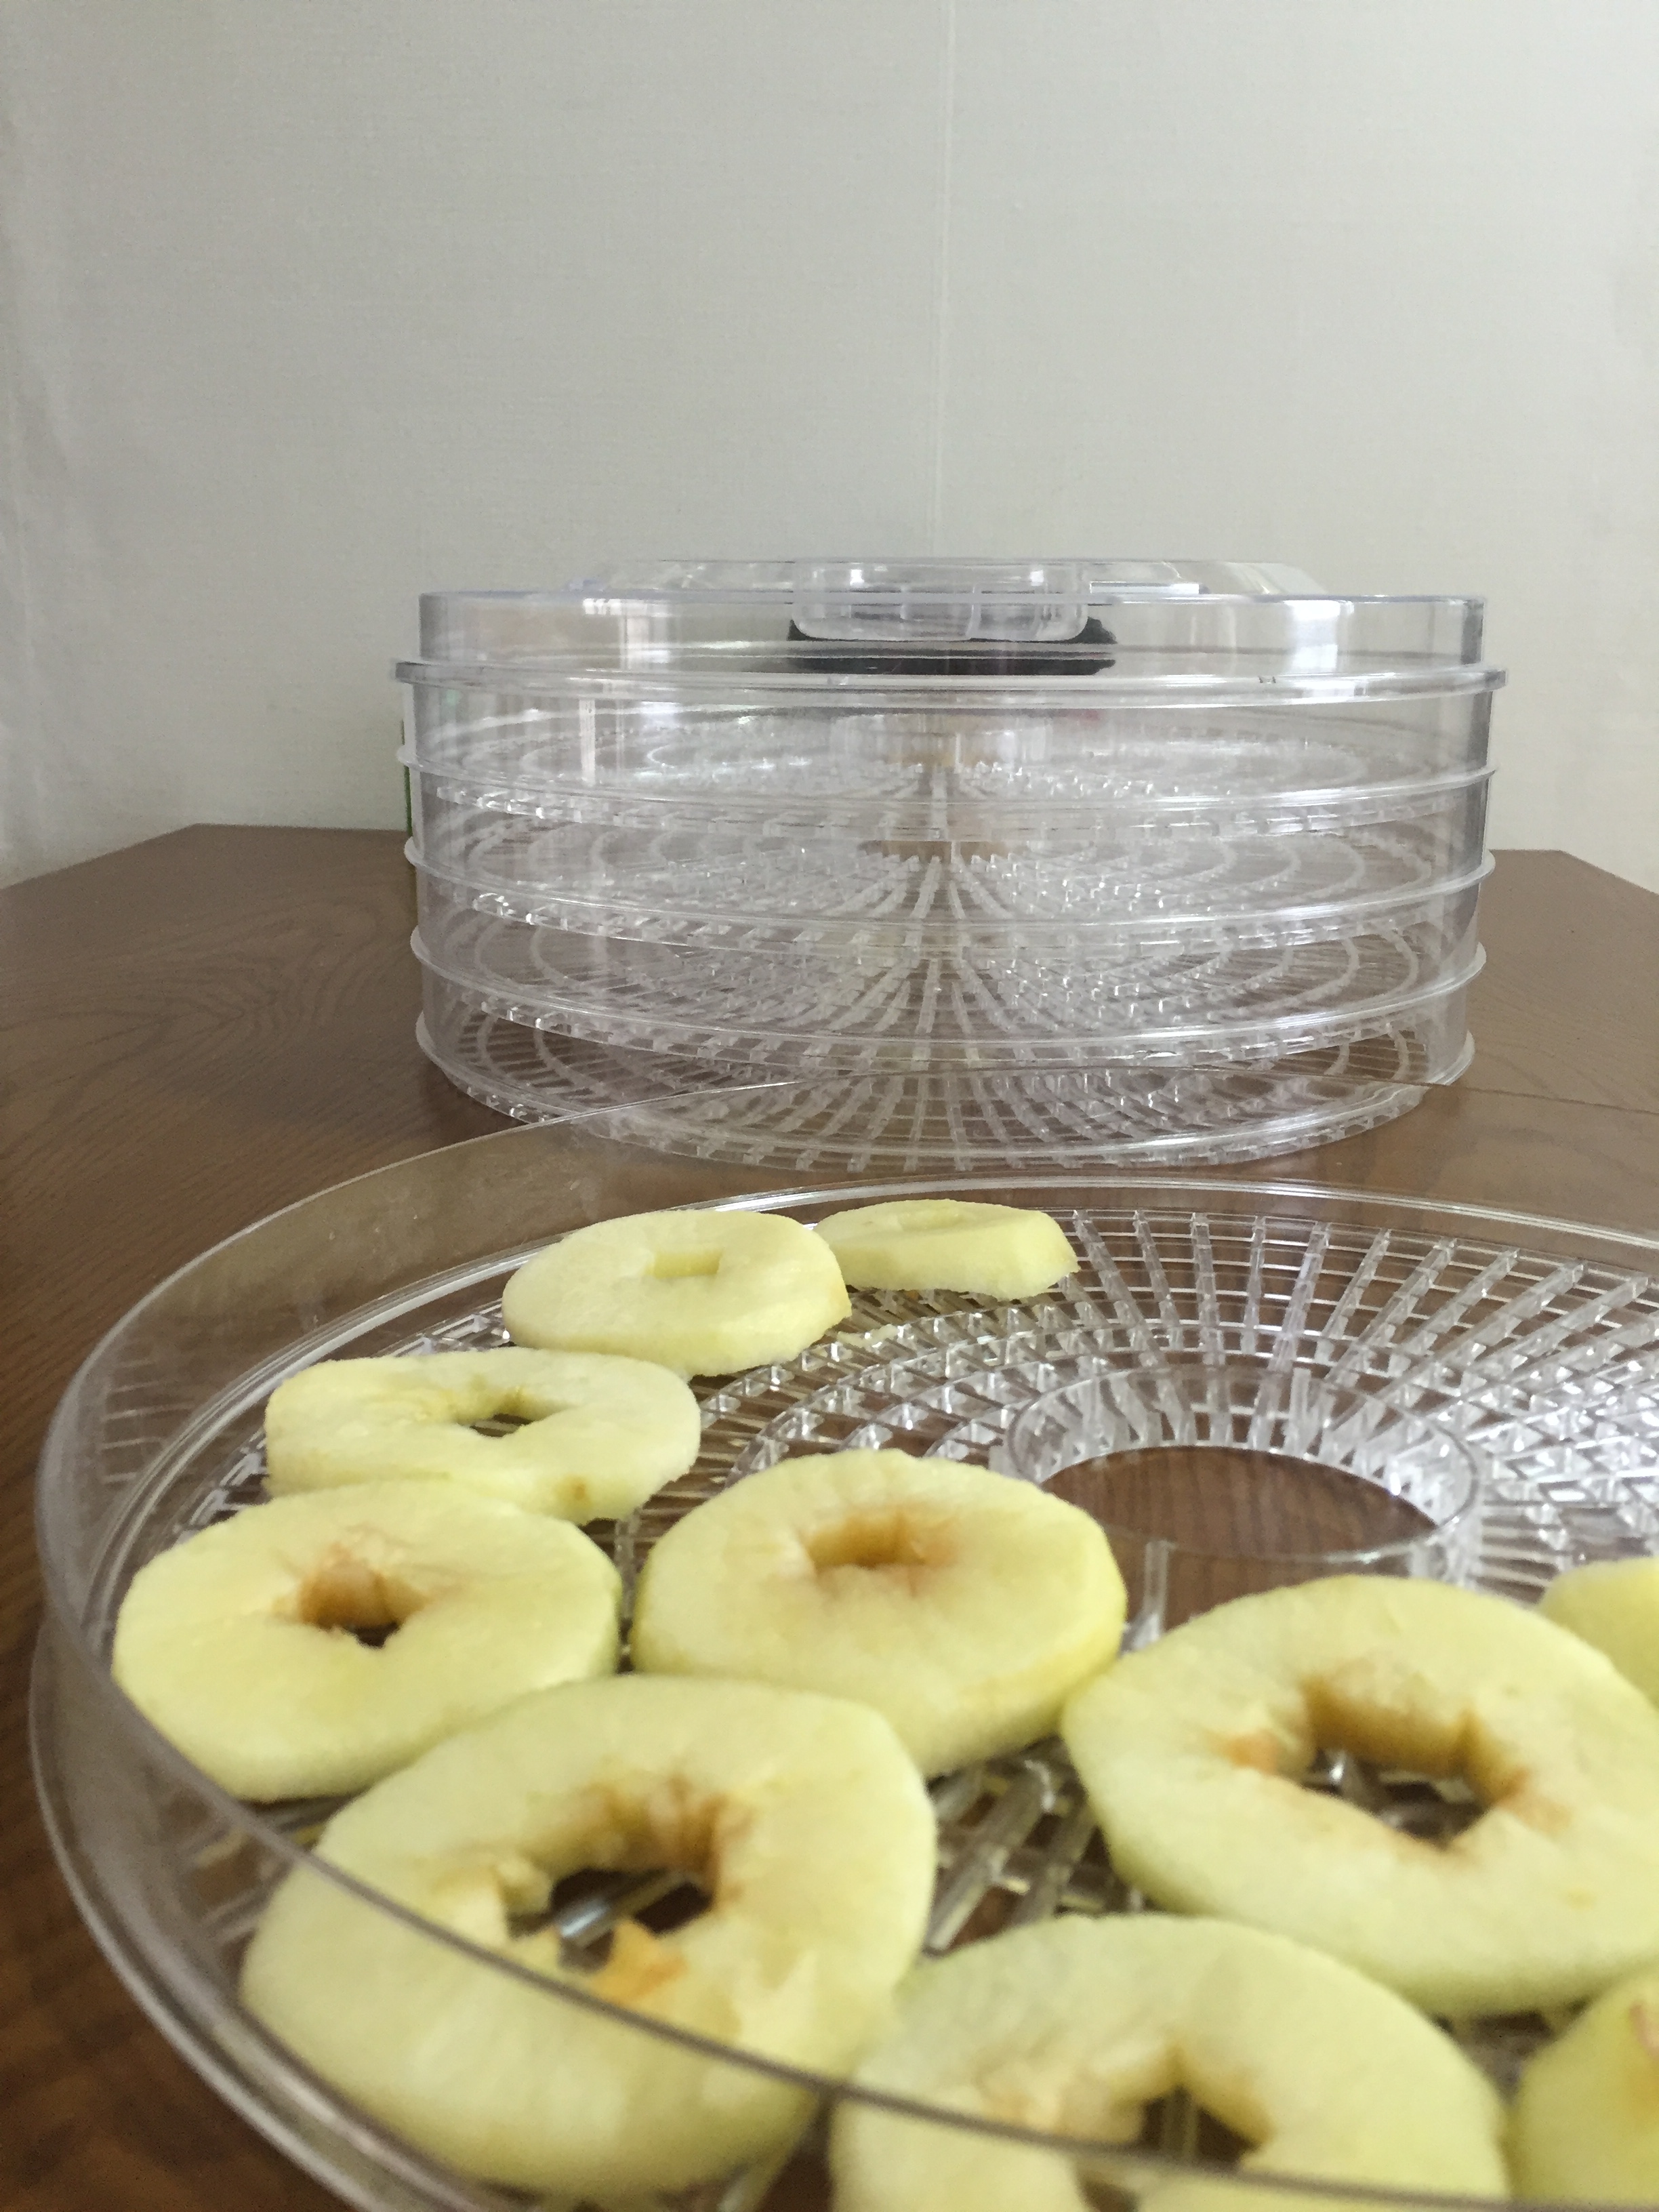
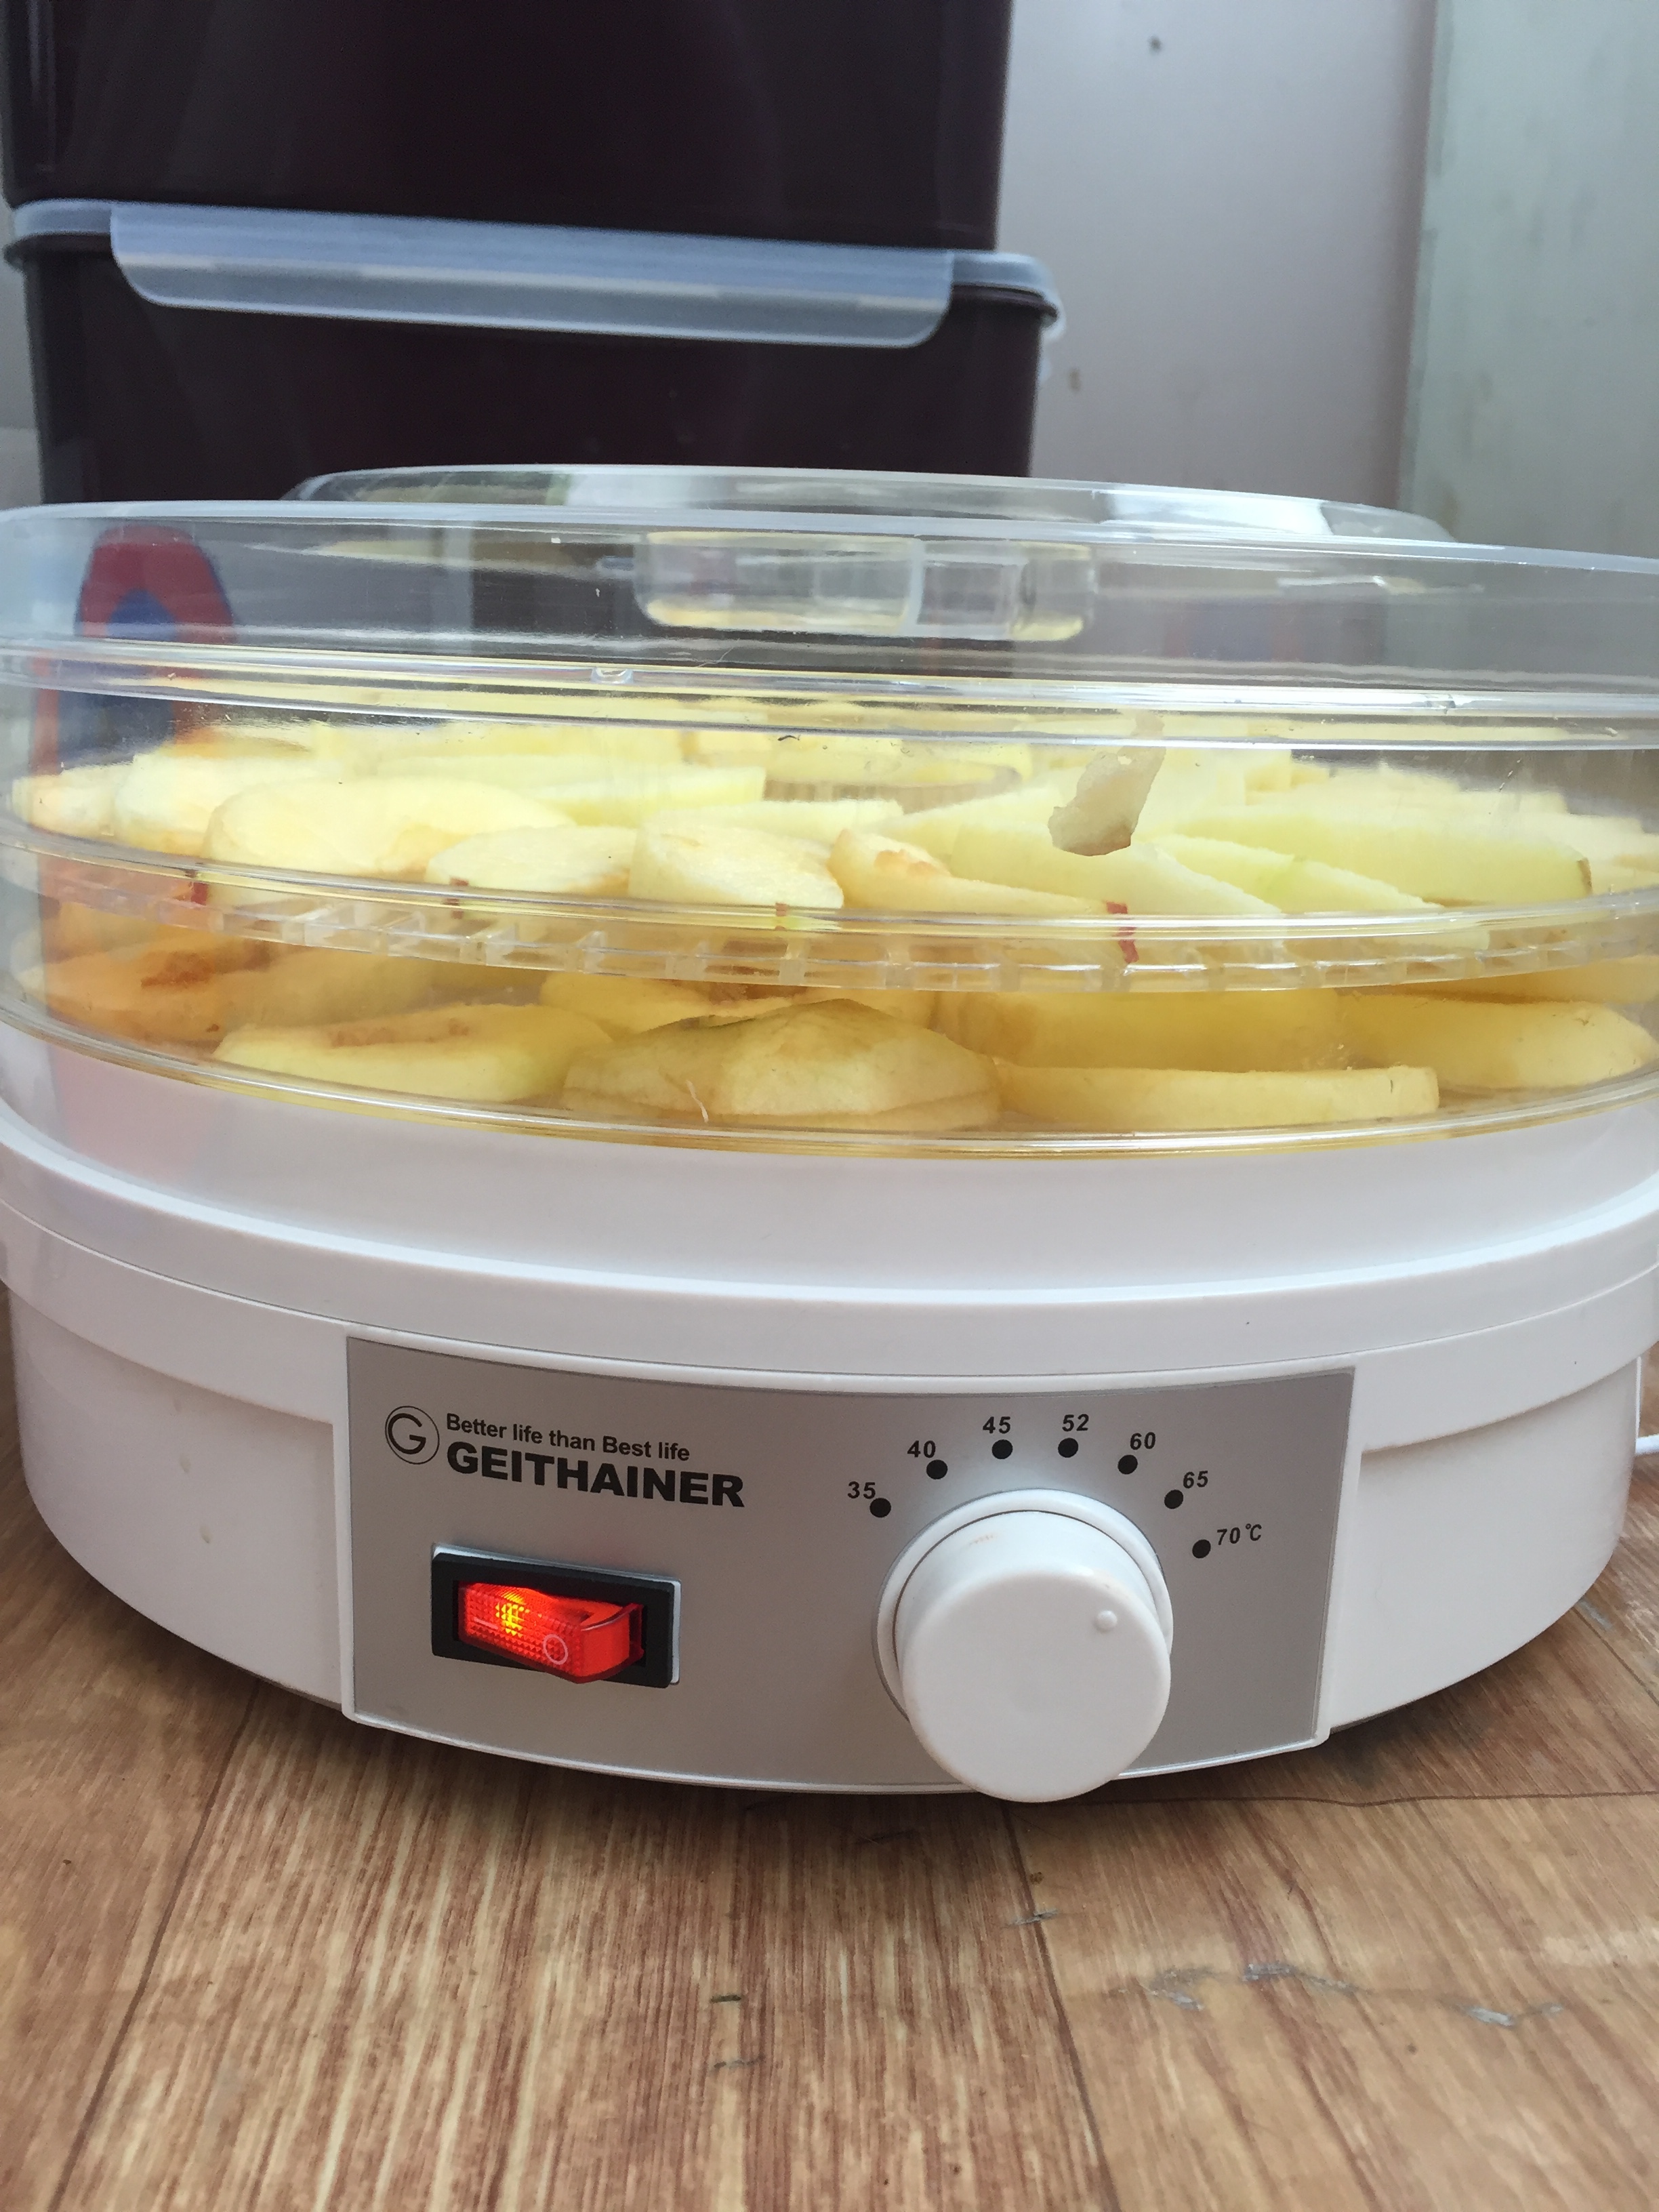
These dried apples were made with a dehydrator we were given by Farmboy's school, (here is a link to buying them on Gmarket) but you can easily do the same thing using your oven. 

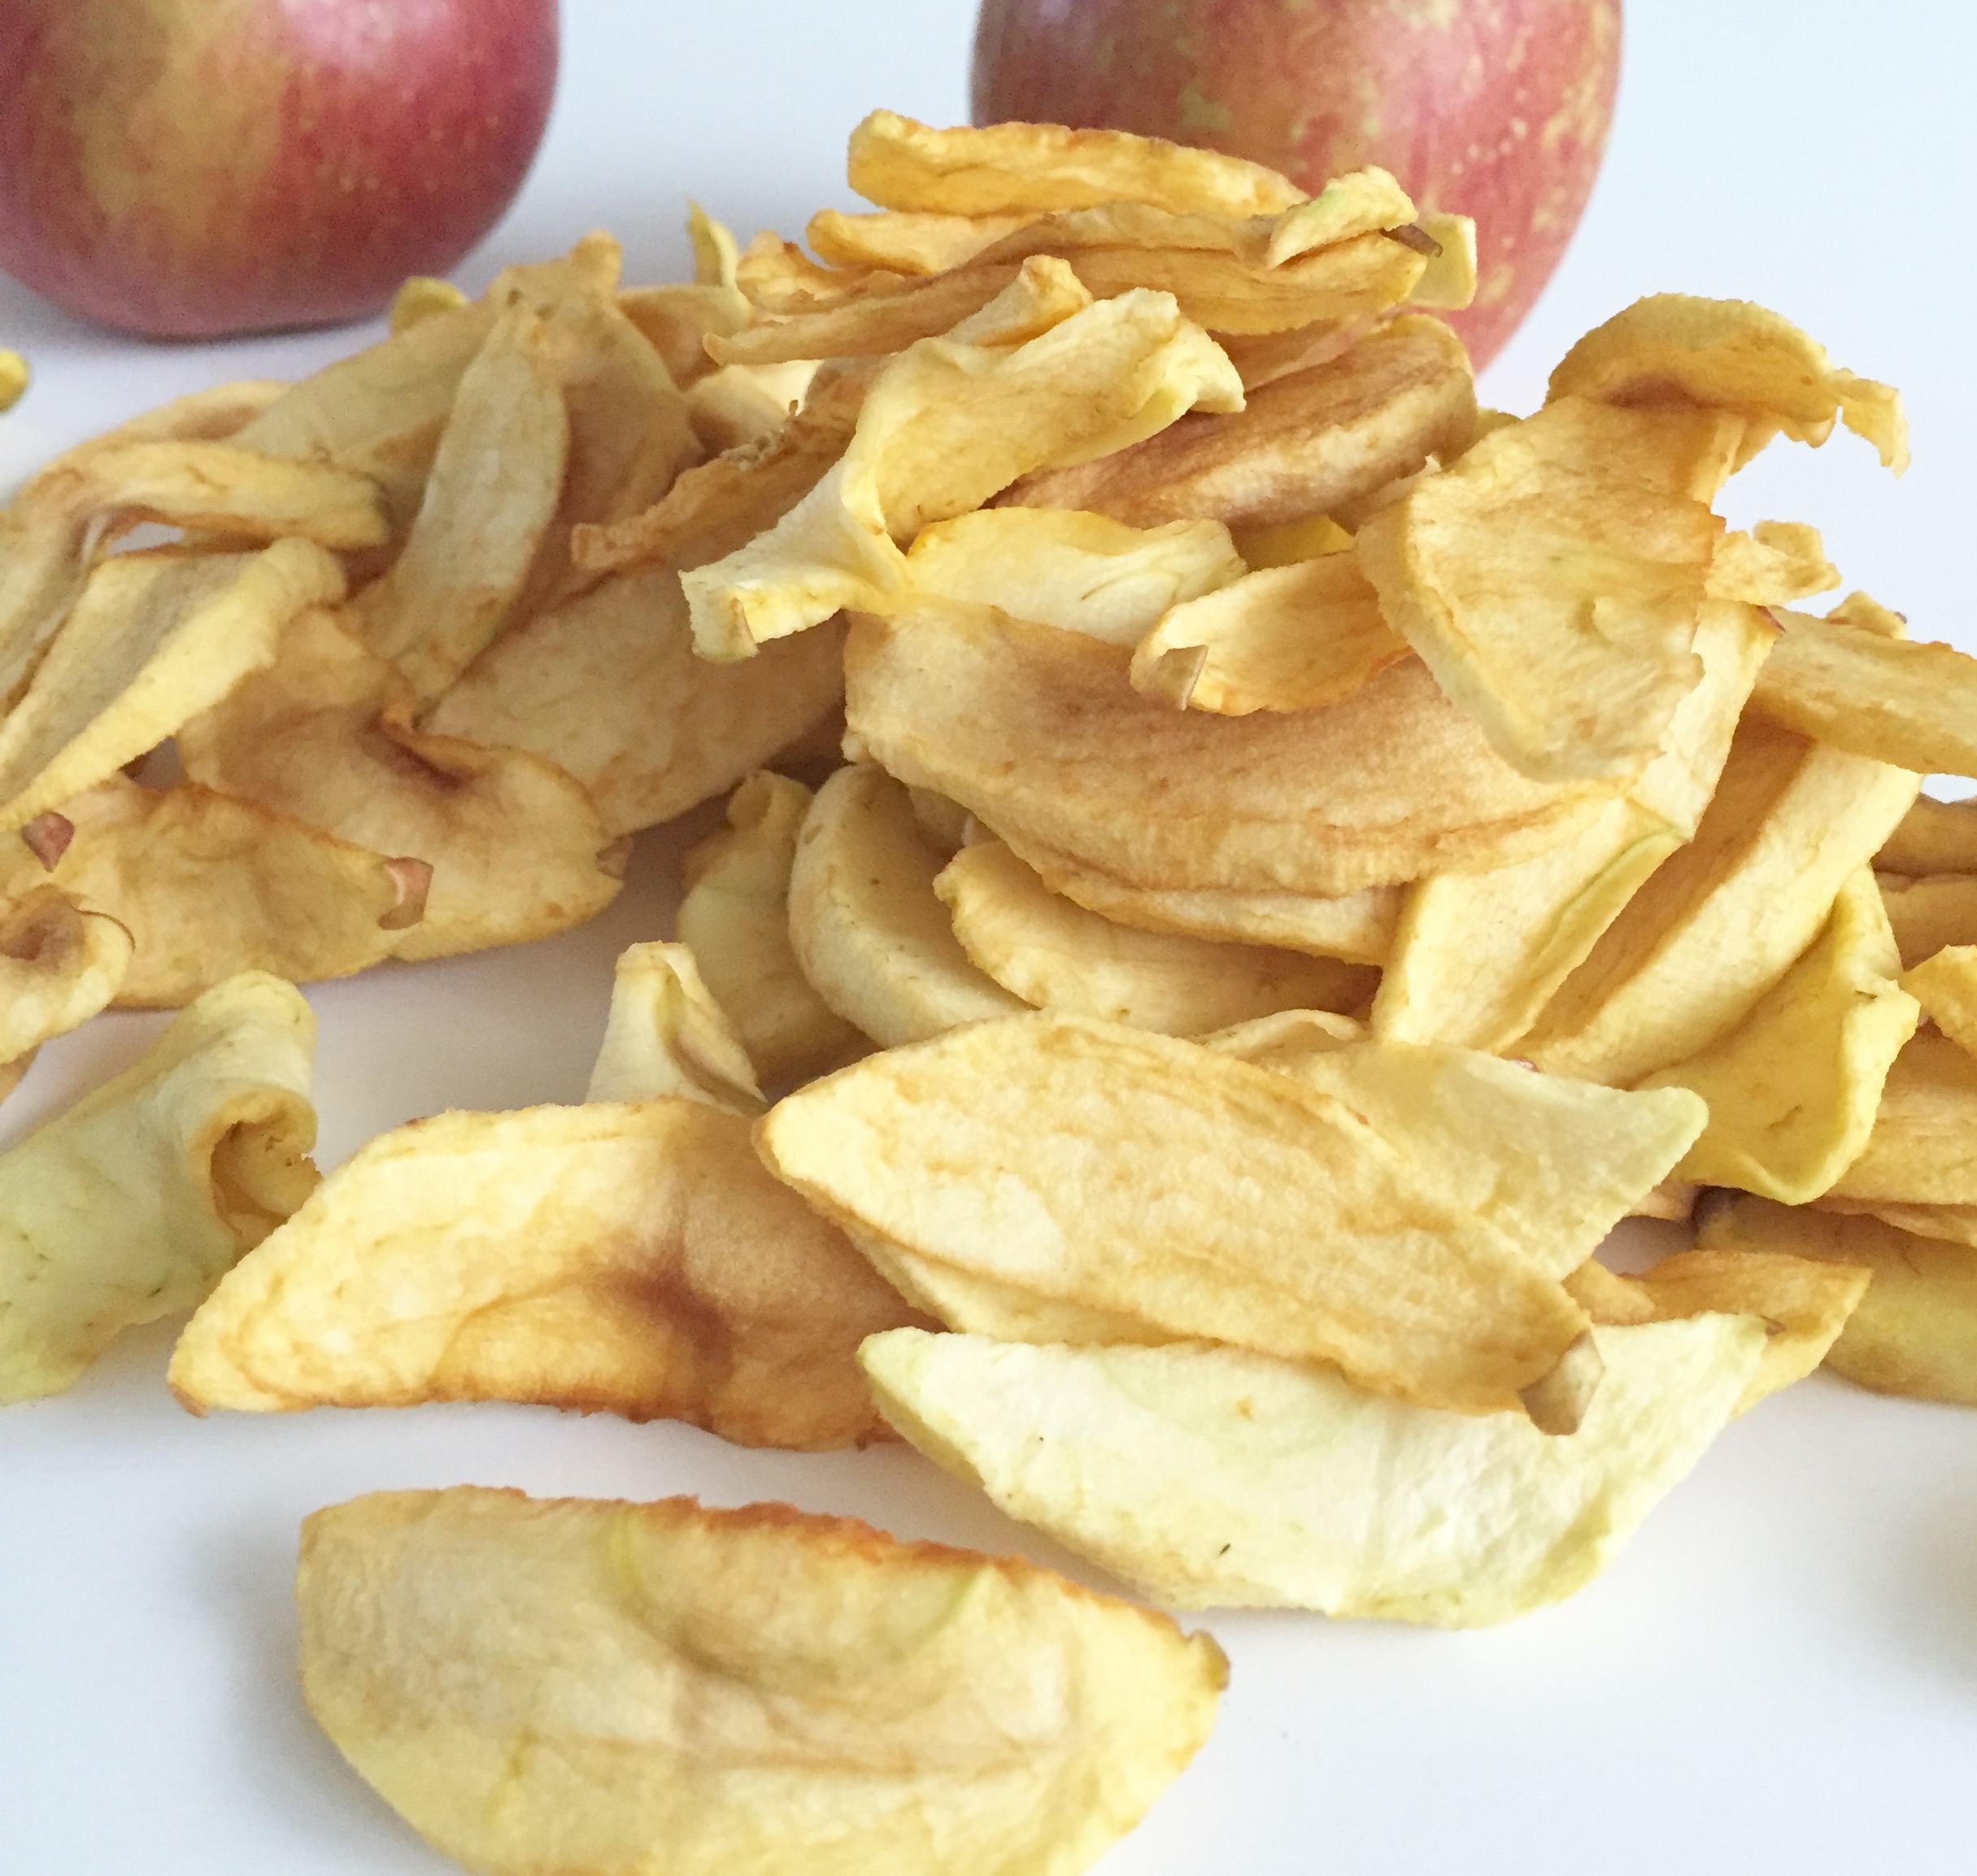
It takes a while for the apples to get really soft and chewy (anything from 12 - 24 hours) but it's definitely worth the wait, and using a dehydrator instead of an oven will make your life easier. If you want them to be crunchy instead of chewy, then leave them in for even longer.

So far we have dried apples, pears (these have been the best so far!) and persimmons (another fruit that is also currently in season) and I plan on trying to make doggy snacks out of chicken breasts for our pup #ShadowTheJindo. I am also going to try my hand at making Biltong (the South African equivalent of Beef Jerkey) so let me know in the comments below if you can recommend any great recipes for Biltong!

If you have a dehydrator, the process is very simple.

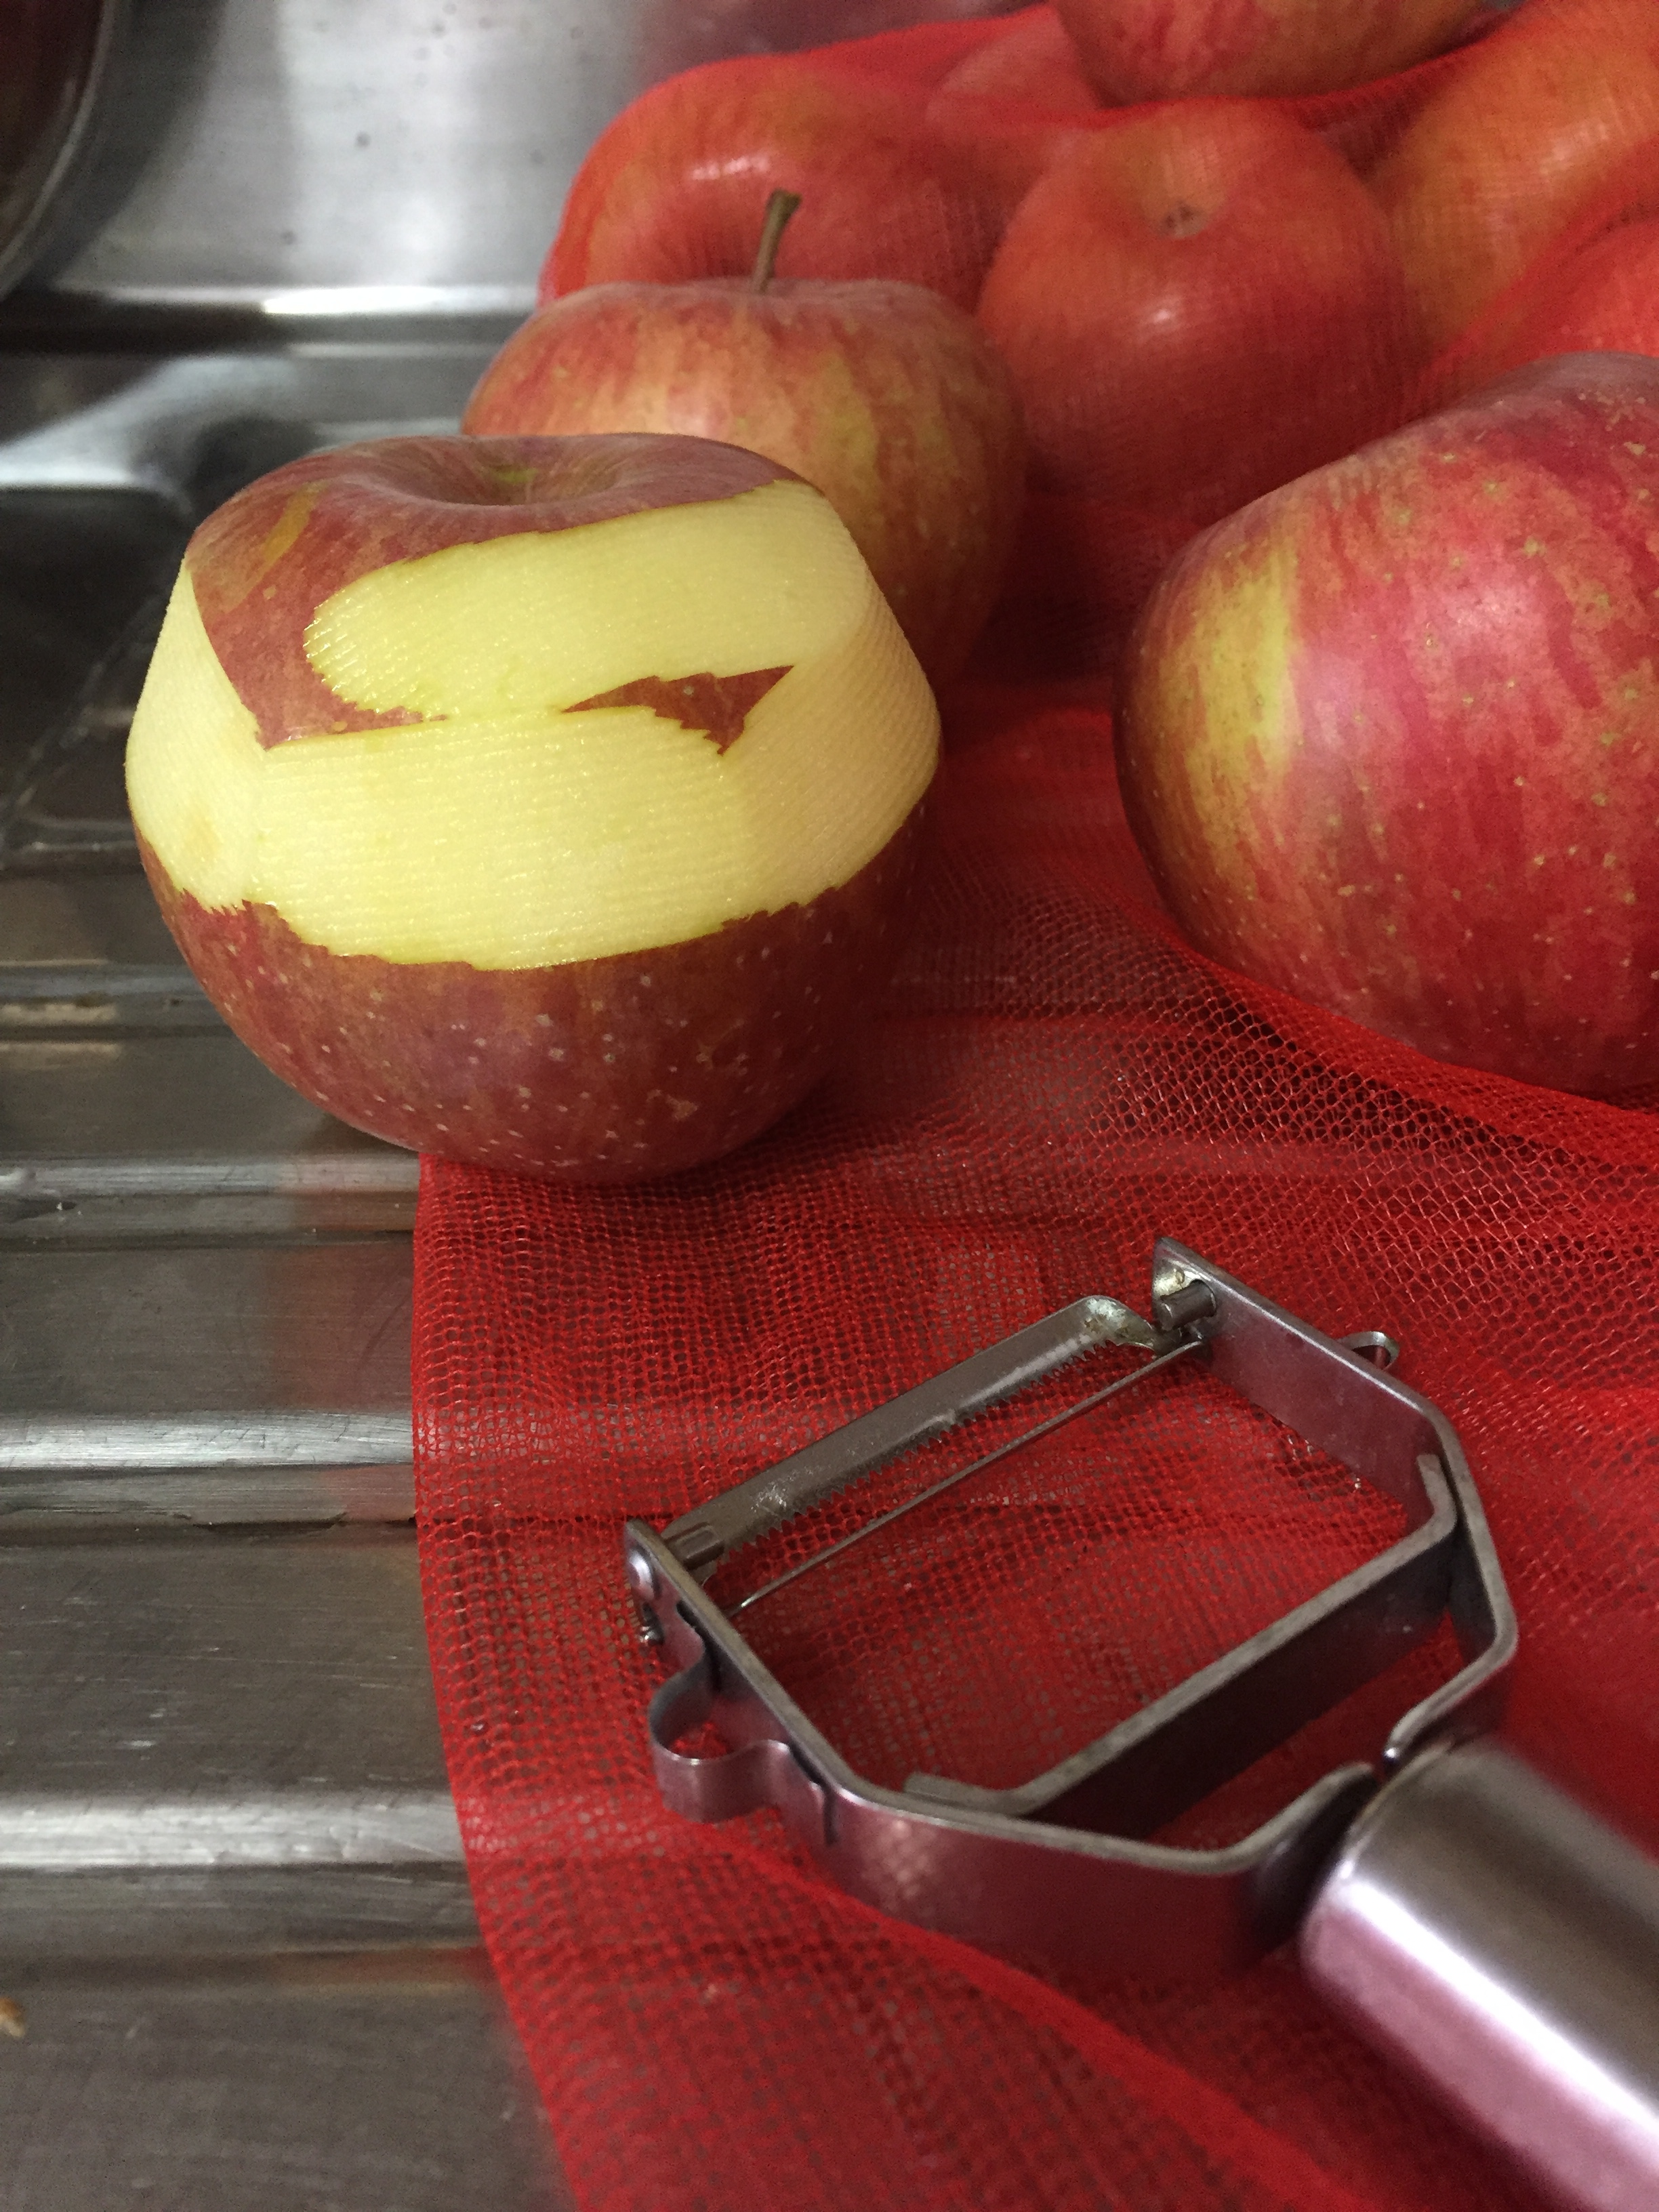
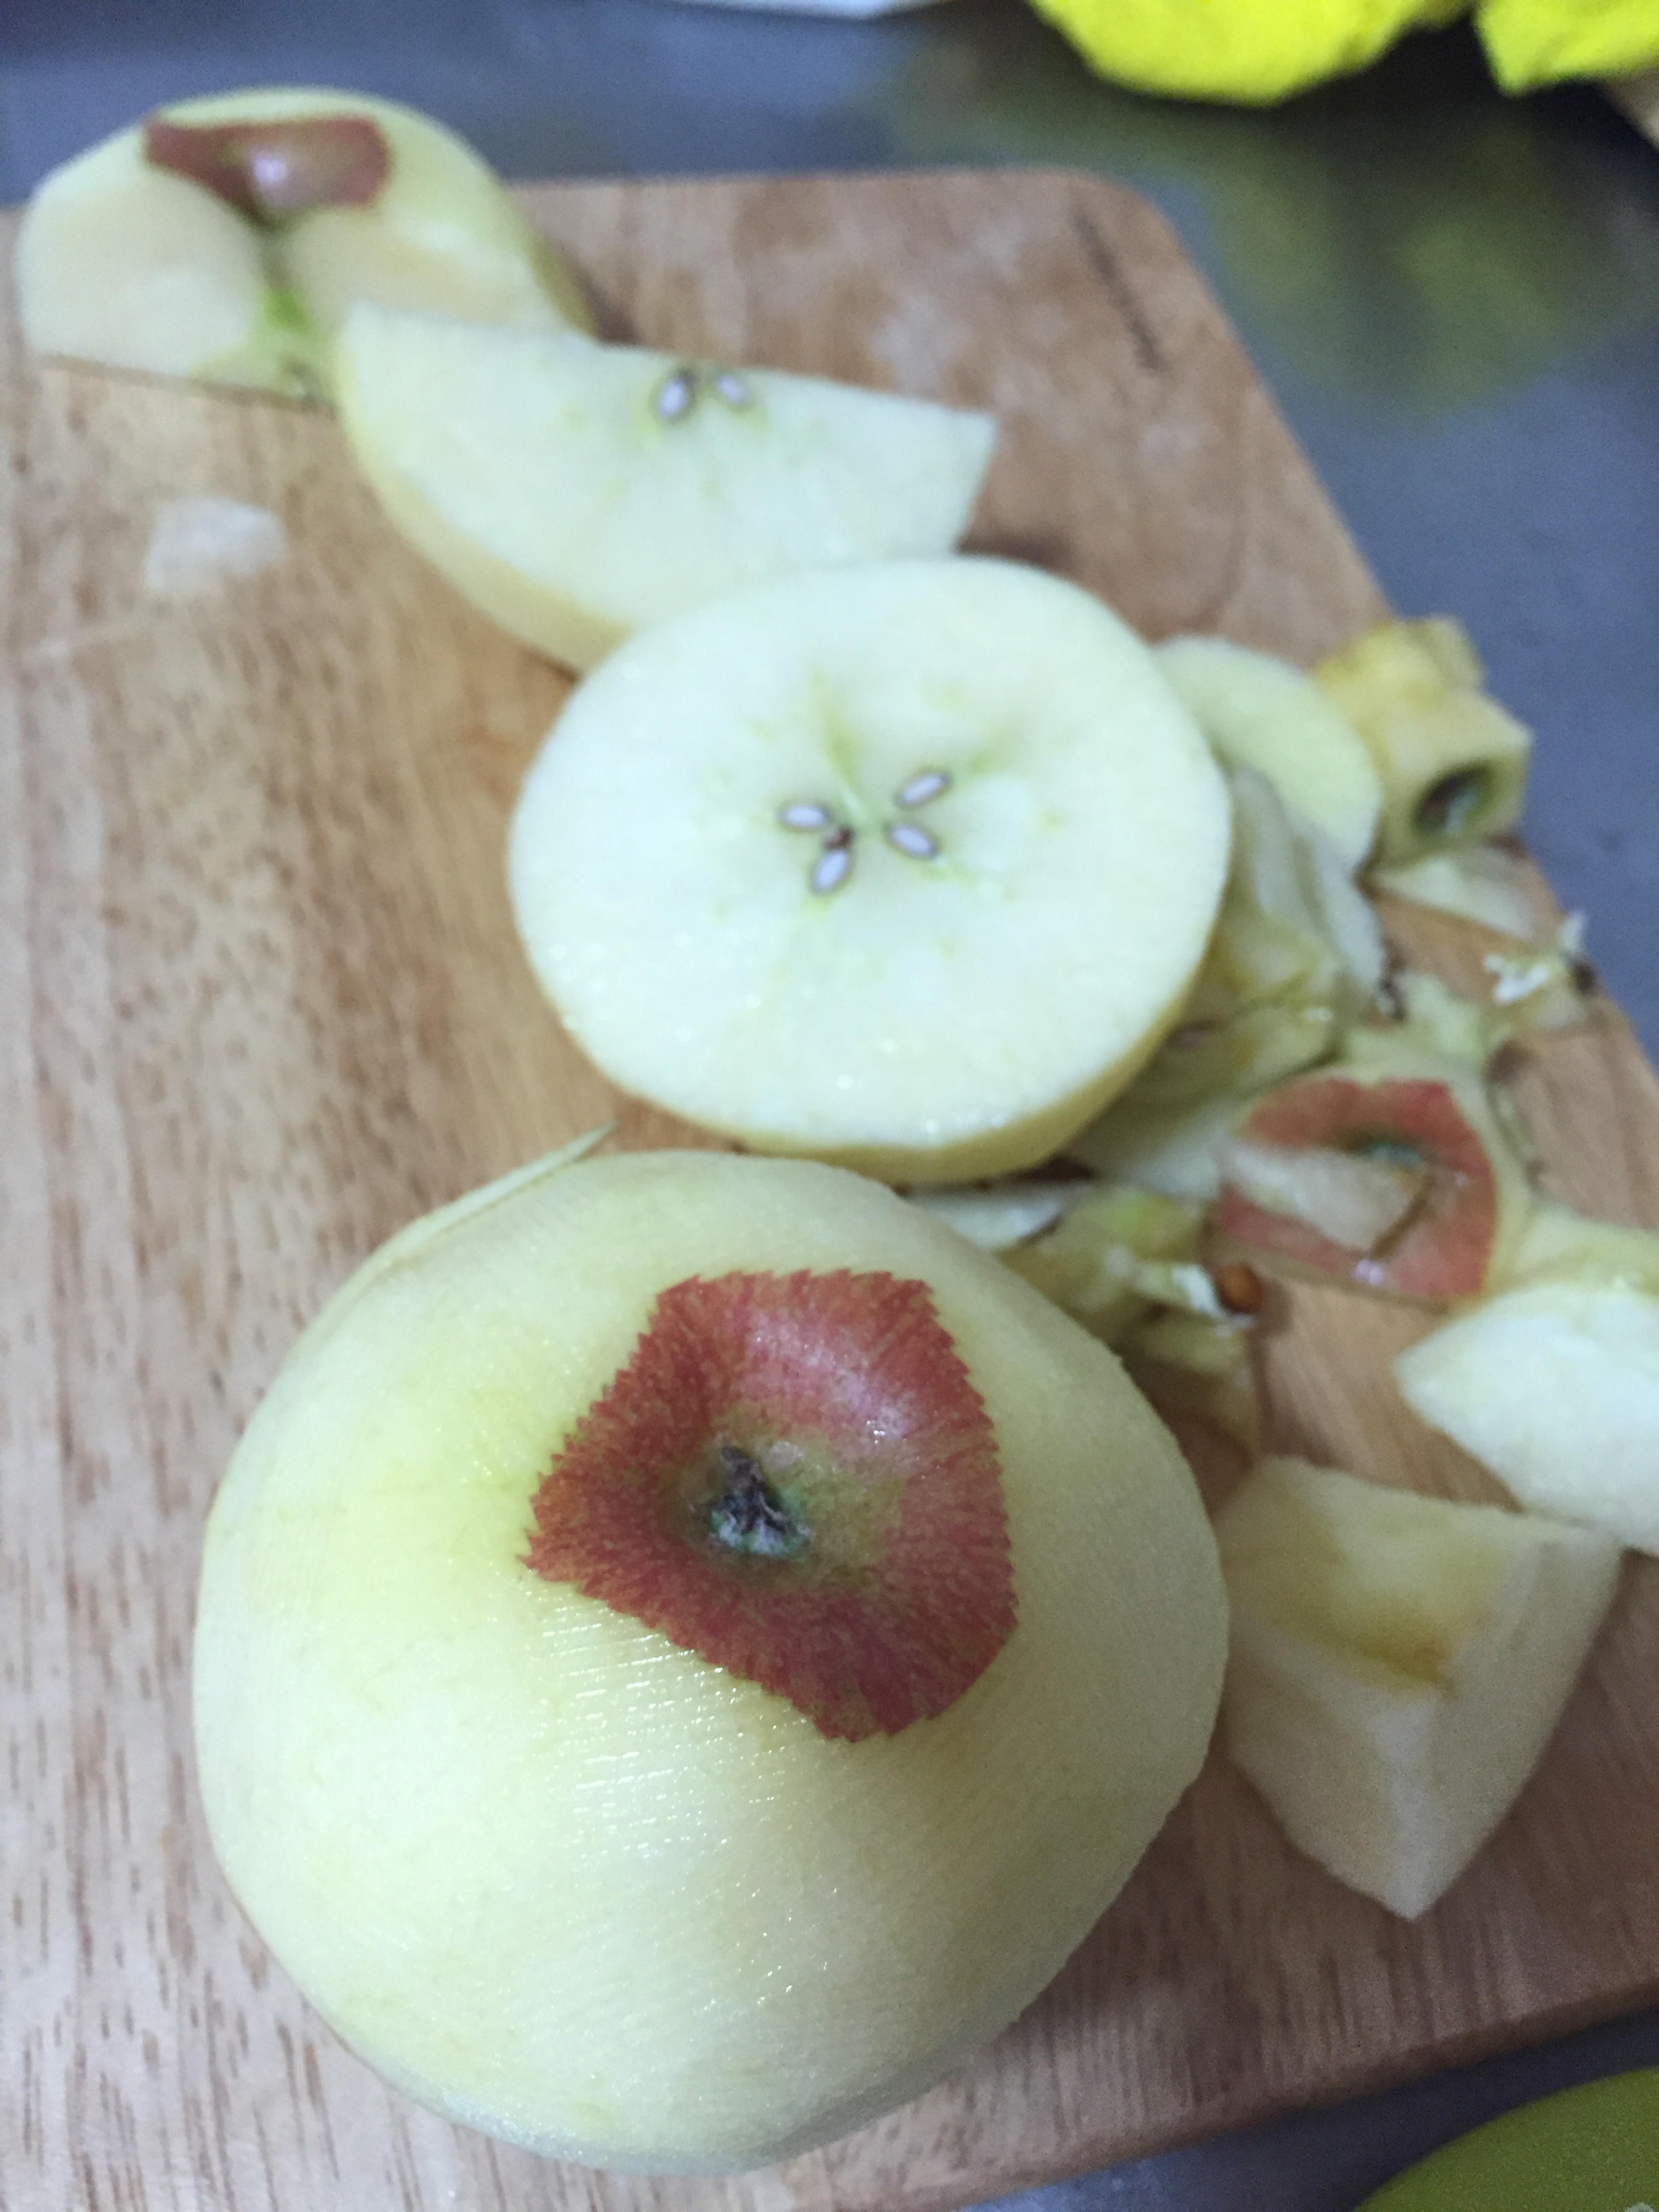
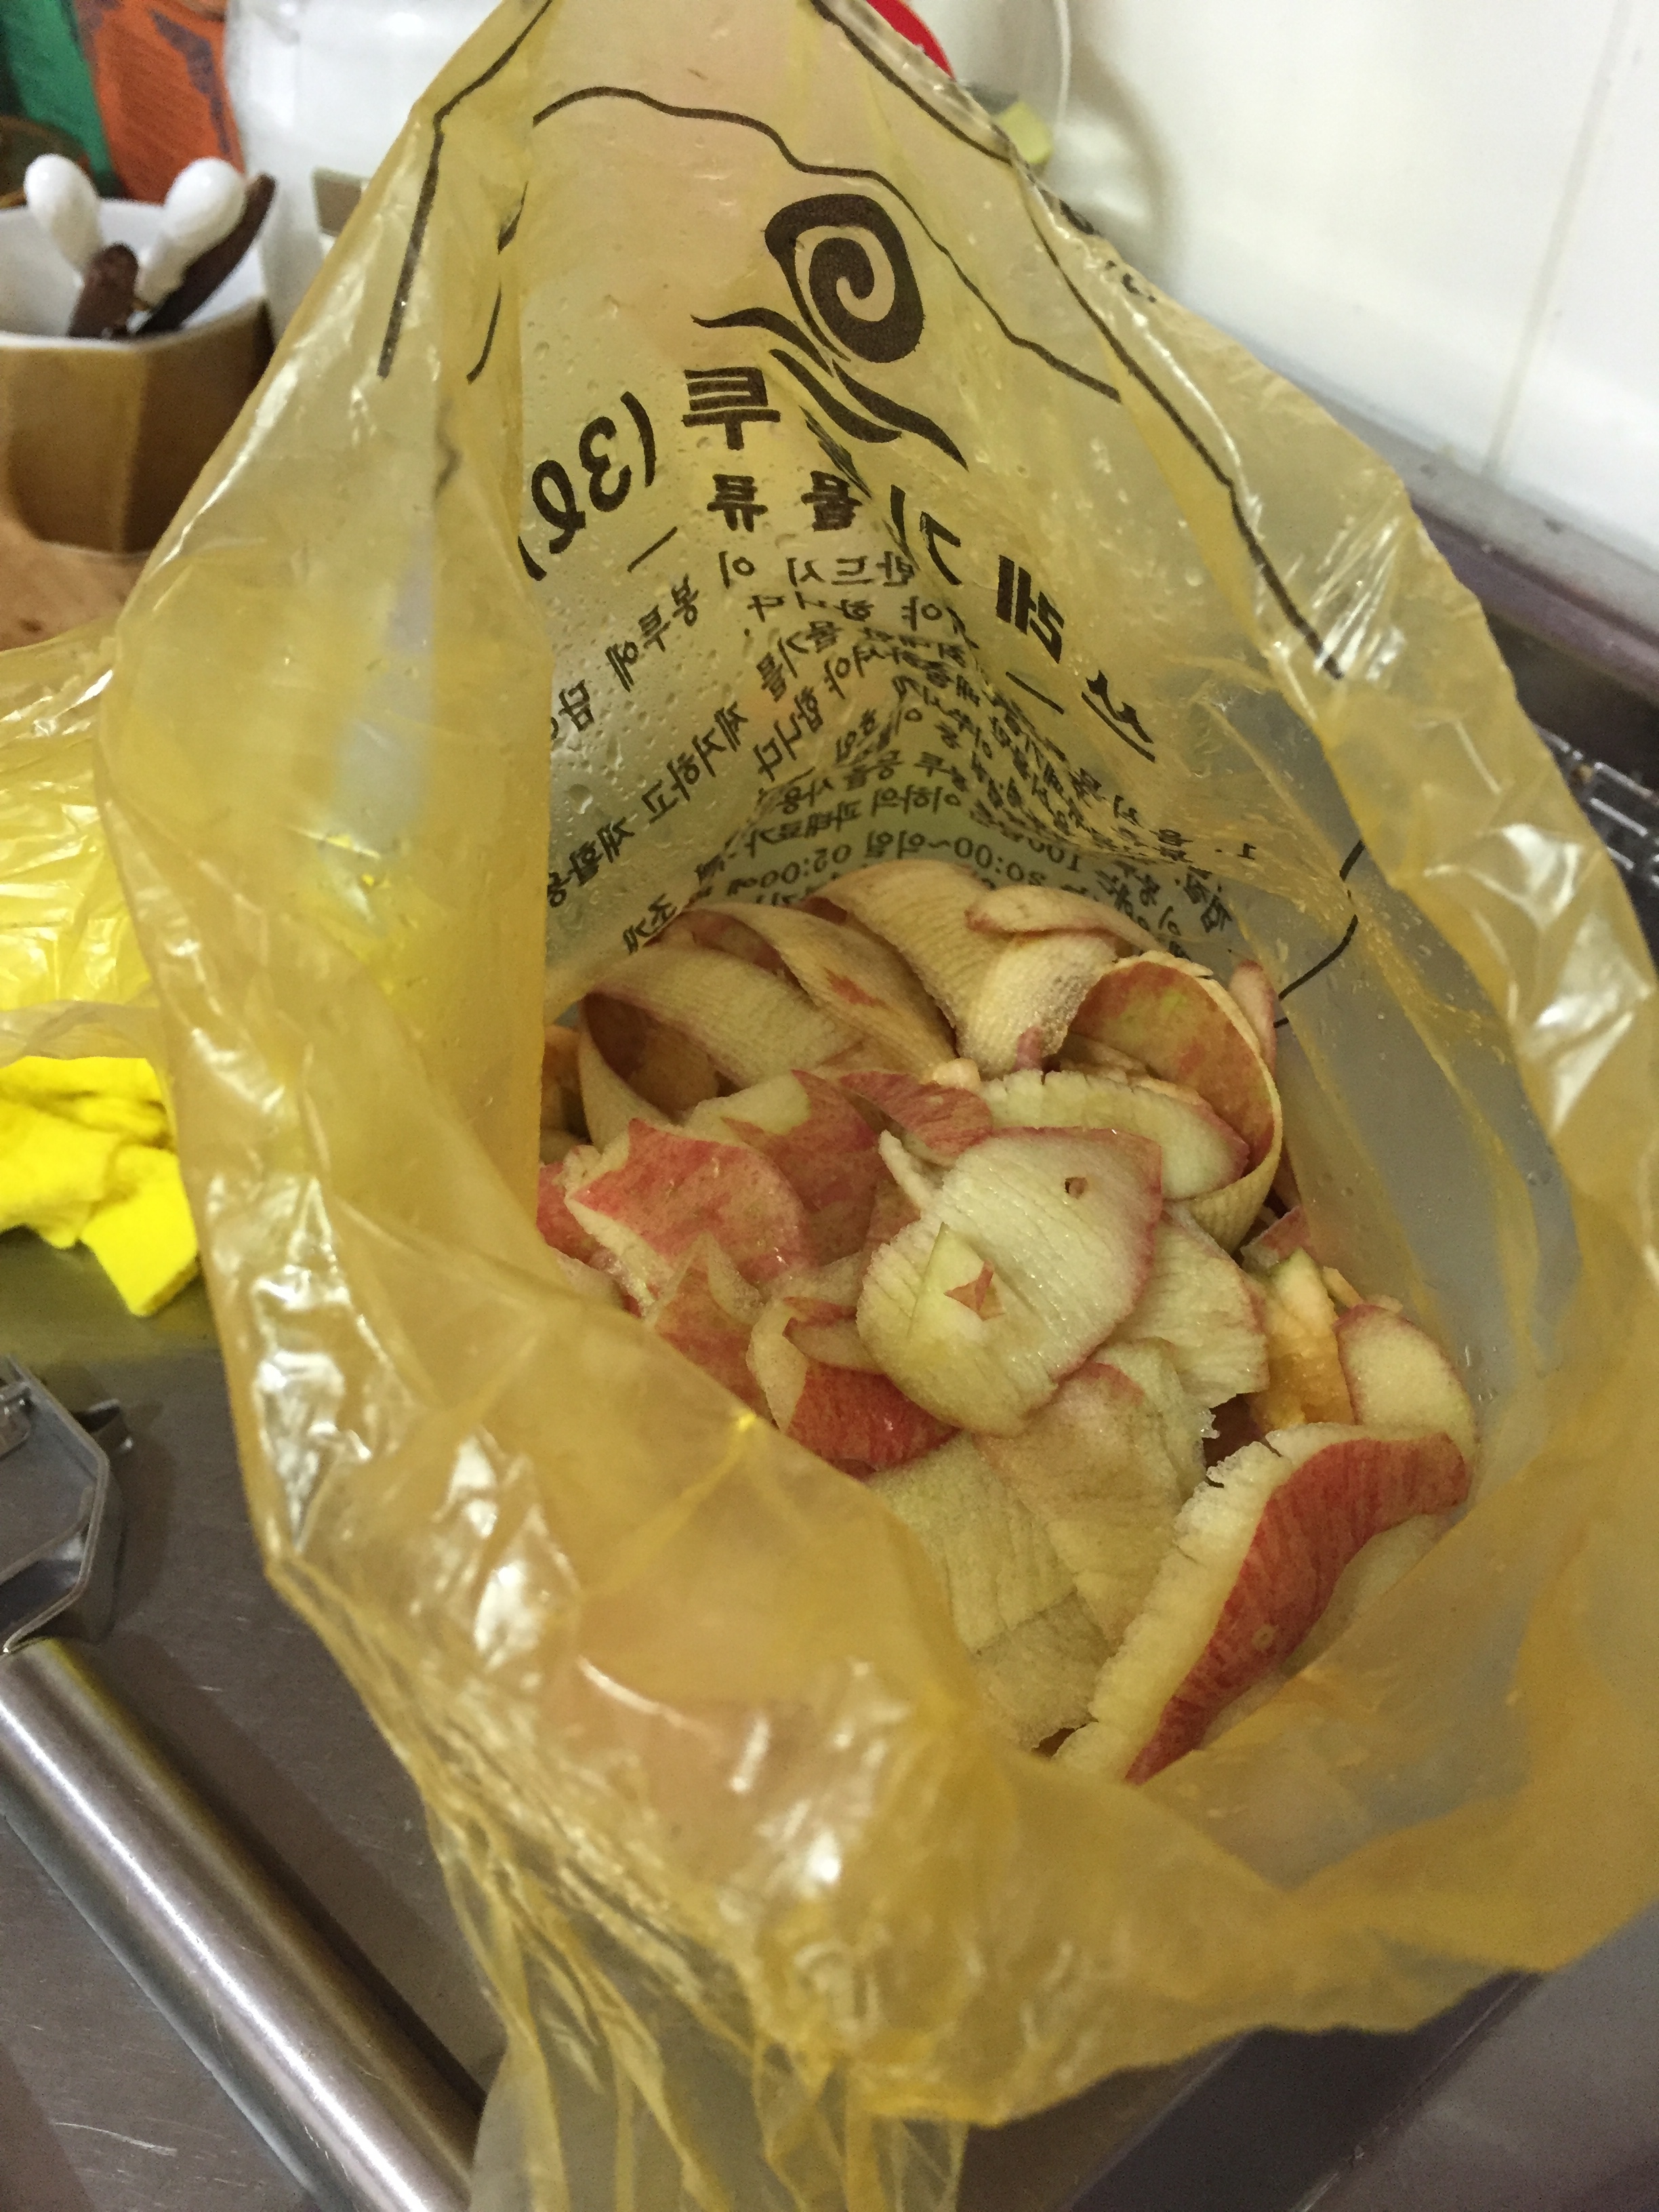
1. Peel your fruit.

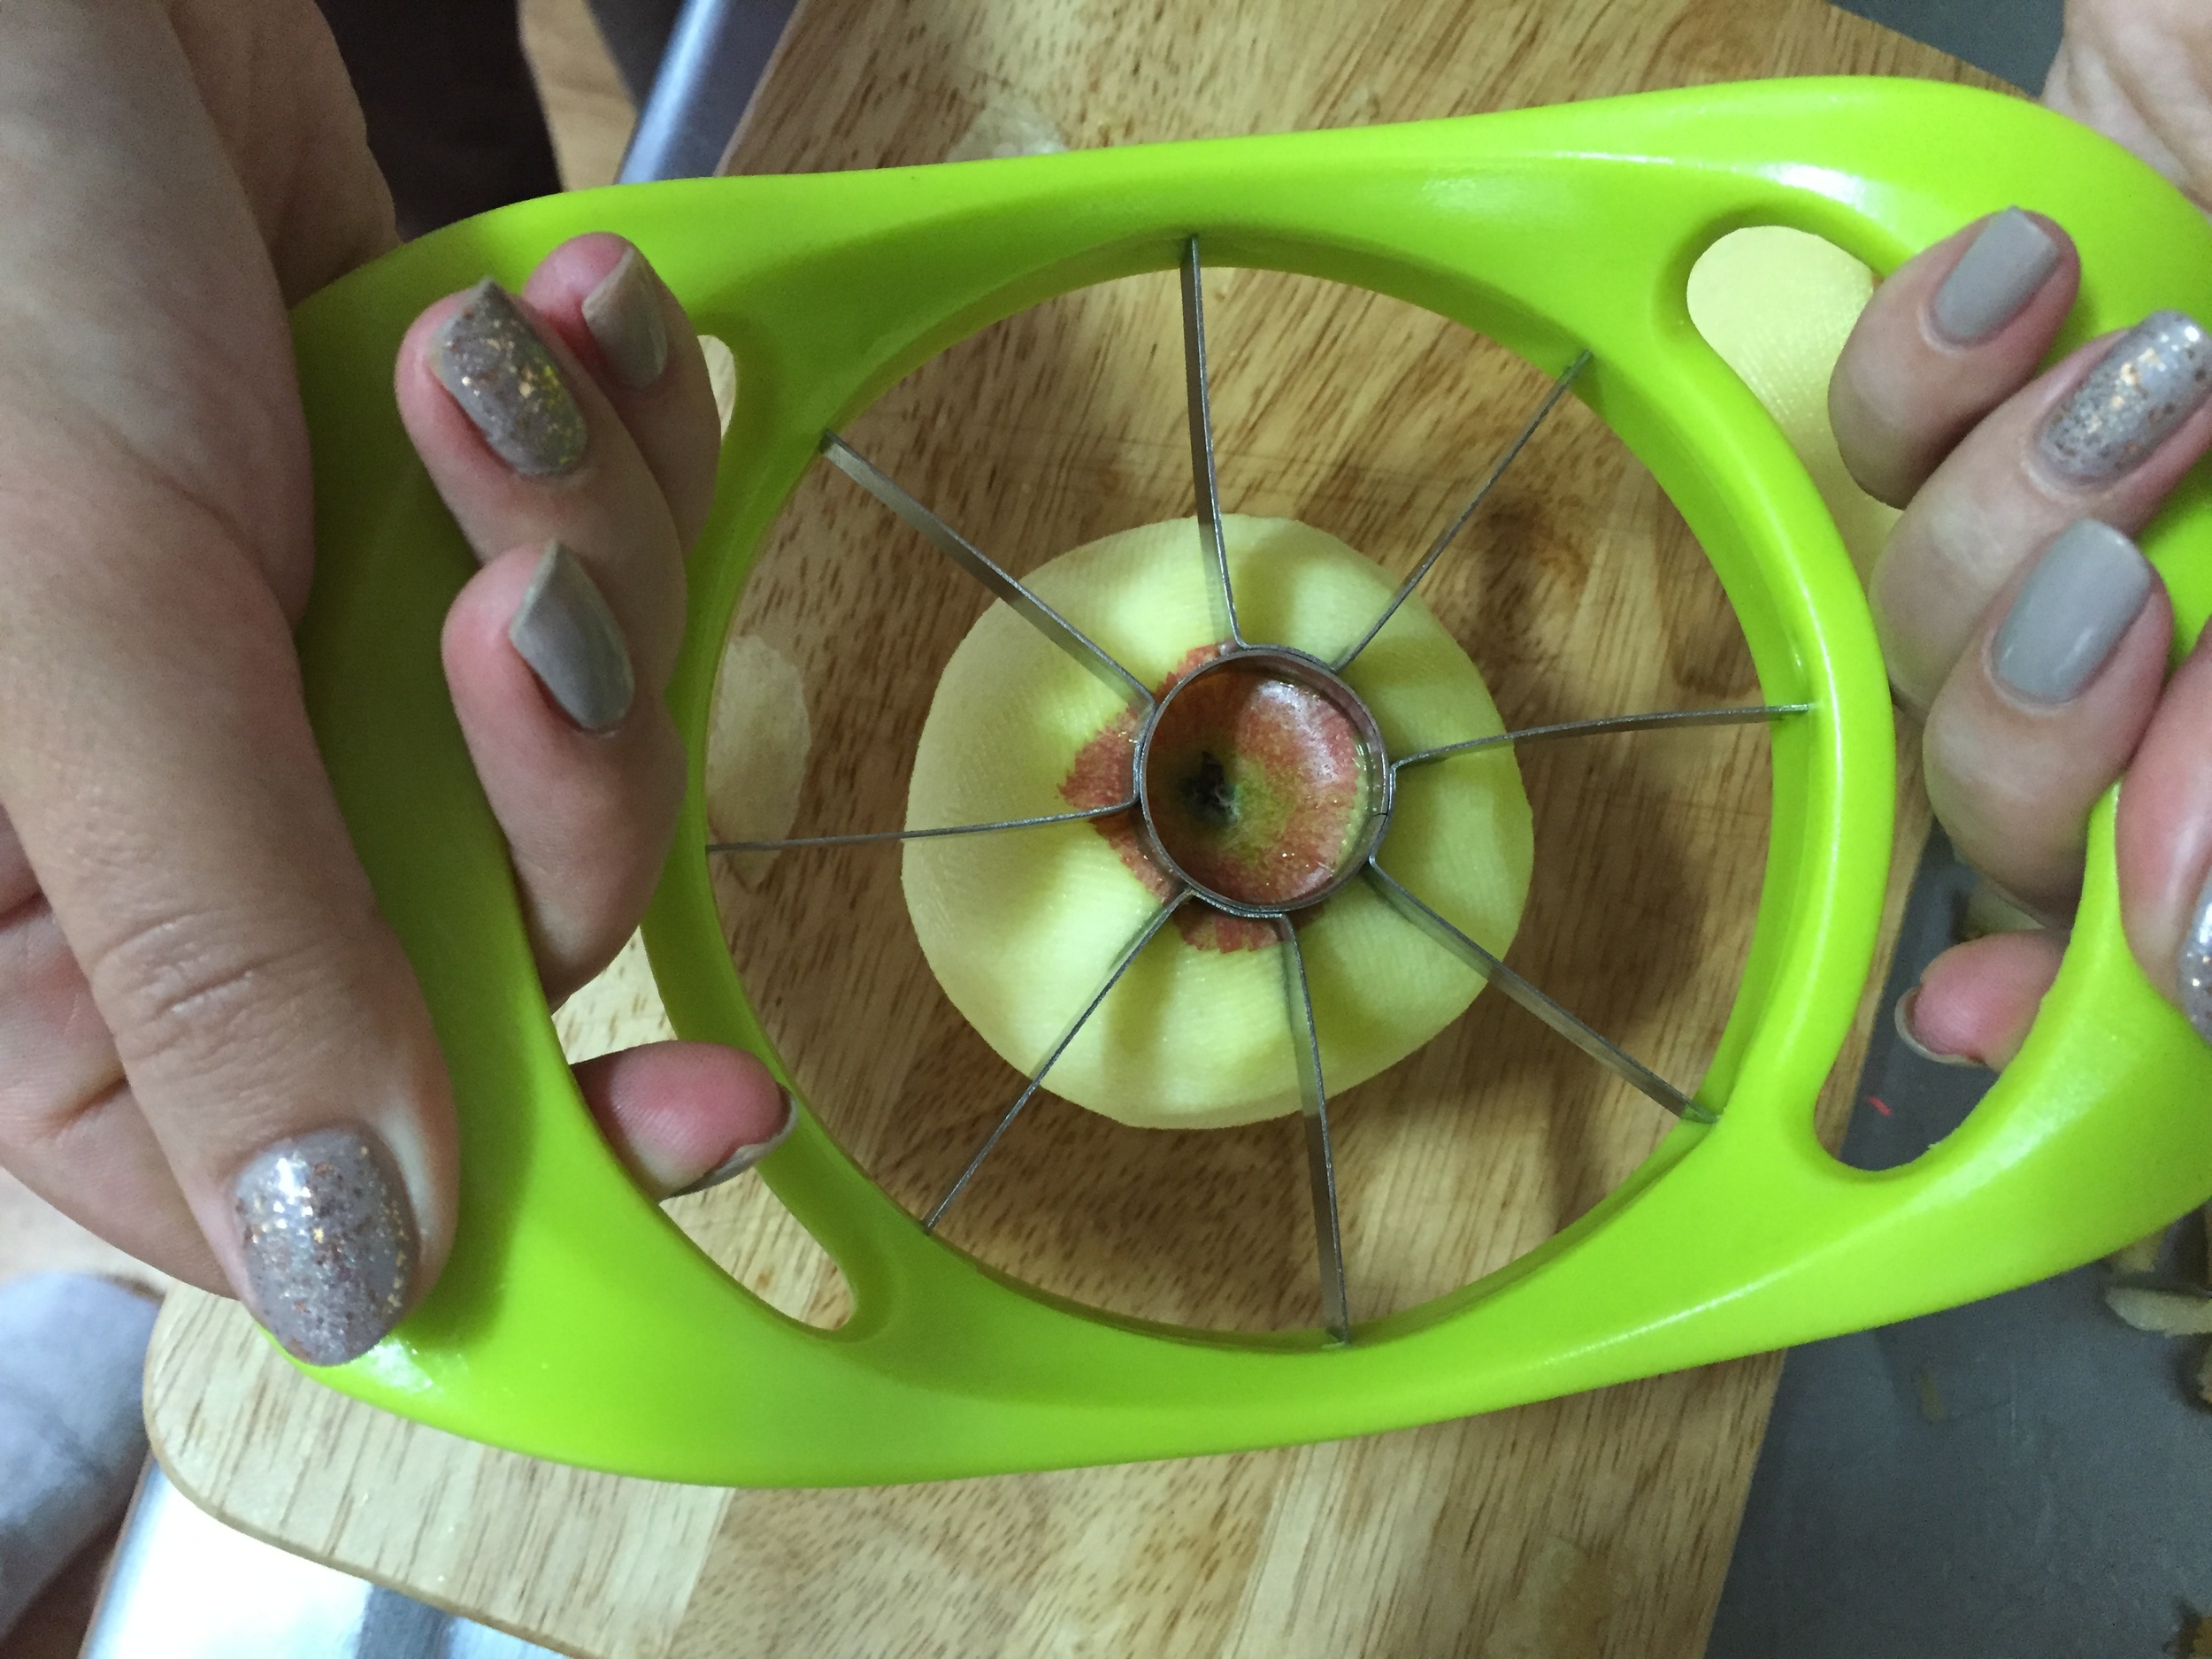
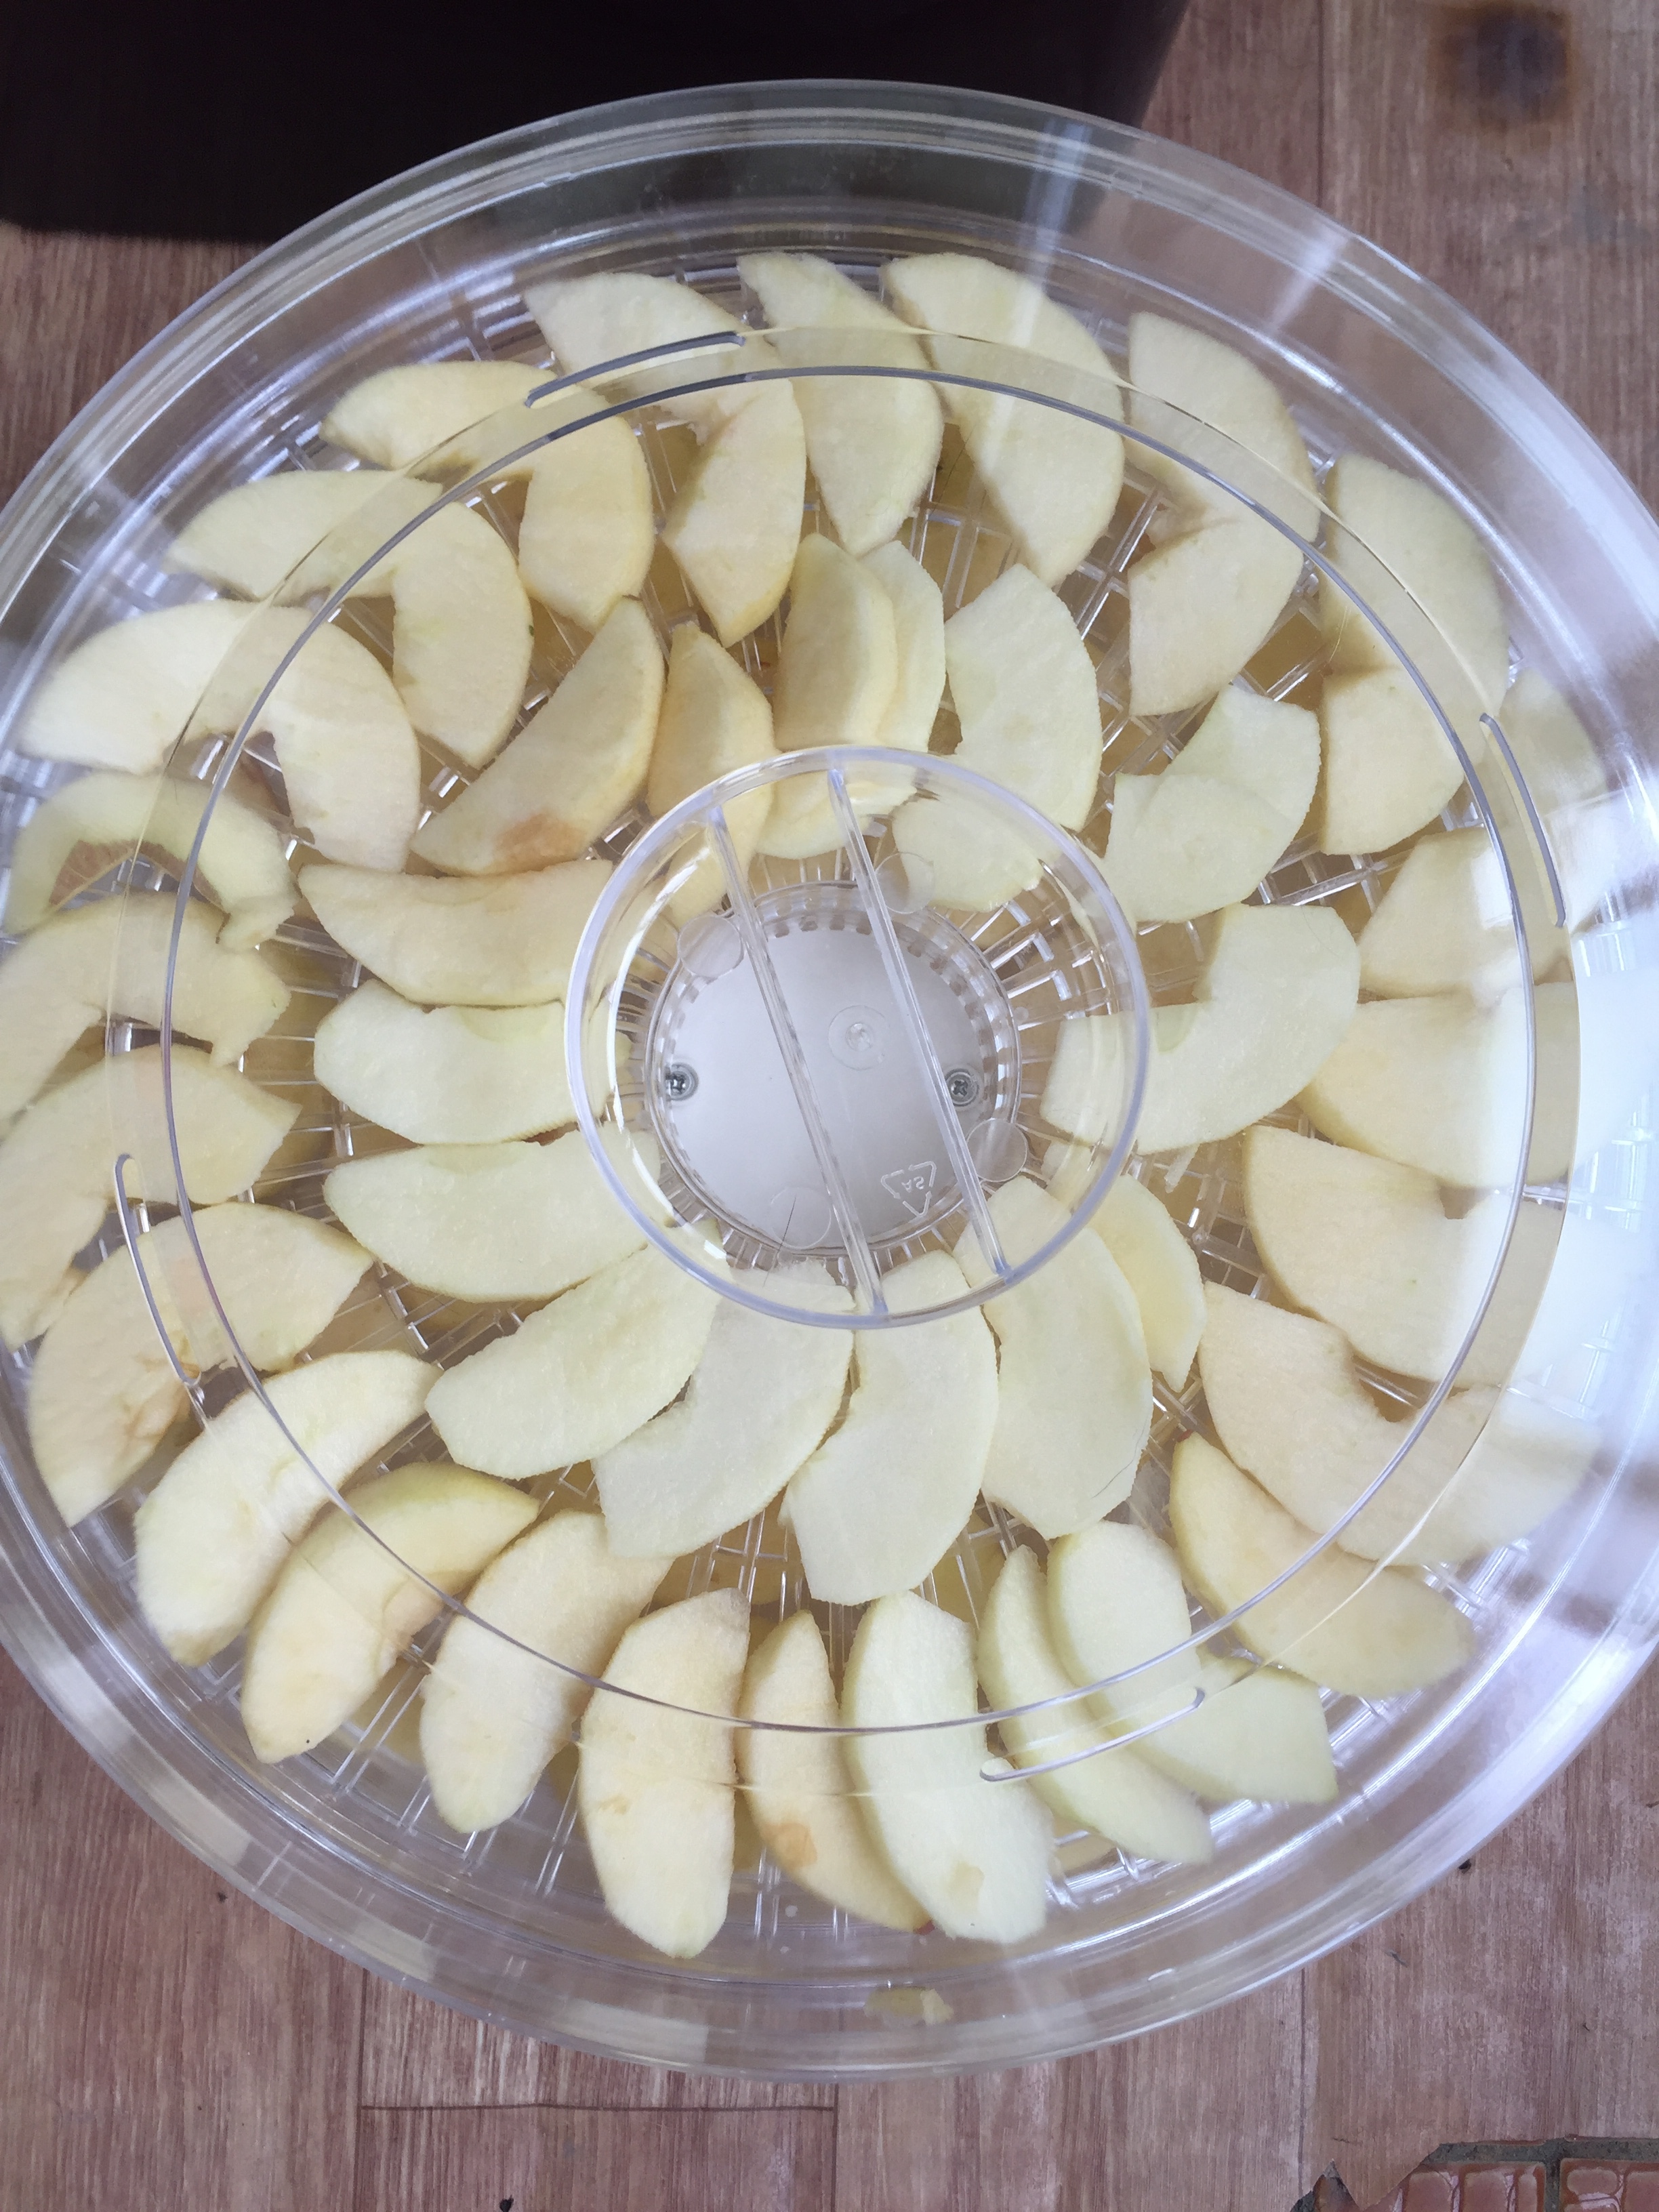
2. Chop/Cut/Core your fruit into small pieces. If you want to make apple rings then you will need to get hold of an apple corer. I was only able to find an apple corer than also slices (the green thing pictured below).

3. Place your fruit pieces as close together as possible, without actually having any of the pieces touch each other.

4. Turn on and adjust the temperature if your dehydrator has a temperature control switch. Turn up your dehydrator the the highest temperature (the higher the temperature the faster the fruit will dry out).

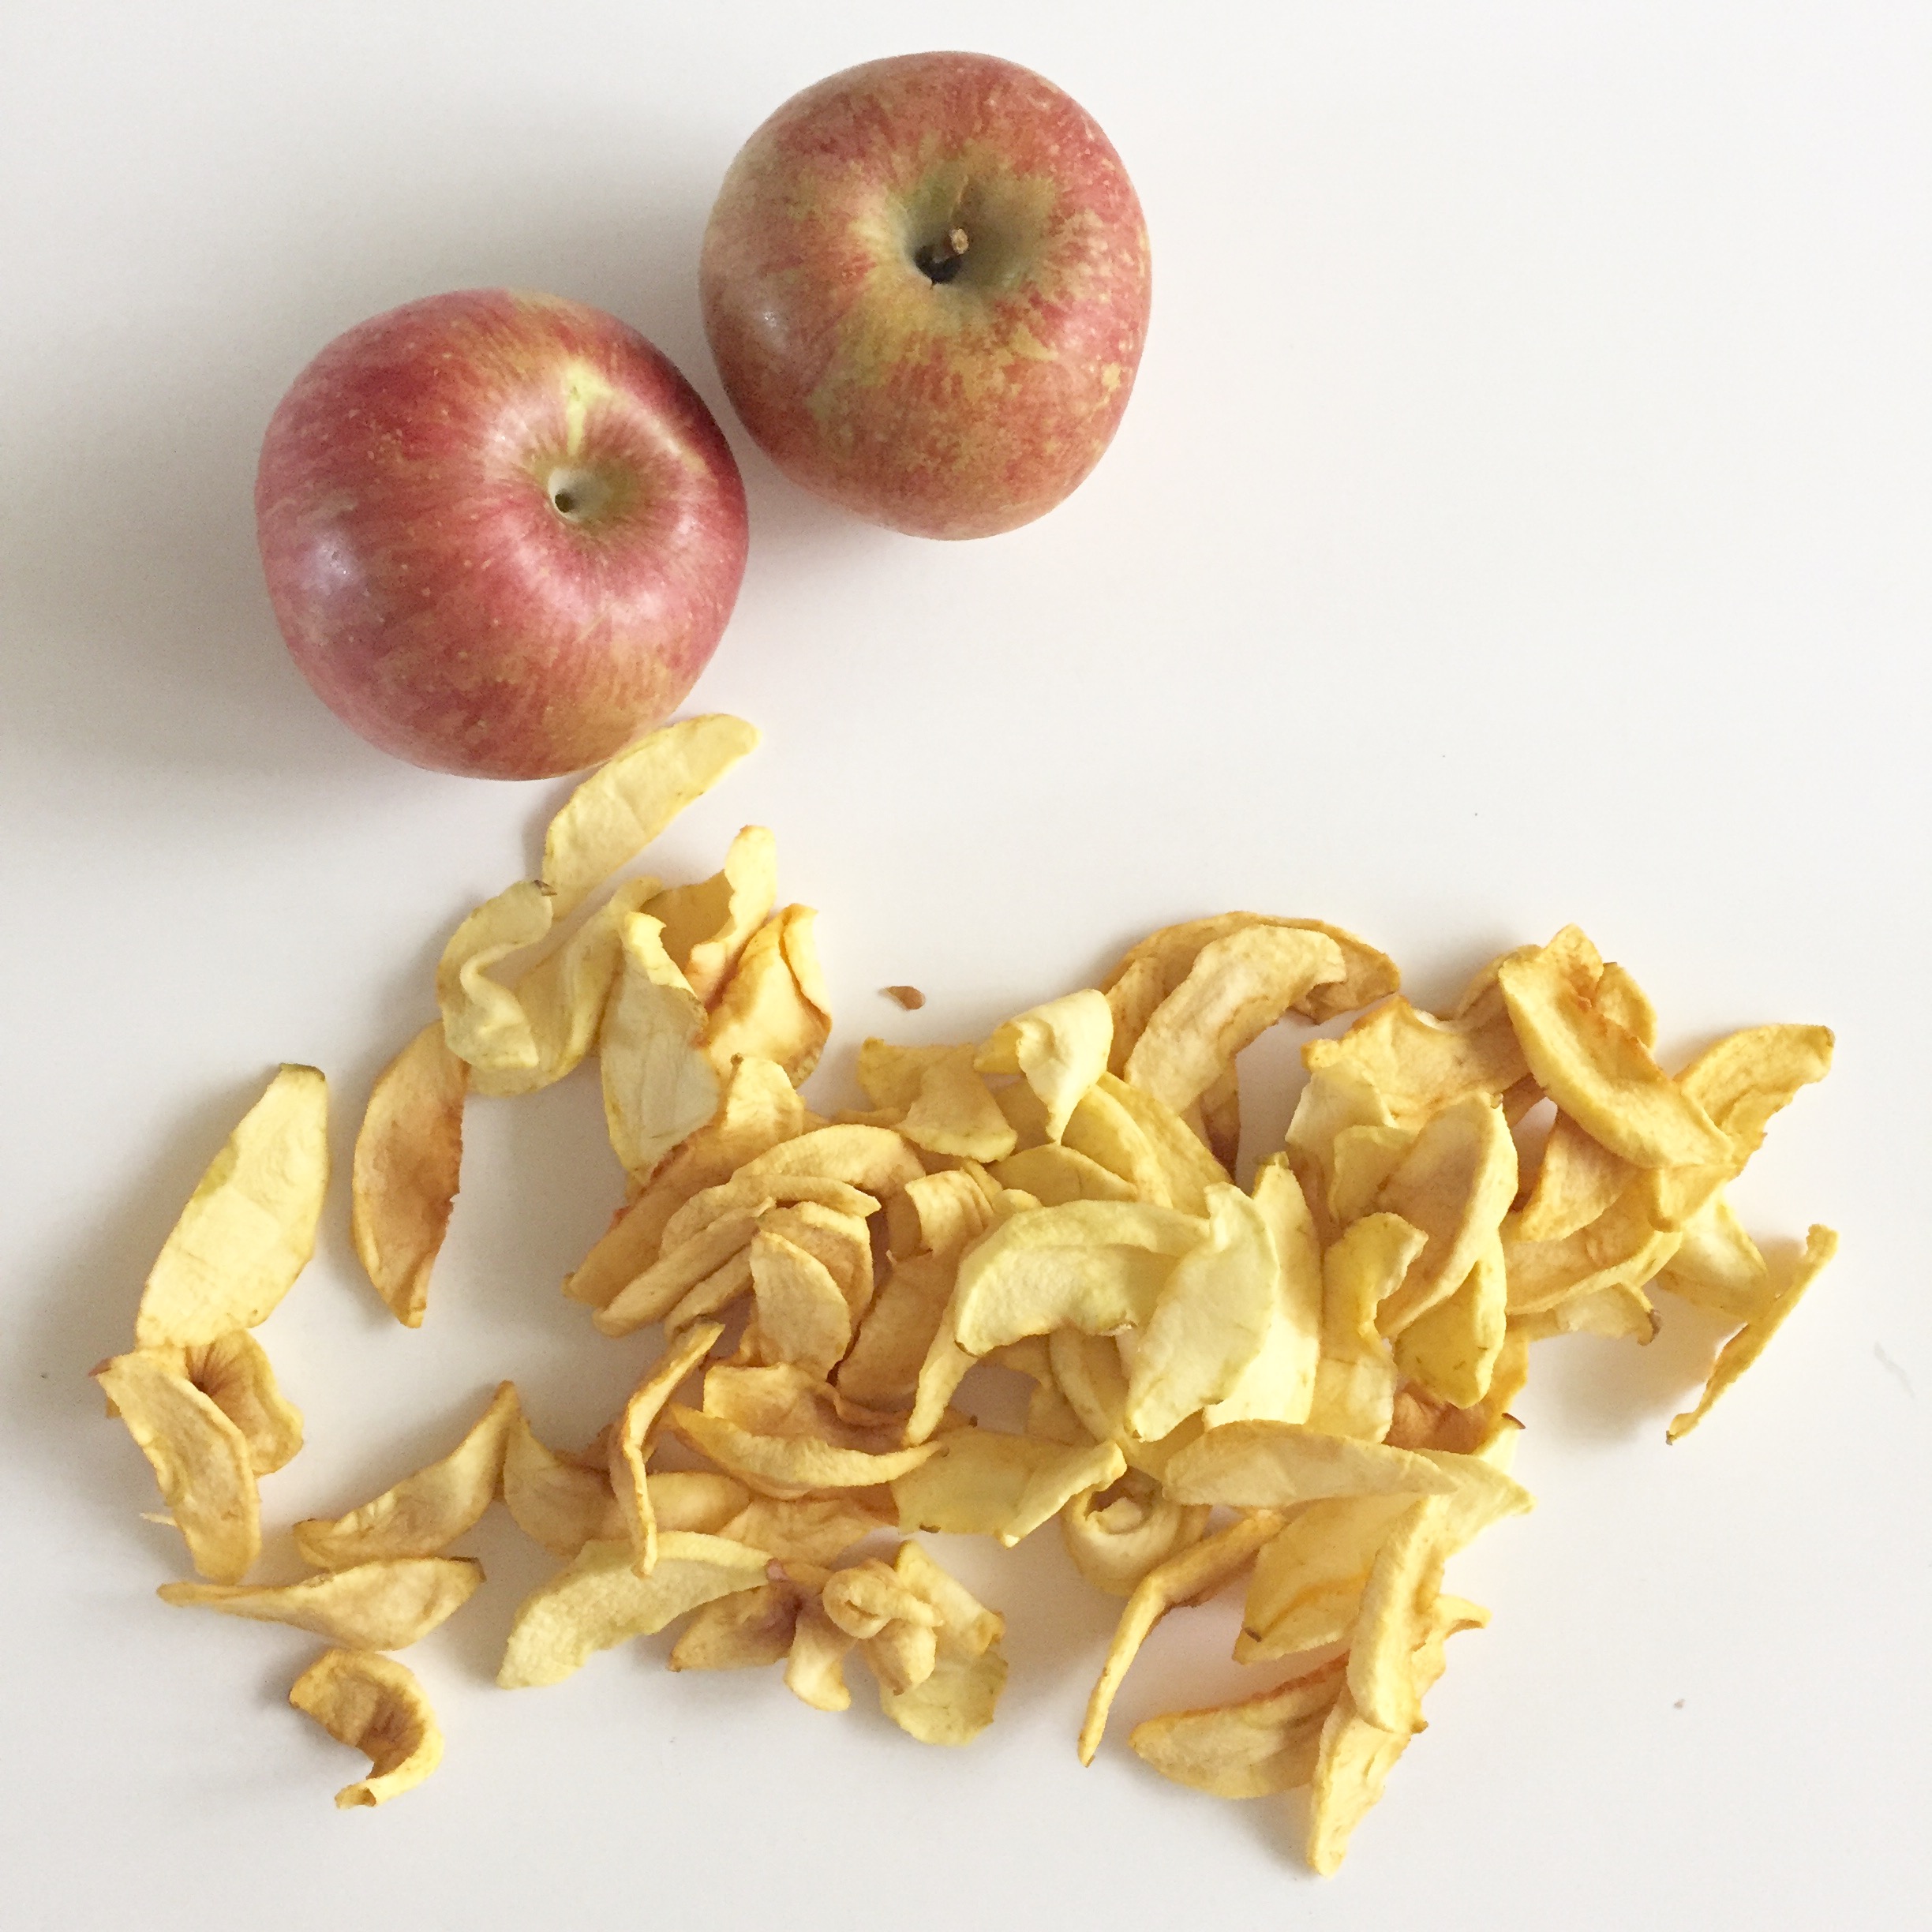
5. Leave for 24 - 48 hours. The first batch of fruit (pictured in this post) was only dehydrated over nights (about 15 hours) and so the apples were still quite soft and squidgy. We made another batch using persimmons and left those over night and the following day and they came out crunchy and delicious. I definitely recommend leaving them as long as possible.

6. Place the dried fruit in airtight container. You can use an ordinary ziplock bag and a straw to suck out all the air. Store in a cool, dark place. Your fruit will keep for a good couple of months (although ours doesn't last longer than a few days as we eat it all!).

Thanks to a friends suggestion, we just finished a batch of dried apples covered in cinnamon. Out whole house smells like Christmas and those apple pieces were absolutely amazing! Experiment with different spices, you can't really go too wrong.

If you don't have a dehydrator you can theoretically use your oven, but I'm not sure whether you'd actually want to leave your oven on overnight while you're sleeping? It is possible with the oven, but using a dehydrator is much easier. You can buy a dehydrator like ours on Gmarket (click here) for about W30 000.

DIY How to make Fig Jam

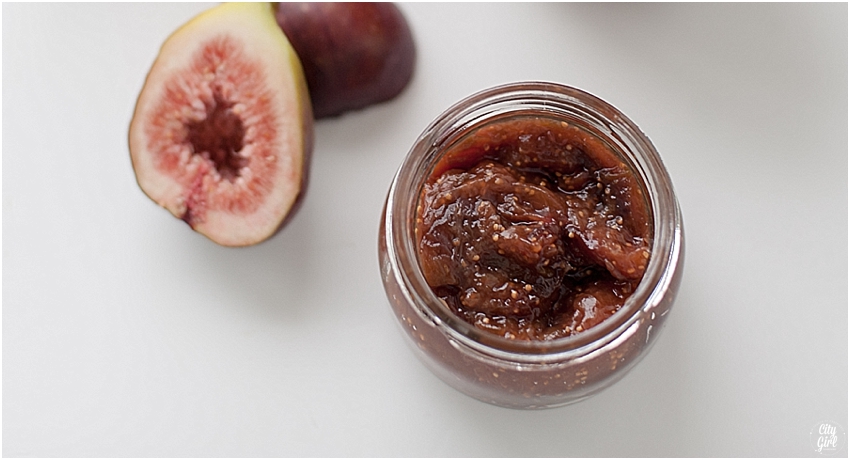
How To Make Fig Jam

Even though this jam is not banting friendly (if you haven't heard of the Banting diet make sure to read this post) but because it's fig season here in Korea, one has to improvise. Storm and I decided not to experiment with Xylitol just yet and made it with good old fashioned sugar. This recipe is incredibly easy to follow and will have your home smelling festive in no time at all. And of course, the jam itself tastes heavenly too.
HowToMakeFigJamEasyRecipe

What you need

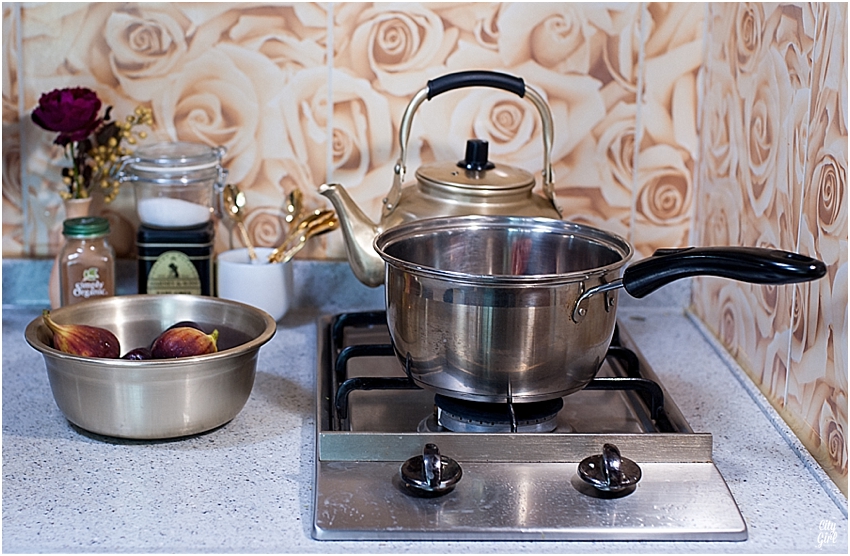
Saucepan

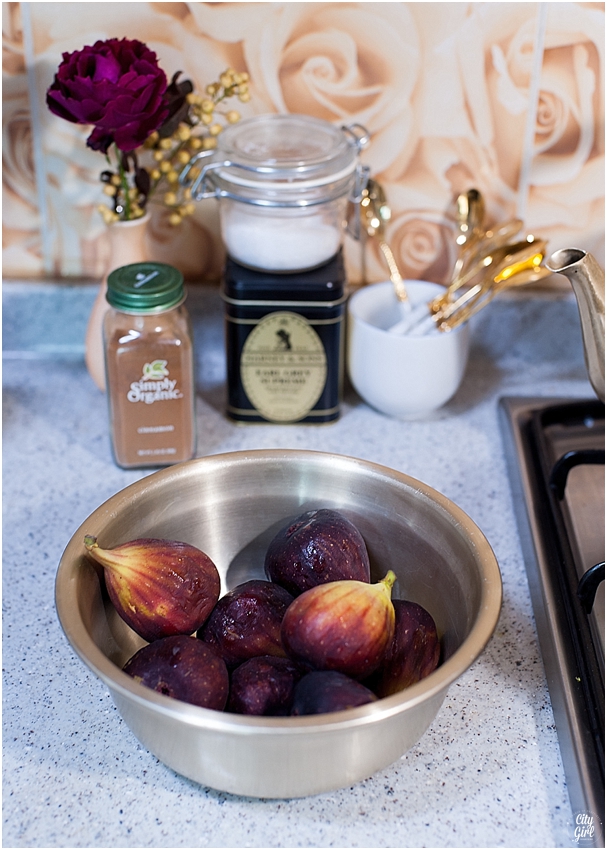
Figs (we had about 8 figs)

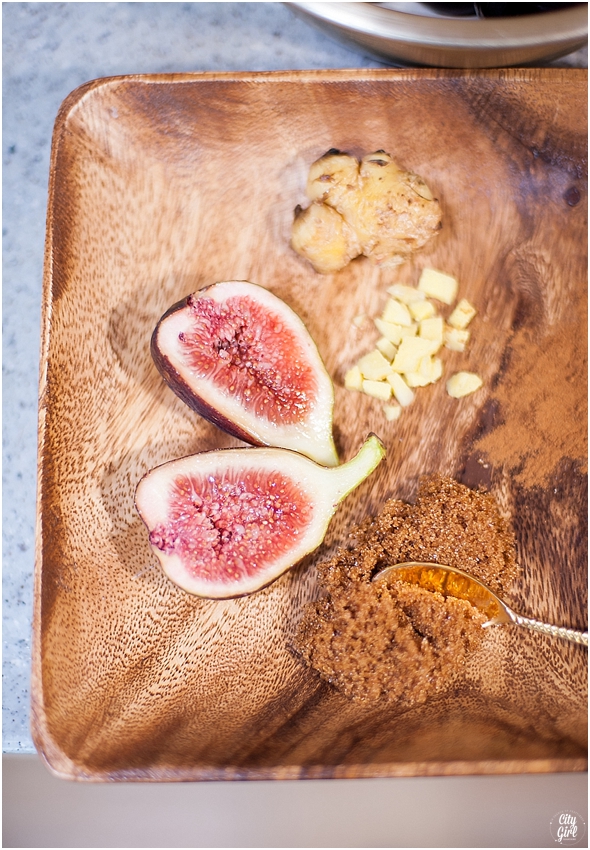
1/4 cup brown sugar (adjust for the amount of figs...more sugar for more figs)

1 teaspoon cinnamon

a small piece of ginger, finely chopped

Directions

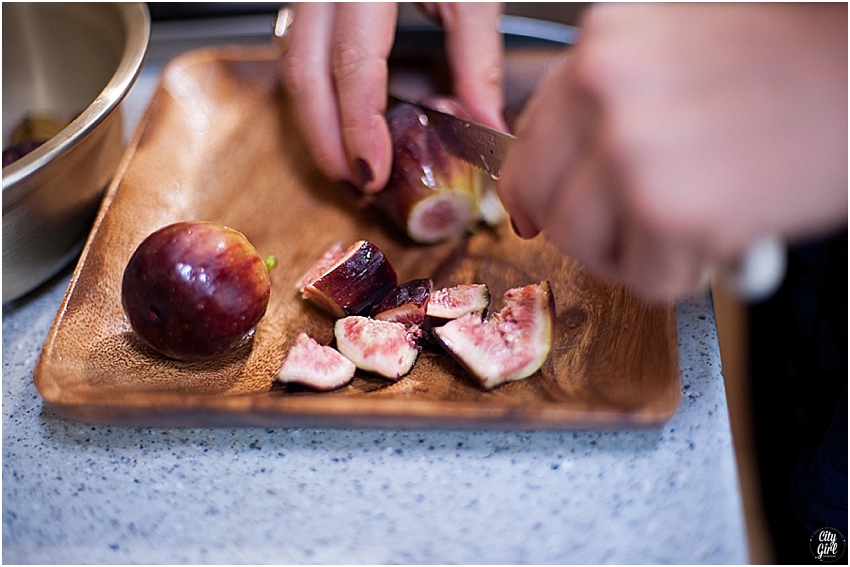
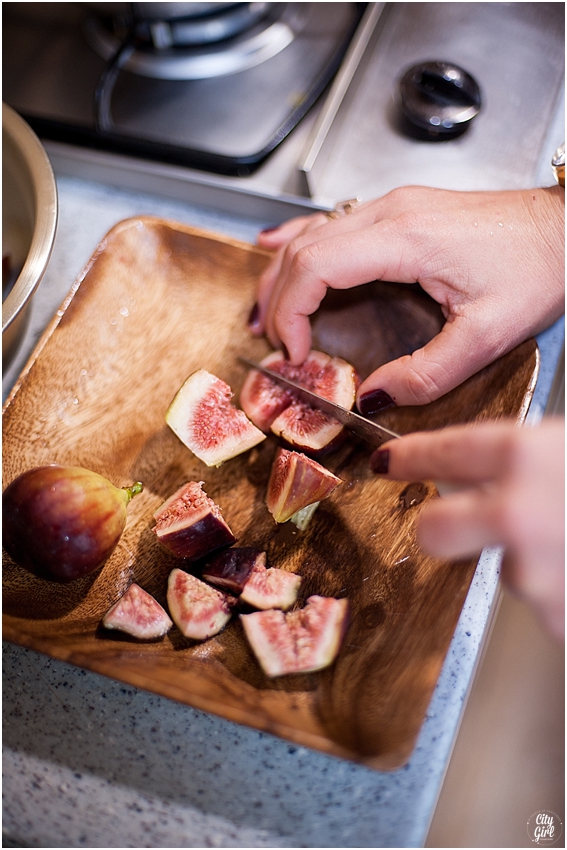
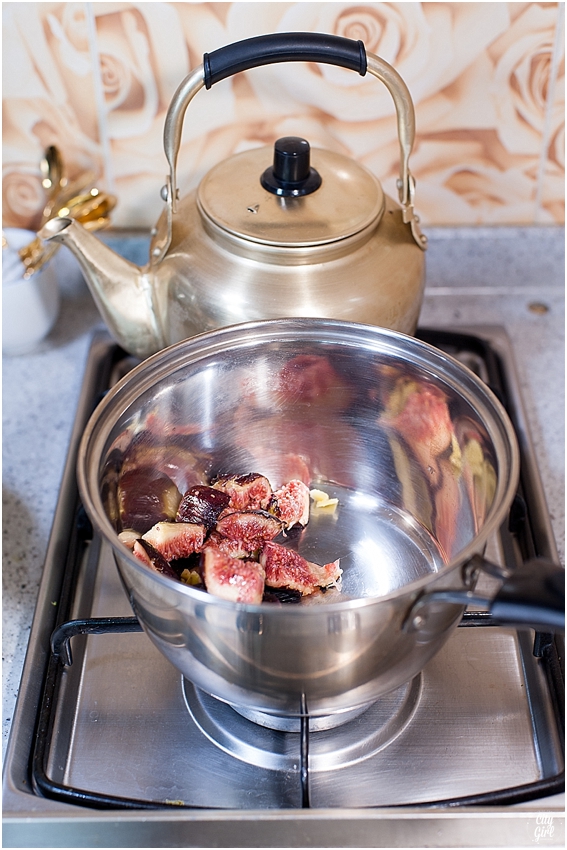
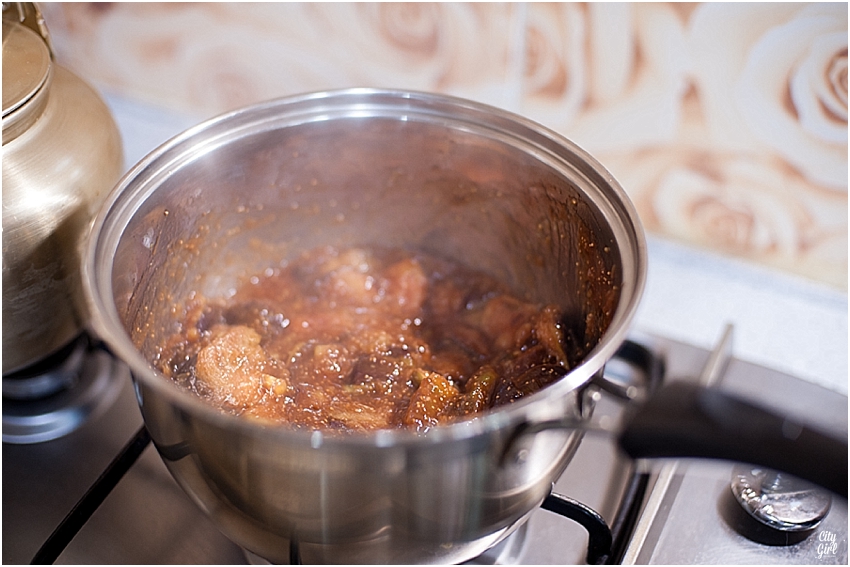
Quarter your figs. Add the figs to a pan and simmer on low heat while adding the sugar and ginger. Keep stirring until the sugar has completely dissolved. You can use a hand held blender to puree your jam, but it's not really necessary. 

When the sugar has completely dissolved add the cinnamon. Keep stirring on a low heat, making sure not to let the mixture burn.

Once everything has dissolved remove from the heat and allow to cool. 

Place in sterilised glass jars. There is an actual method to sterilizing glass jars properly, but we were on a tight schedule and so just soaked the jars in boiling water before use.

Best kept in the fridge and served with cheese!

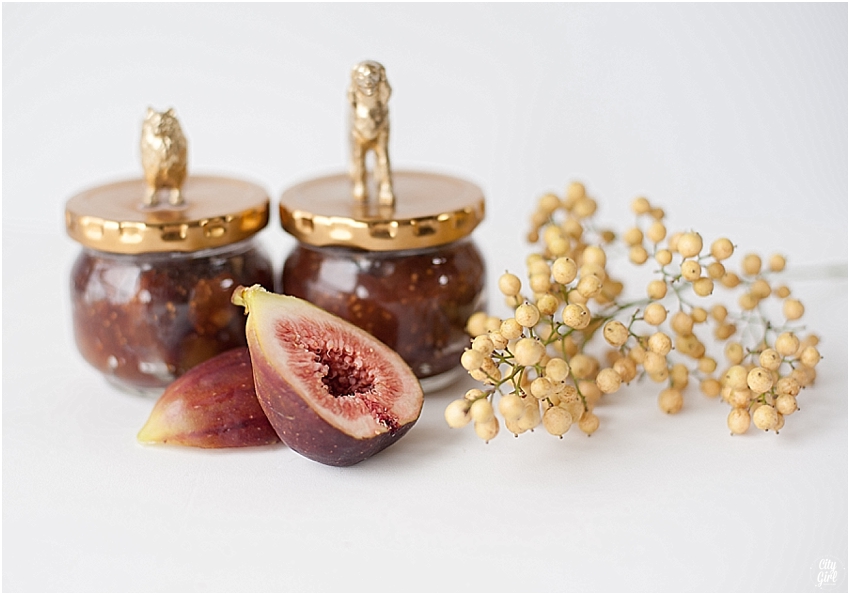
You can store your jam in these cute gold animal glass jars (DIY coming to the blog soon) or in any glass jar you may have at home.

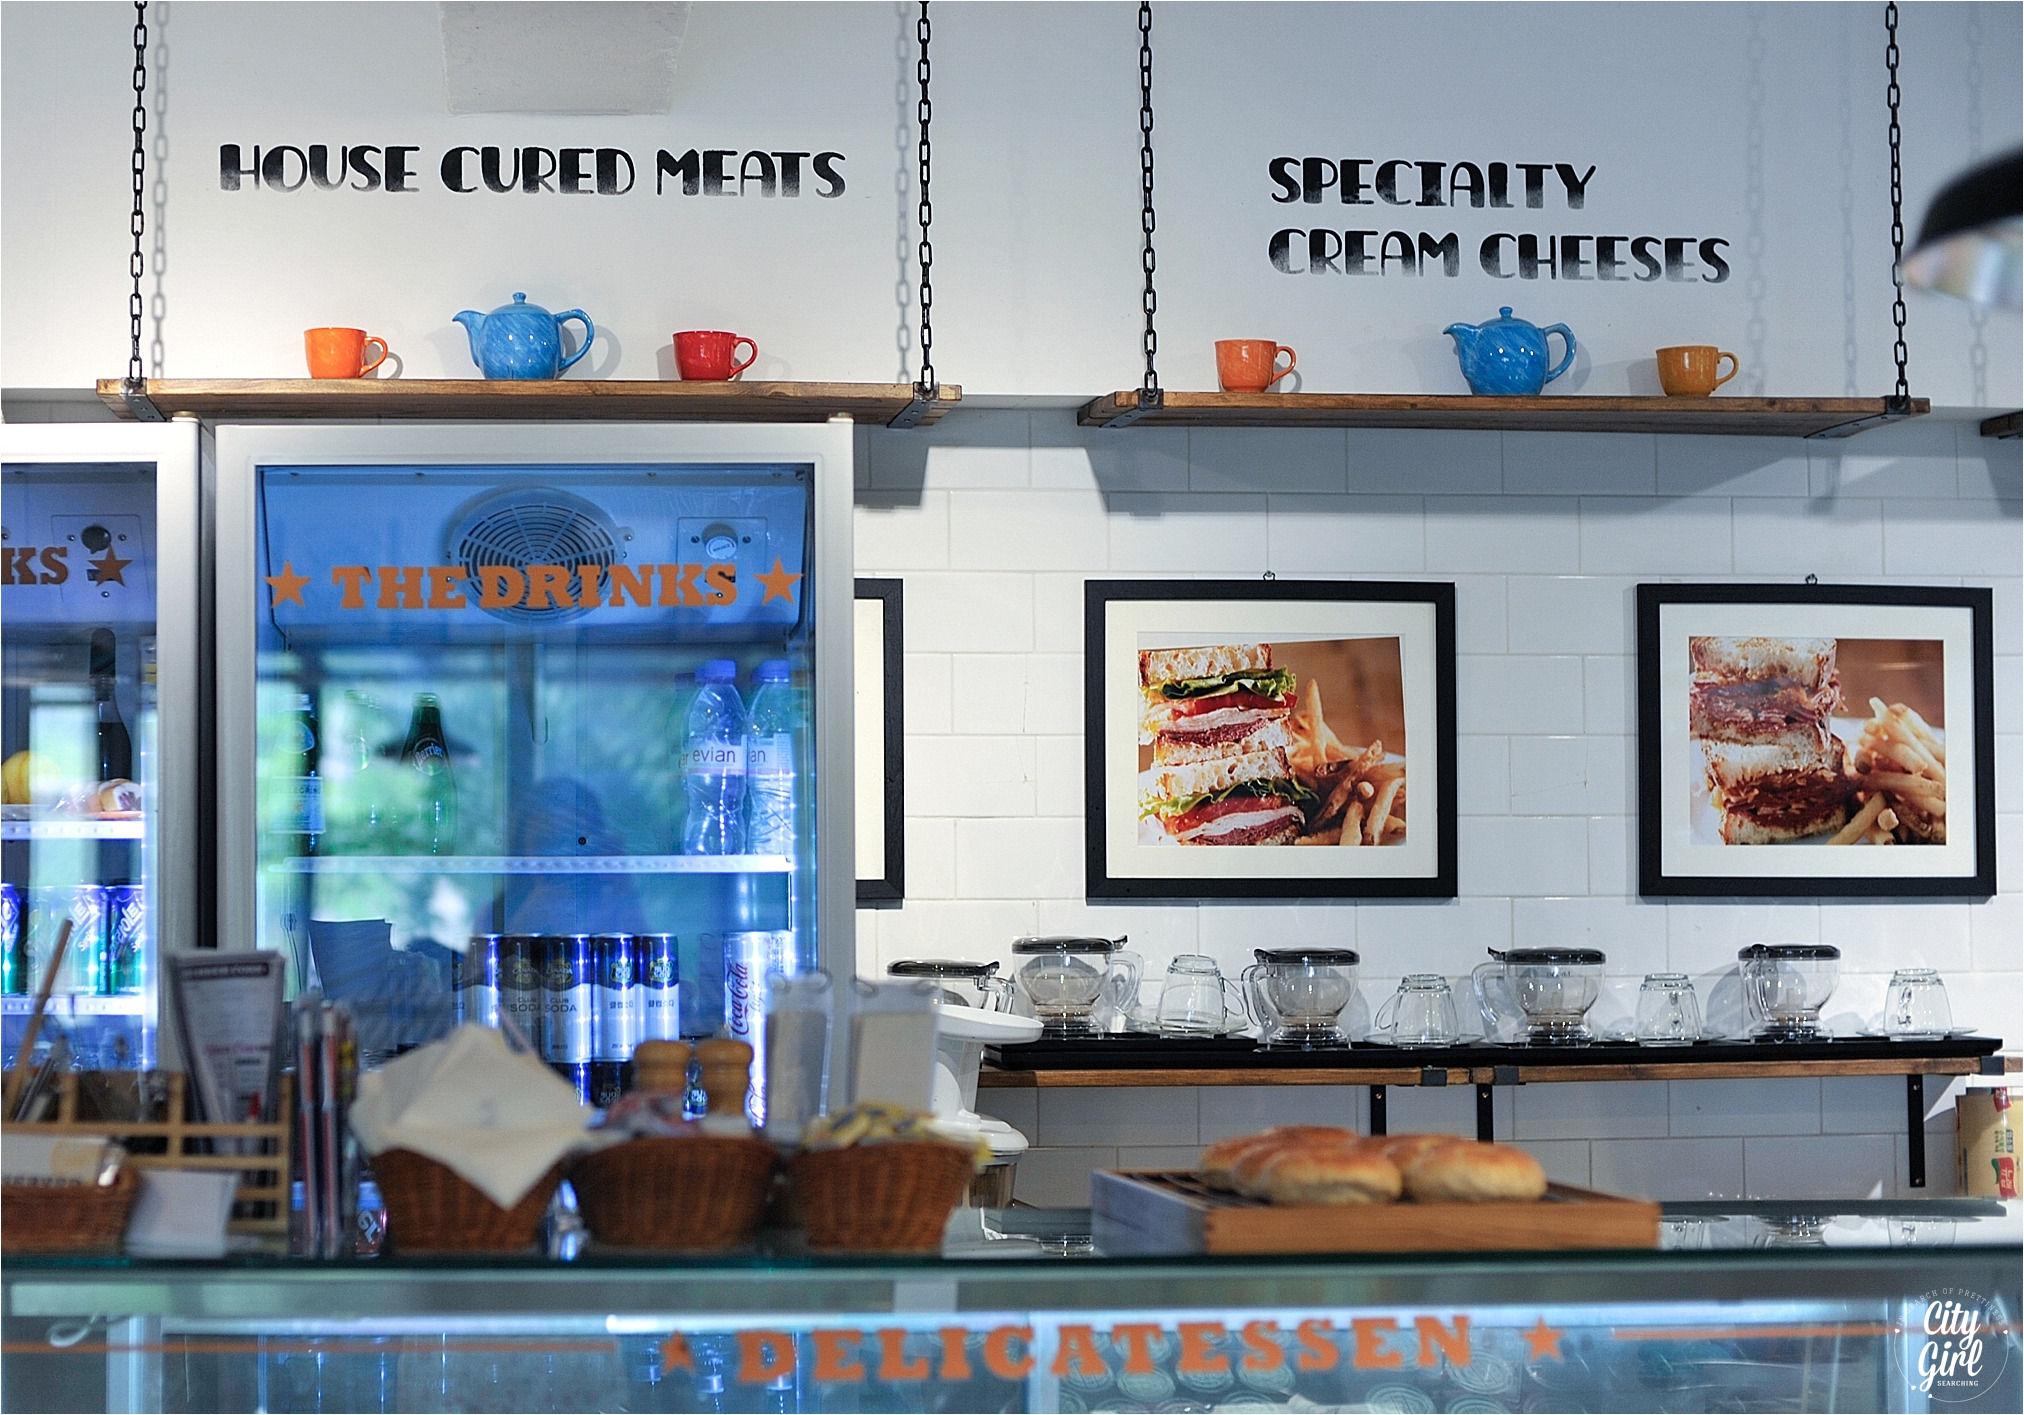
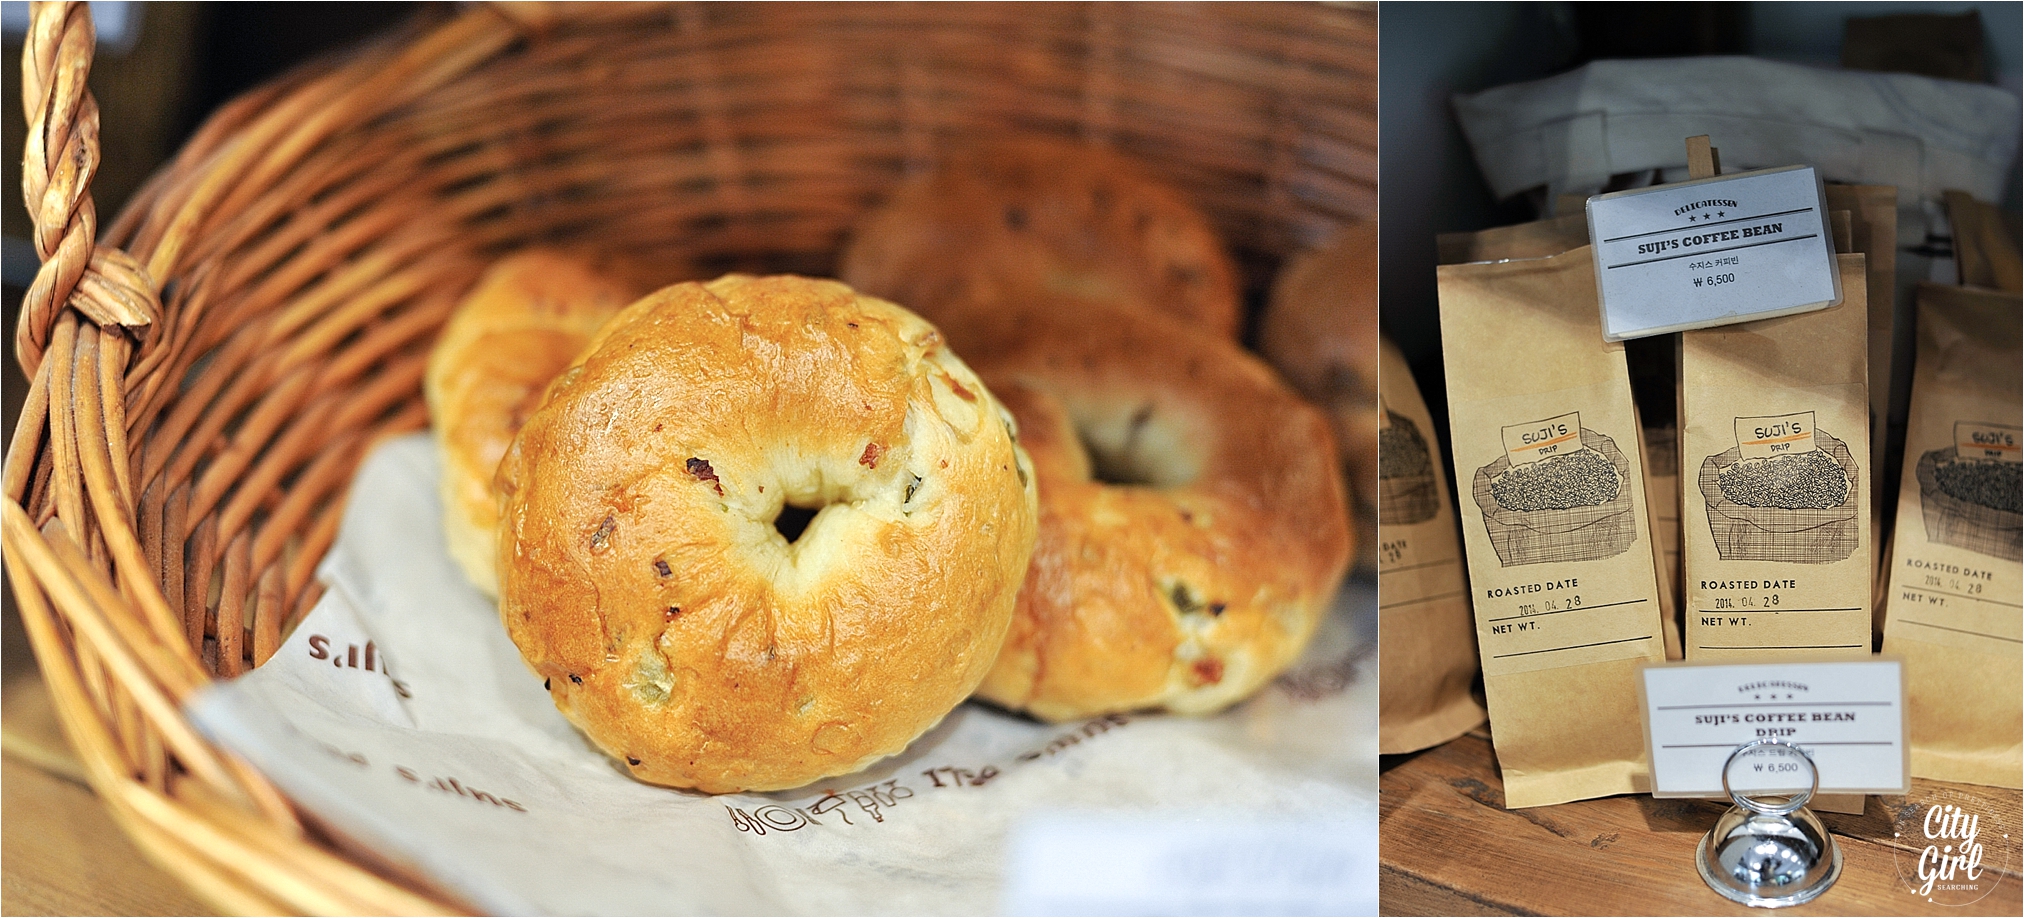
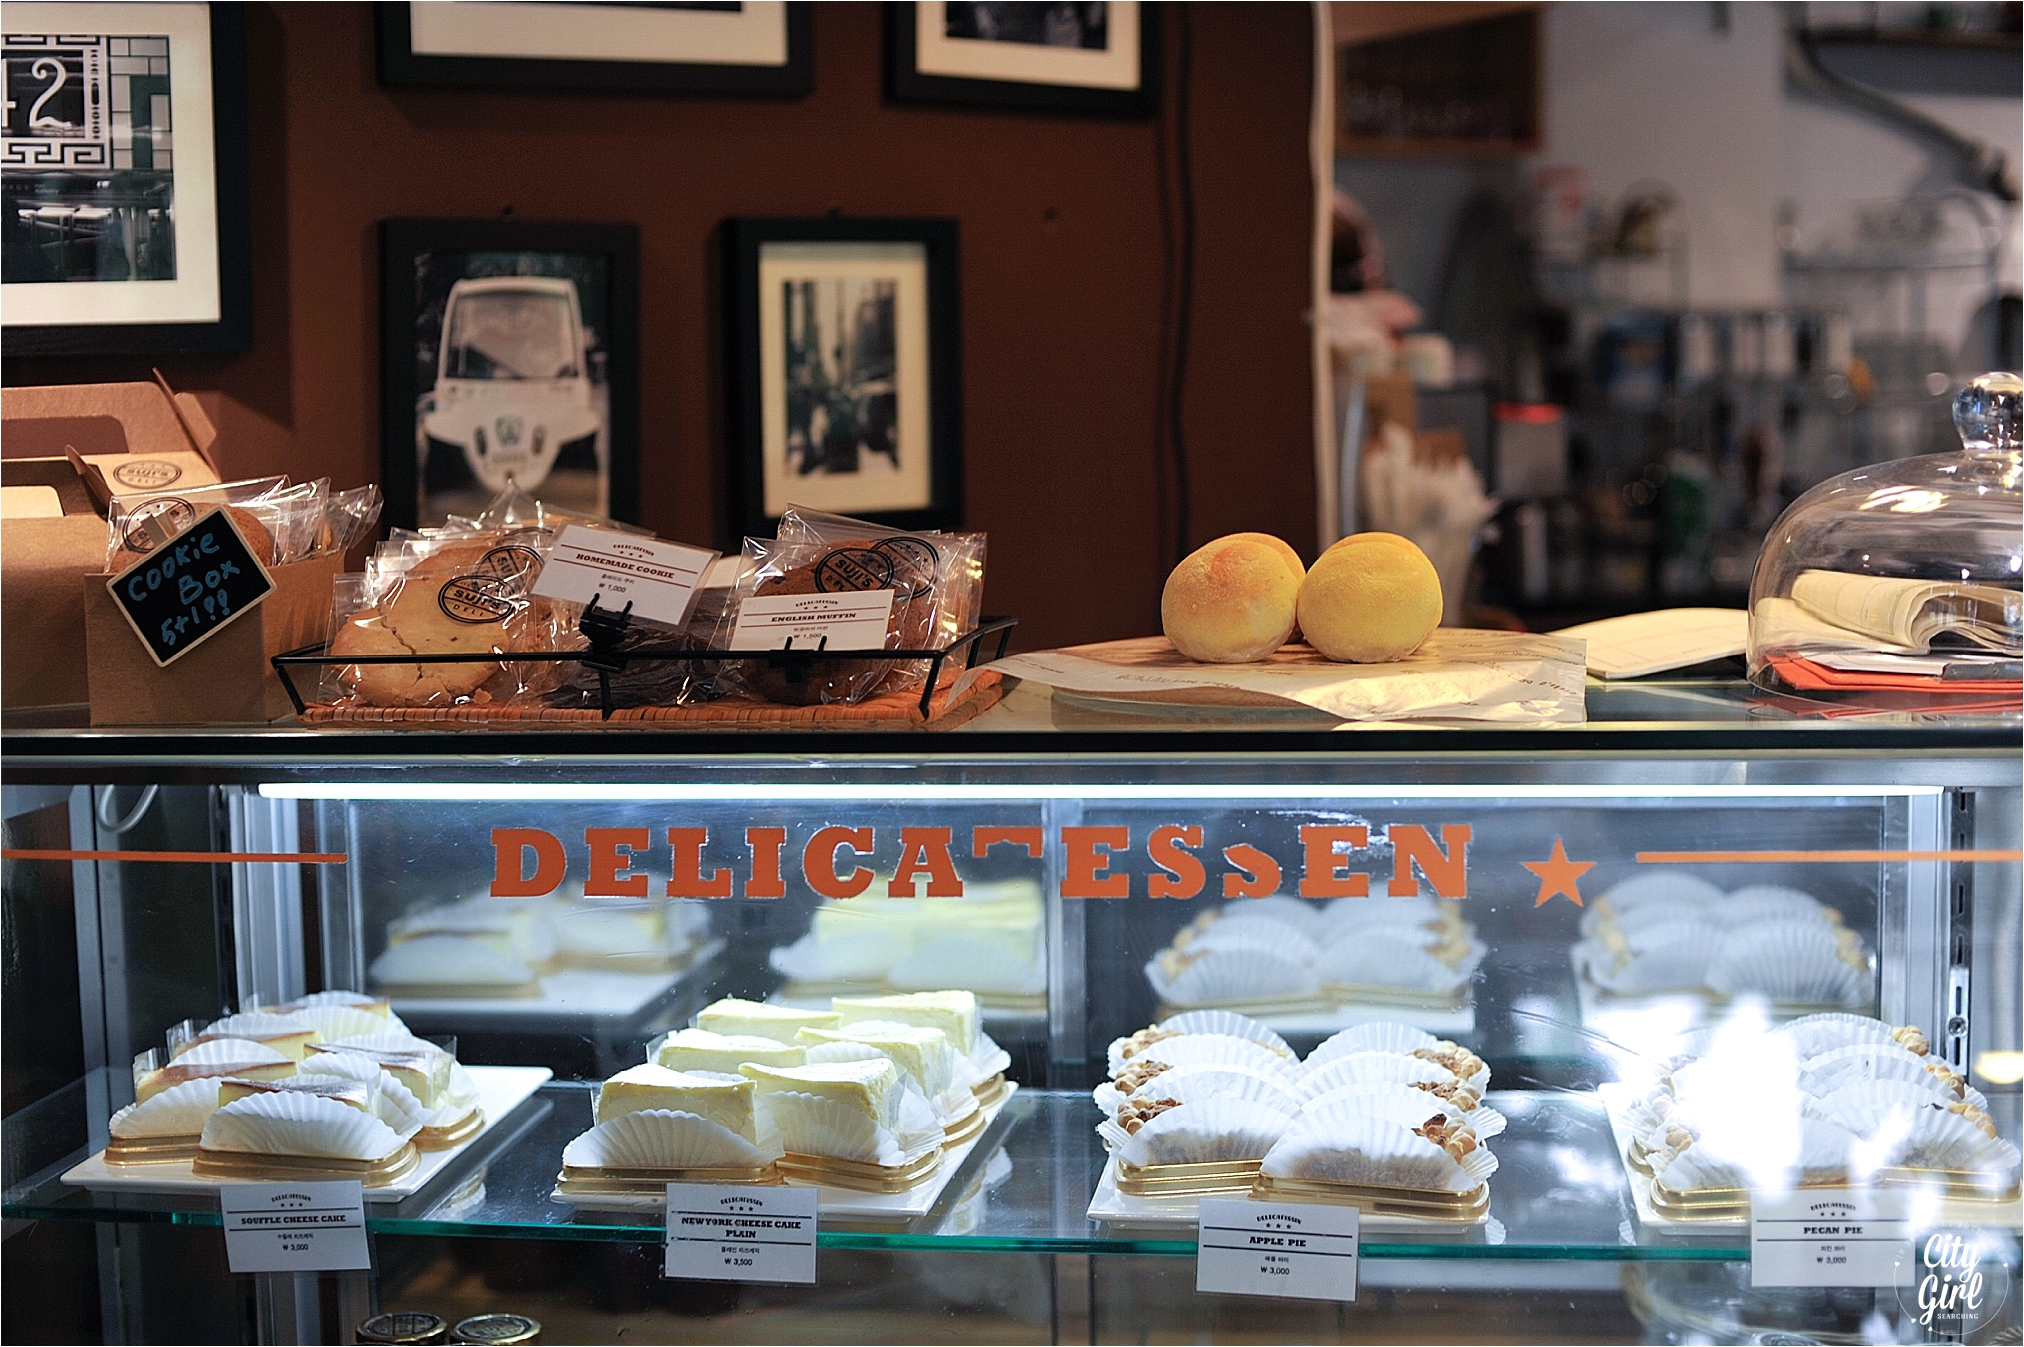
The best brunch in Seoul... SuJi's Deli in Itaweon

Sujis diner in Seoul, best brunch in Seoul, things to do in Seoul, Places to eat in Korea, western restuarants seoul, pancakes seoul, brunch korea

A quick Google search for the ultimate places to brunch in Seoul will show you a decent number of places to get your fill of a good old fashioned greasy fry up. But, as Seoul is a long way away from our little town, we wanted to make sure we weren't going to be disappointed as we often are with breakfasts here in Korea.

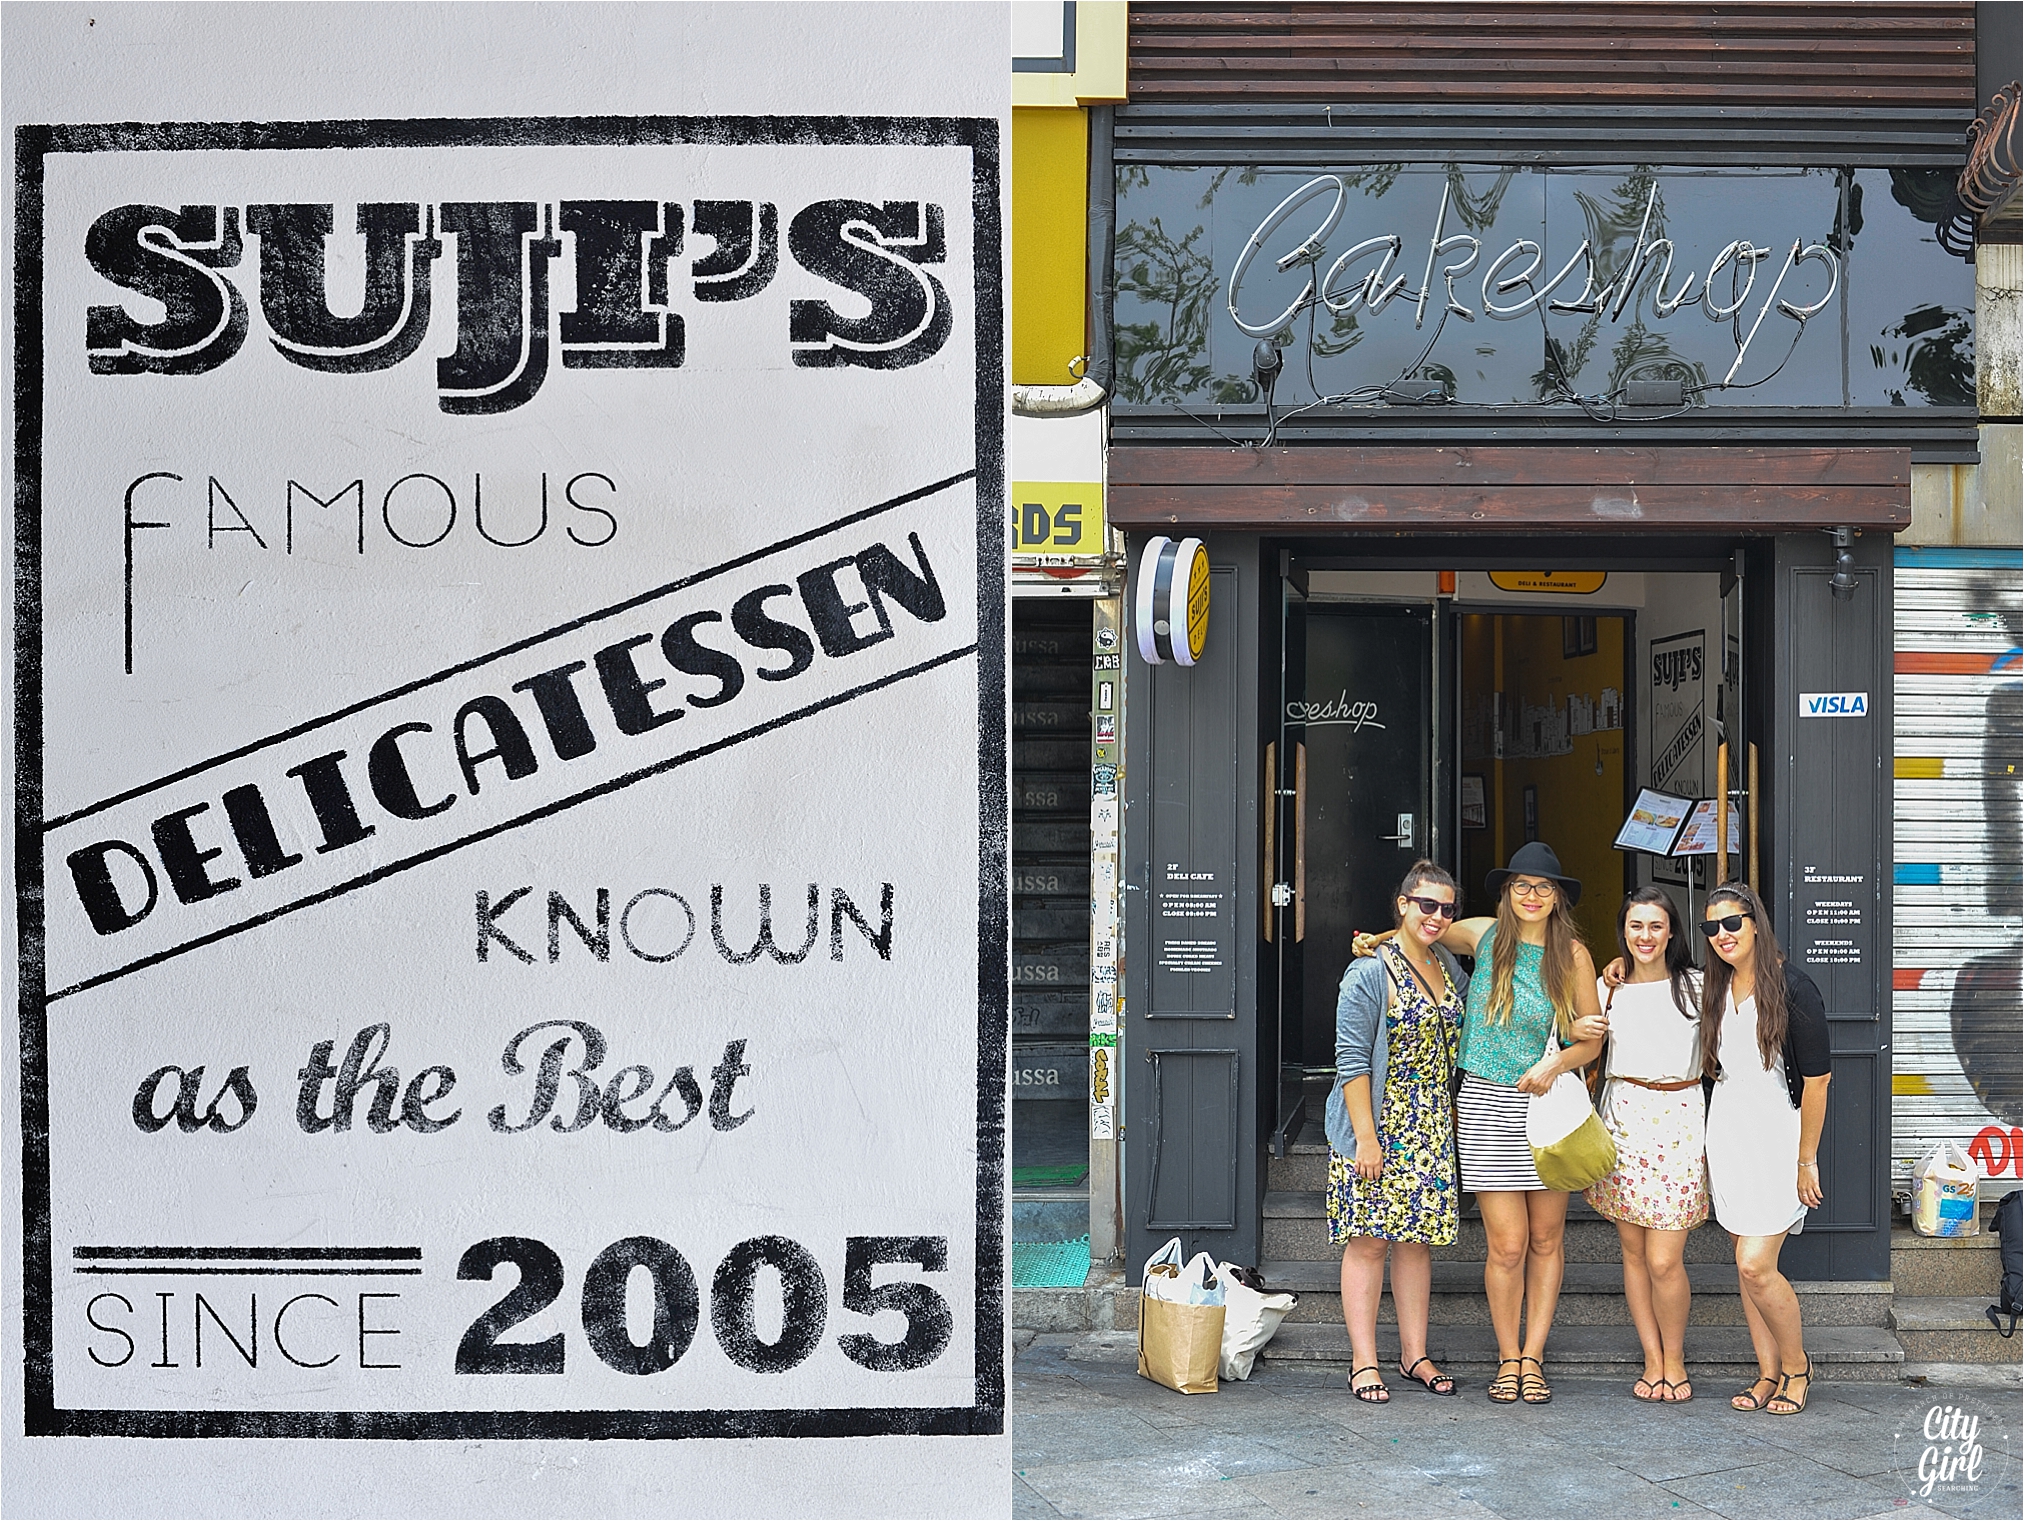
Suji's seemed to be ranked as one of the original brunch spots. So, armed with a bunch of very hungry South Africans we headed off to stuff our faces.

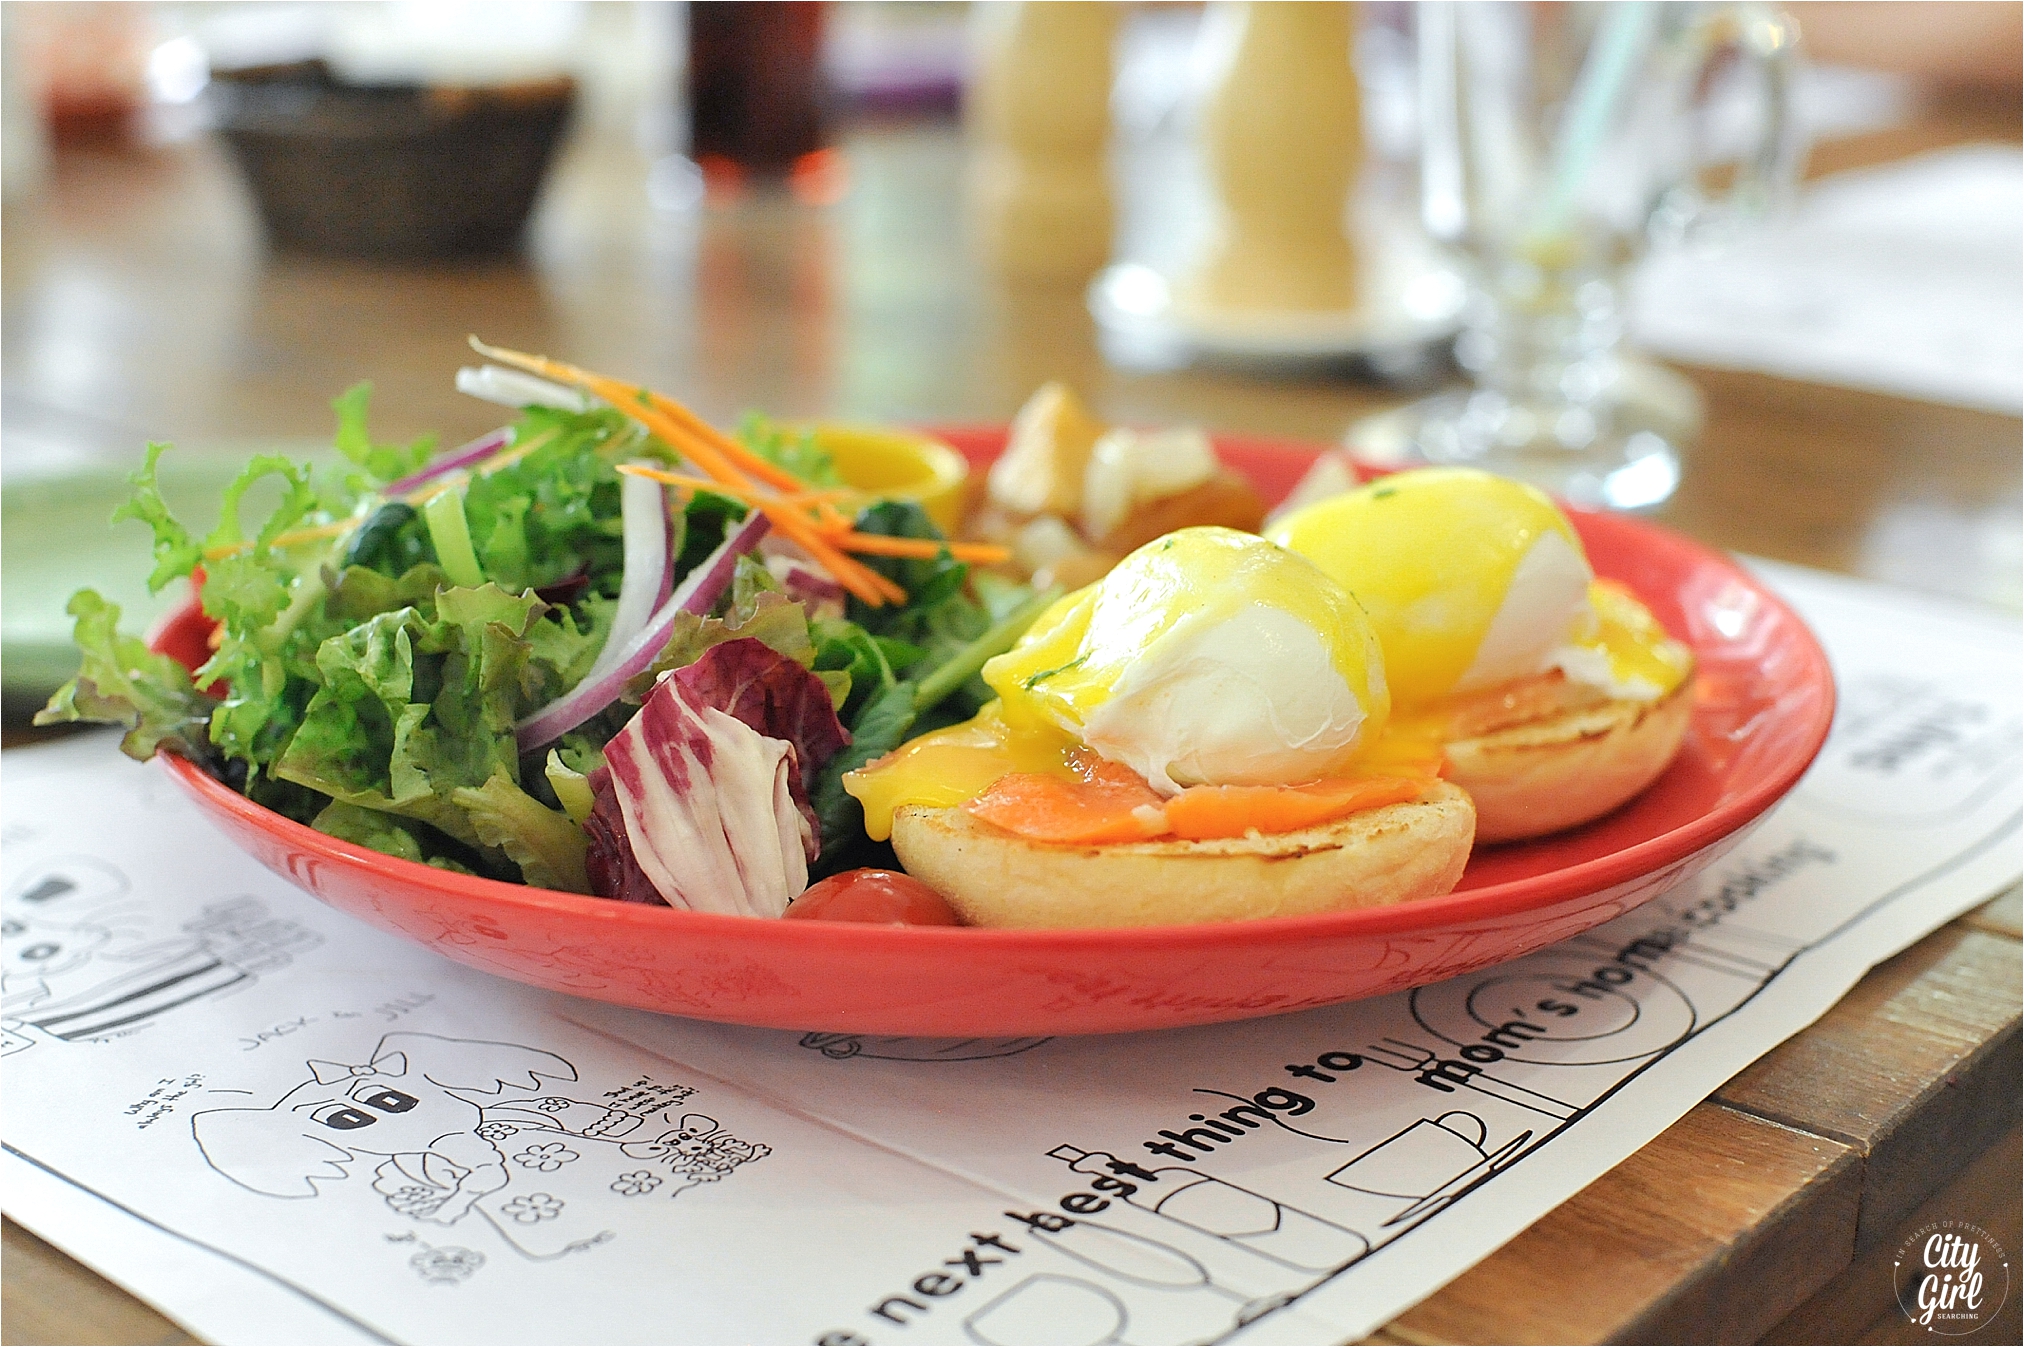
We were delighted with what awaited us...

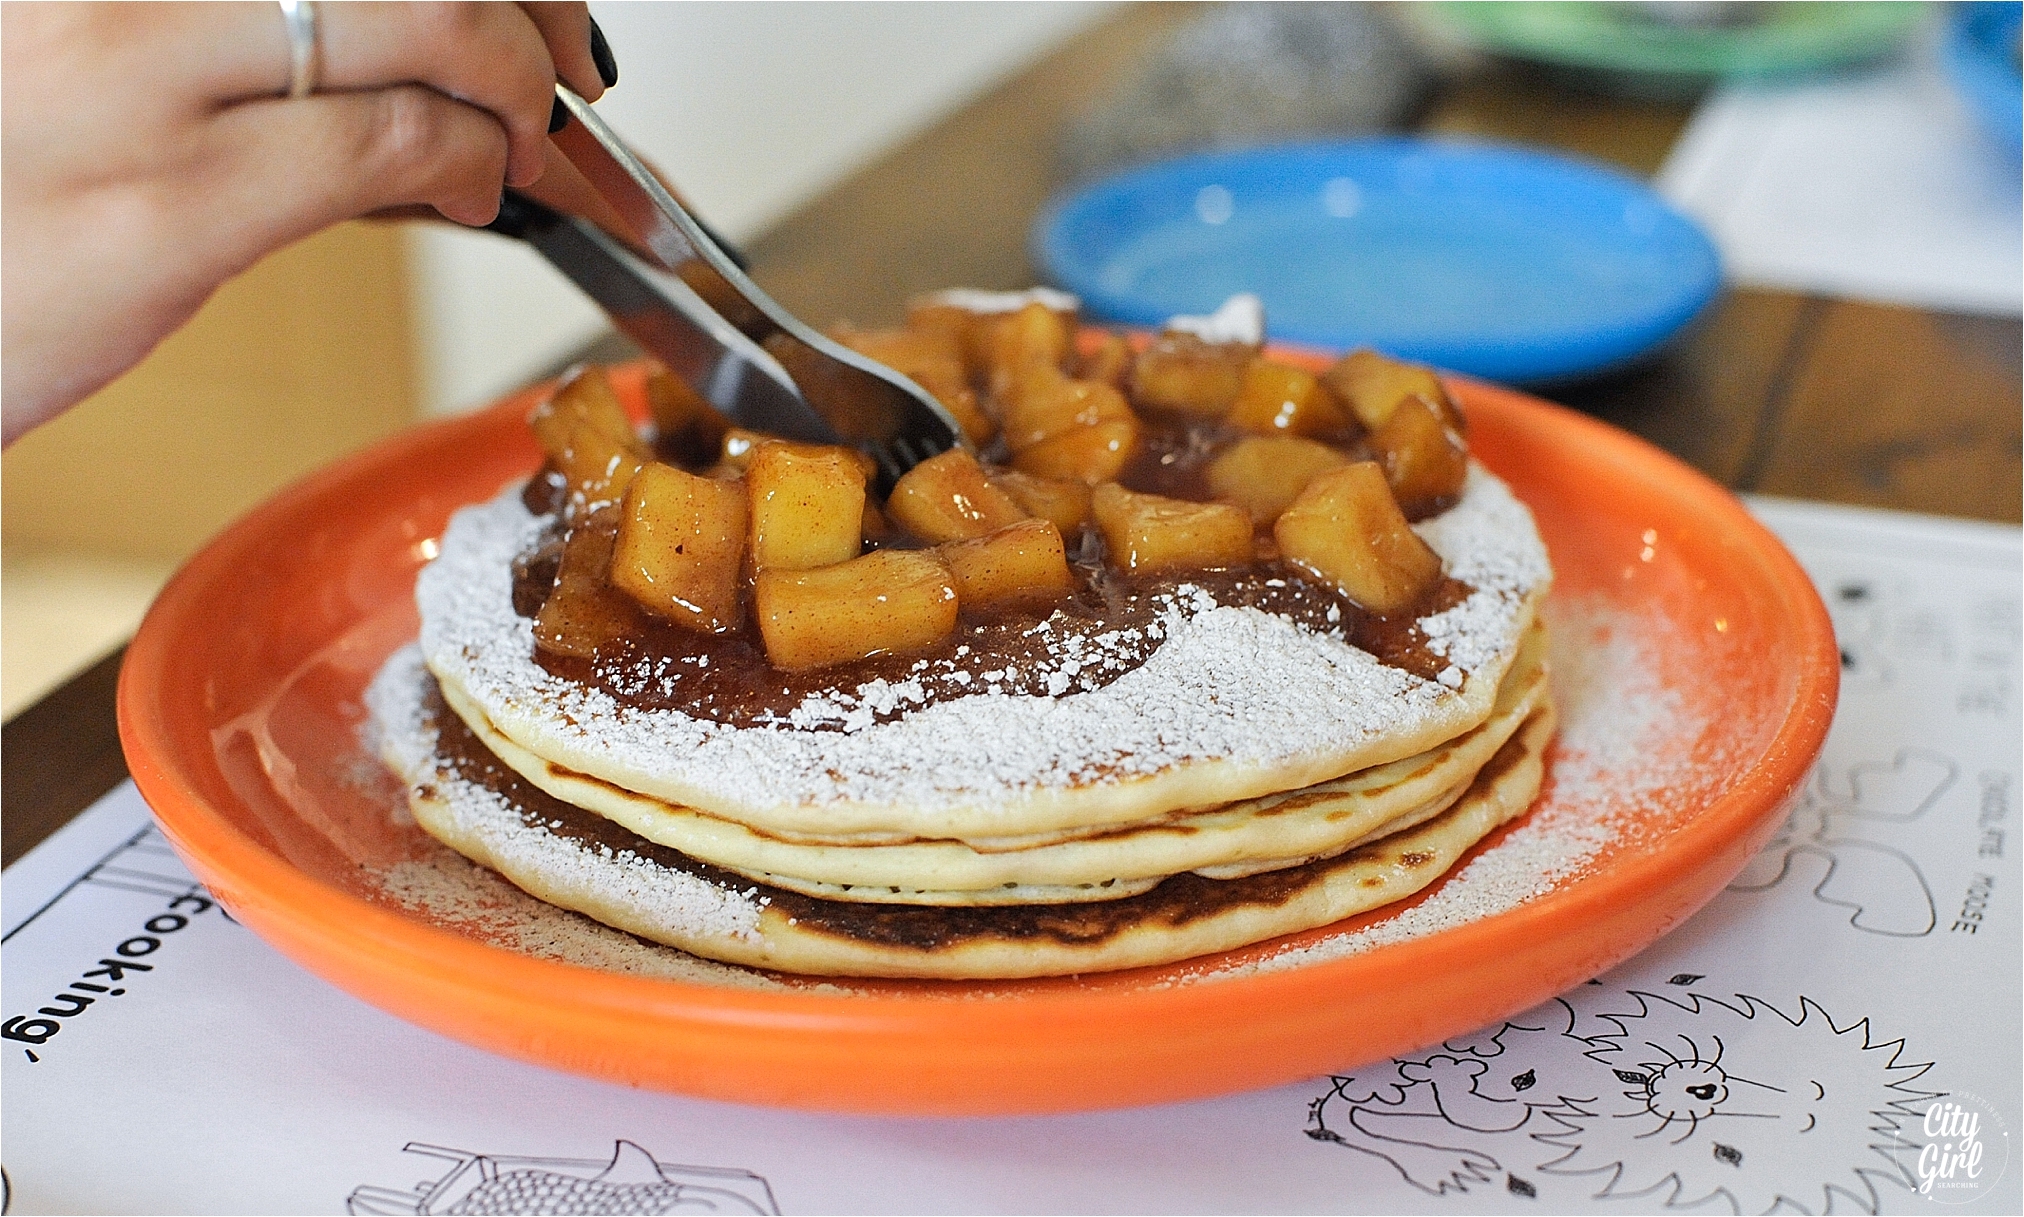
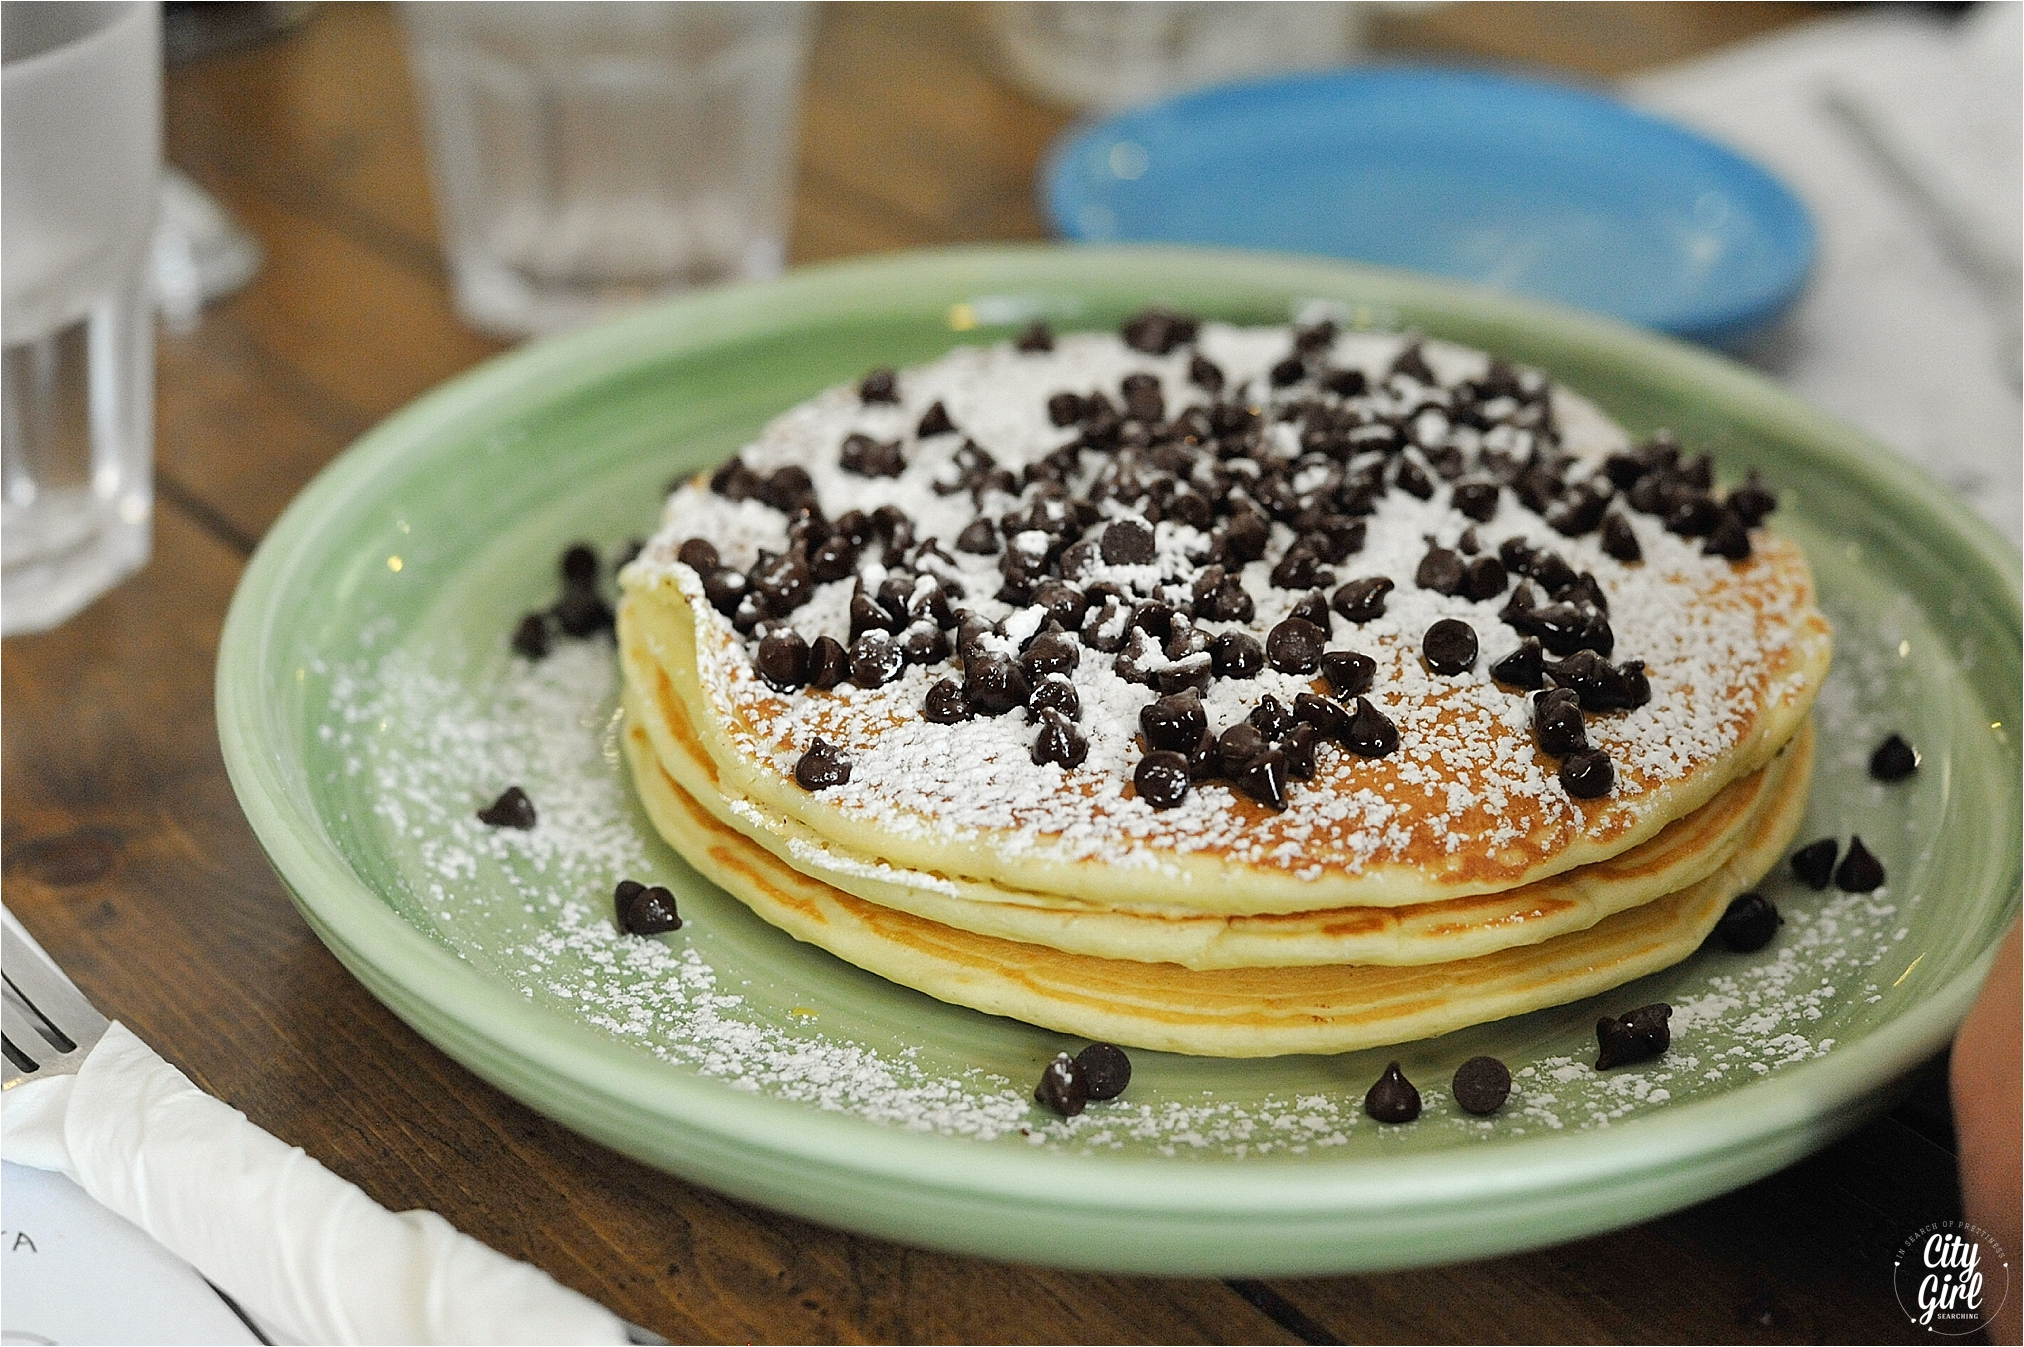
Prices were what we had expected for a restaurant that caters for the Western market, pricey but totally justifiable. I mean, look at the size of the pancake platter.

Their menu is extensive and has something for everyone.

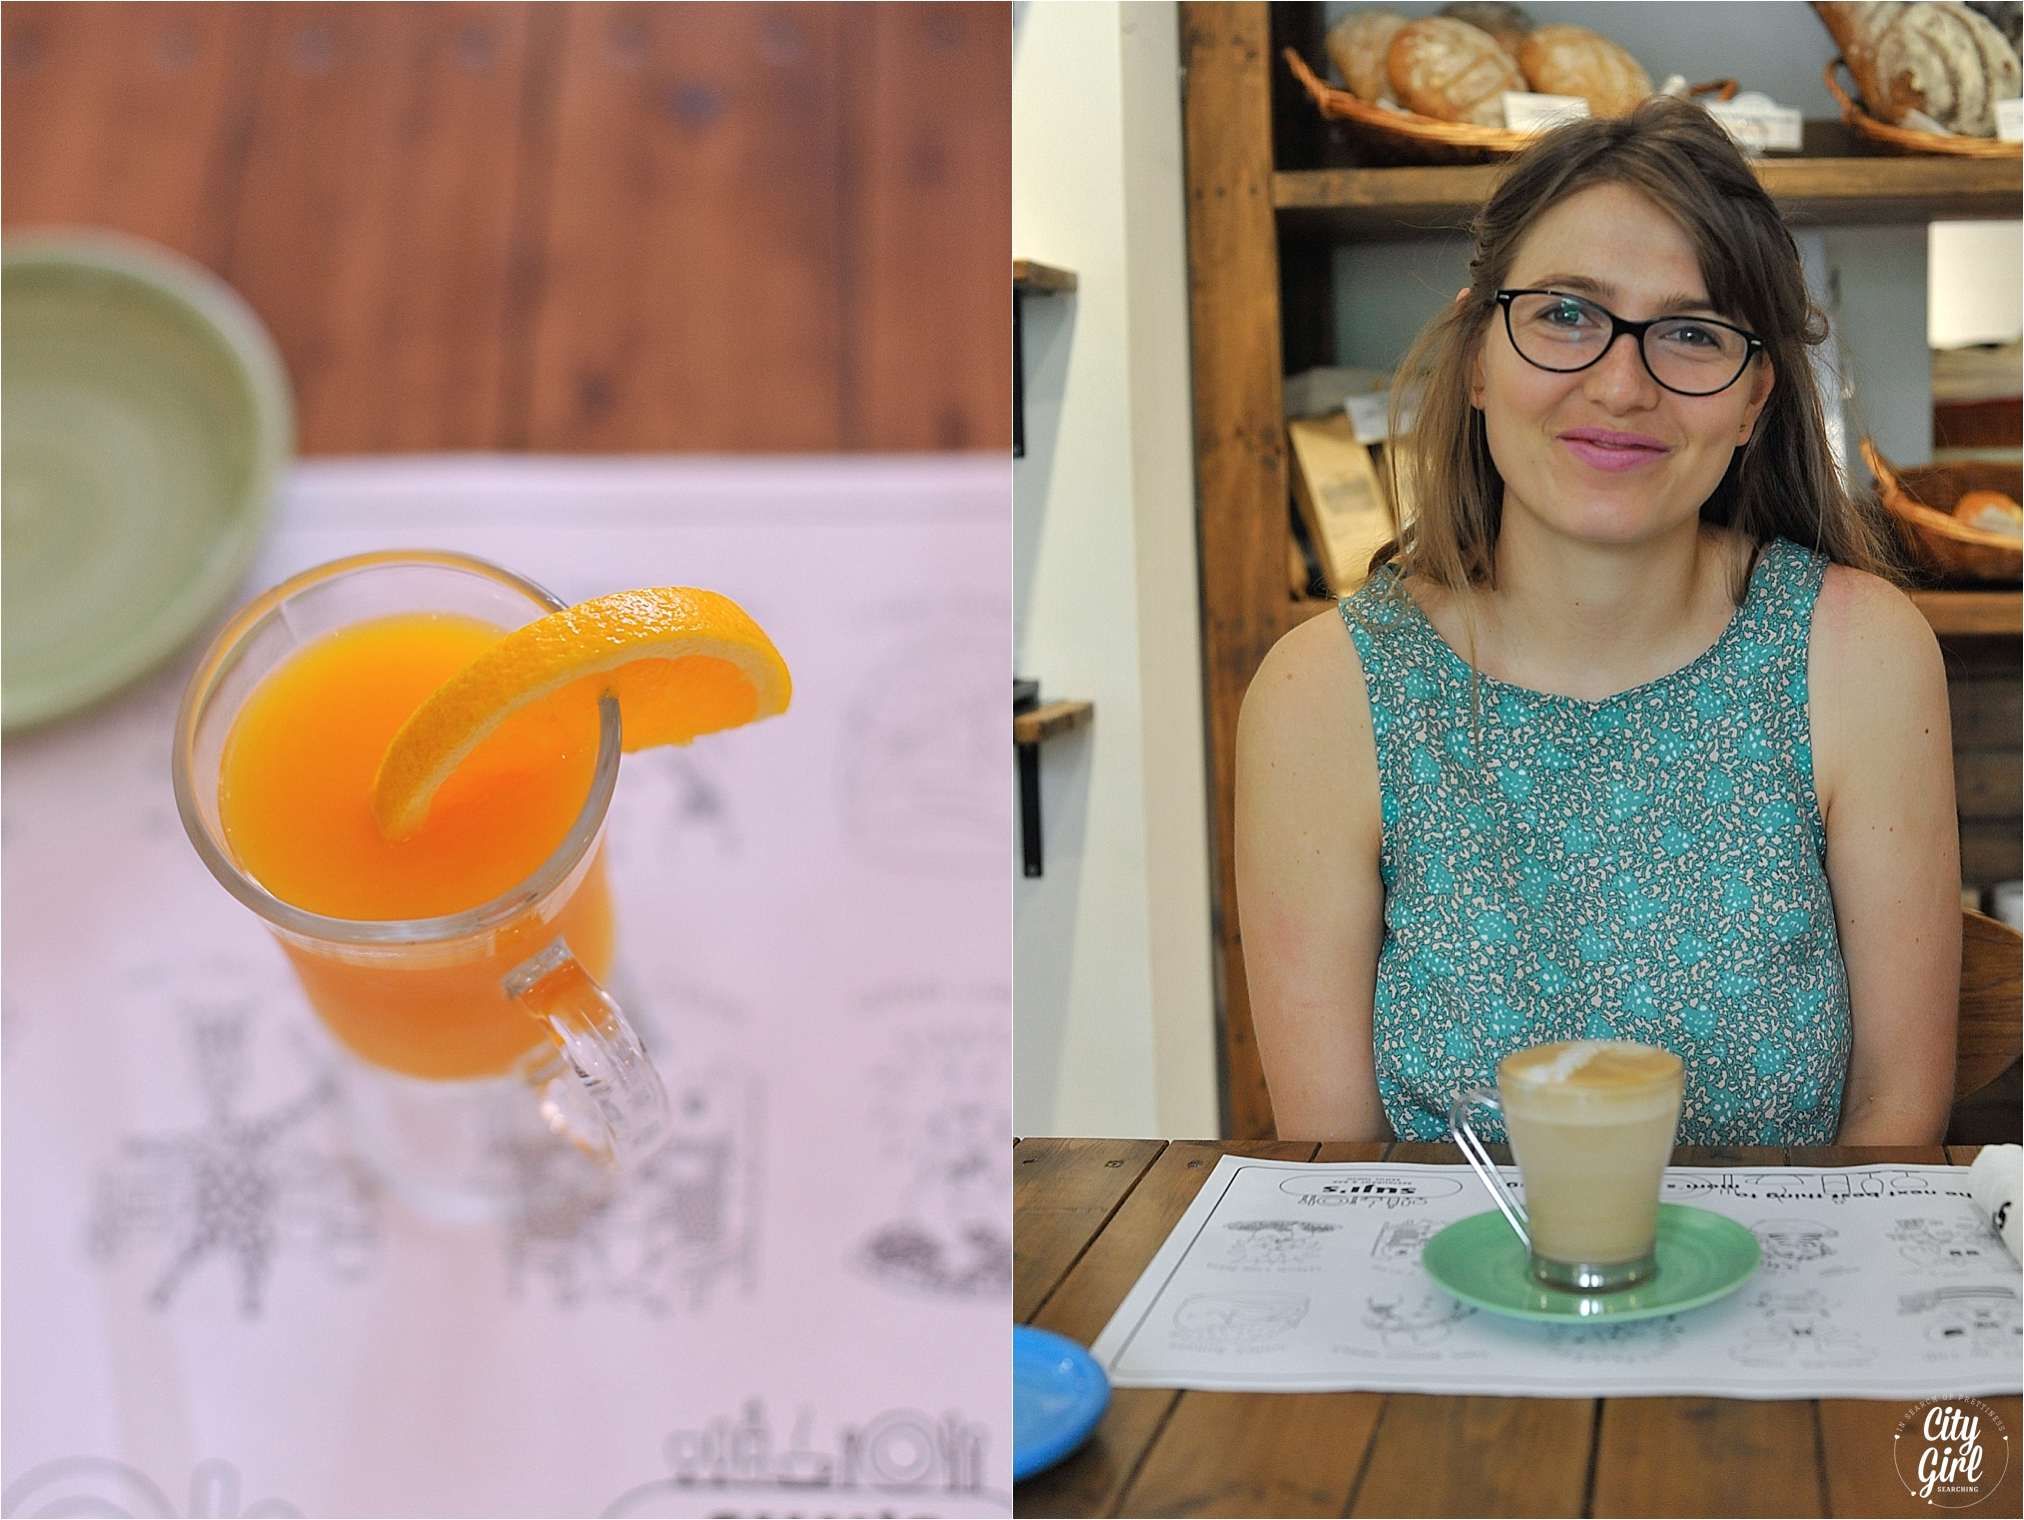
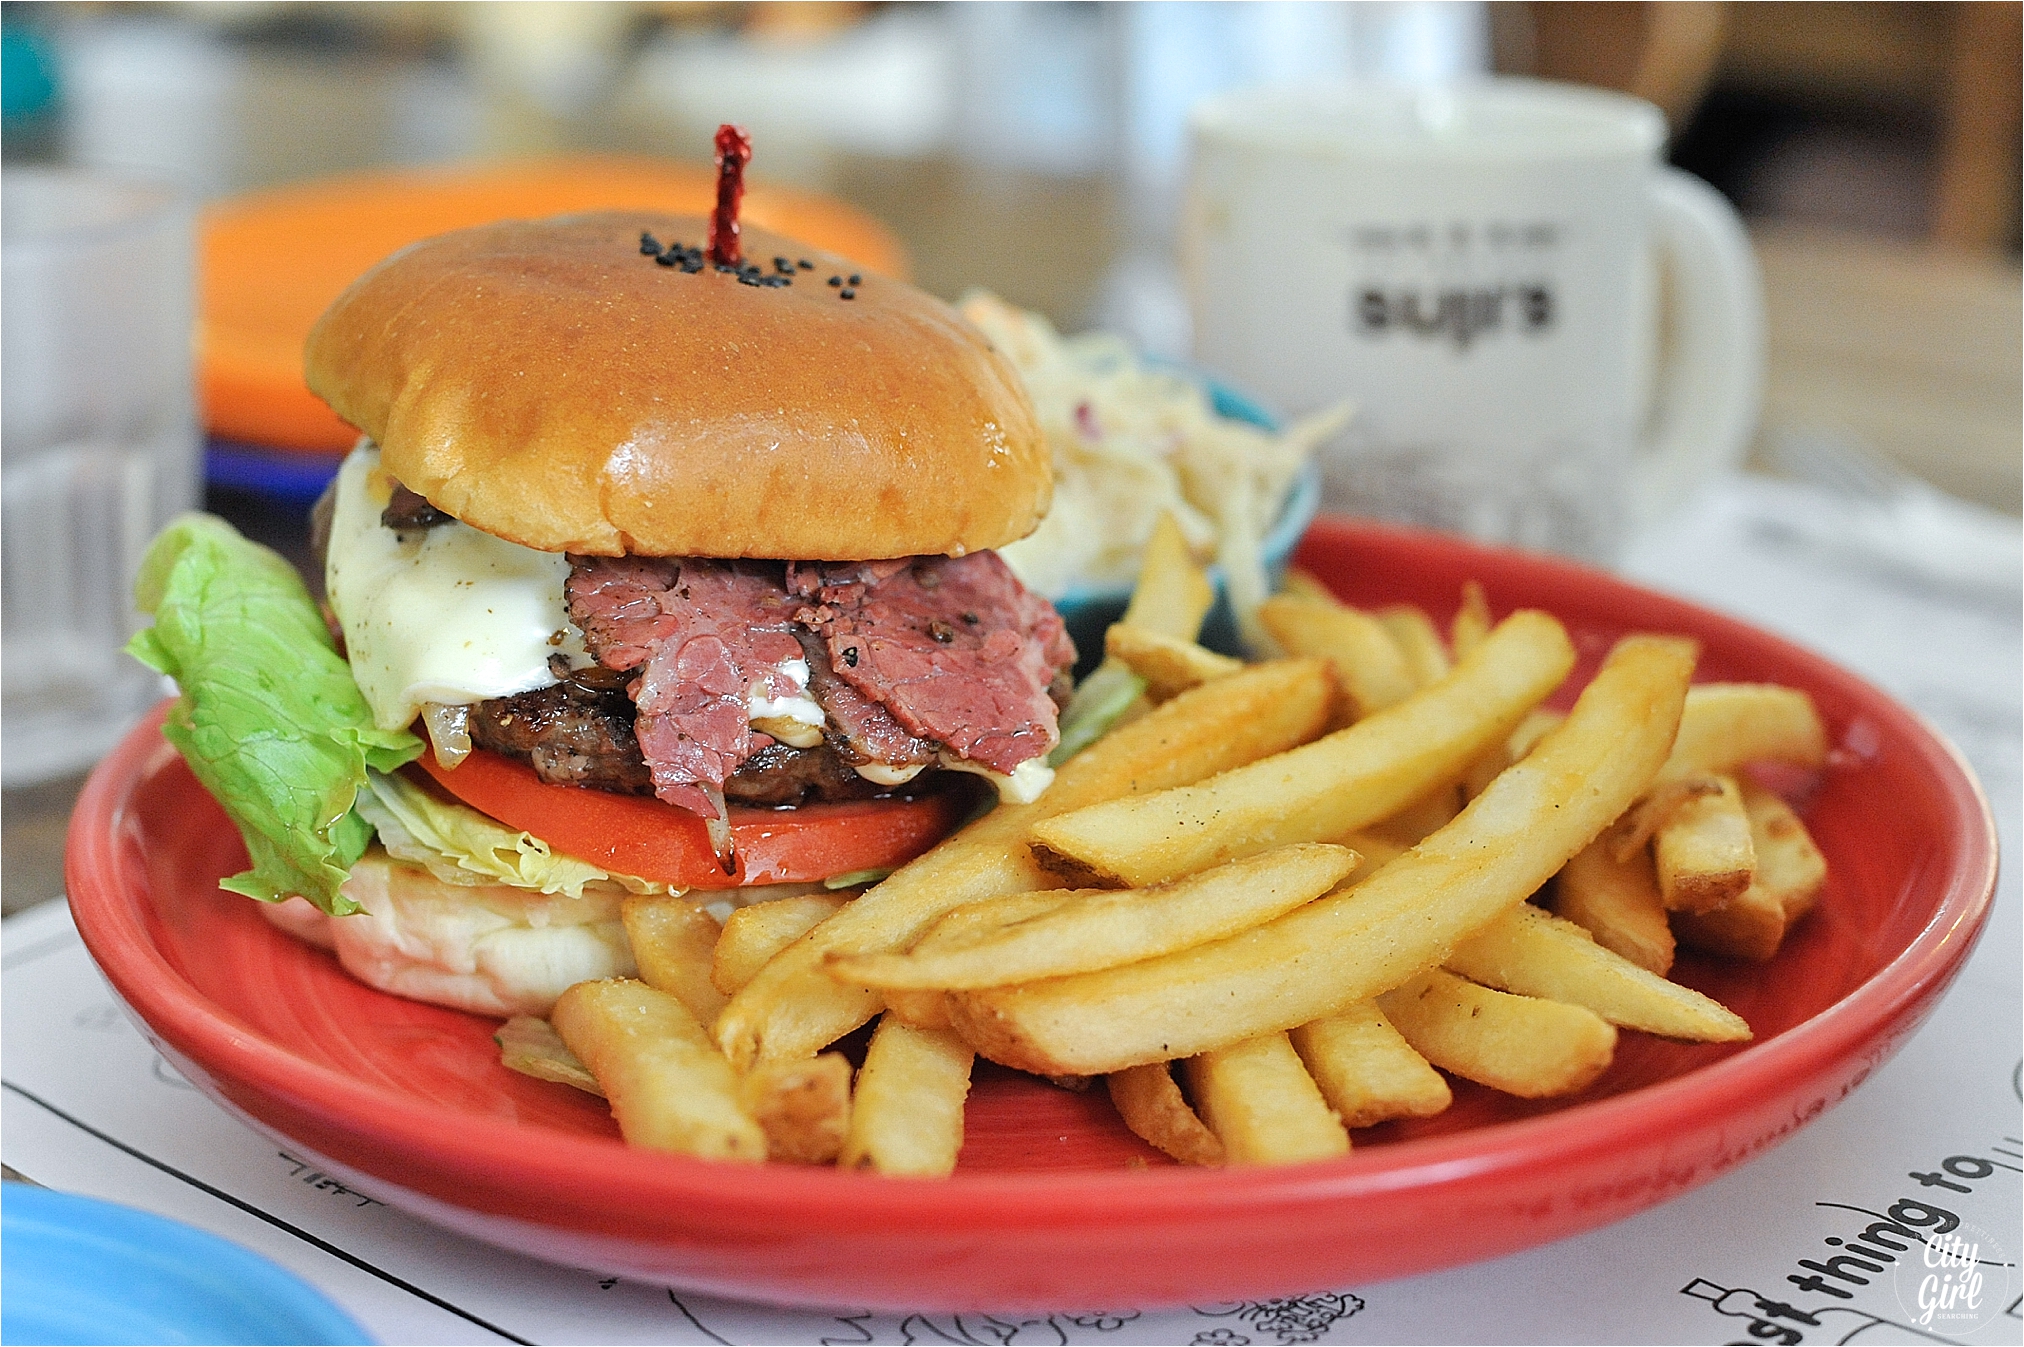
Everything was delicious (except the tea...who premixes frothed milk into English Breakfast?!) but the orange juice and burger made up for that.

It gets full very quickly, so make sure to get there early if you are a large group. Or just to be safe, call ahead (Tel 02.797.3698) and make a reservation.

Directions

서울특별시 용산구 이태원로 134, 2층 & 3층
2nd & 3rd Fl, 134 Itaewon-ro, Yongsan-gu, Seoul

Take Subway line 6 and get out at Itaewon, Exit 4.

It's all the way on the end of the main Itaewon drag, close to the McDonald's and right next door to SkinFood which is what you'll see when you reach the end of the road walking towards Noksapyung Station.

Tel 02.797.3698

Website: Sujis Diner

Opening Hours

Deli Cafe: 8am - 9pm 7 days a week

3rd Floor Restaurant: 11am - 10pm weekdays & 9am - 10pm weekends/holidays

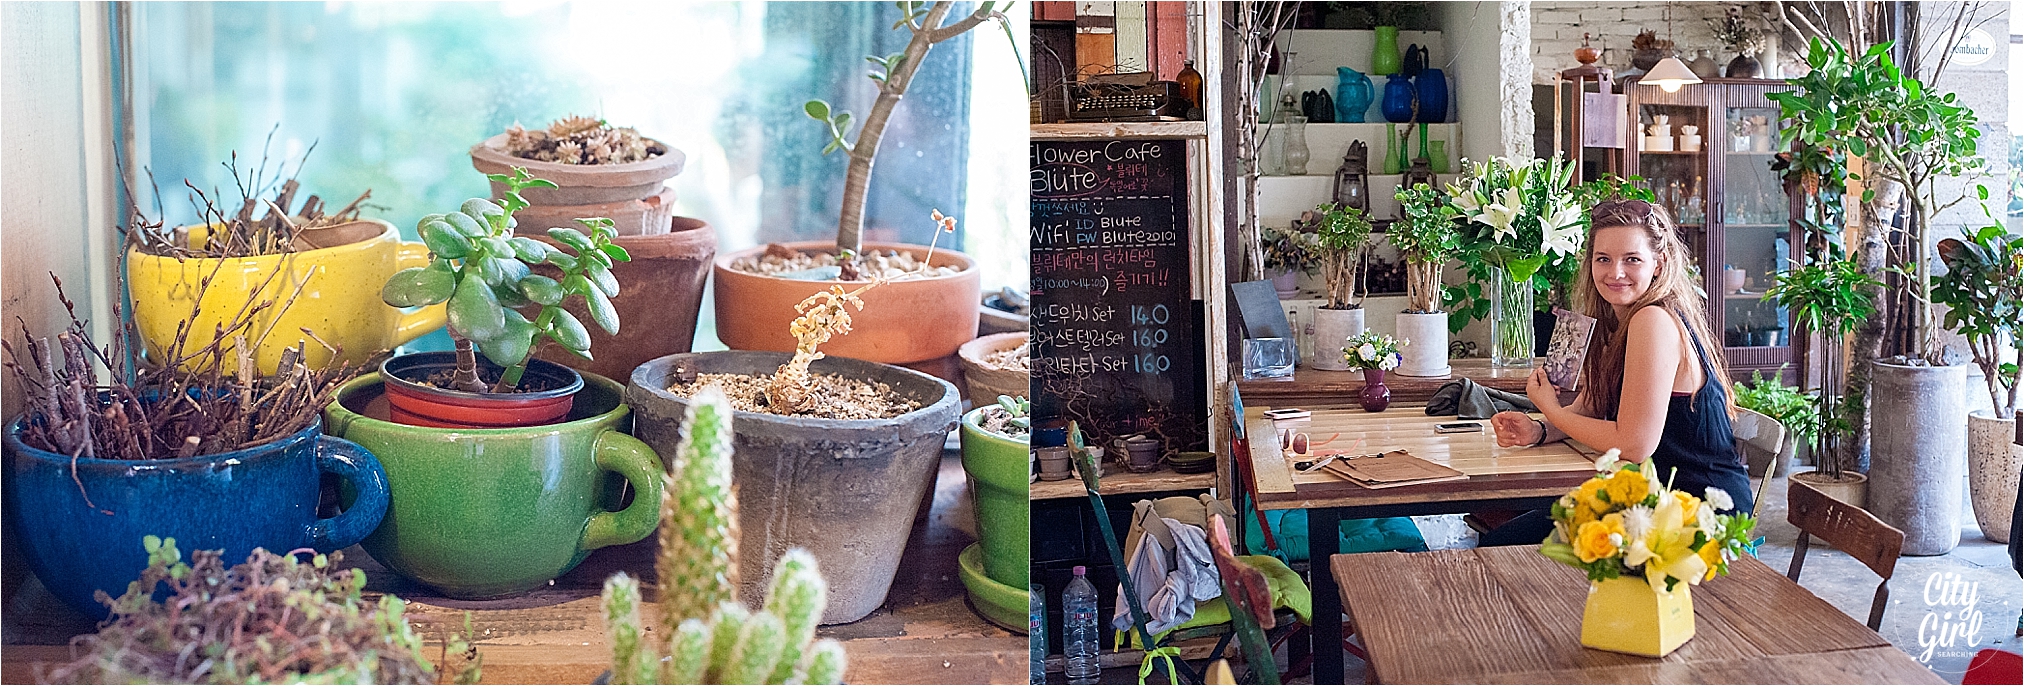
Blute Flower Cafe, Seoul South Korea

Blute Flower Cafe in Seoul South Korea Review by Roxy Hutton CityGirlSearching_Artboard 3.png

** EDIT** The cafe has moved locations and can now be found a short walk from Sangsu Subway Stationer. These photographs are from when they were based in Hannam**

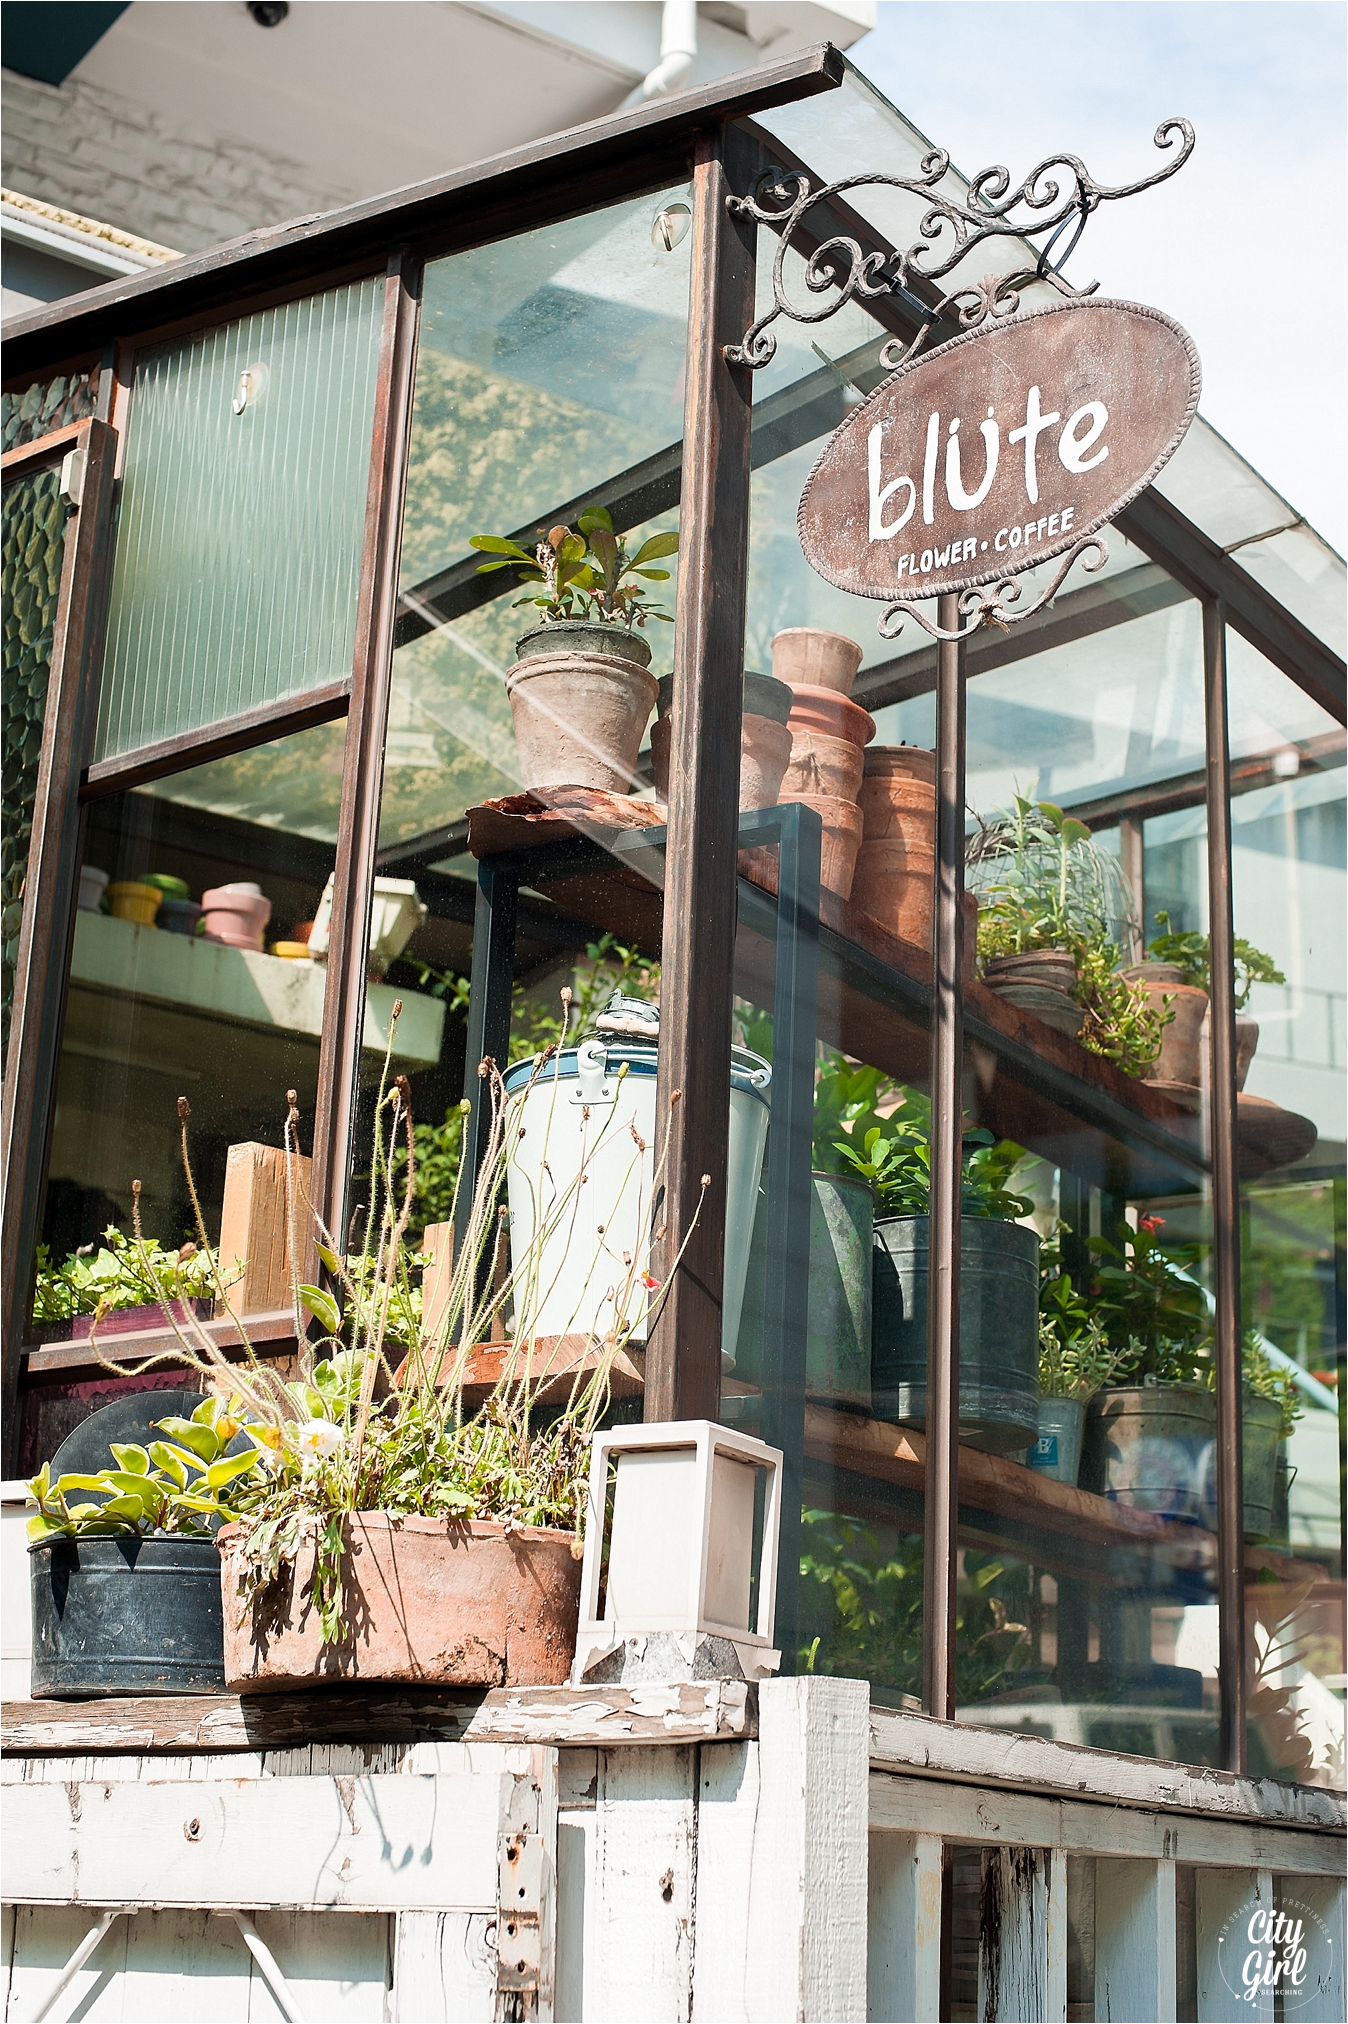
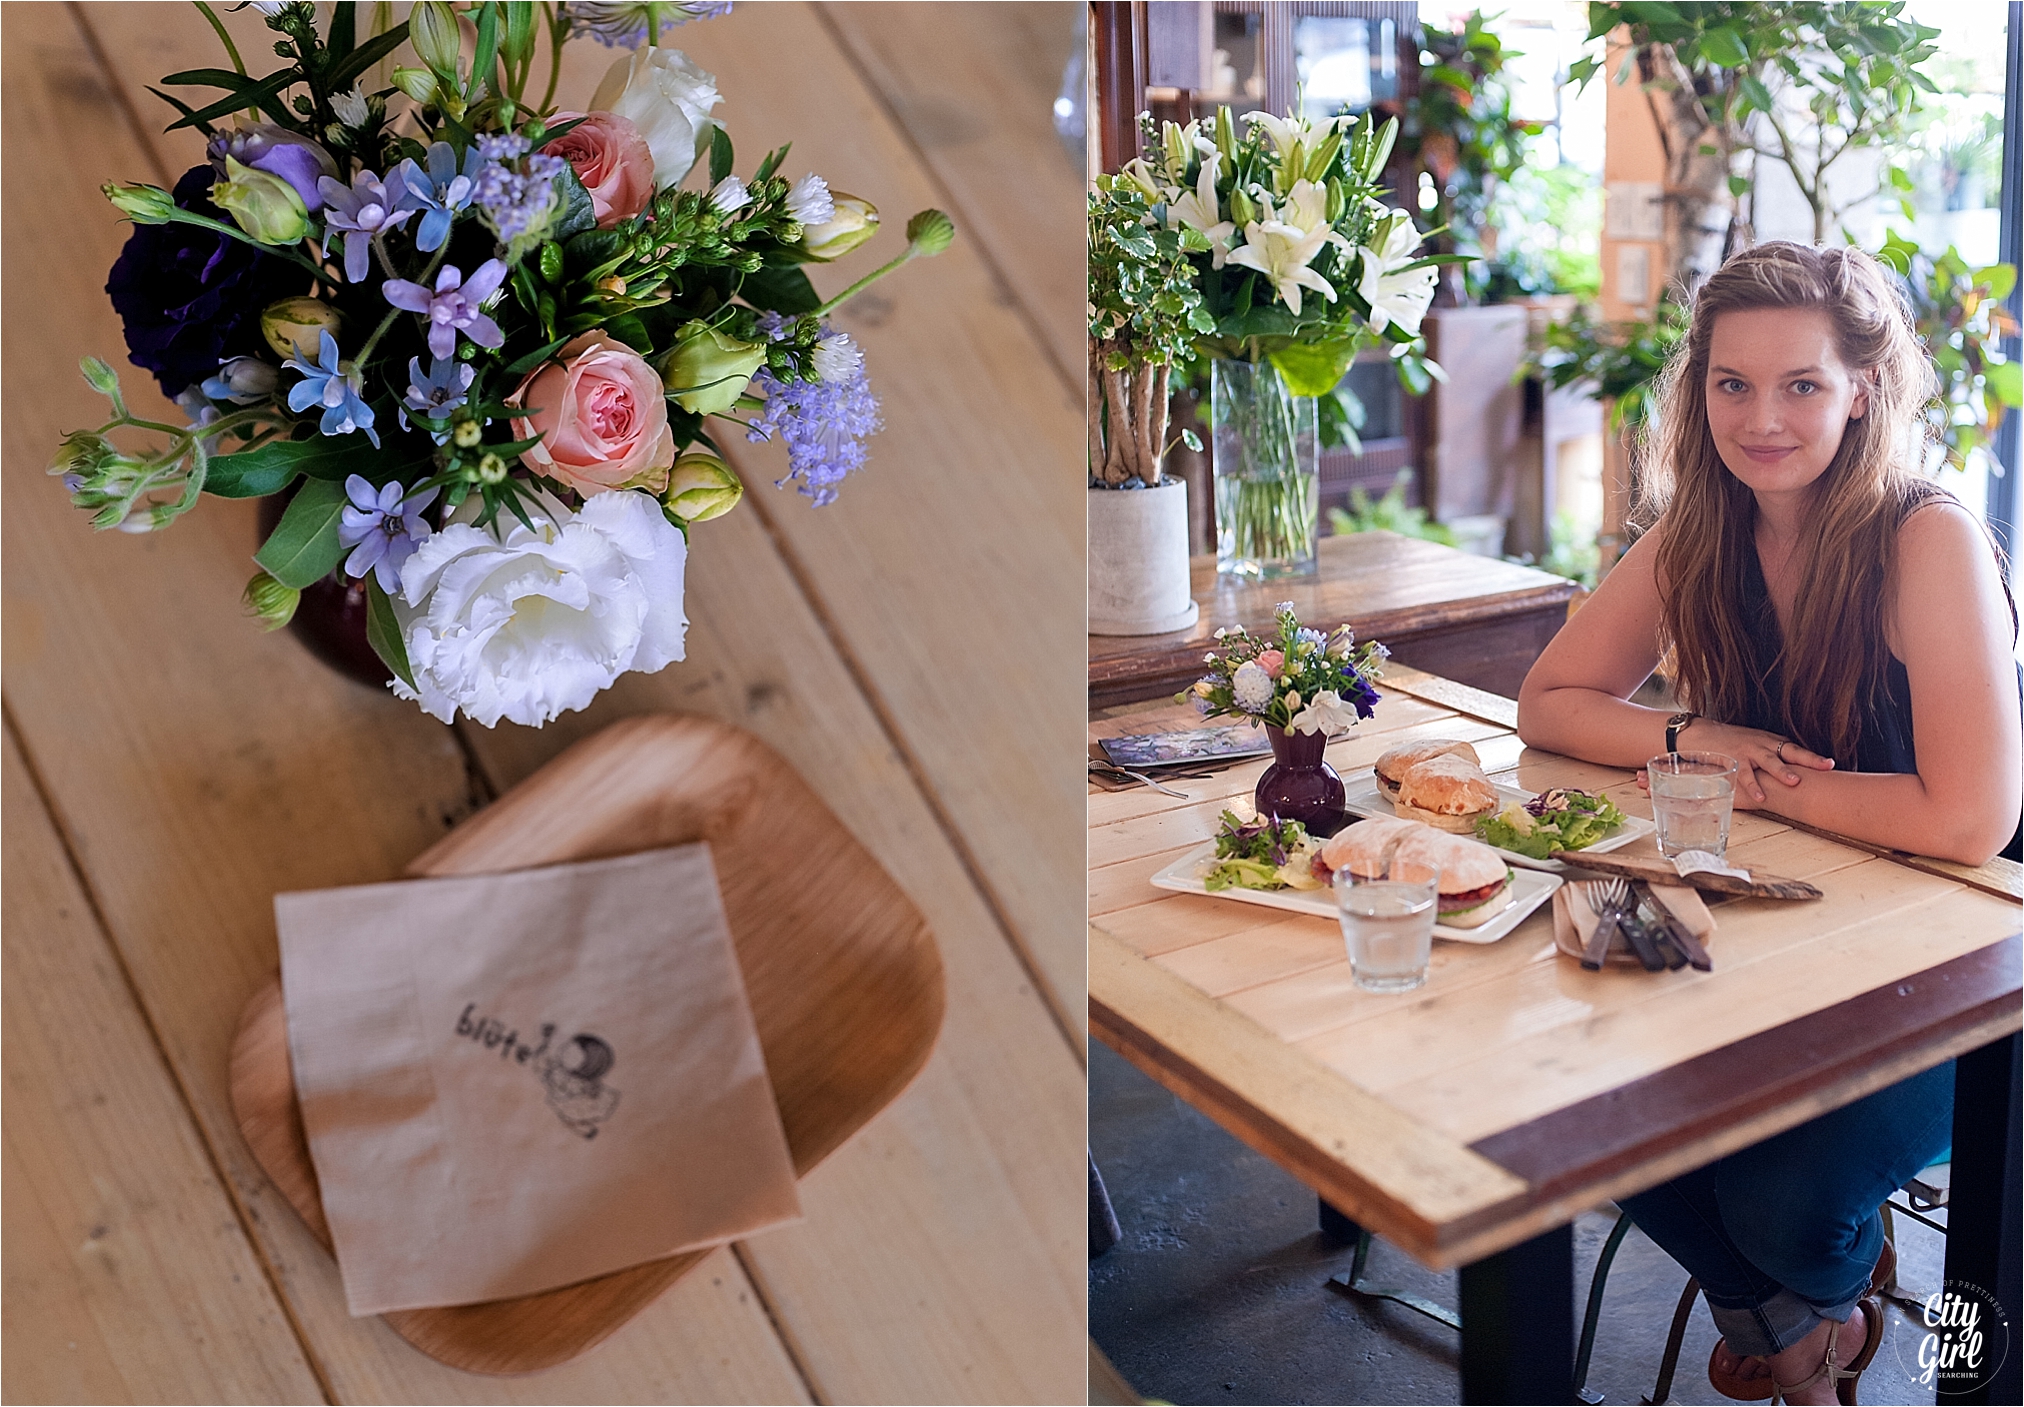
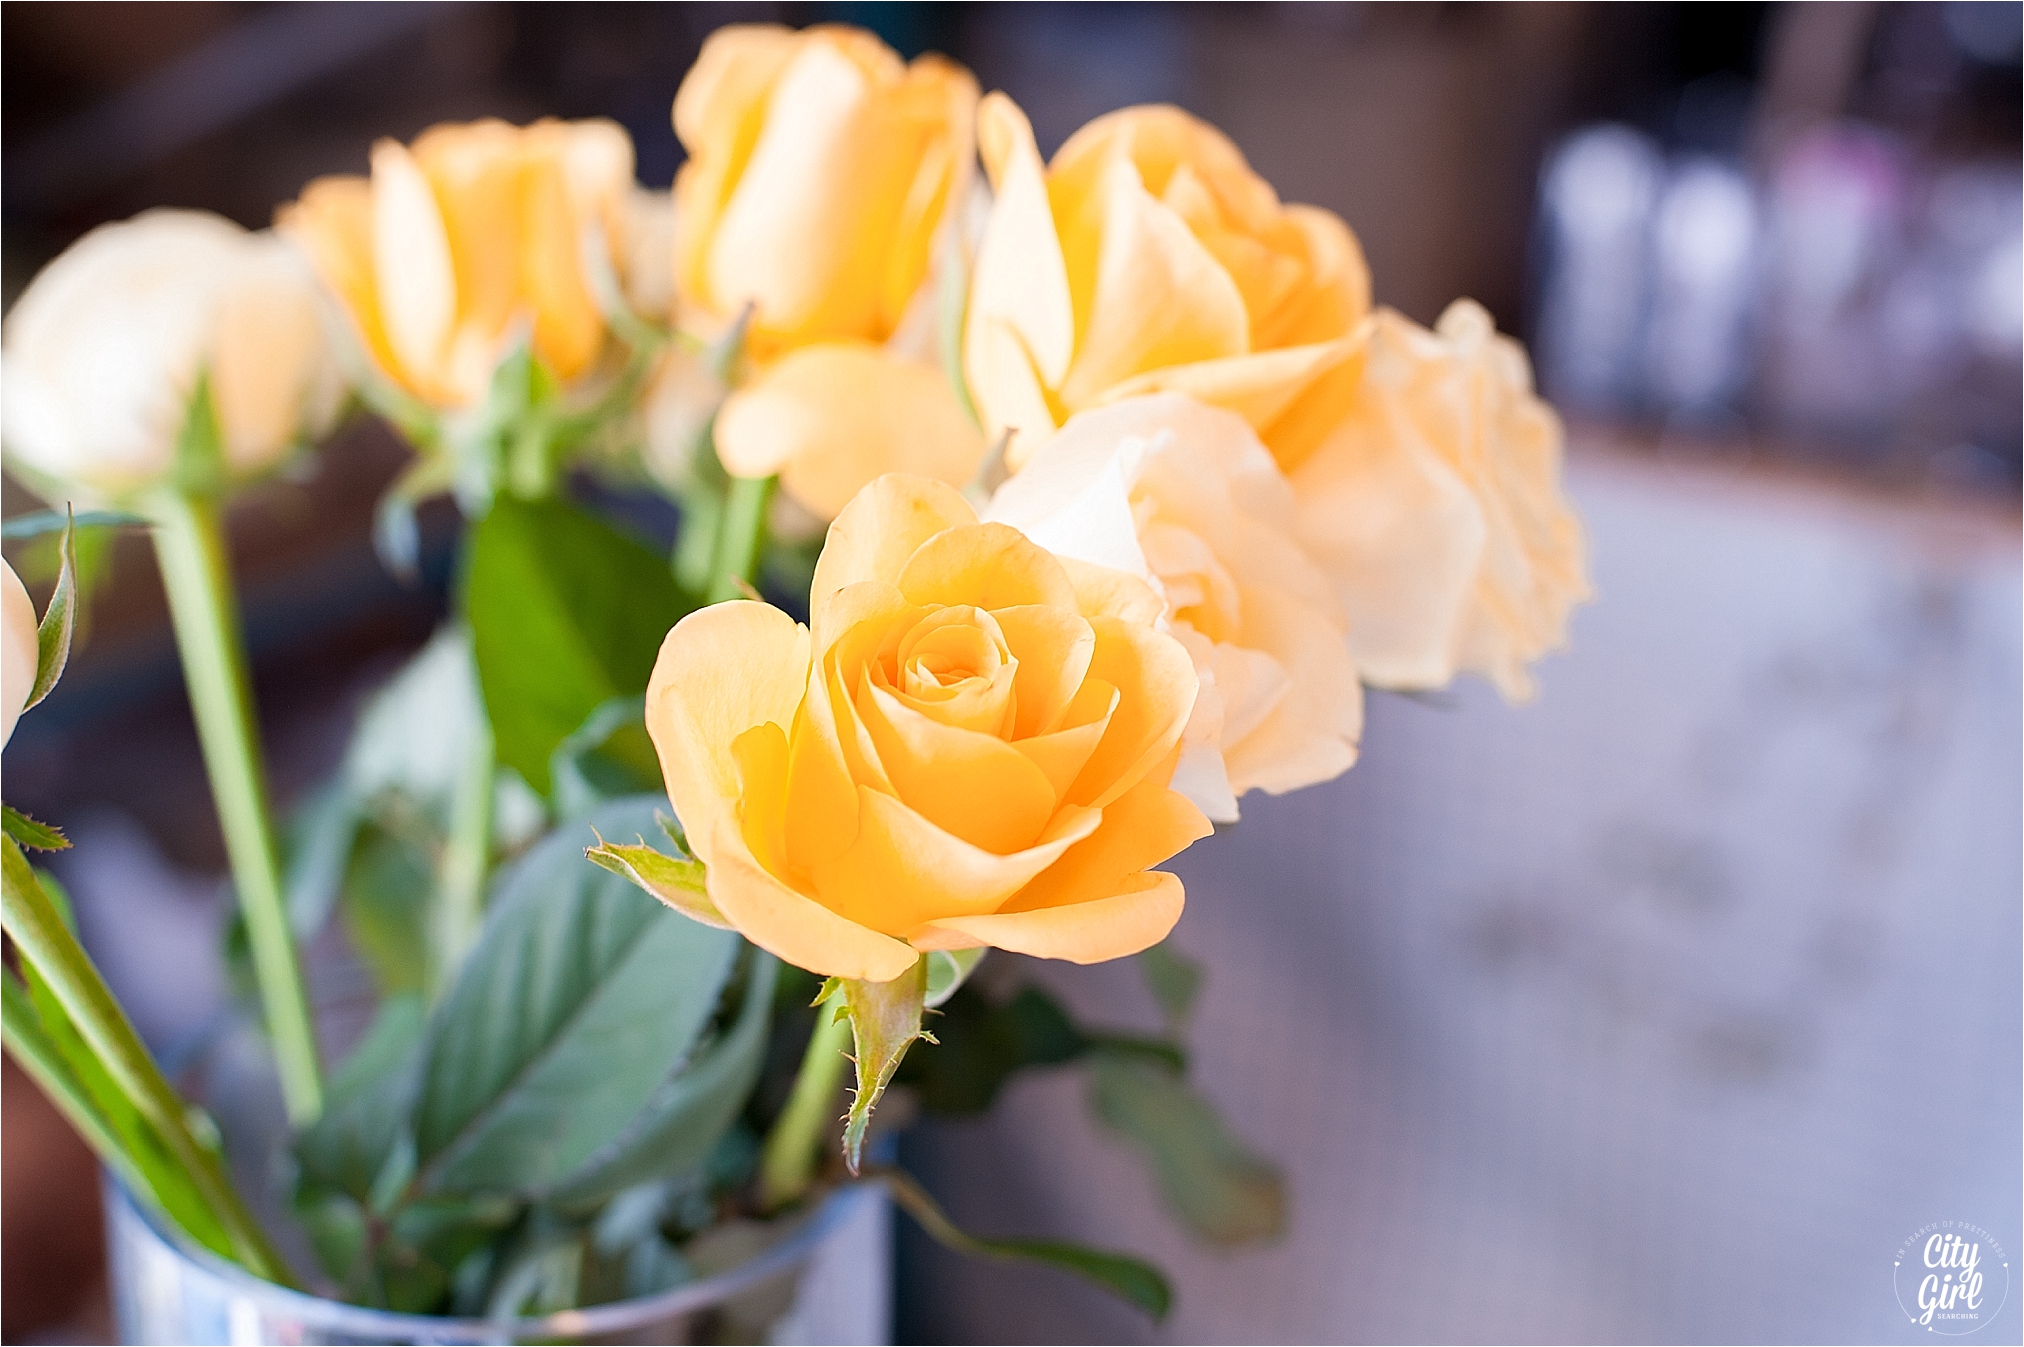
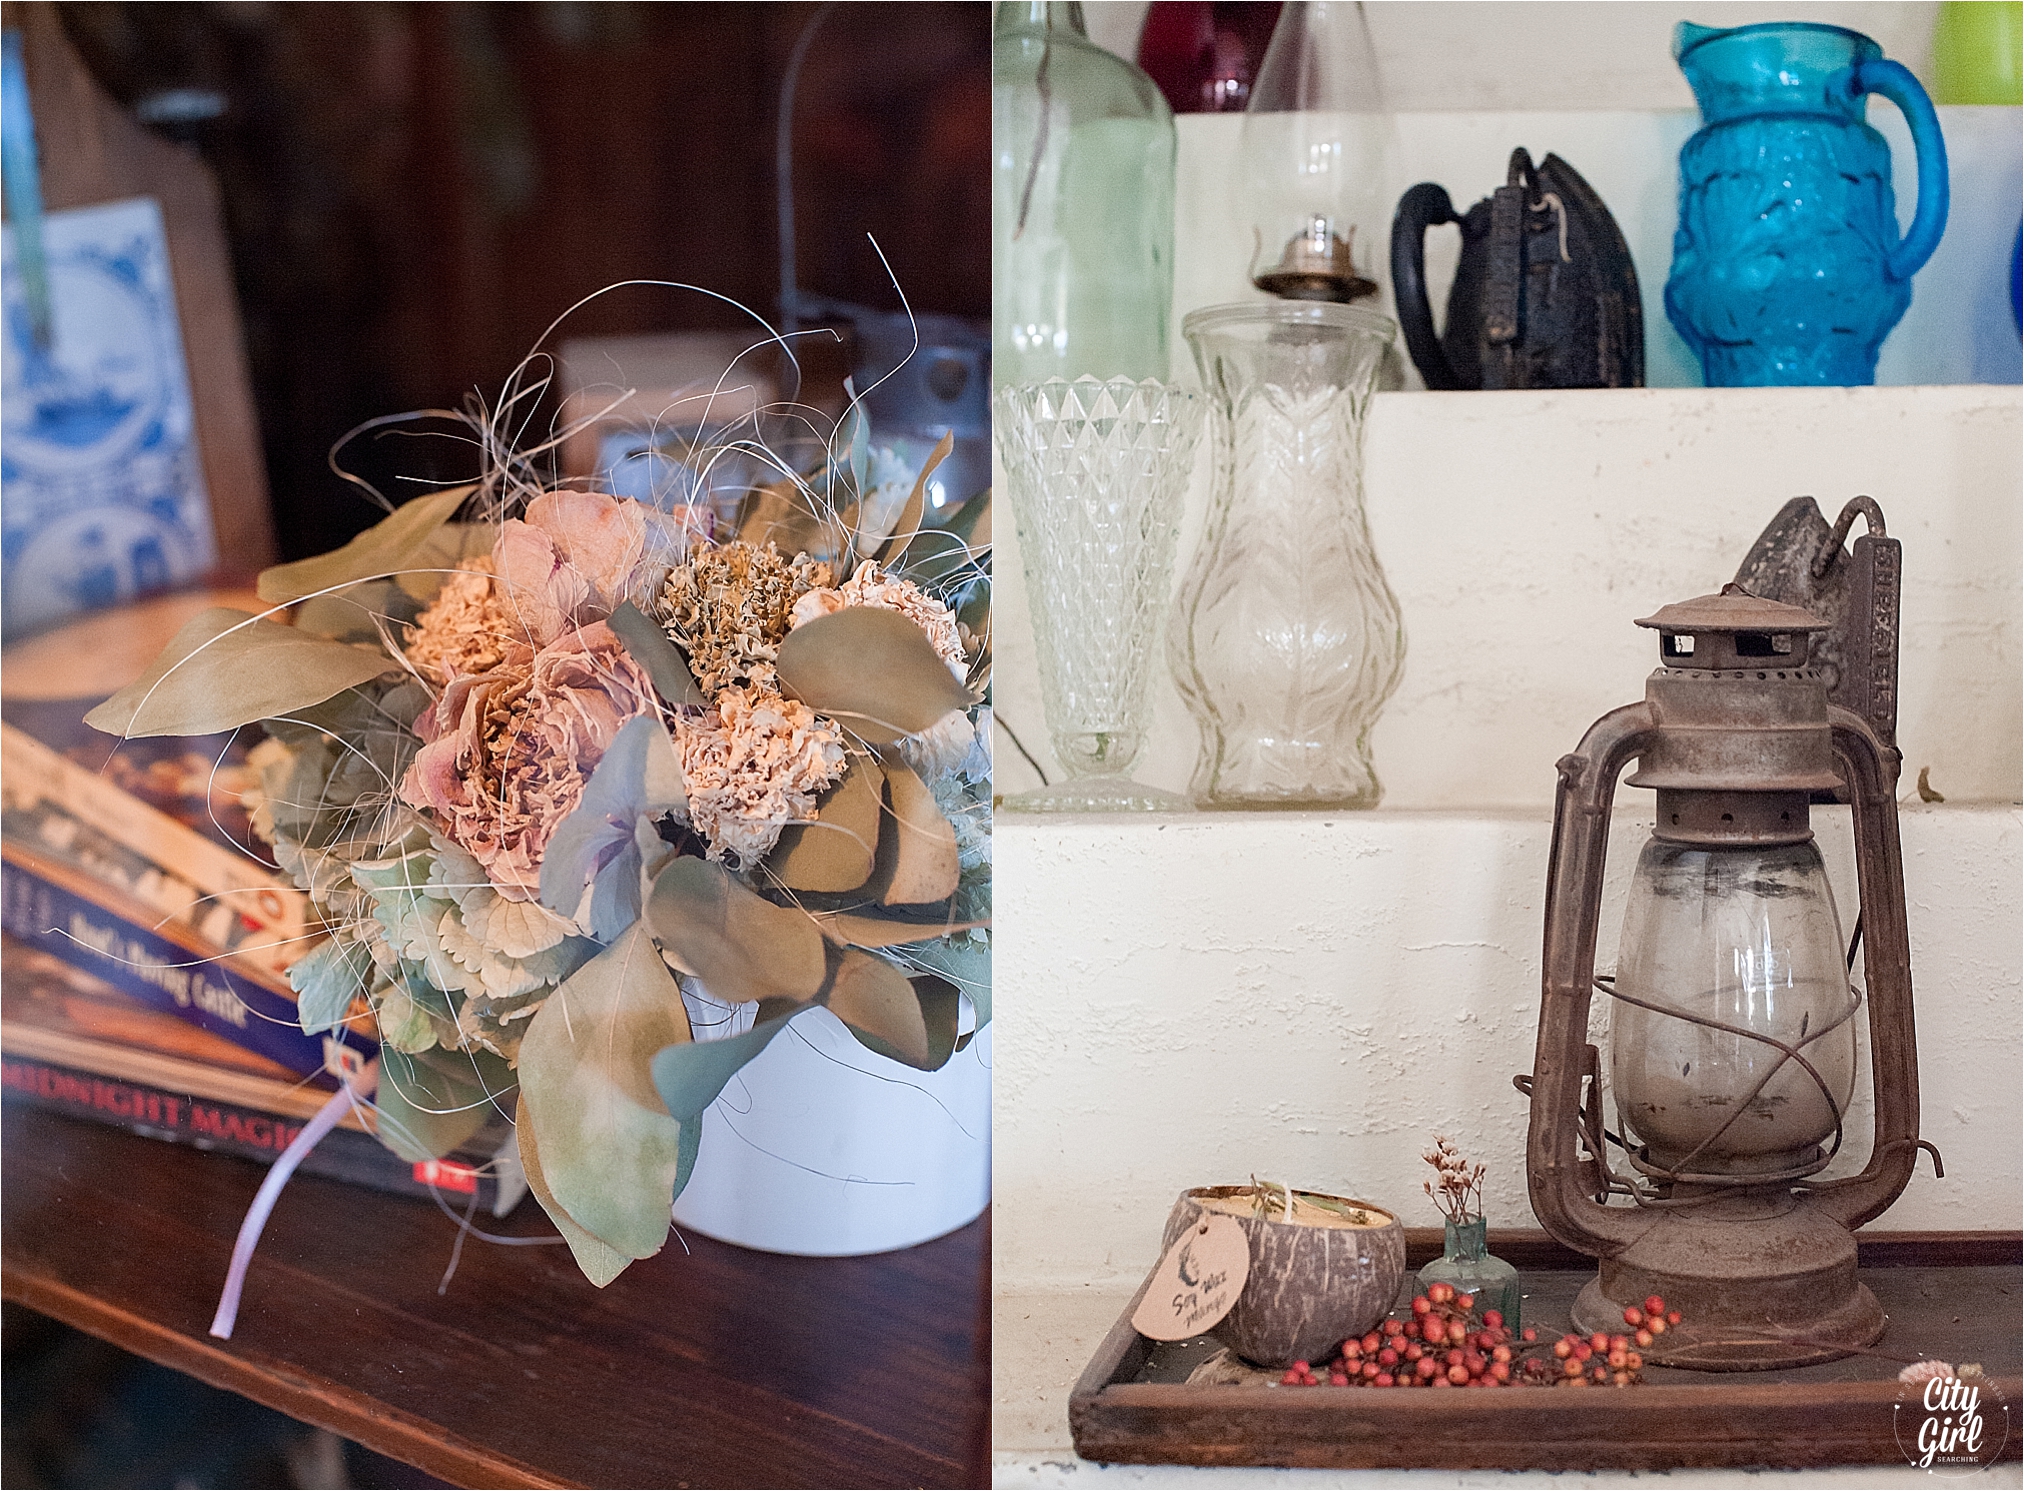
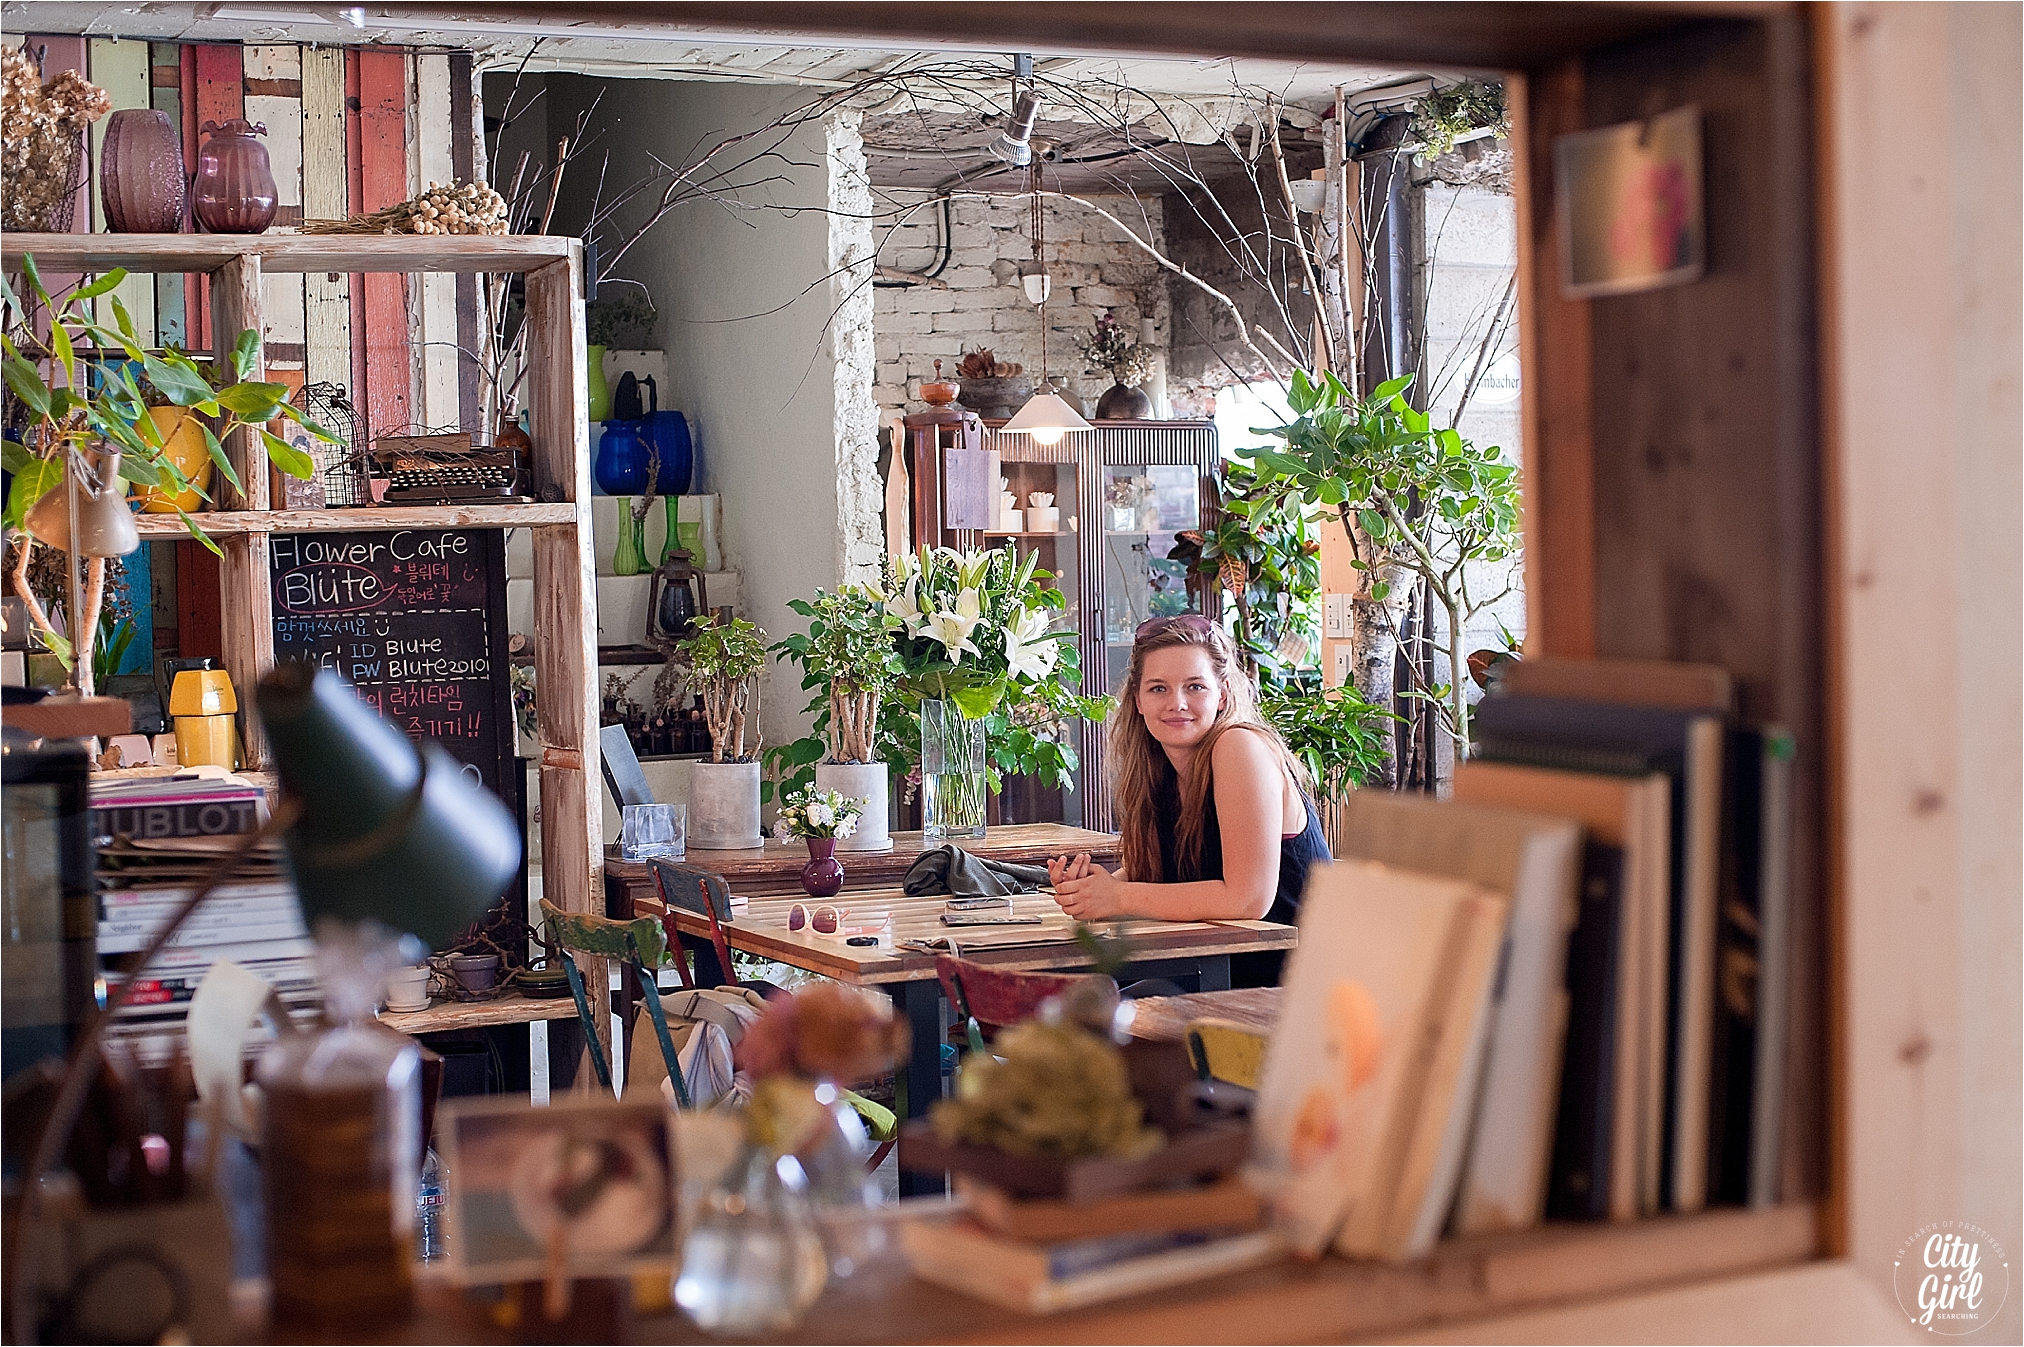
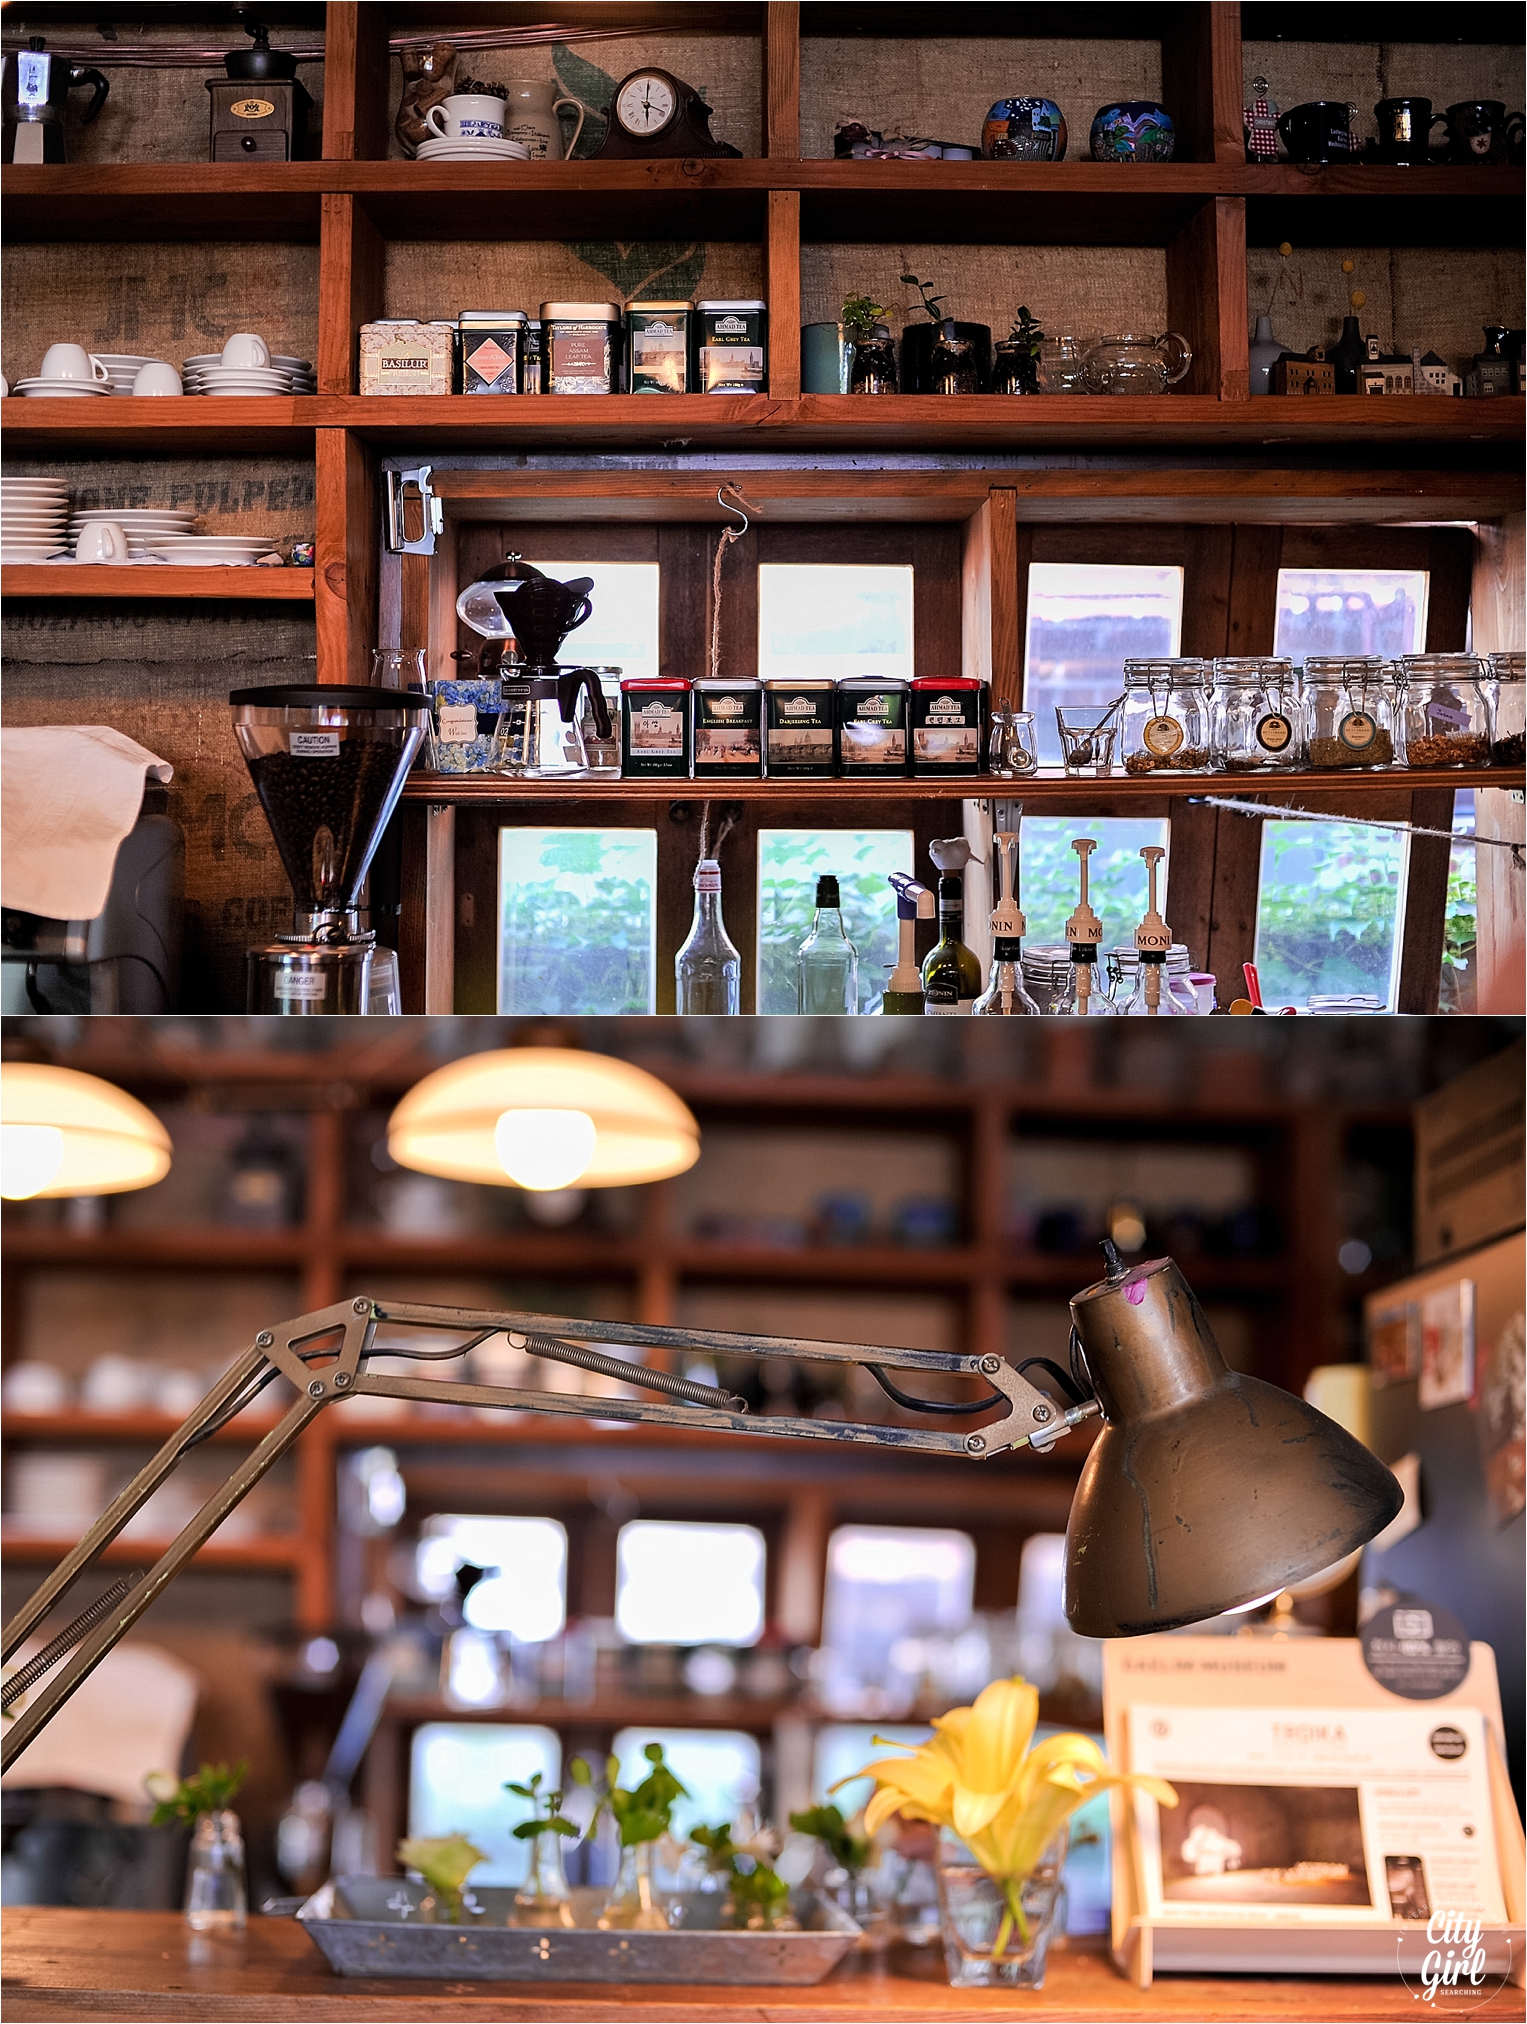
This delightful flower cafe is tucked away on a small side street in the very fancy Hannam area of Seoul. Just as Cat and Dog Cafes are popular here, flower shop owners have come up with the idea of a flower cafe to bring in more business as the flower trade has seen a decline in sales over the past few years. Cafe owners hope that customers will be enticed to bring back the tradition of giving flowers as gifts, and so have a variety of bouquets on display that you can buy along with your coffee or cake.

This particular cafe also offers flower arranging classes.

The food was incredible, freshly baked panini bread with sun-dried tomatoes and salami for myself, and a medley of freshly roasted vegetables for my friend Dominique. The menu was small, but sufficient, and the cakes on display looked so inviting. However, we had a cupcake cafe lined up for dessert and so stuck to their lunch menu. The prices were average, ranging from w8 000 - w12 000 a meal, with their drinks menu more expensive than other cafes I have been to. But the atmosphere is well worth the extra price of a drink.

Address: 

New address in Hongdae:

12 Wausan-ro 14 gil, Mapo-gu, Seoul 

Tuna & Broccoli Quinoa Burgers {recipe}

quinoatunabroccoliburgers

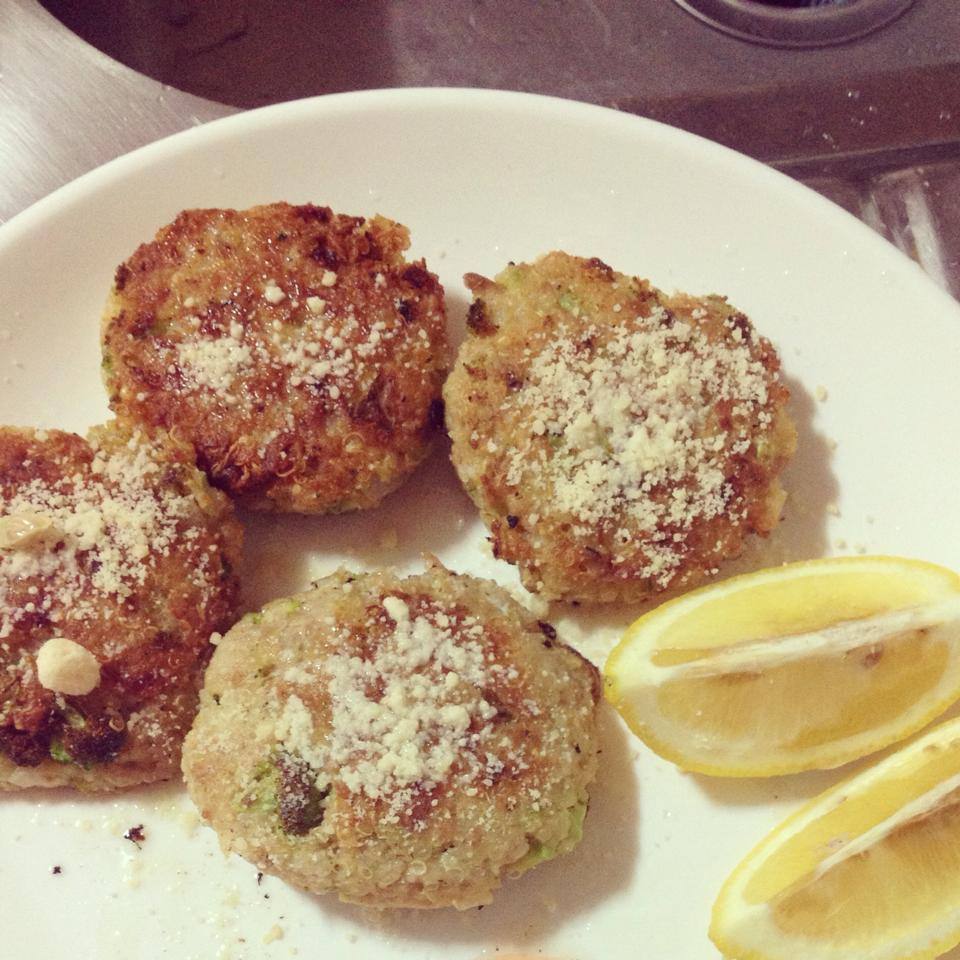
I don't do very much cooking at home, I much prefer baking. But on the odd occasion when I do whip out the frying pan, I'm not scared to try new recipes. Especially at 10 o'clock at night. This meal was one of them and this time I got it right. So right in fact that Farmboy ate 9 of the 12 patties.

I adapted the original recipe from here to my kitchen and ingredients here in South Korea. The two pictures I have of them don't do them any justice so you'll have to take my word for it when I say these little patties are tasty beyond measure and so easy to make.

Ingredients

  • 1/2 cup uncooked quinoa
  • 1 cup diced broccoli
  • 1/2 cup minced onion
  • 1 cup drained & flaked tuna or salmon (I used a big tin of tuna)
  • 1/2 cup rolled oats, mixed in a blender to create a fine powder (the original recipe calls for almond flower or gluten free bread crumbs)
  • 2 garlic cloves, minced
  • Sea salt & fresh ground black pepper
  • 2 eggs
  • 1-3 tablespoons coconut oil for frying

Method

1. Cook your quinoa (I boiled it as per this great recipe) and leave to cool.

2. In a medium sized skillet, sauté the broccoli and onions in 1-2 teaspoons of coconut oil over medium heat until they are begin to turn soft, about 5 minutes. Remove from heat and cool.

3. In a large mixing bowl, combine the quinoa, broccoli and onions, tuna, oats and garlic. Season with lots of sea salt and fresh ground black pepper to taste.

4. Stir in the eggs.

5. Warm a tablespoon of coconut oil in a skillet.

6. Measure out a 1/4 cup of the mixture and press into a patty shape. Gently ease onto the skillet. 

7. Reduce temperature to medium low, and fry the patties for 3-5 minutes on each side, or until they are golden brown. Keep adding more coconut oil to the pan as needed. Serve warm or at room temperature with slices of lemon and sweet chile sauce.

TunaBrolccoliQuinoaBurgers

How to make your own cottage cheese {recipe}

HomemadeCottageCheeseRecipe

This is one of the easiest things I have ever made, and I was able to do it right here in South Korea with only 2 ingredients! It's super easy to do and so yummy, we won't ever be buying store bought cottage cheese again.

HomemadeCottageCheeseRecipeSouthKorea2

Ingredients

2 liters of milk (I used whatever milk I could find in the stores here as I can't understand the Korean labels, but you could try it with full cream, half fat and fat free milk)

1/3 cup vinegar (you can use either white vinegar or apple cider vinegar. I've made it with both and haven't noticed a difference).

HomemadeCottageCheeseRecipeSouthKorea1

Directions

Heat up the milk to 120F or 45C in a large pot or pan. I didn't have a thermometer and so heated up the milk until it was a hot, shower temperature. You can add salt/pepper/rosemary/herbs to the milk to flavour your cheese. You should be able to touch the milk without scalding yourself. Turn off the heat and add the vinegar, stirring slowly so as not to break the curds. It will start to curdle right away.

Cover and leave to sit for about half and hour.

Drain the curds and whey using a muslin cloth, or any other piece of cotton fabric. Drain completely. What will be left is your cottage cheese. Store in an air tight container. If it's a little on the dry side, you can add cream or more milk to your mixture. You will also need to add salt as the taste will be a little bland. It should keep for about 10 days, but ours has never lasted more than a day, it's just so good!

Serve with sweet chile sauce and fresh coriander for maximum yumminess. 

HomemadeCottageCheeseRecipeSouthKorea3.jpg

{South Korea} the Food

Lots of friends and readers have been asking us about the food here in Korea. There are a lot of noodles, a lot of rice and a lot of meat (in-between some rather strange veggies). So here are some snaps of food here, in between one or two home cooked meals and a yummy cheese burger.

Korean Samgyupsal...South African Style

A few pangs for Korean food left us with a slight longing to return to Korean soil...to combat that for the time being, Farmboy and I set about recreating one of our favourite meals, Samgyupsal. Samgyupsal is traditionally thick, fatty slices of pork belly meat, usually neither marinated nor seasoned. It's cooked on a grill by each person and eaten directly from the grill. It is often dipped into a spicy pepper paste.

Here is a photo of the real deal in South Korea (taken when my mommy came to visit!), followed by our attempt a few days ago...